Evermotion: More Than an Asset Library
How Evermotion became a full-scale production partner for archviz, automotive and synthetic data.


Total: € 0
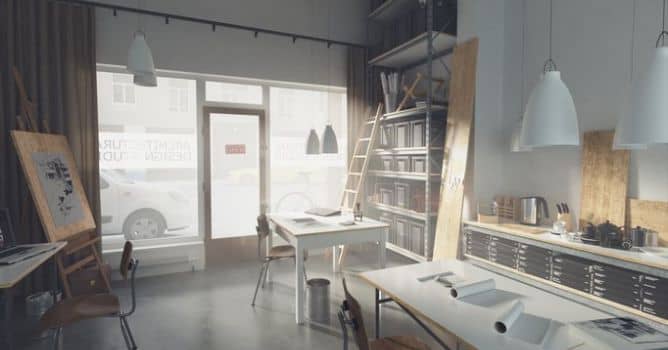

This scene comes from Archinteriors vol. 33 for Blender - a collection of 10 modern office spaces compatible with Blender 2.8 or higher, prepared for Cycles render engine. Whole collection and separate scenes are available in Evermotion Shop.

This image was rendered in Blender and Cycles. We also made this scene for 3ds Max / V-Ray a while ago.
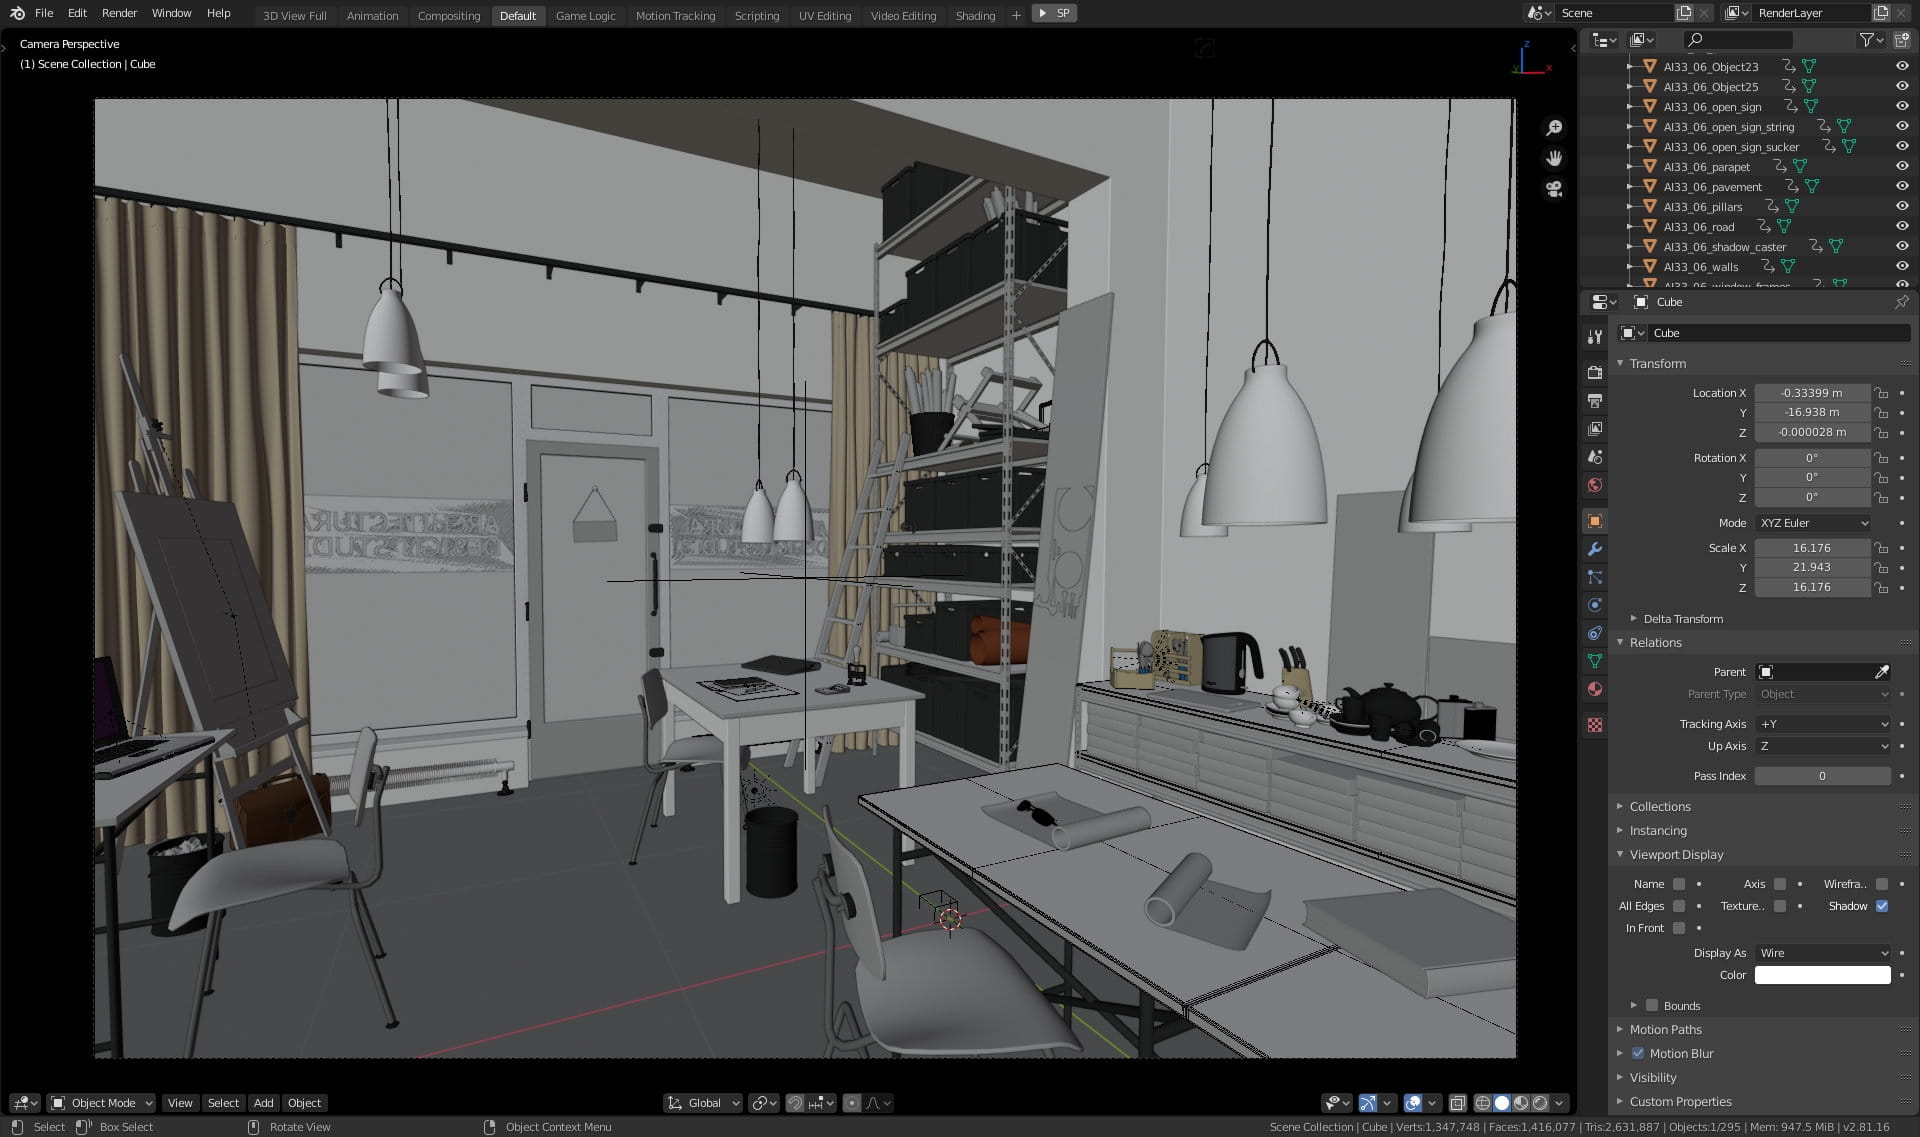
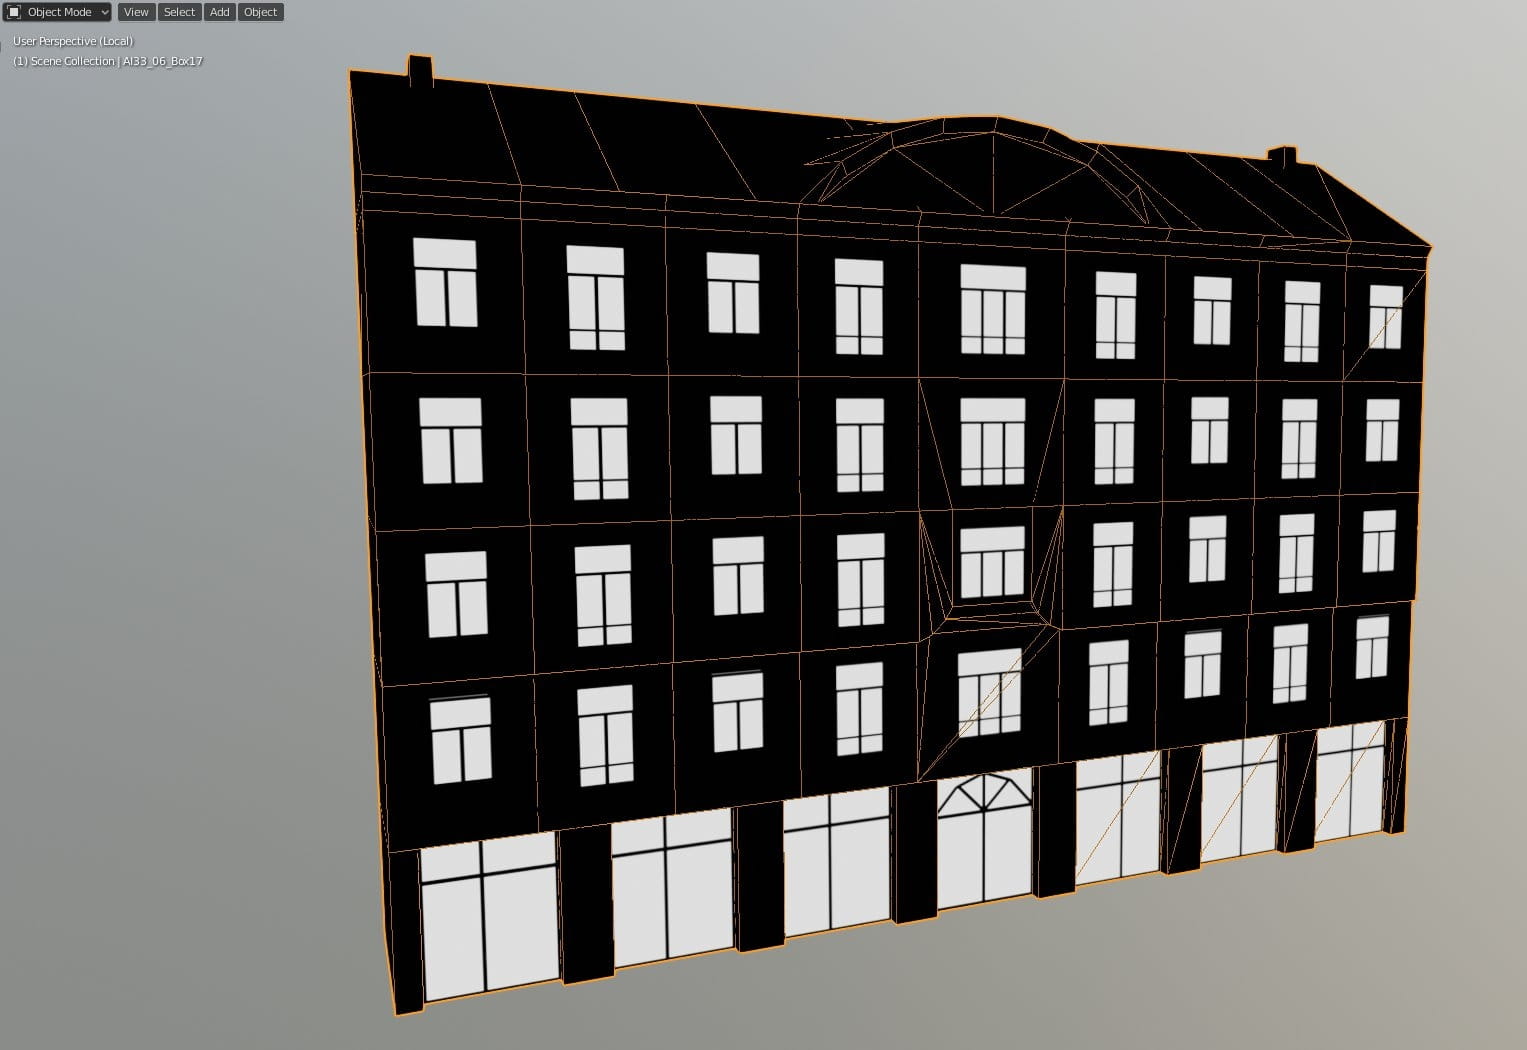
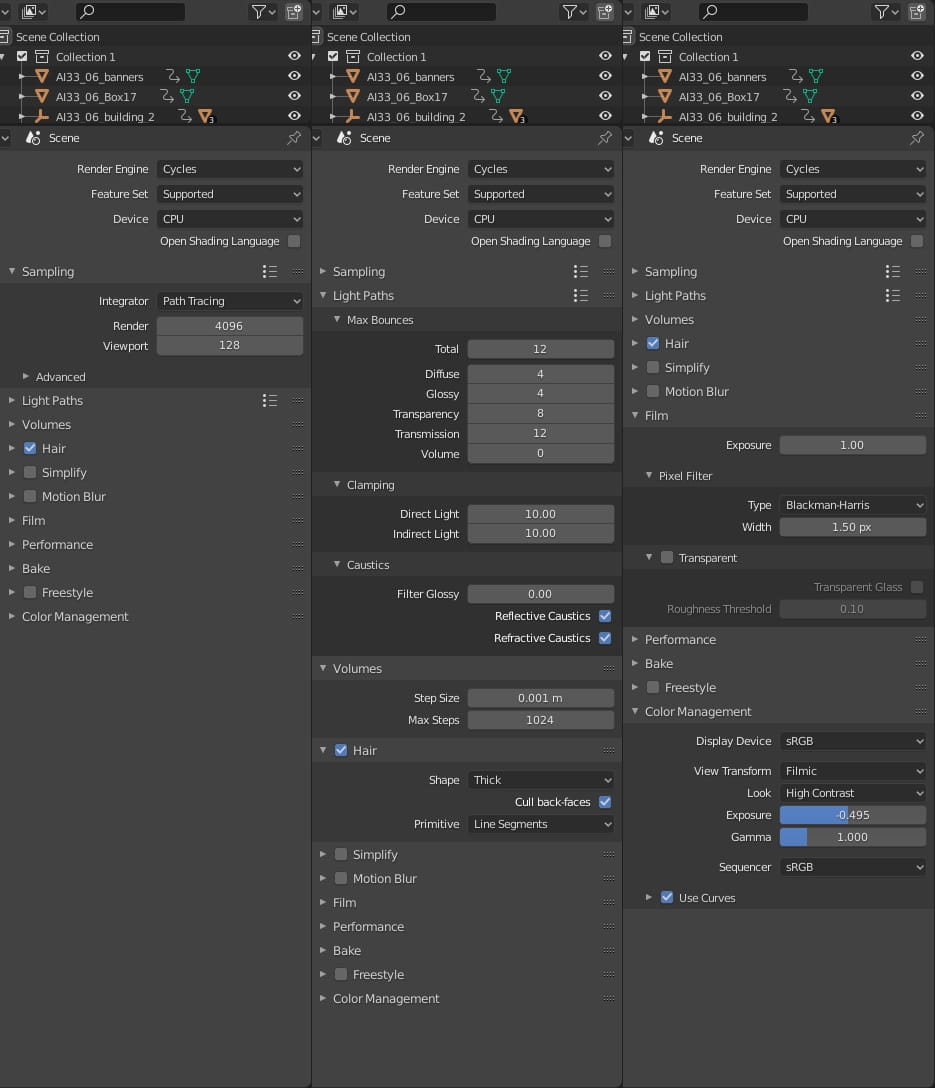
The scene in Blender viewport. we have 295 objects in the scene and 1,4 million faces, but everything runs smoothly even on a mediocre PC.
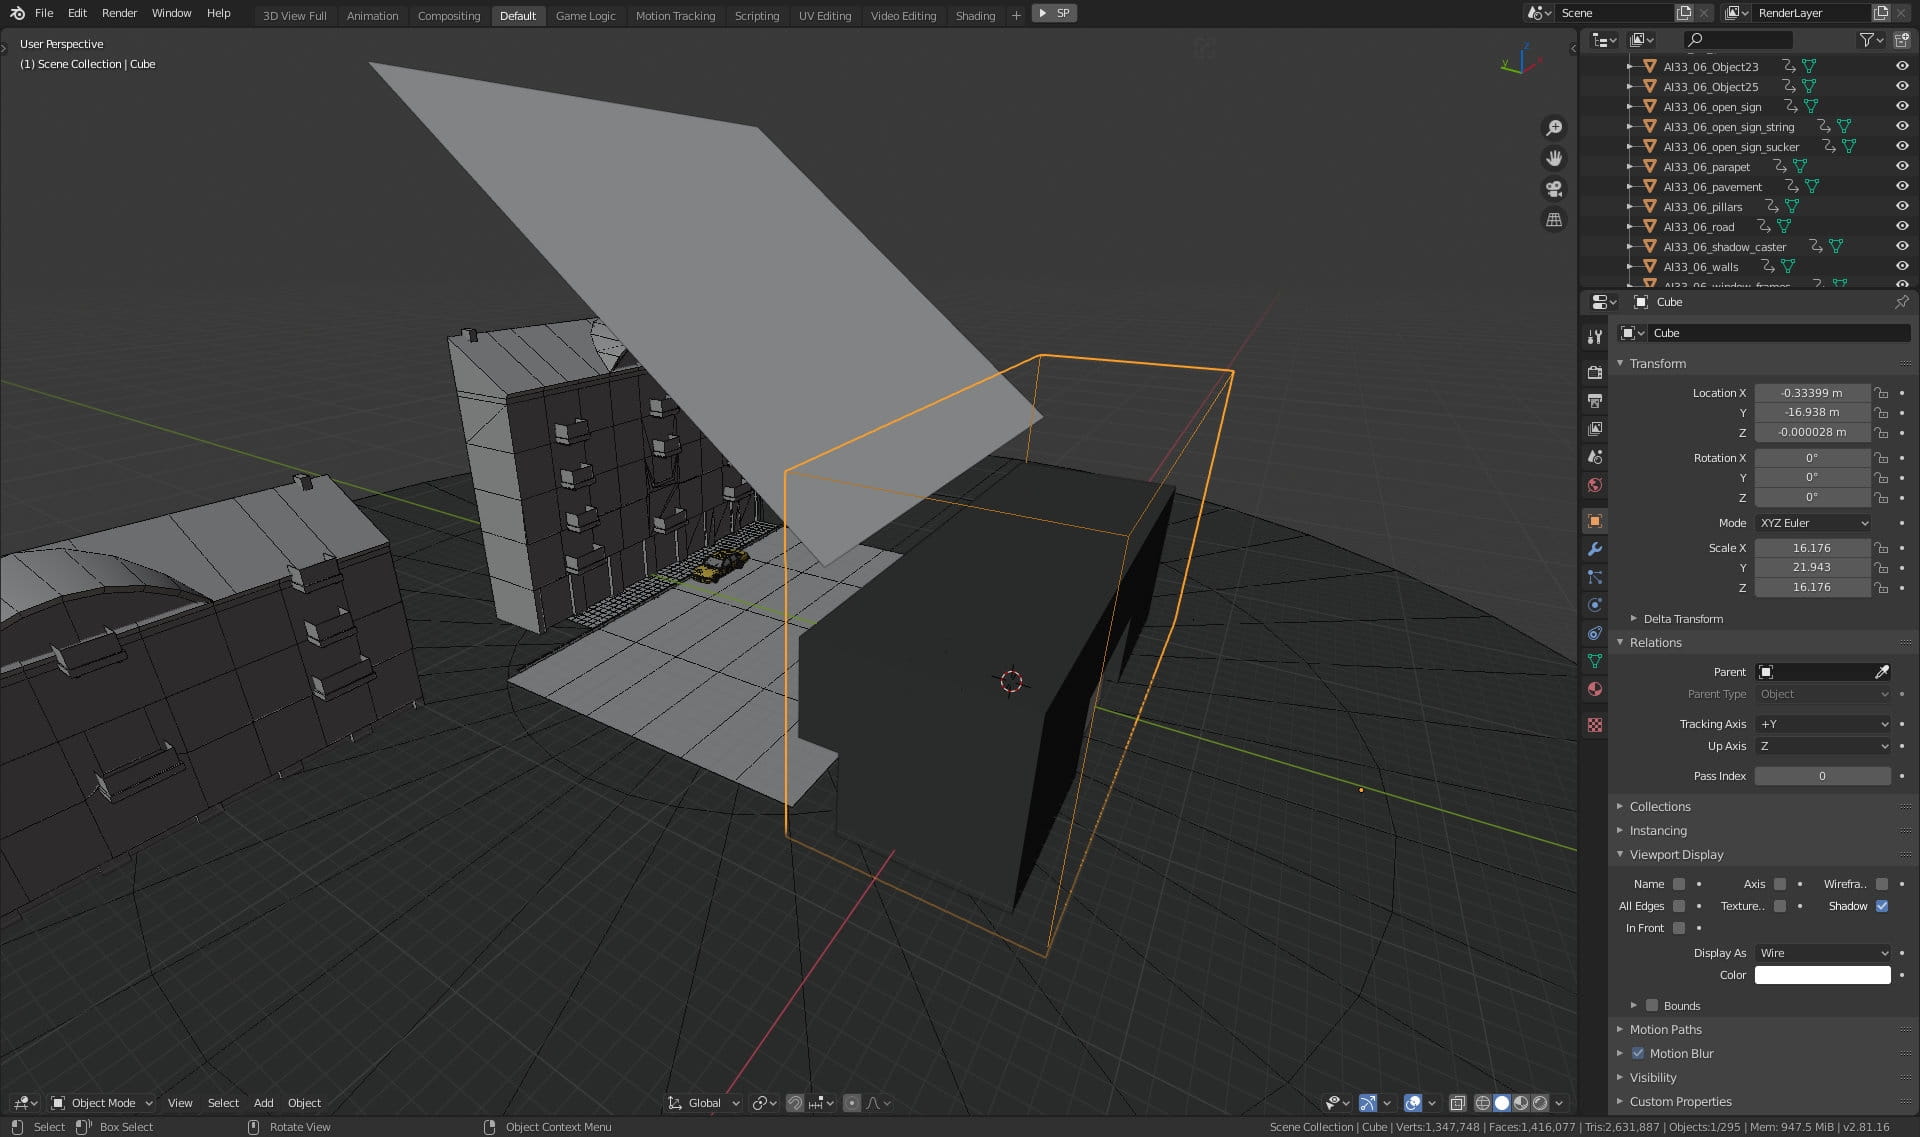
Overview of the scene. You can see cubic shape (currently selected, with yellow outline) that includes our building mesh. It has a special kind of shader - Volume Scatter and simulates foggy atmosphere inside our office.
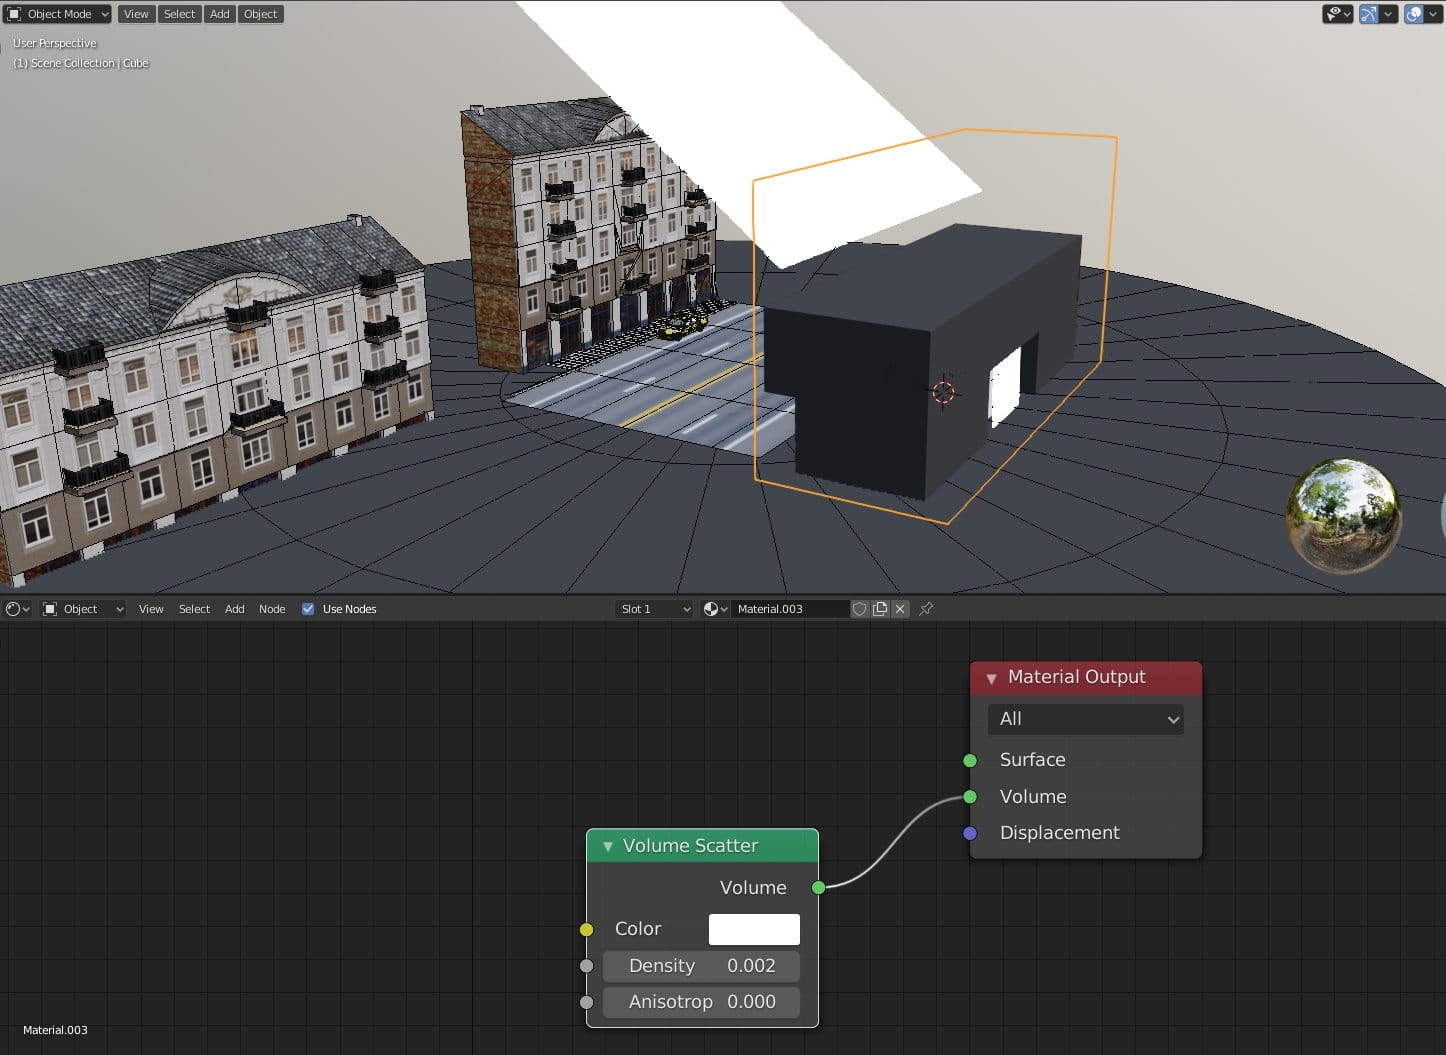
Volume scatter settings - density 0.002 is enough to create the sense of atmosphere in the interior.

Camera settings. FOV is set to 89.6 degrees, which is equivalent of wide lens 16,12 mm.
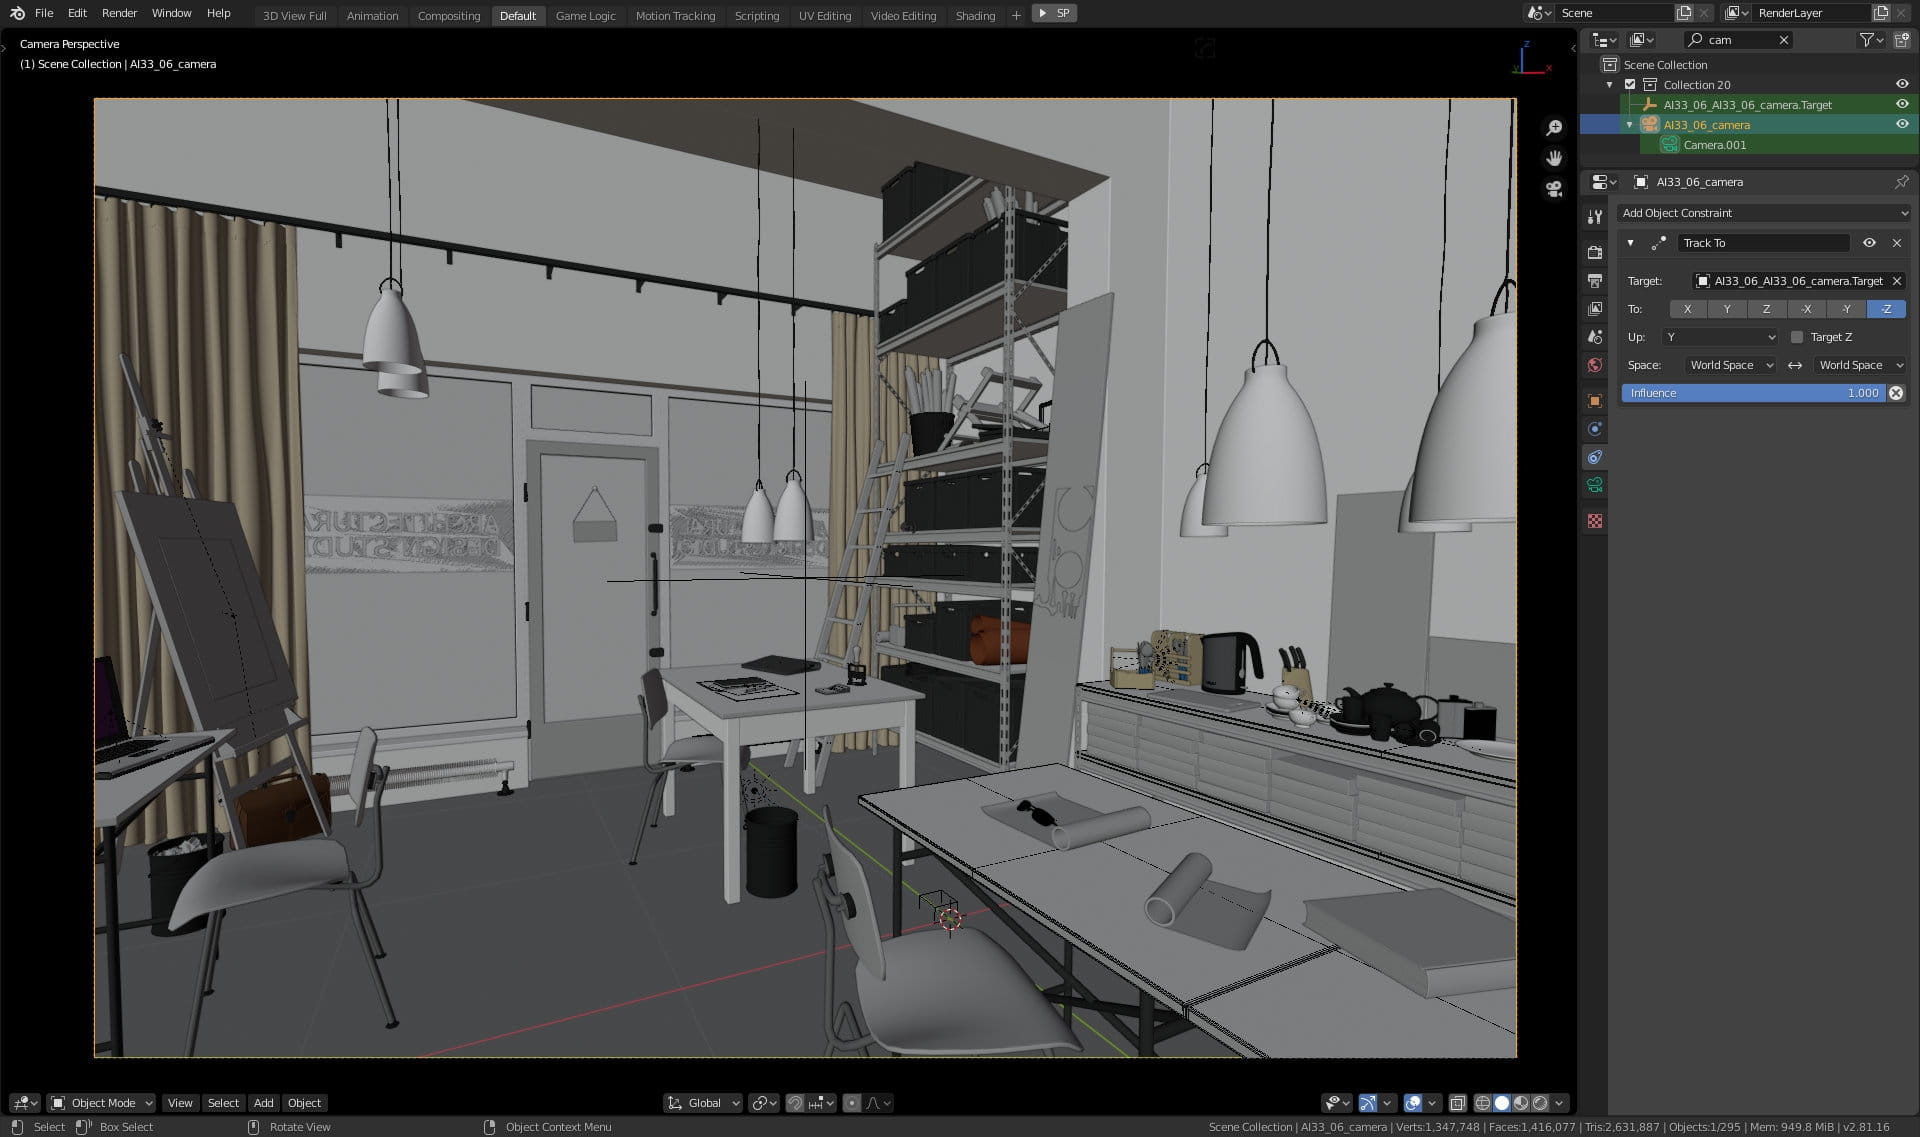
Camera is tracking to target - it is constrained to empty object (this is the easiest method to create target camera in Blender).
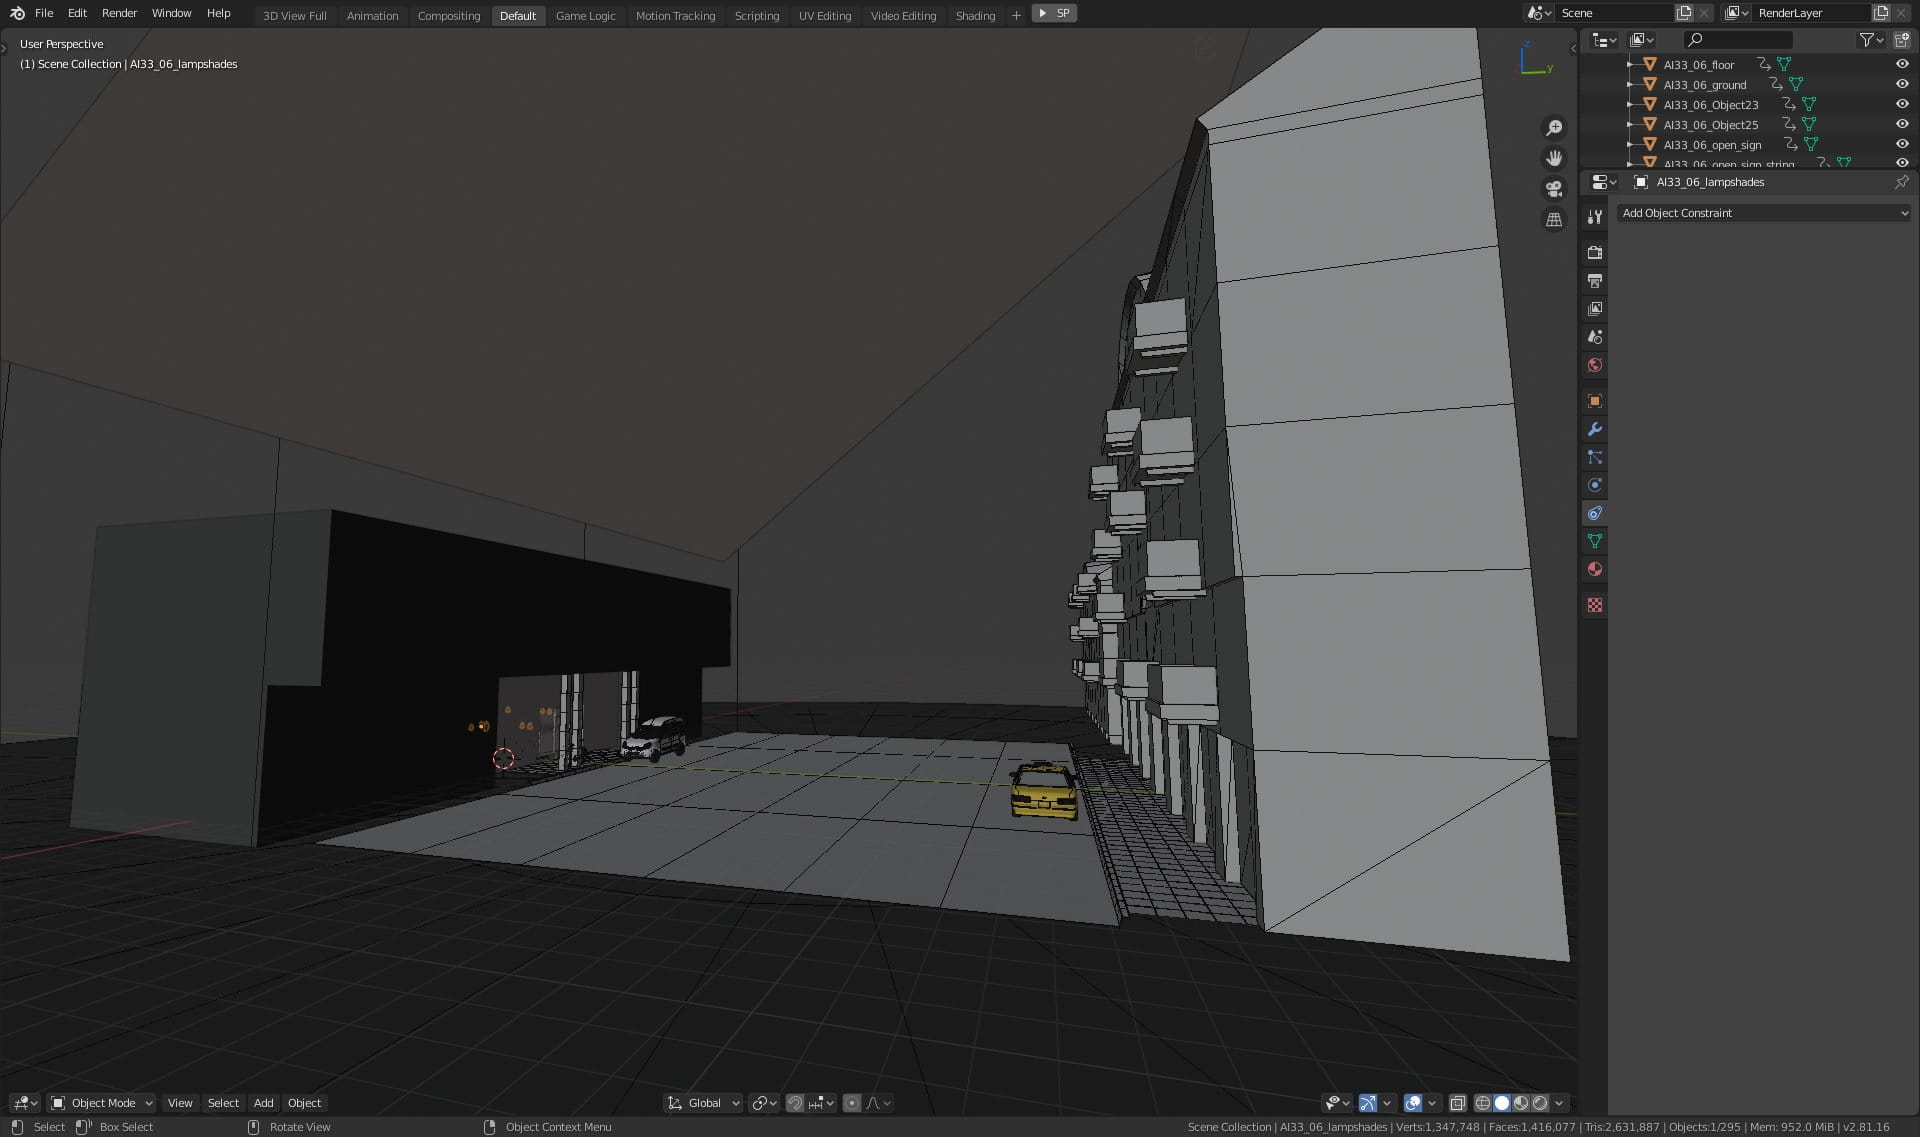
Overview of the scene. We have a main building on the left, with our office interior and we have two more buildings on the opposite side of the street.

We placed two cars in our scene. Yellow cab.
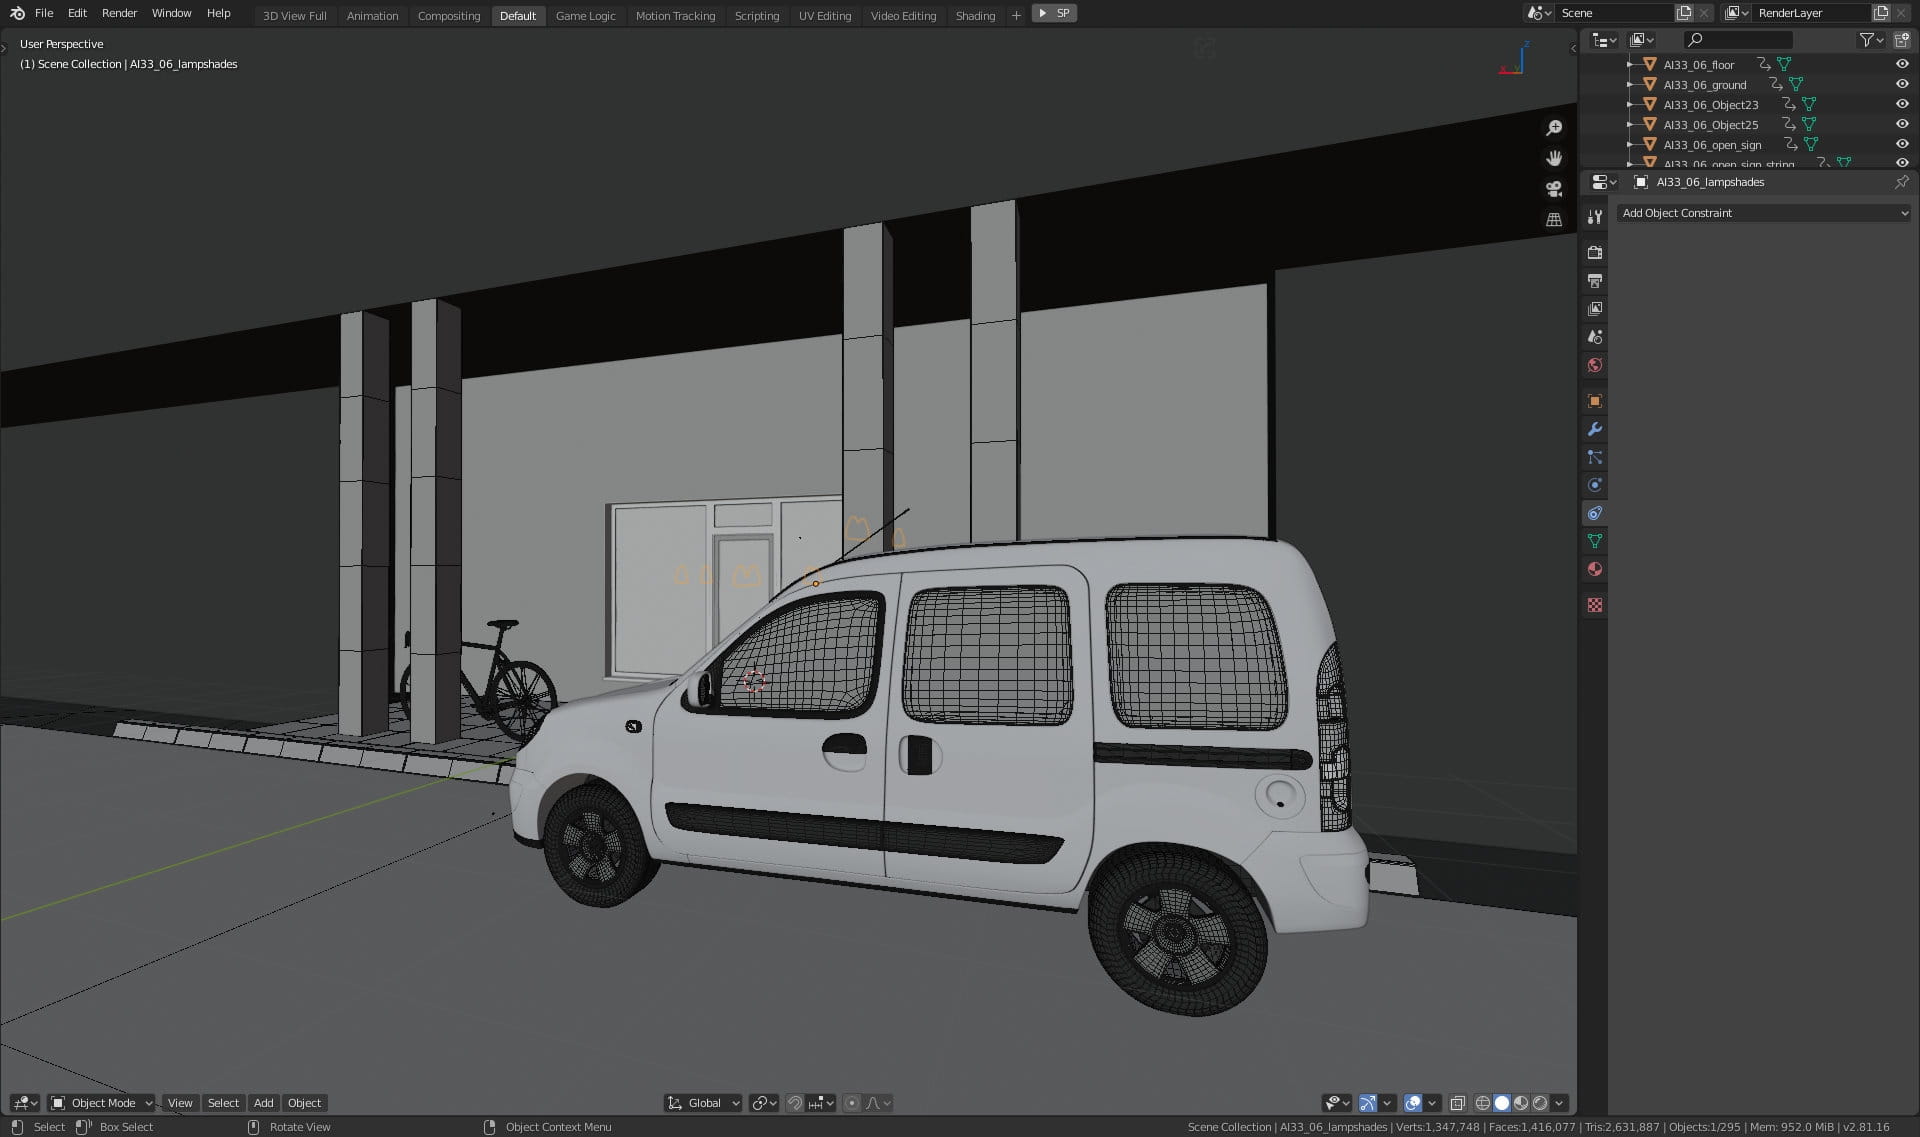
Another car in front of our artist's office.
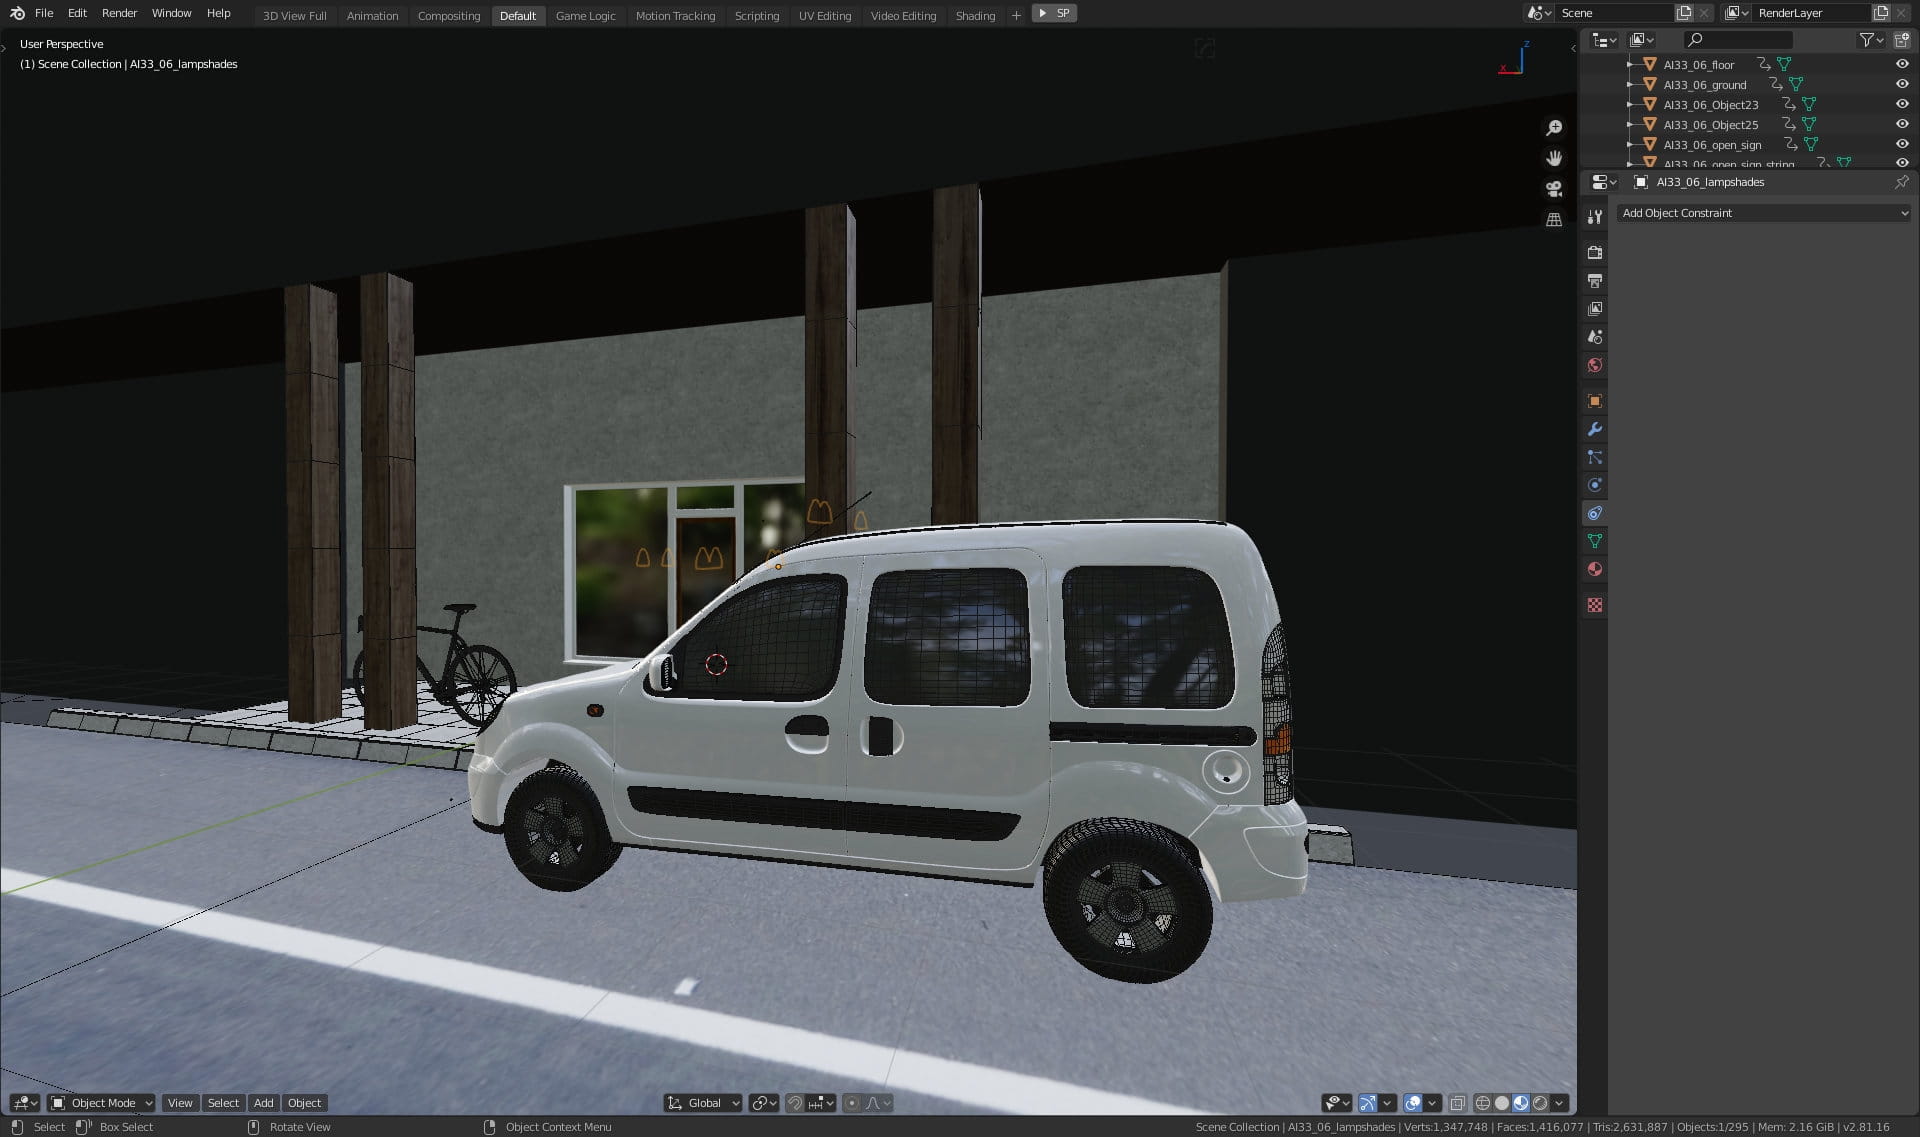
In Blender 2.80 we can set viewport to Material Preview.
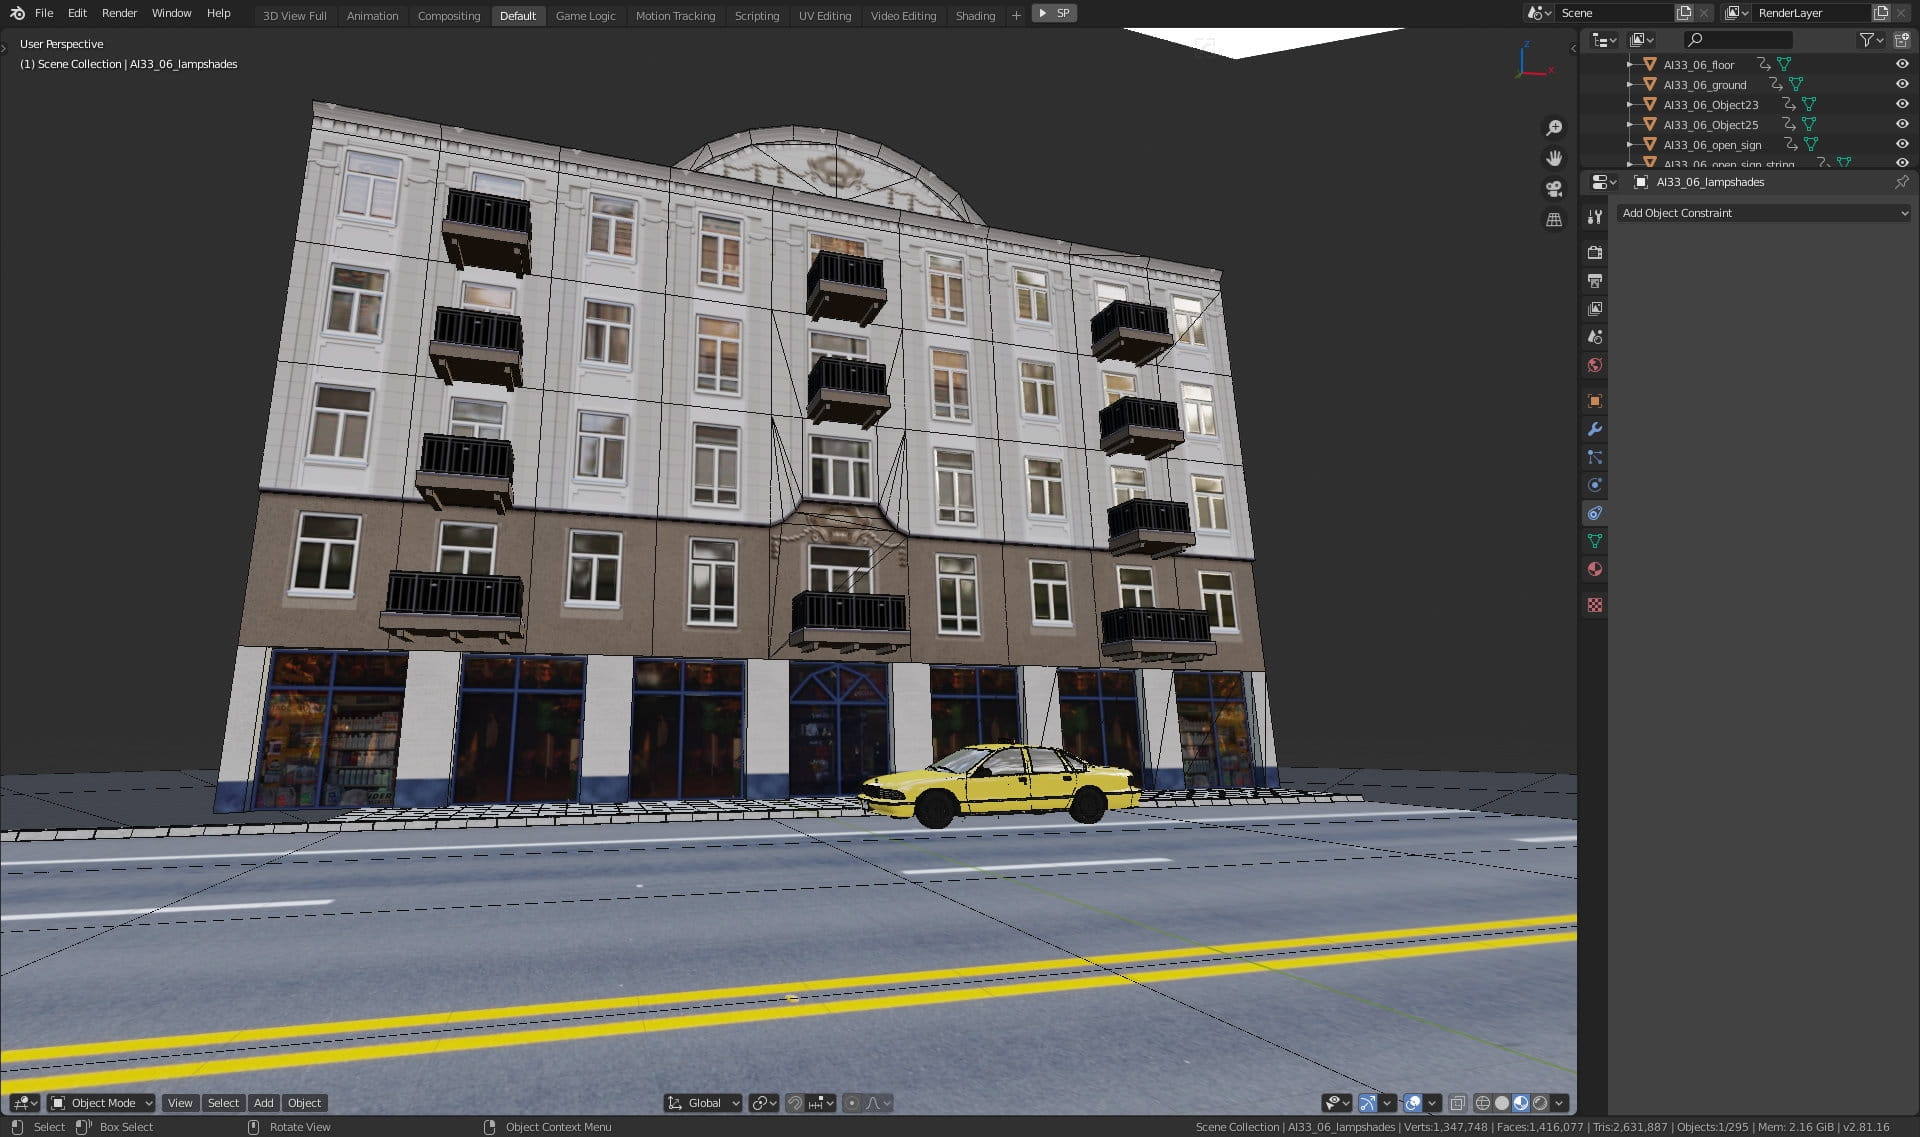
Building outside.

Building material. We used a single material for this mesh and three textures.

Buiding material

Building texture - diffuse
The second texture is for specular slot. This way we can have very reflective windows and rough elevation using just one material slot.

Lighting - we used Sun lamp with big intensity (300) and slightly warm color.

Another light component is a world background solid color with a blueish tint, intensity 500.

The third light component is the emission plane that we placed above the building. It has a strength of 100.
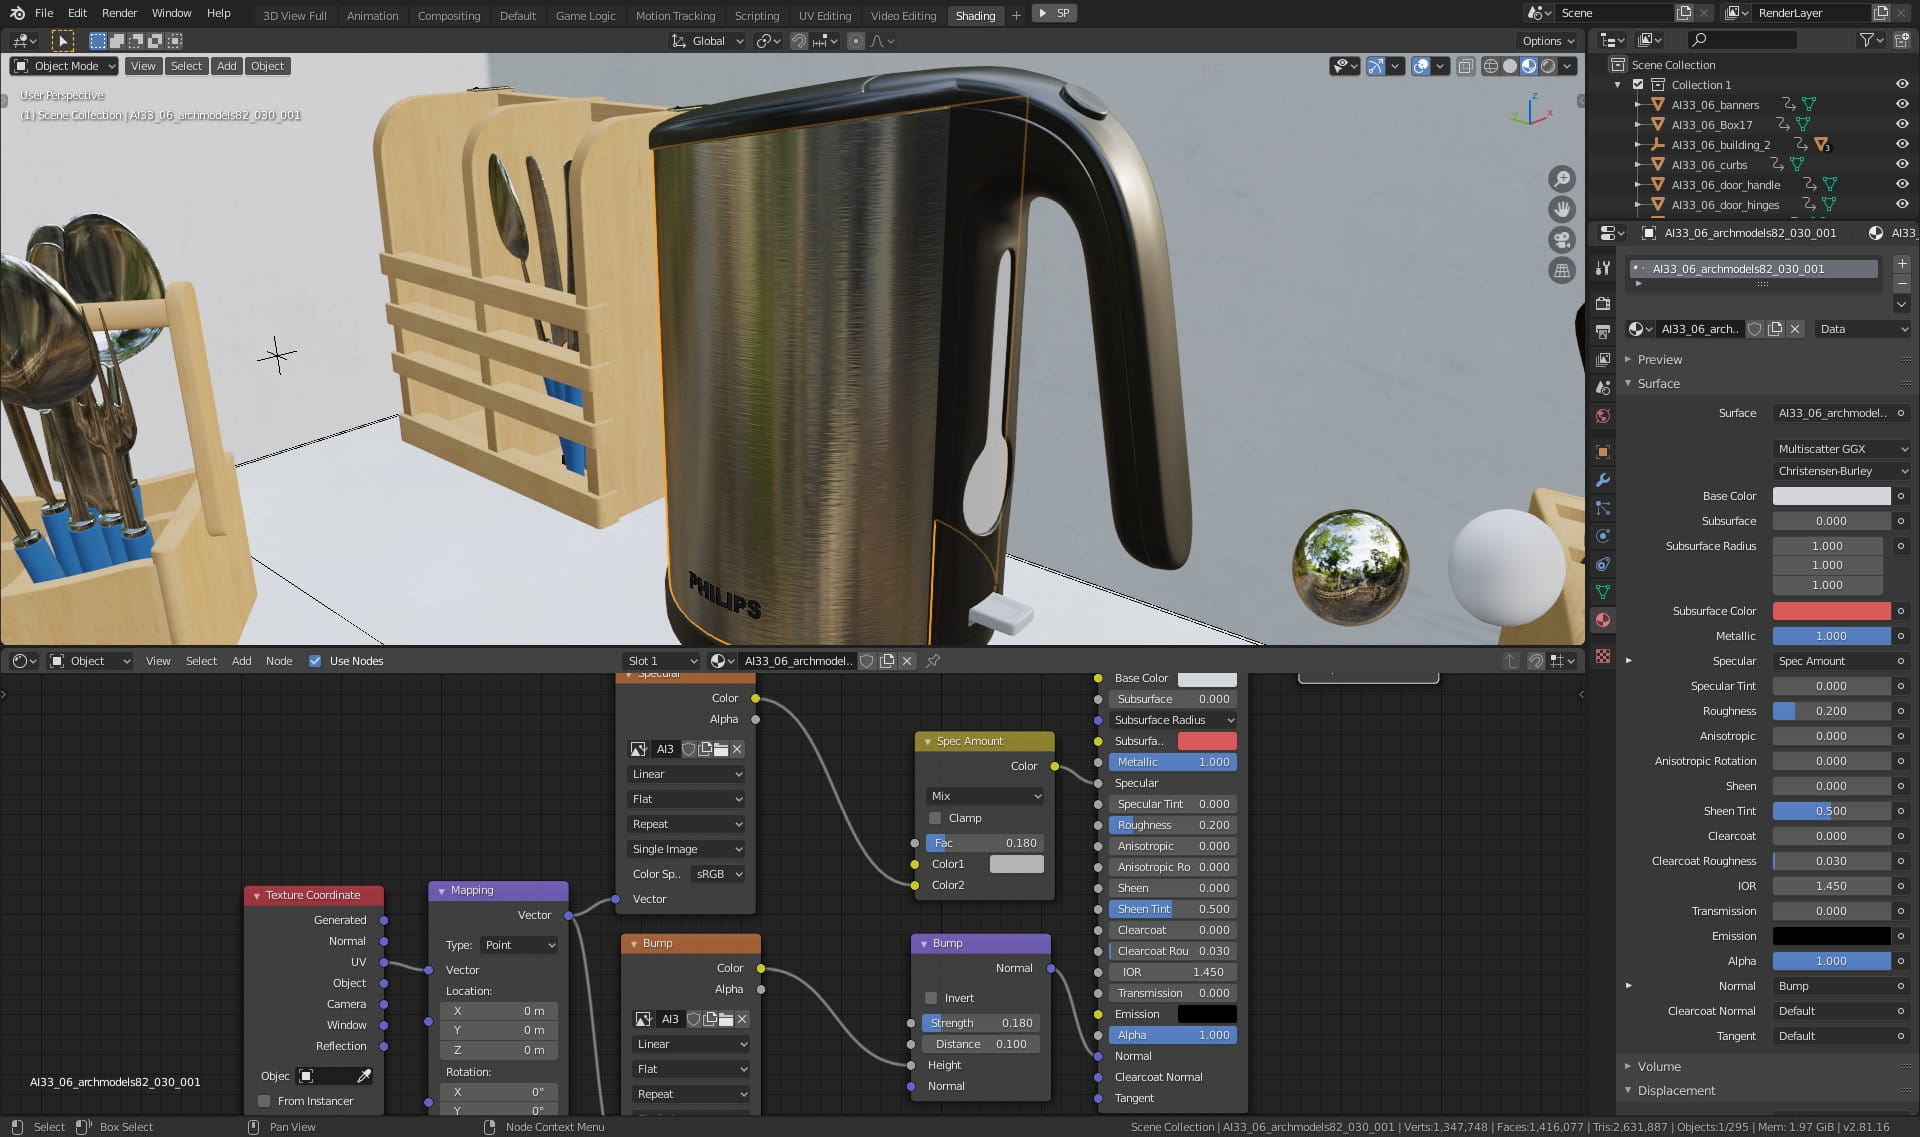
Electric teapot, one of our meshes in the scene.

Teapot mesh detail.
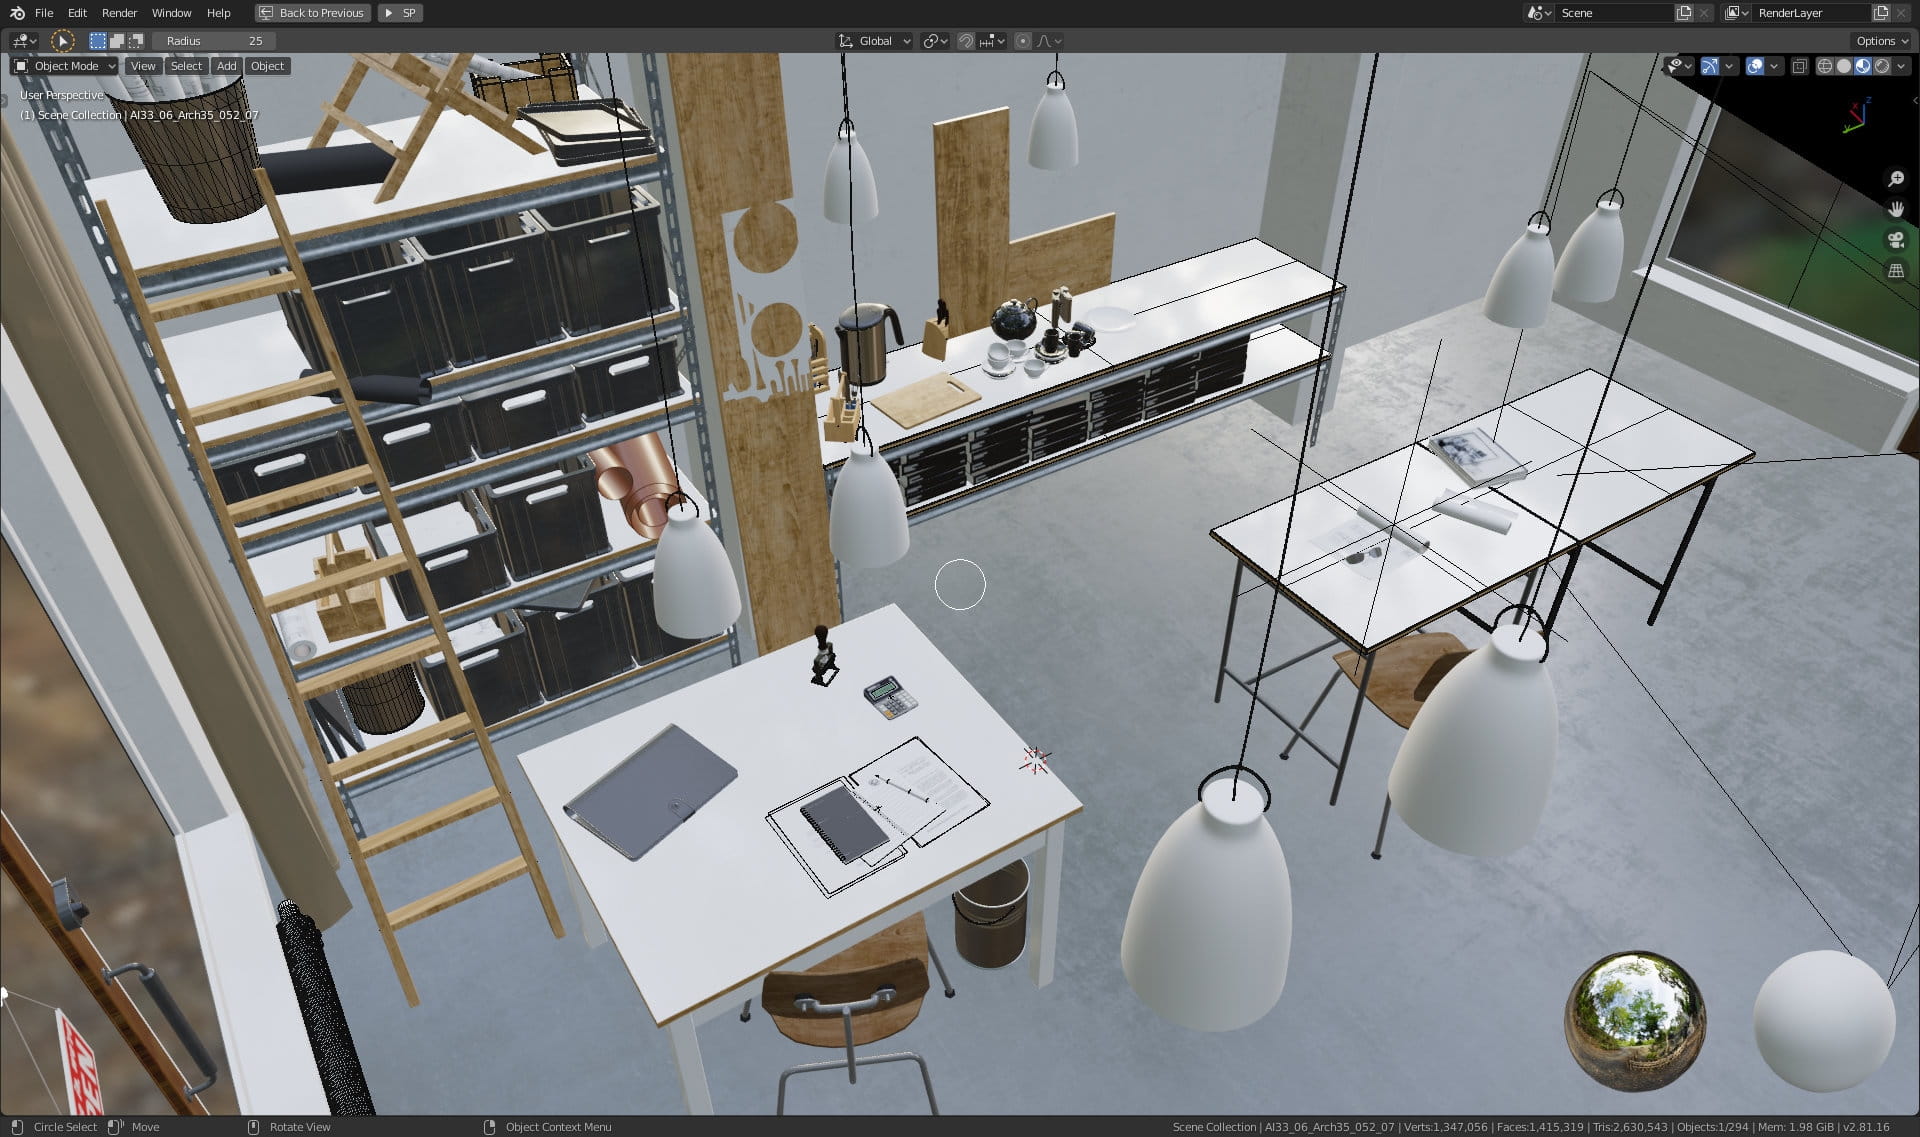
Interior furniture and props.
Final render.
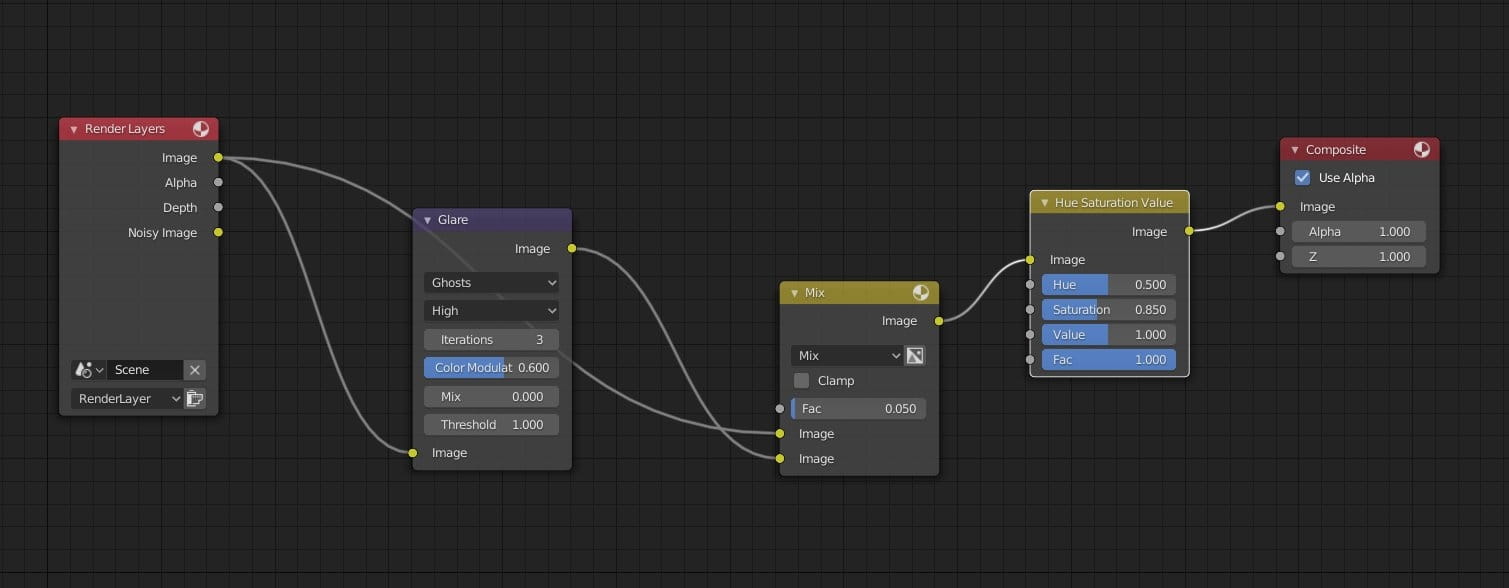
Compositing nodes - we used glare node to add a bit of glow effect. We also desaturated final image (0.850 instead of 1.000) with Hue / Saturation node.
Thanks for reading! :)


LEAVE A COMMENT


|

|

|

|

|
 Customer zone
 Your orders
 Edit account
 Add project
 Liked projects
 View your artist profile
COMMENTS