Evermotion: More Than an Asset Library
How Evermotion became a full-scale production partner for archviz, automotive and synthetic data.


Total: € 0
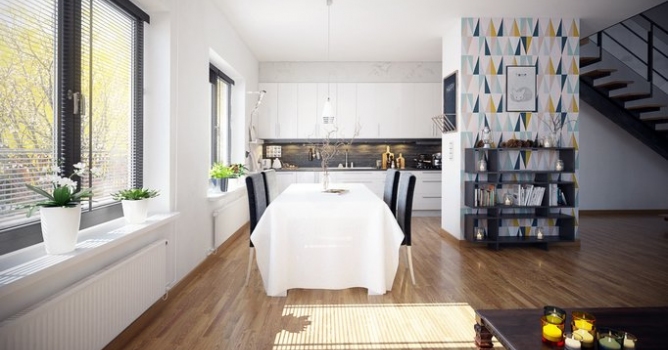

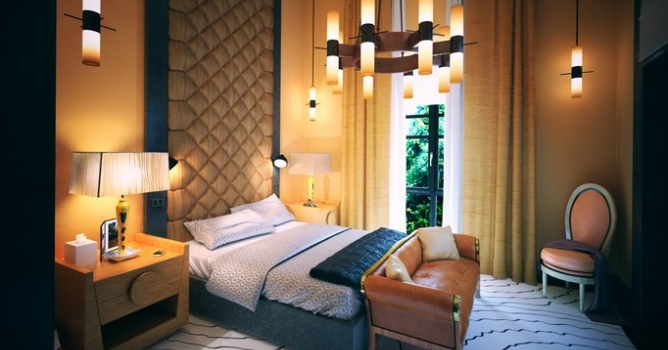
This sunny living room is one of many interiors of a complete house from Archexteriors vol. 29 collection.
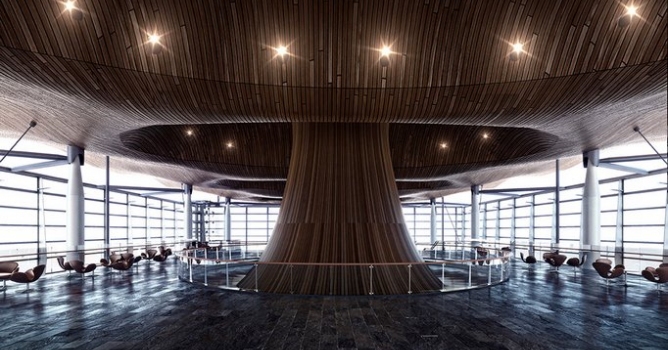
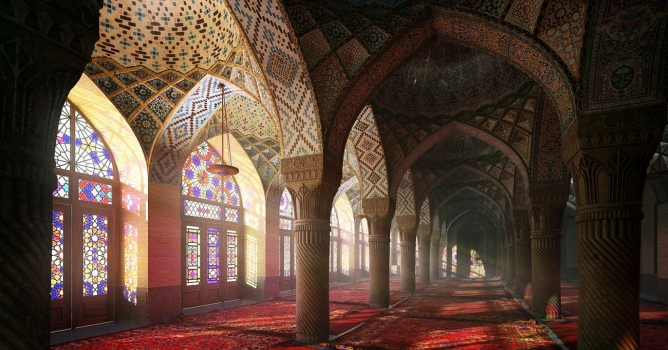
Click on image to enlarge
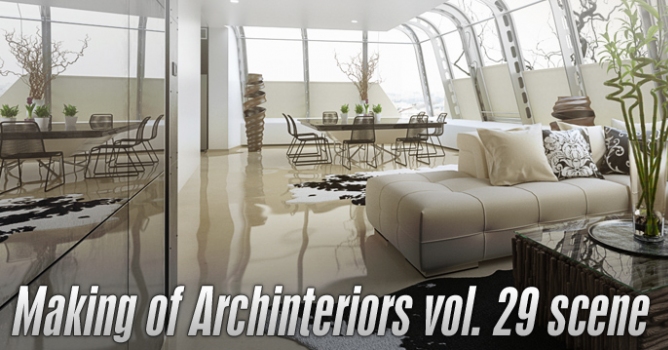
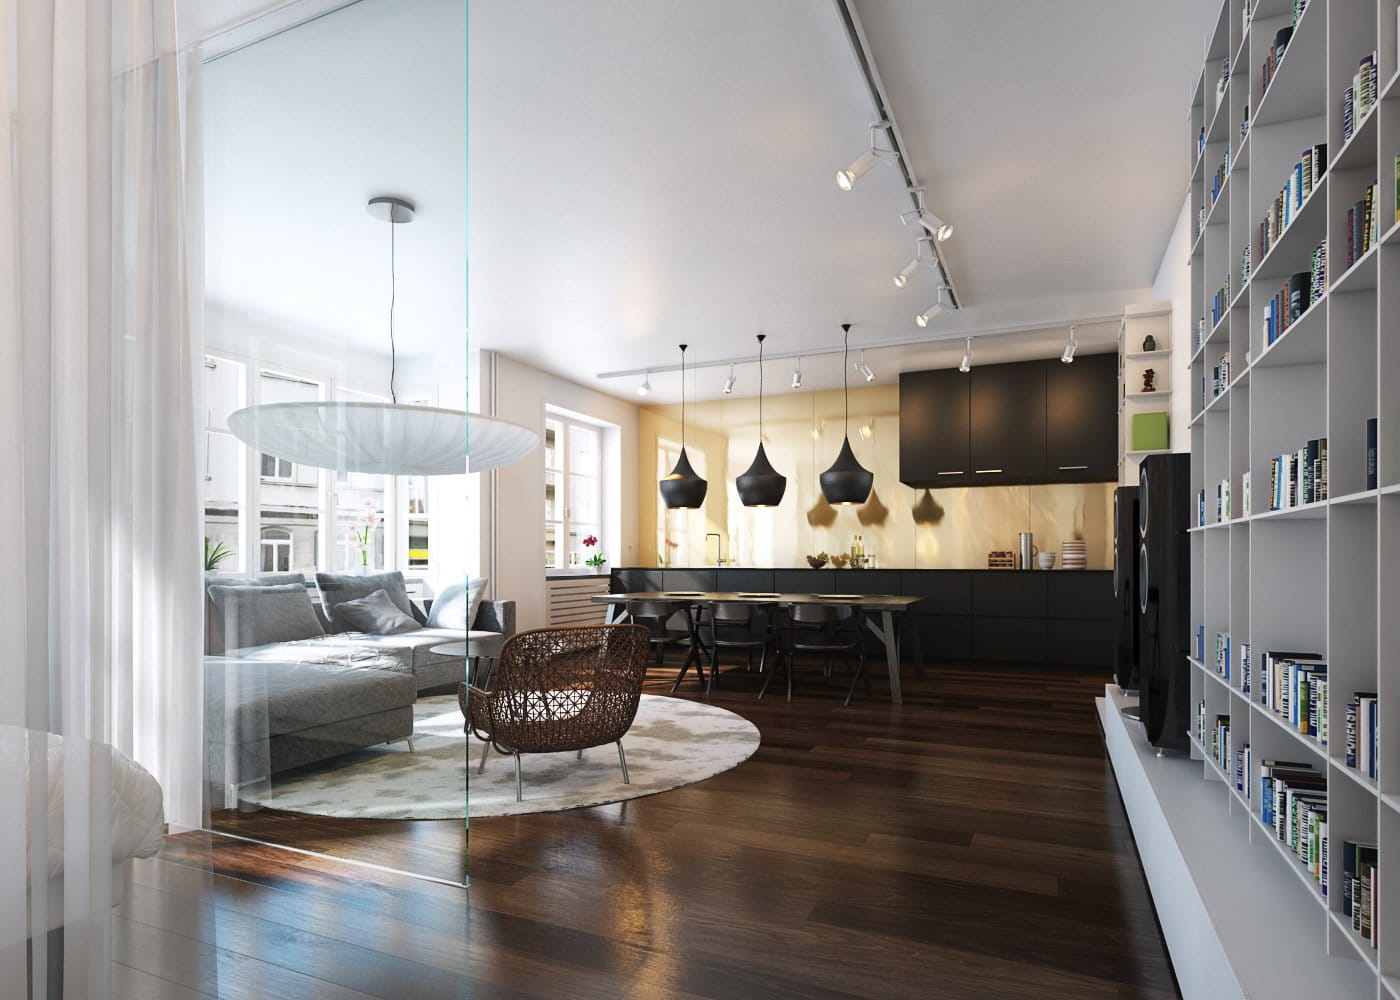
Click on image to enlarge
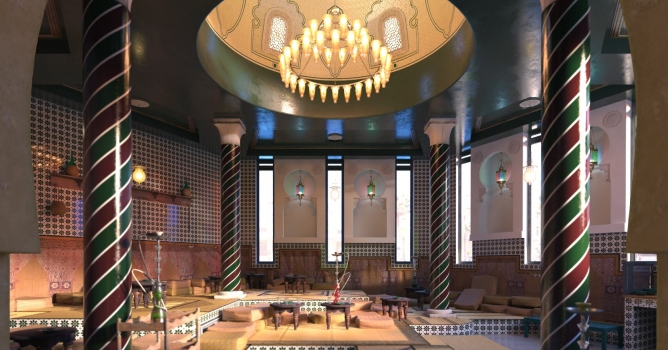
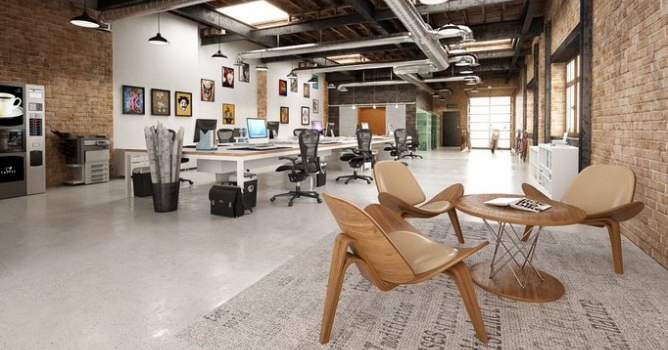
Click on image to enlarge
Click on image to enlarge
Click on image to enlarge
Click on image to enlarge
Click on image to enlarge
Click on image to enlarge
Click on image to enlarge
Click on image to enlarge
Click on image to enlarge
Click on image to enlarge
Click on image to enlarge
Click on image to enlarge
Click on image to enlarge
Click on image to enlarge
Click on image to enlarge
Click on image to enlarge
Click on image to enlarge
Click on image to enlarge
Click on image to enlarge
Click on image to enlarge
Click on image to enlarge
Click on image to enlarge
Click on image to enlarge
Click on image to enlarge
Click on image to enlarge
Click on image to enlarge
Click on image to enlarge
Click on image to enlarge
Click on image to enlarge
Click on image to enlarge
Click on image to enlarge
Click on image to enlarge
Click on image to enlarge
Click on image to enlarge
Click on image to enlarge
Click on image to enlarge
Click on image to enlarge
Click on image to enlarge
Click on image to enlarge
Click on image to enlarge
Click on image to enlarge
Click on image to enlarge


LEAVE A COMMENT


|

|

|

|

|
 Customer zone
 Your orders
 Edit account
 Add project
 Liked projects
 View your artist profile
COMMENTS