This interior scene was made by Evermotion in 3ds Max and V-Ray. It is a scene 8 from Archinteriors vol. 37. You can purchase this single scene or entire Archinteriors vol. 37 collection in Evermotion Shop.
Click on image to enlarge 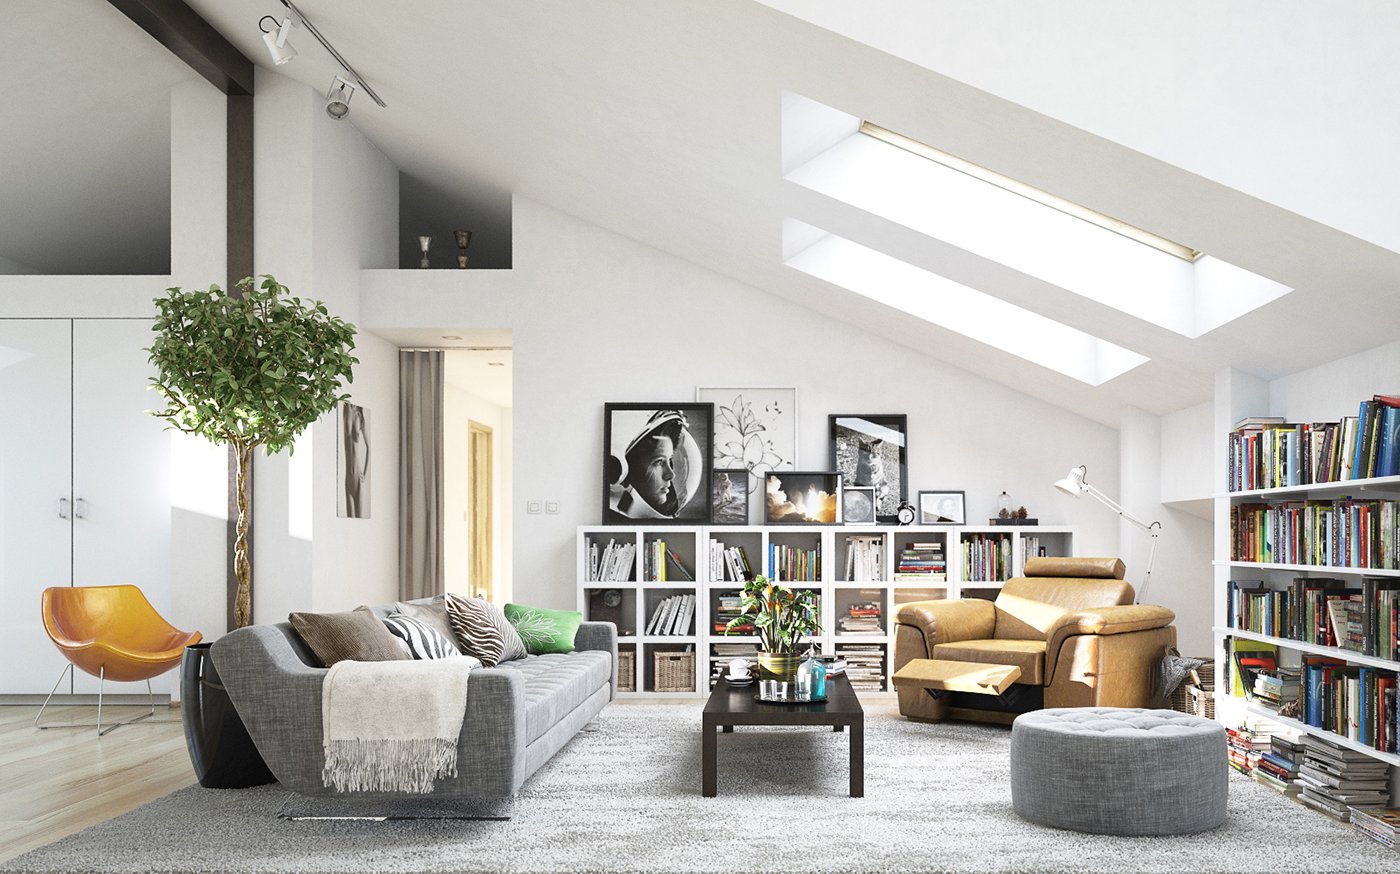
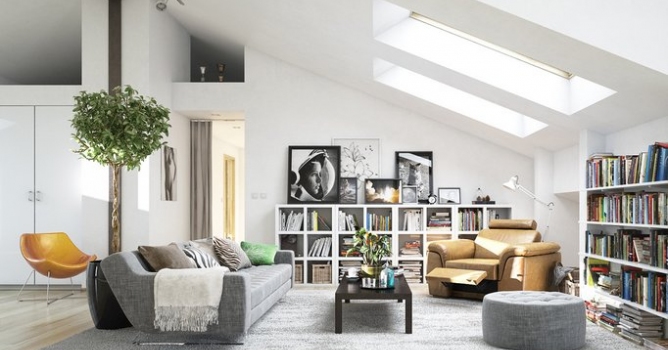
This modern interior is traditional Scandinavian living room / loft. White walls, couple of non-disturbing furniture models and clean design and well lit space.
Click on image to enlarge 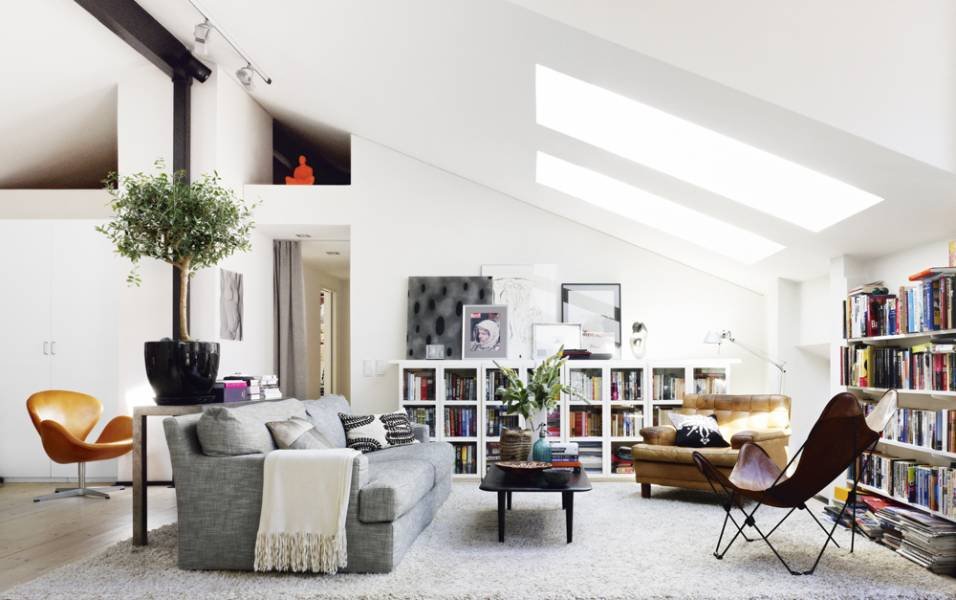
This is our reference image. Quite blurry, but it wasn't difficult to follow this design in 3ds Max. We made some minor changes (slightly different furniture, tree, some minor details)
Click on image to enlarge 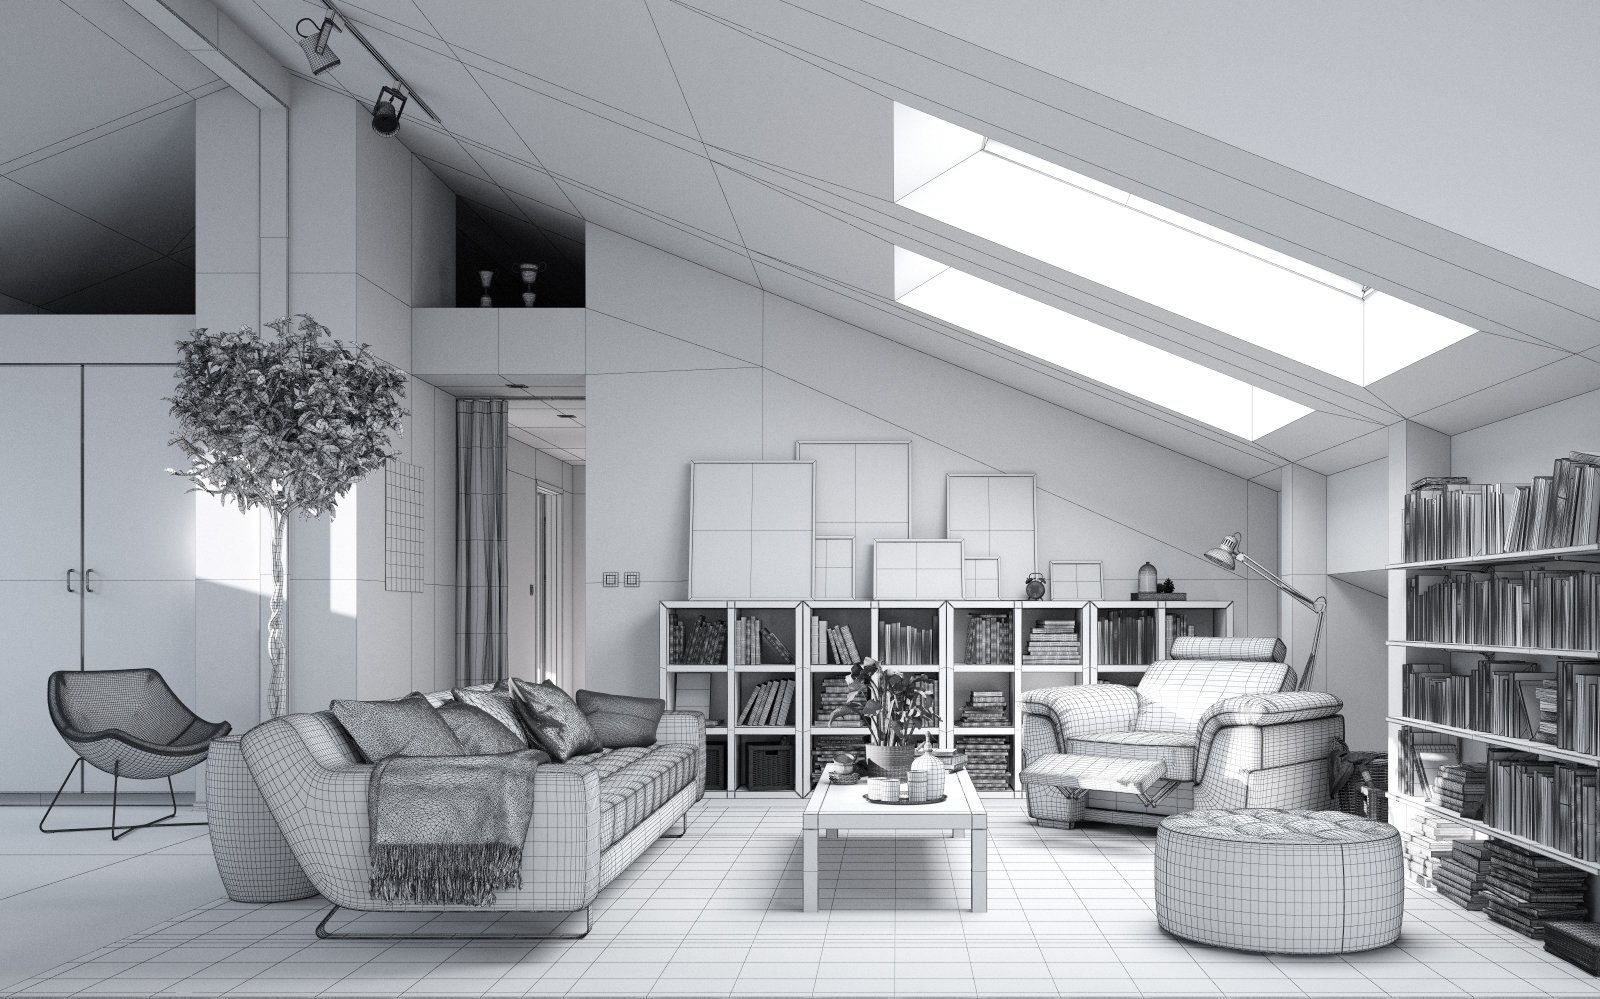
Wireframe view of the scene.
Click on image to enlarge 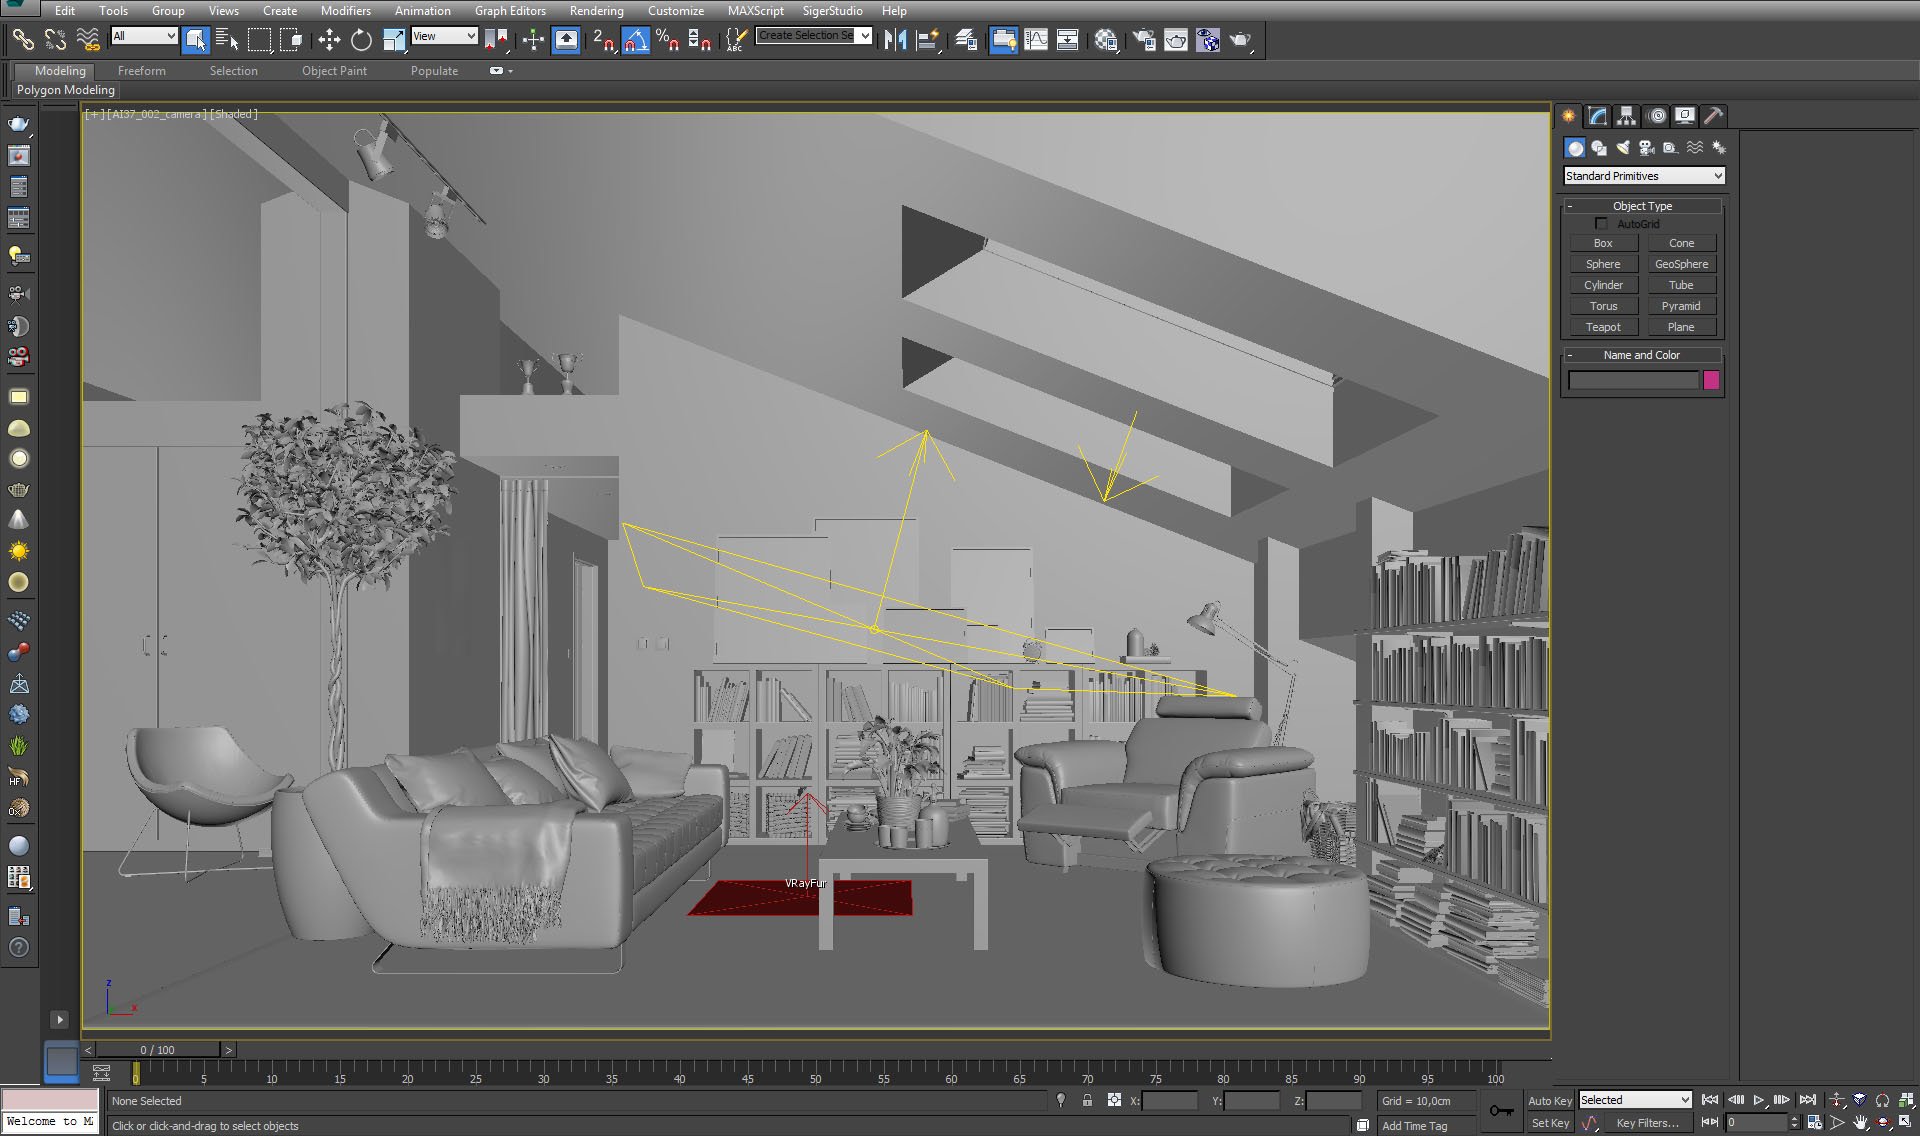
View from the camera. As you can see, we used Vrayfur for carpet. there are also many light sources.
Click on image to enlarge 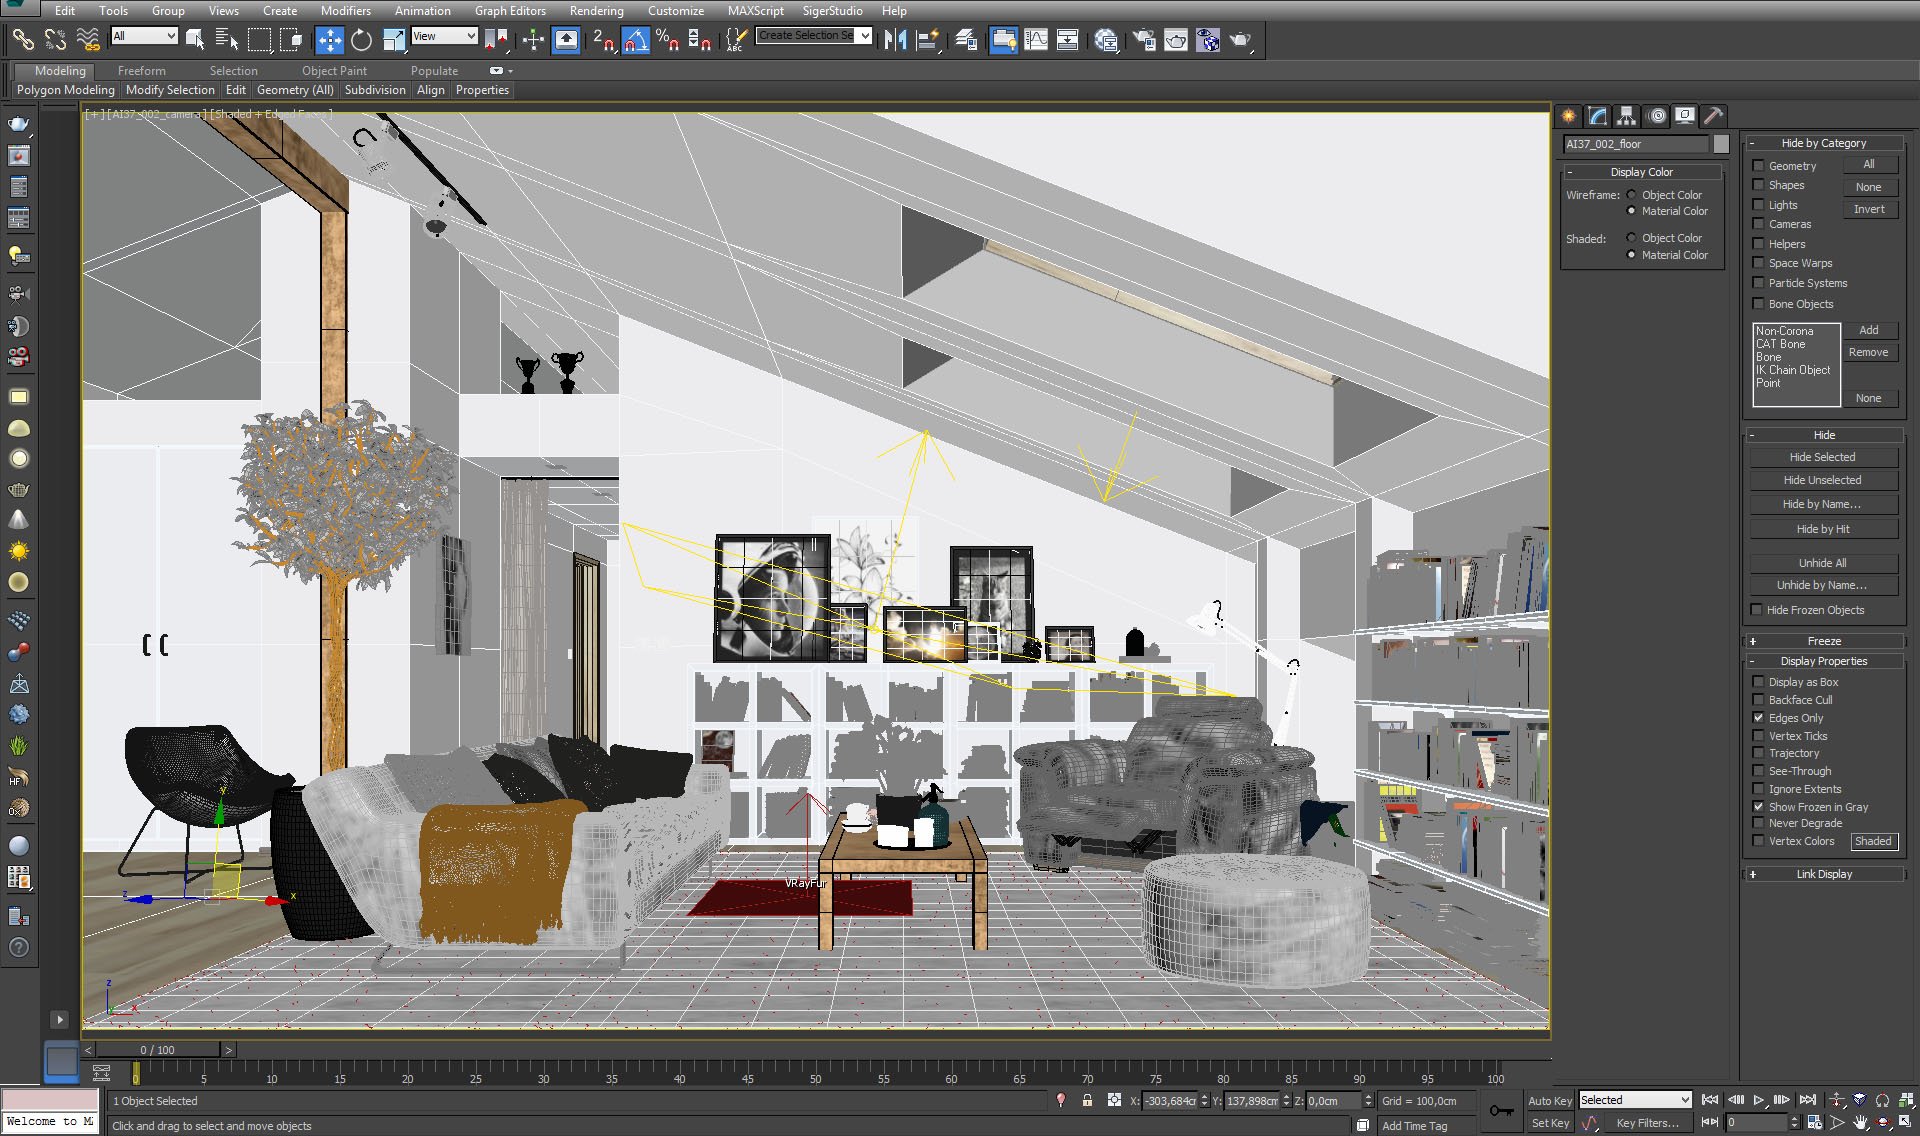
Viewport view with colored materials.
Click on image to enlarge 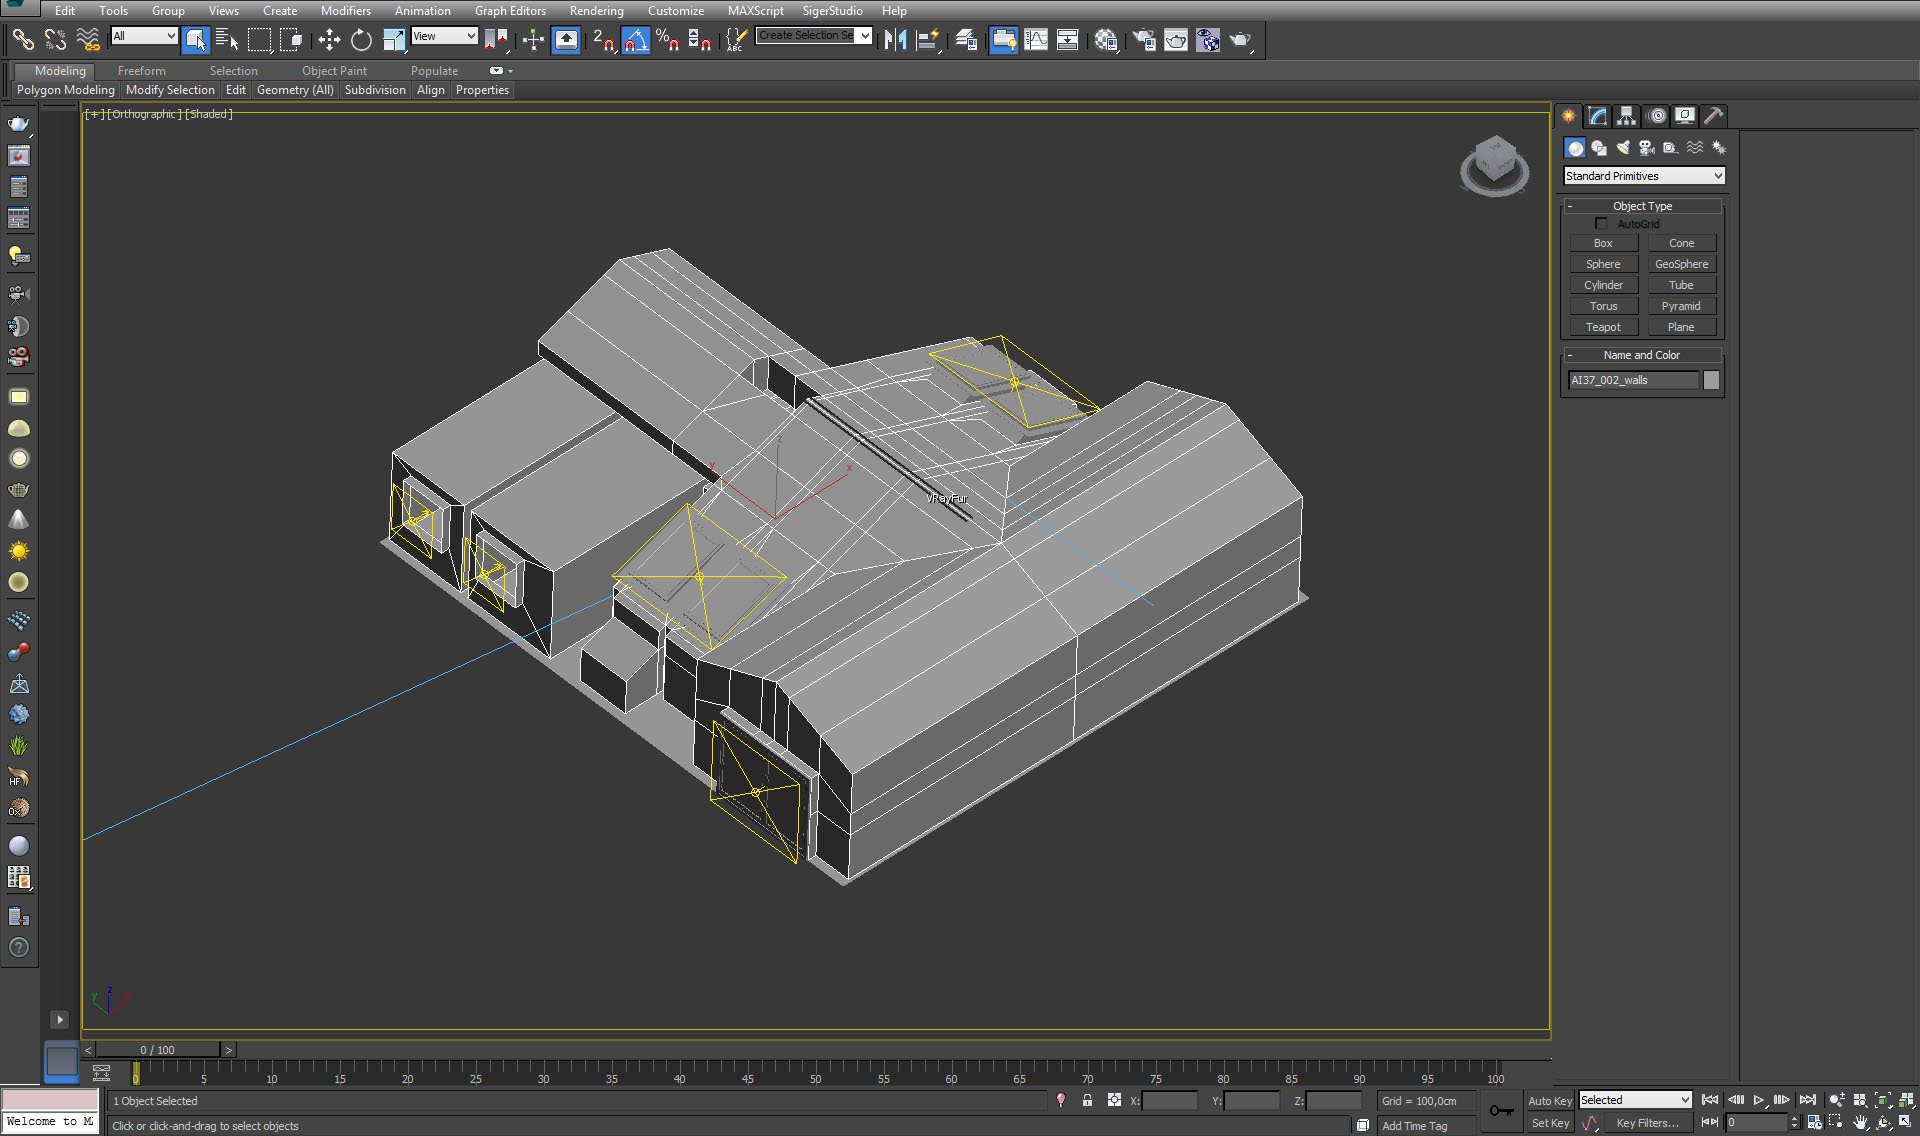
Outside view. Camera focuses only on small part of the building.
Click on image to enlarge 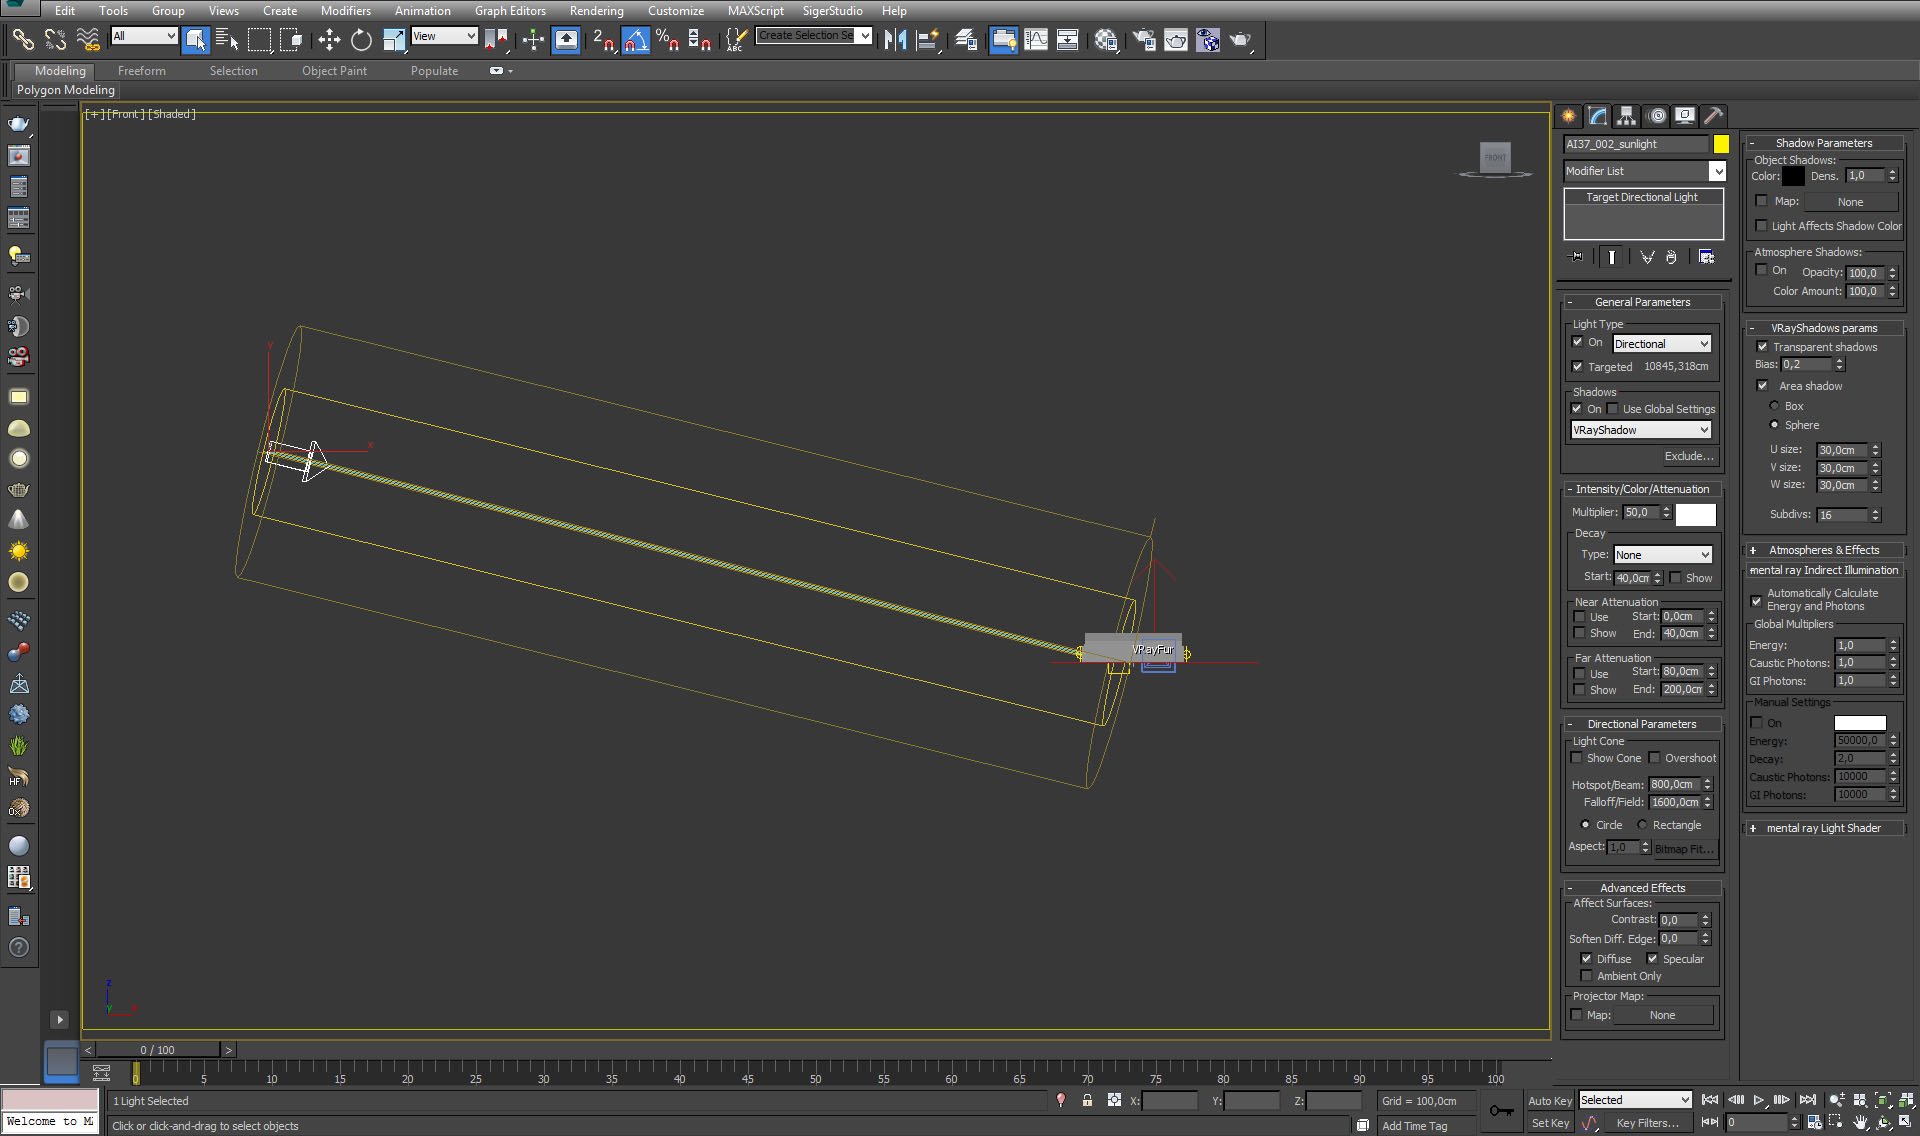
Target directional Light acts as our sun. Settings are on the right.
Click on image to enlarge 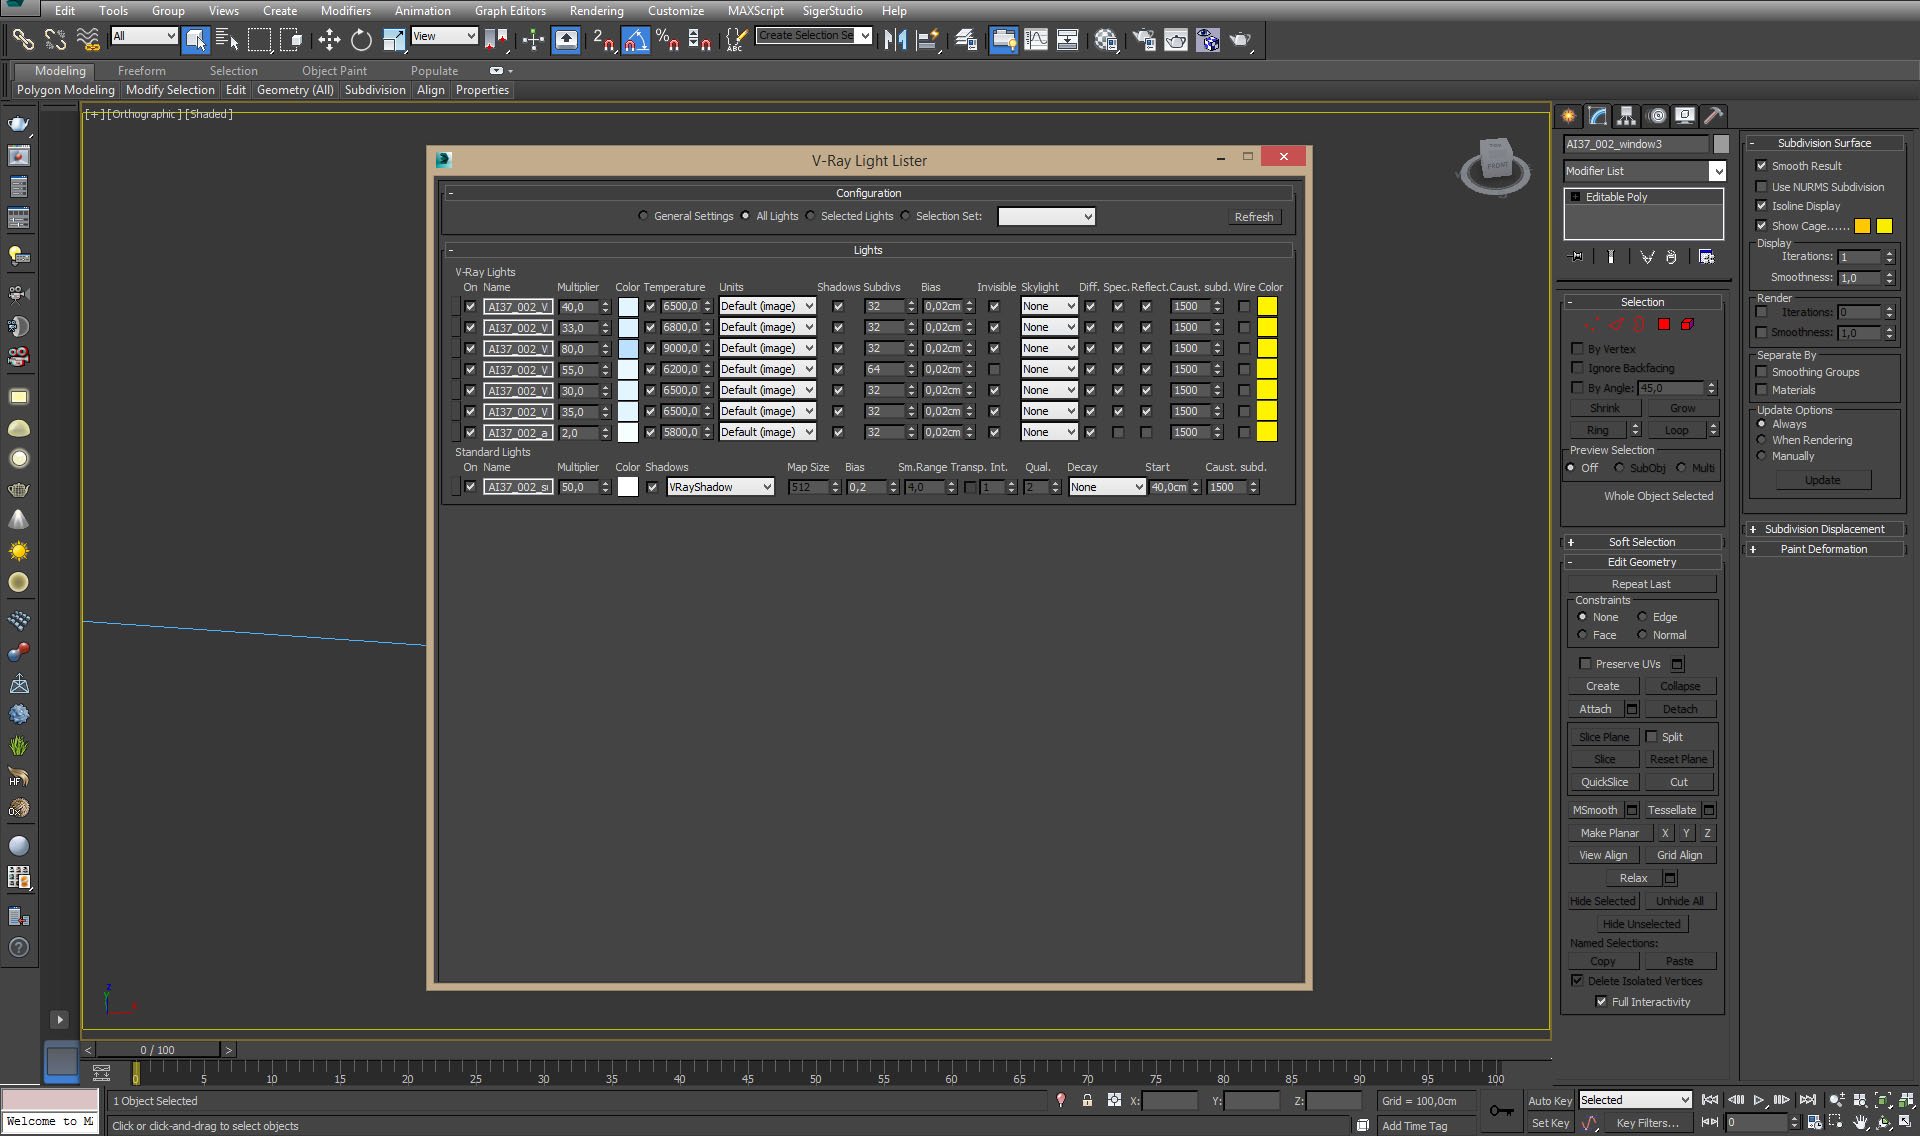
Vray Light Lister. We used 8 light sources, 7 Vray lights (planes in the windows) and one Standard light (Target Directional) for sunlight.
Click on image to enlarge 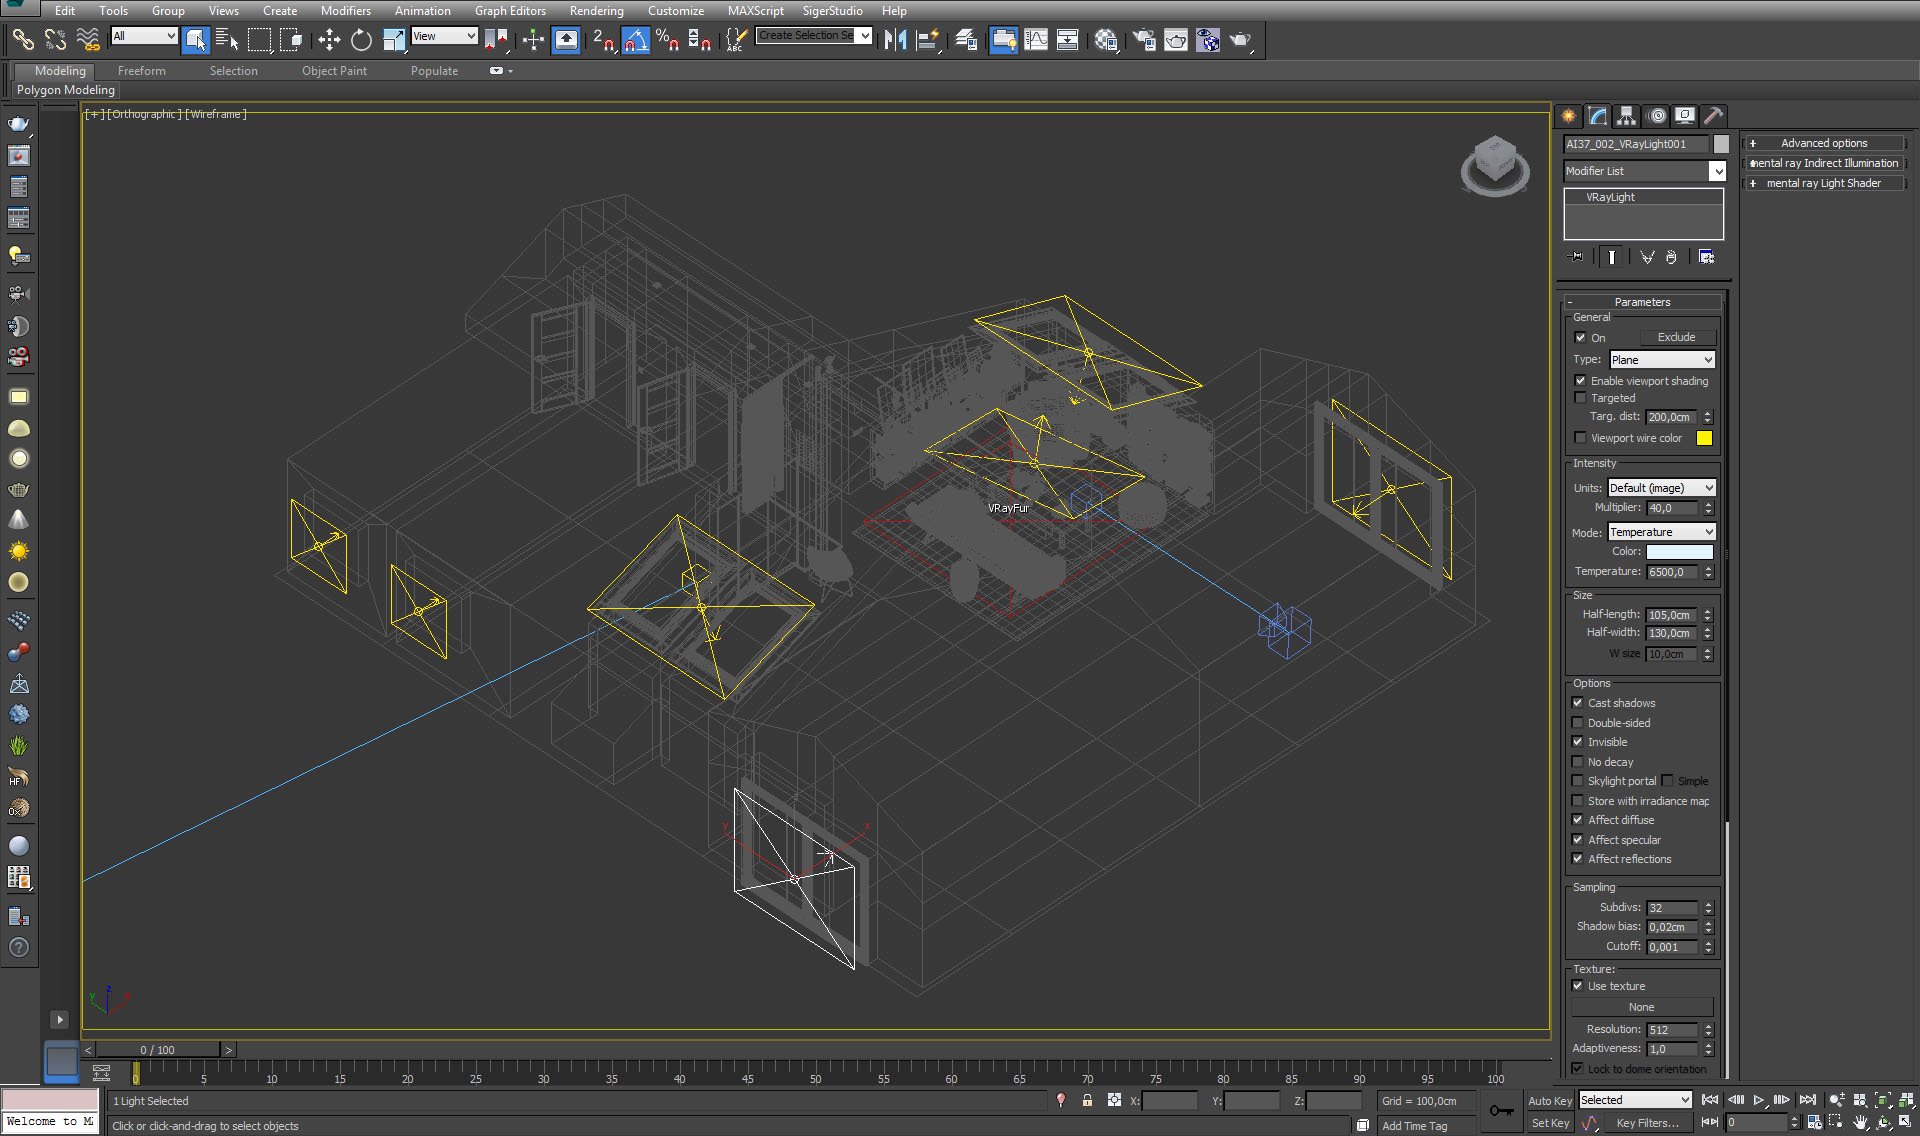
Click on image to enlarge 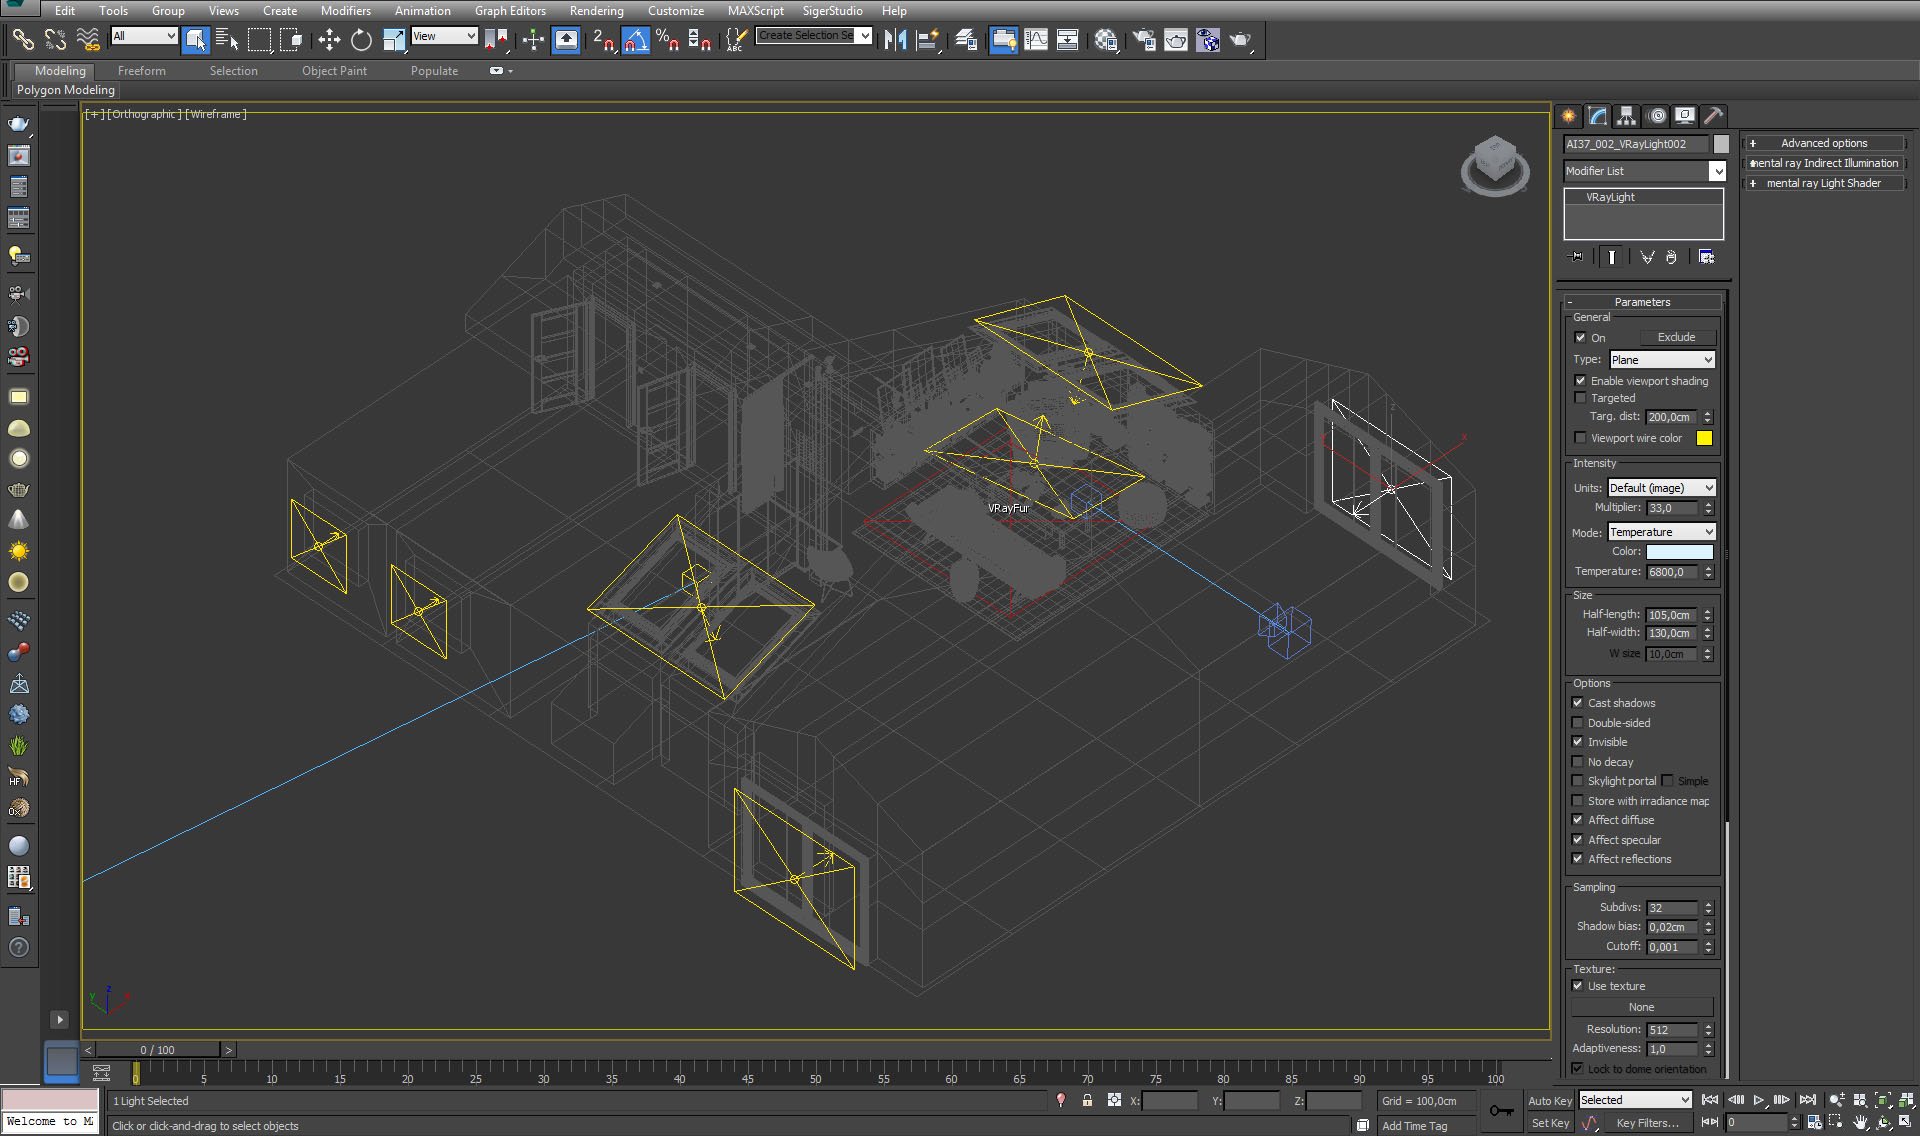
Click on image to enlarge 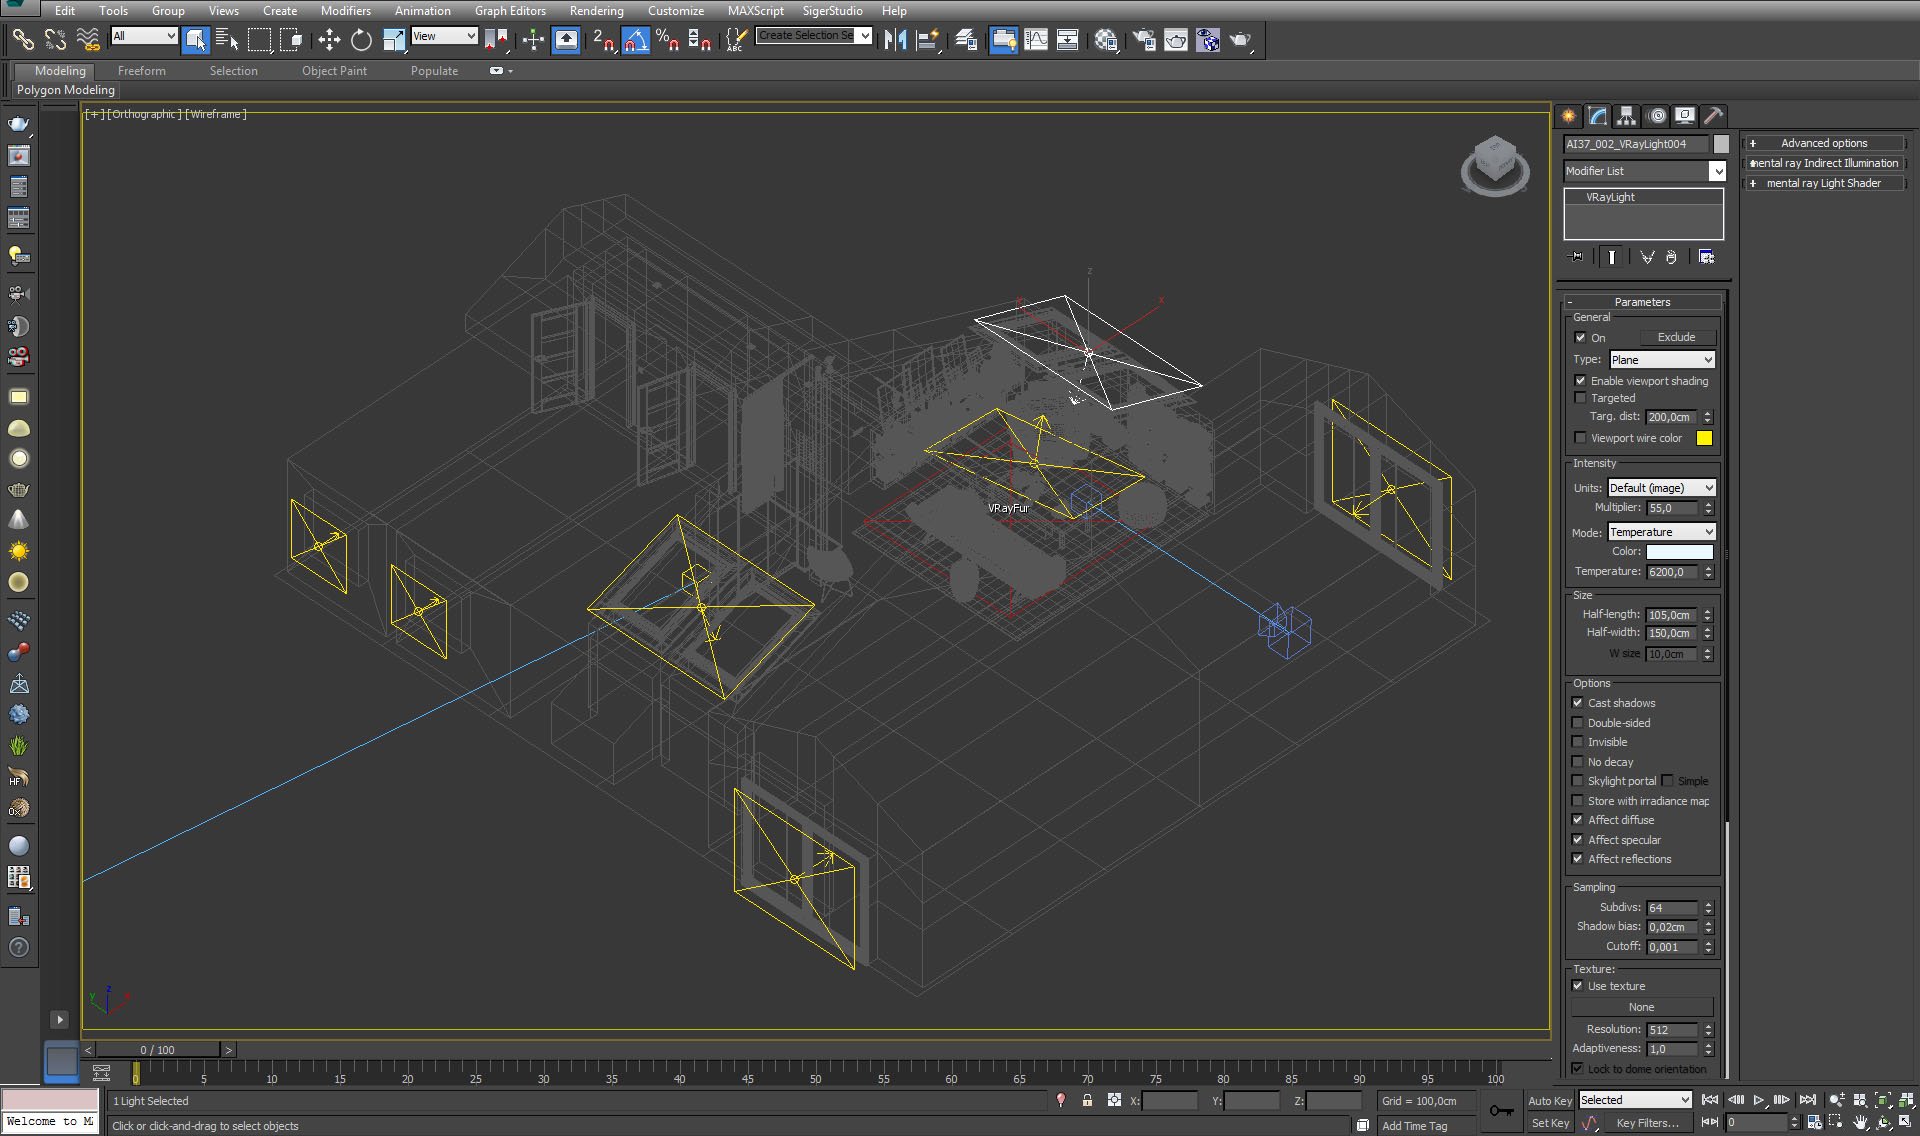
Click on image to enlarge 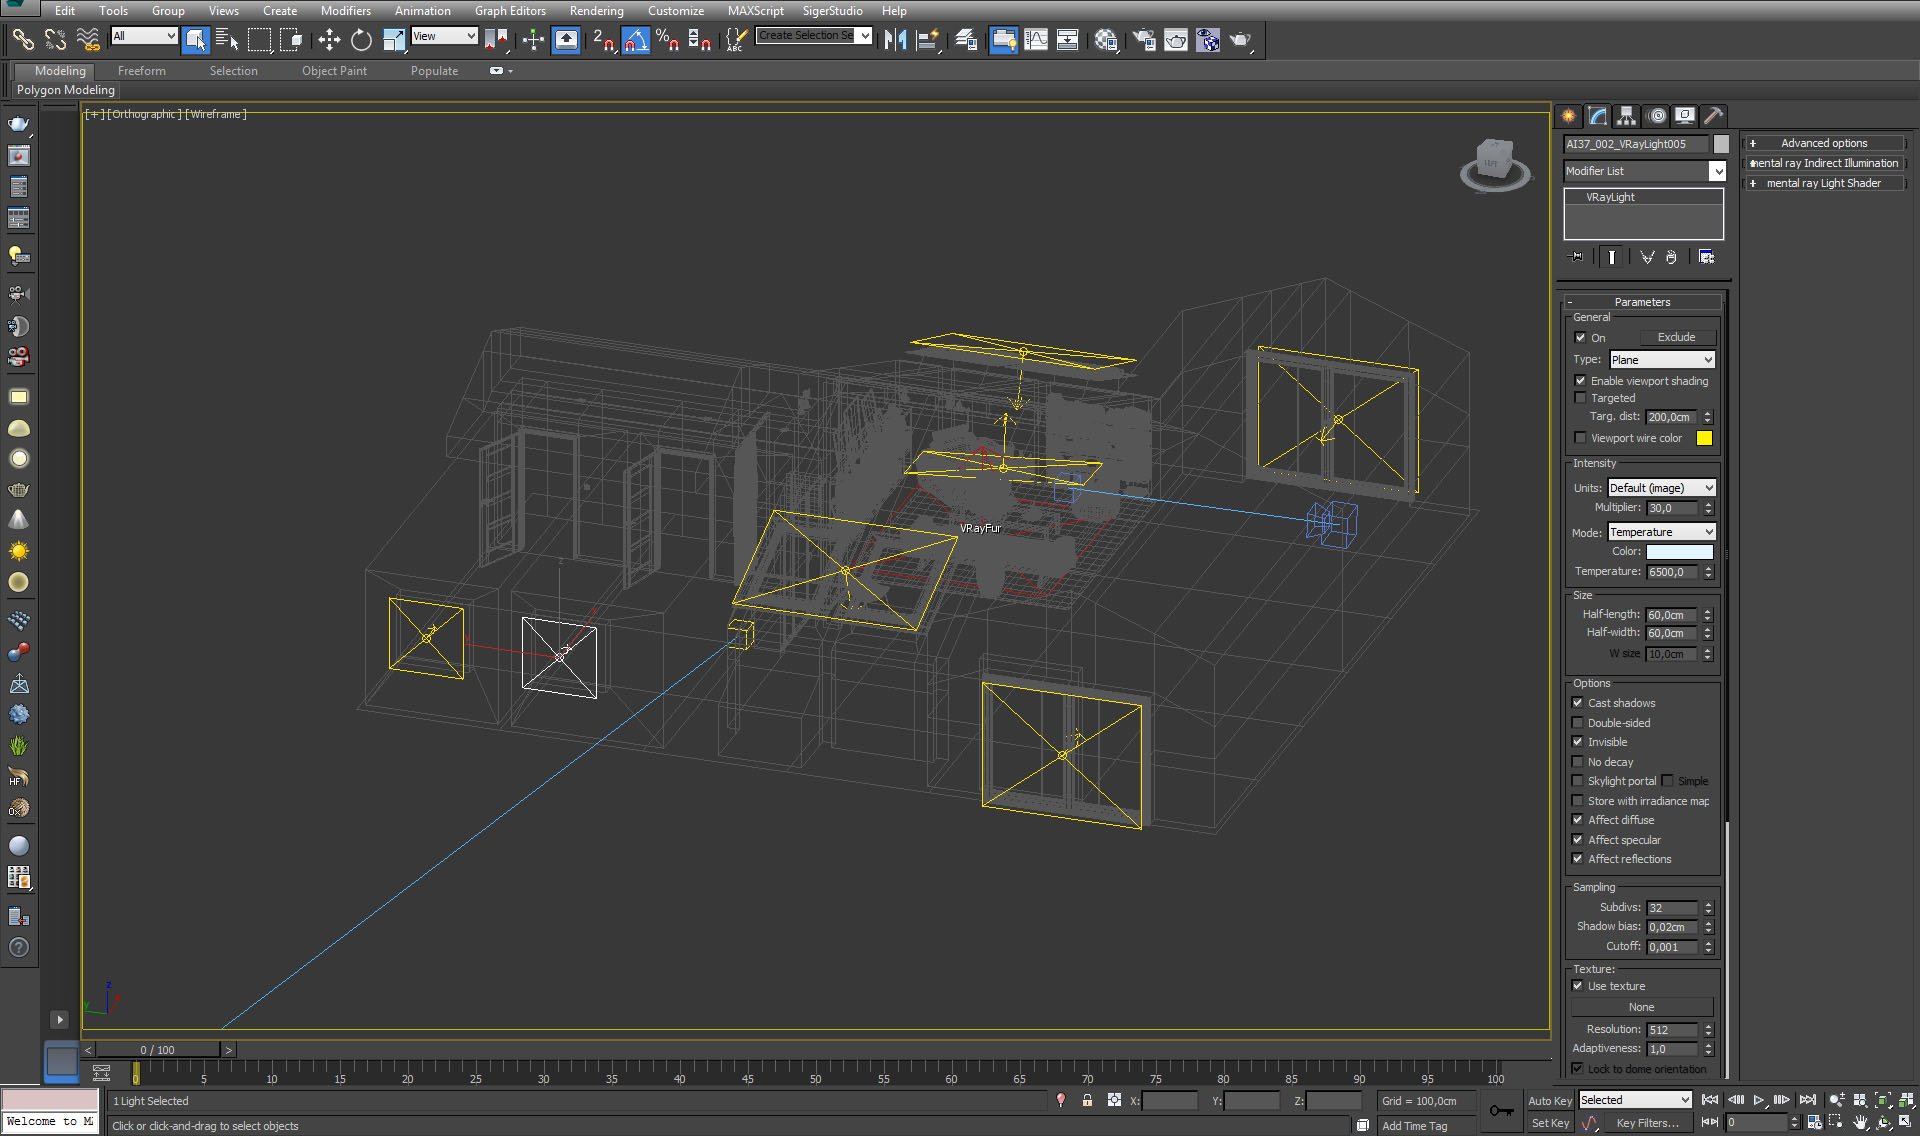
Click on image to enlarge 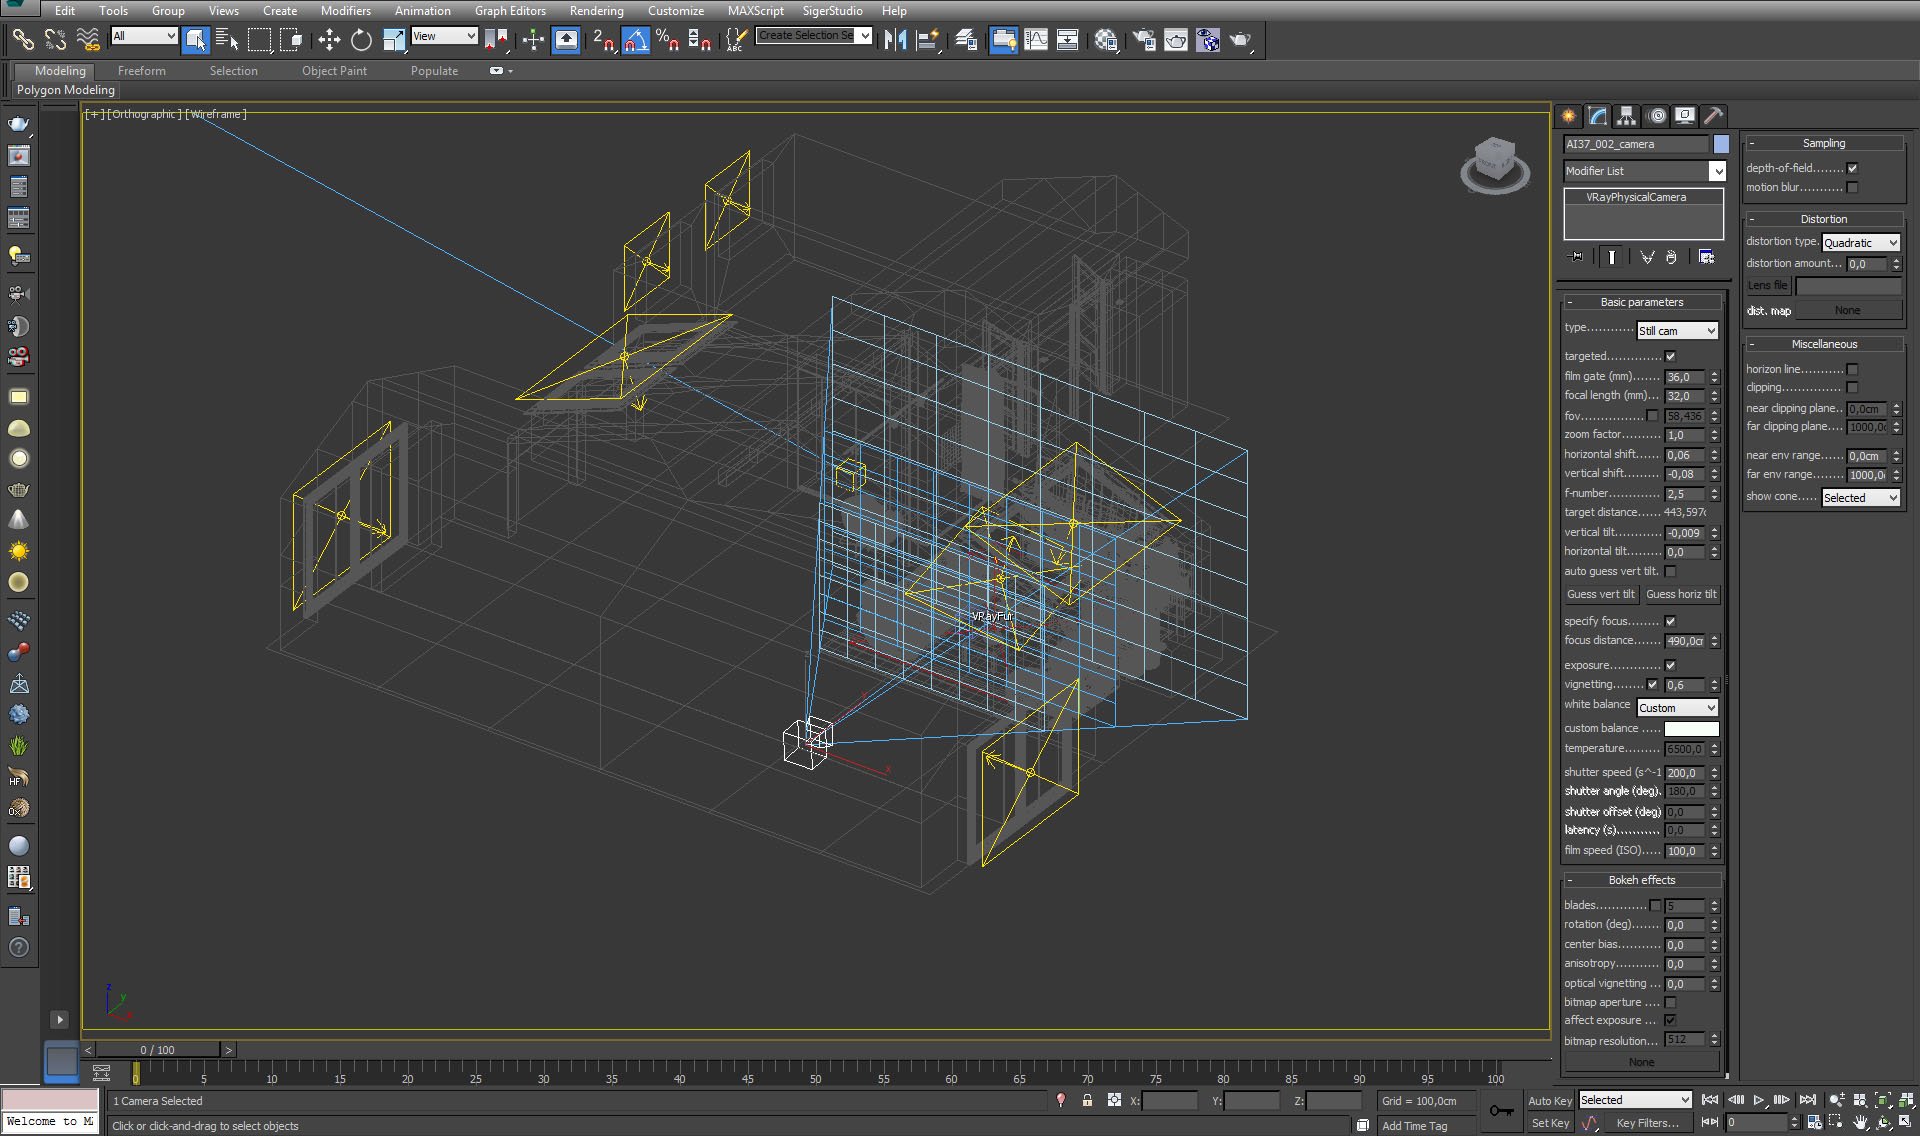
Click on image to enlarge 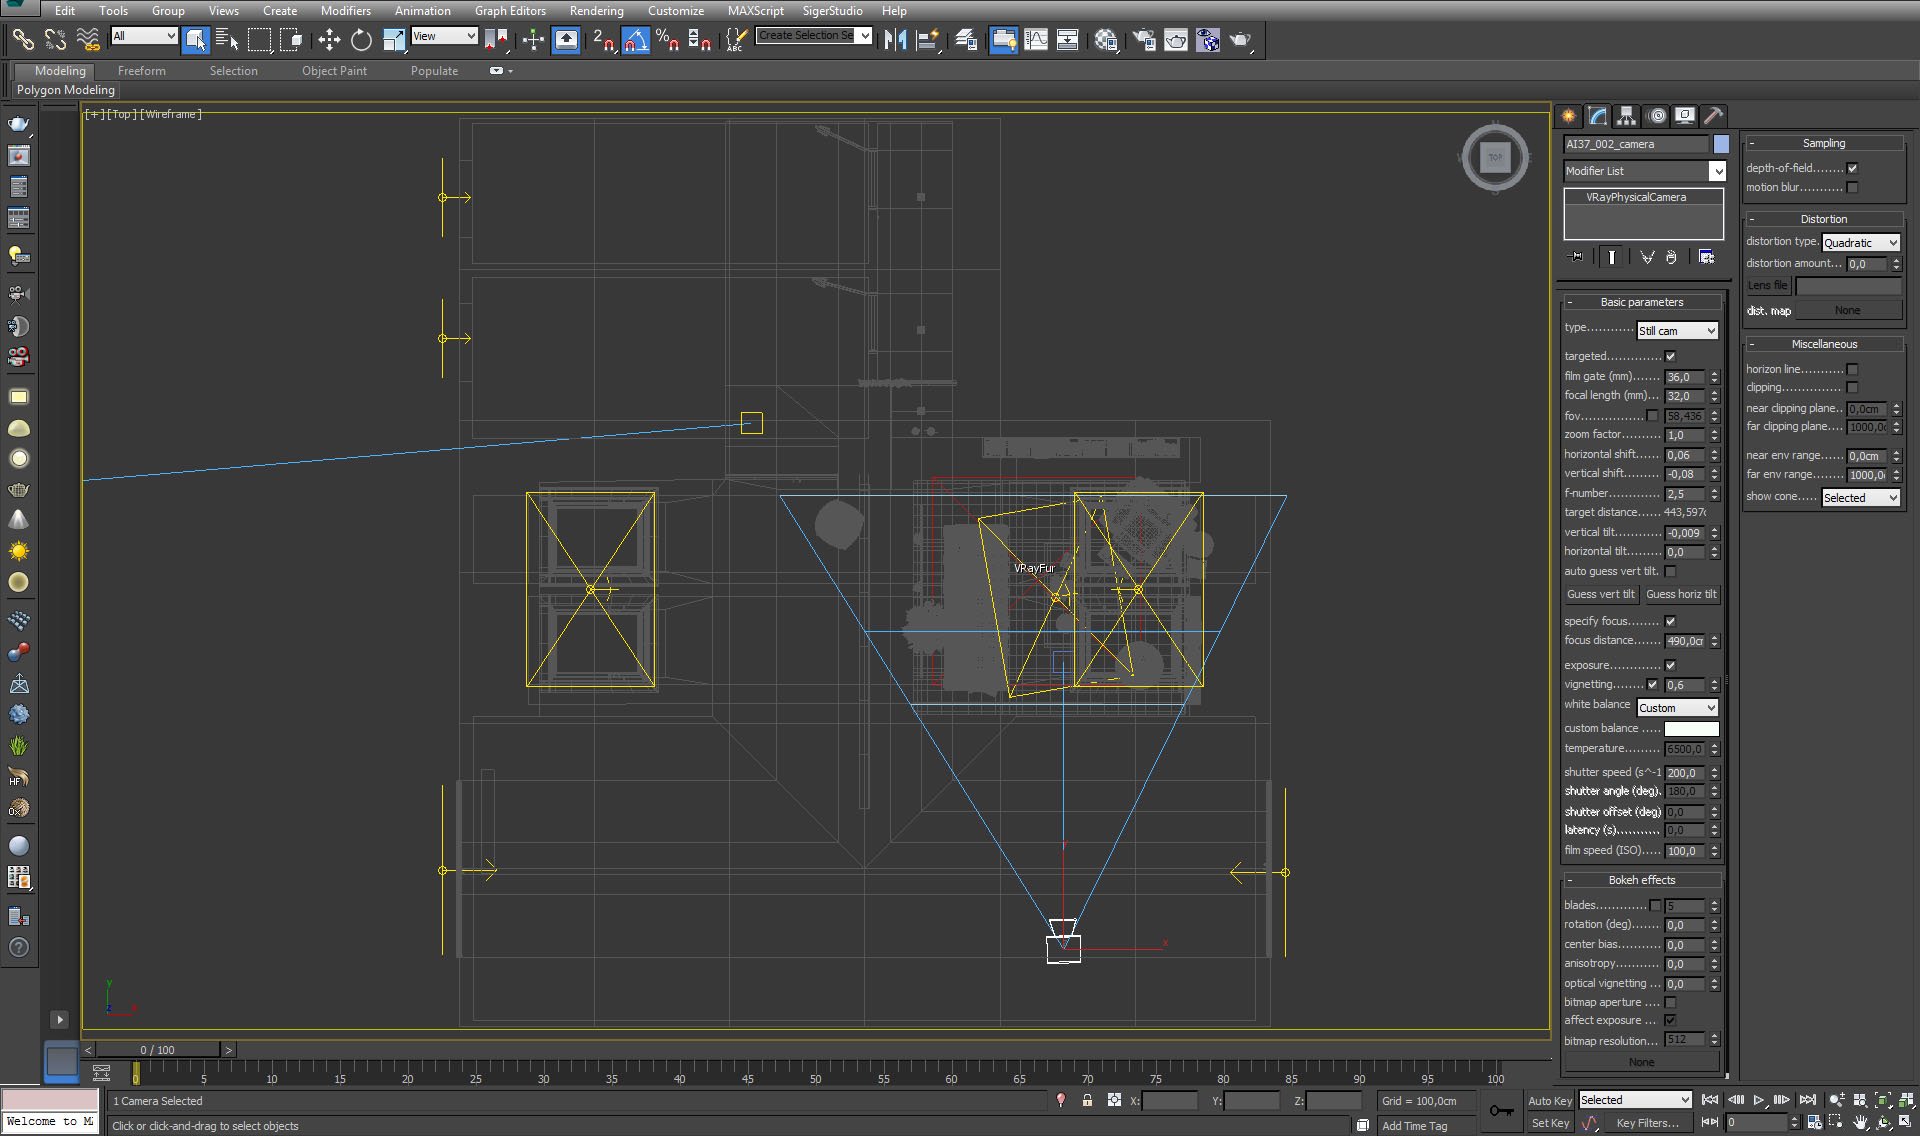
Camera seen from top view.
Click on image to enlarge 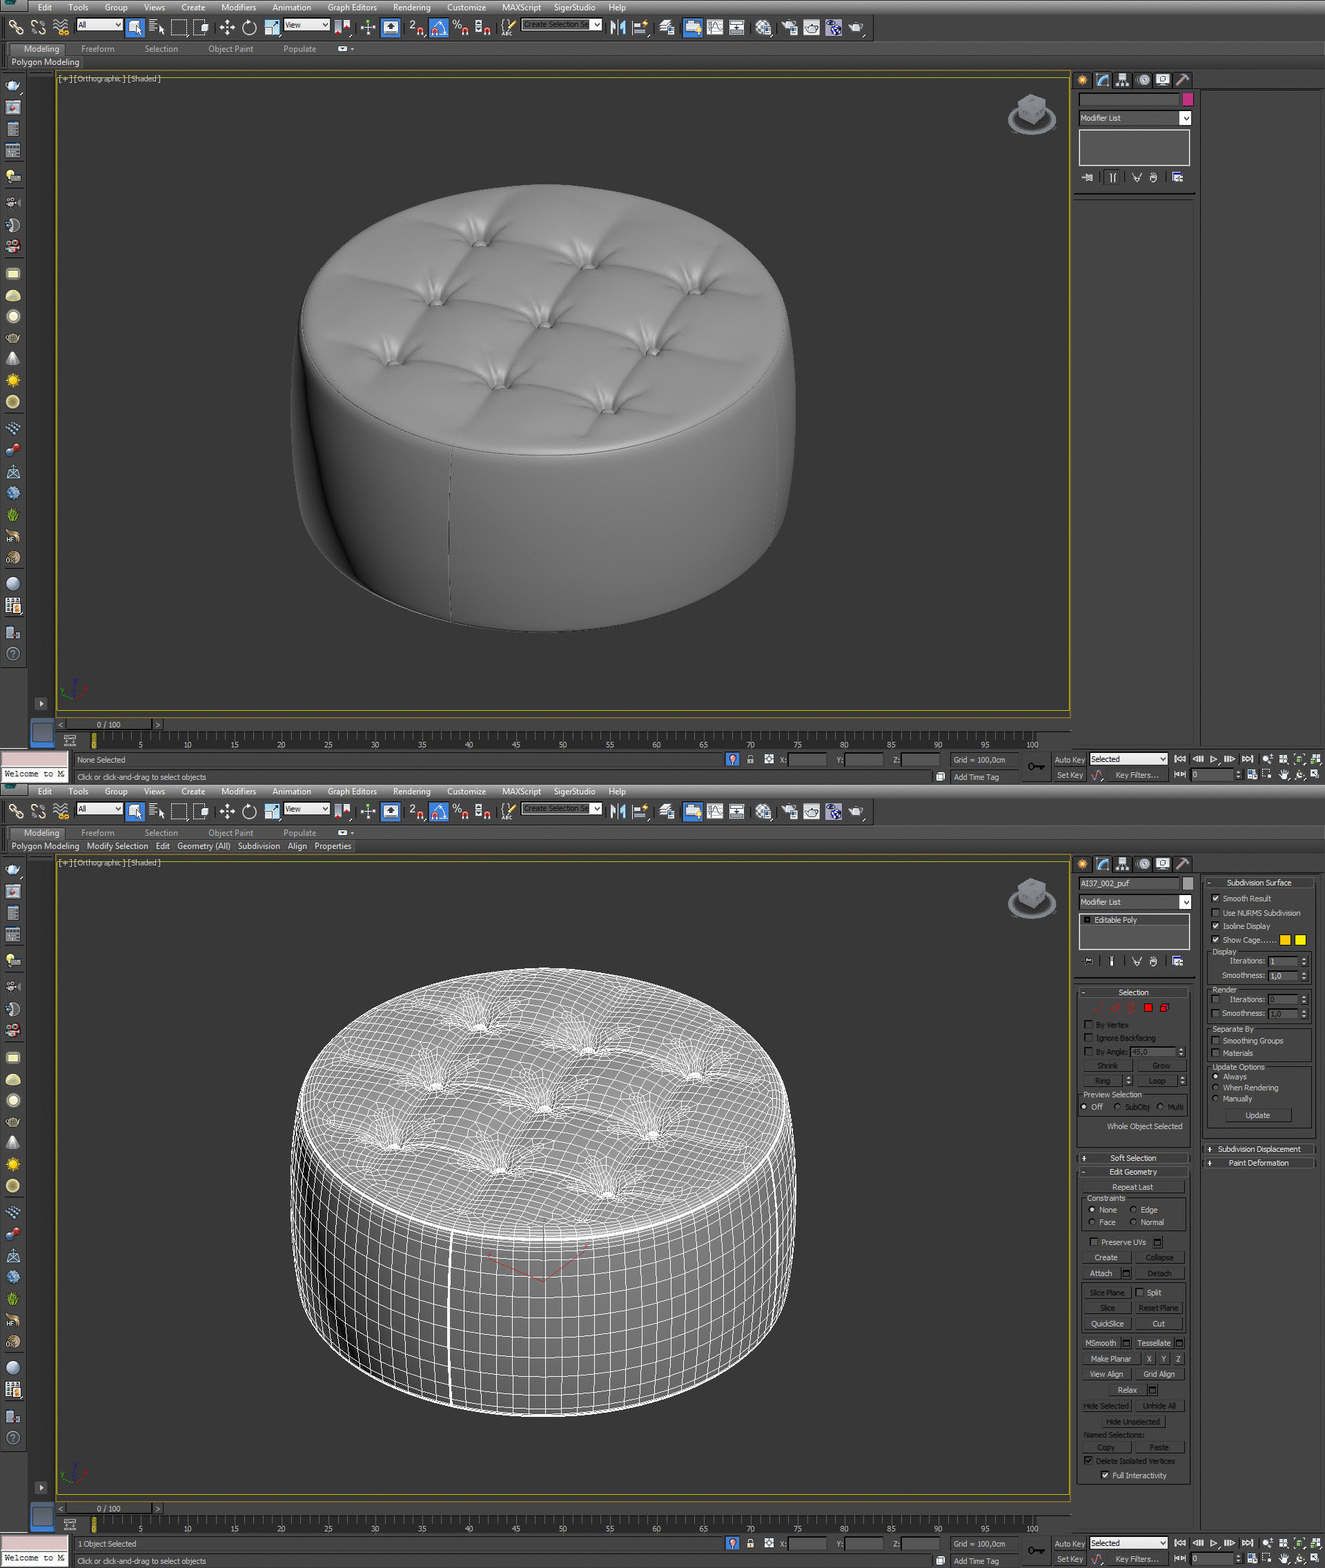
Click on image to enlarge 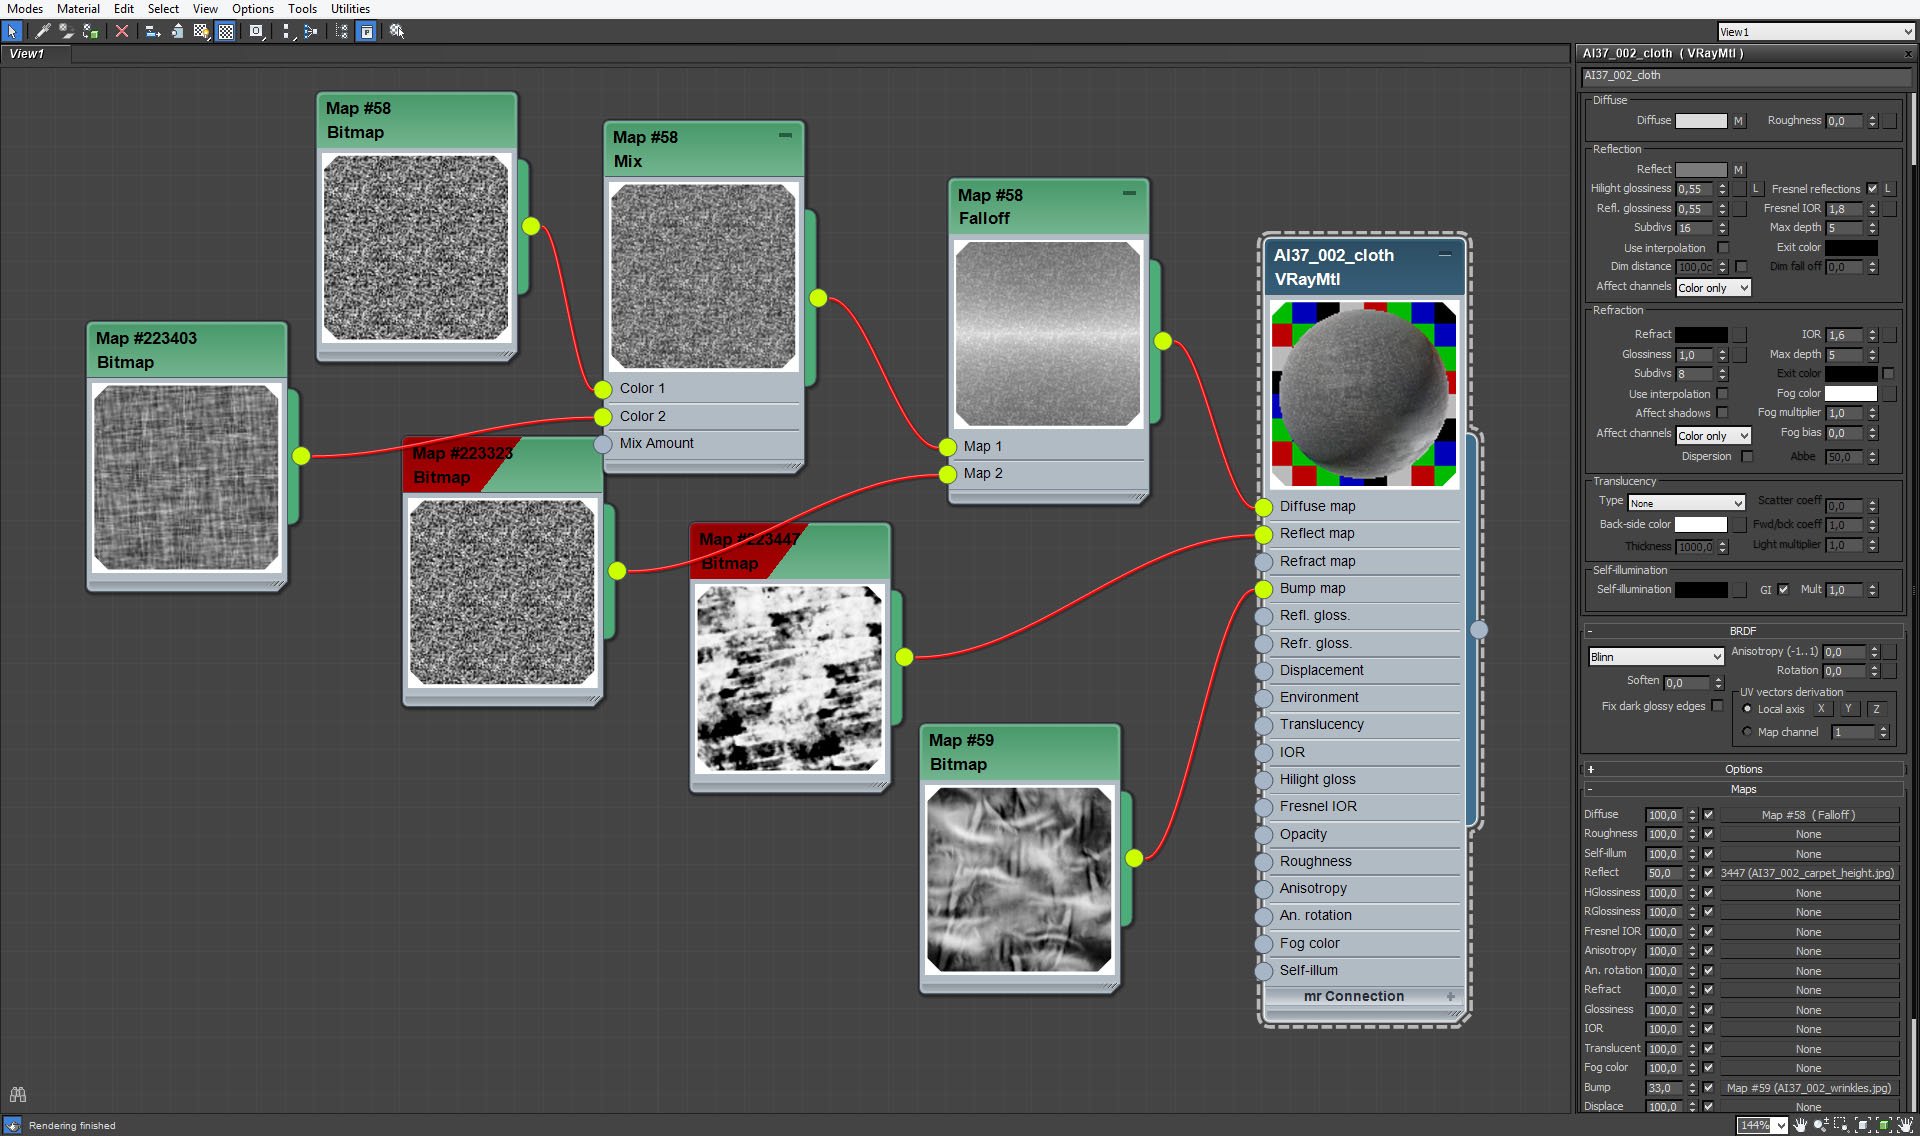
Pouf material. The same material is also shared by the couch that stands to the left of the scene.
Click on image to enlarge 
Pouf / couch material. Falloff map settings.
Click on image to enlarge 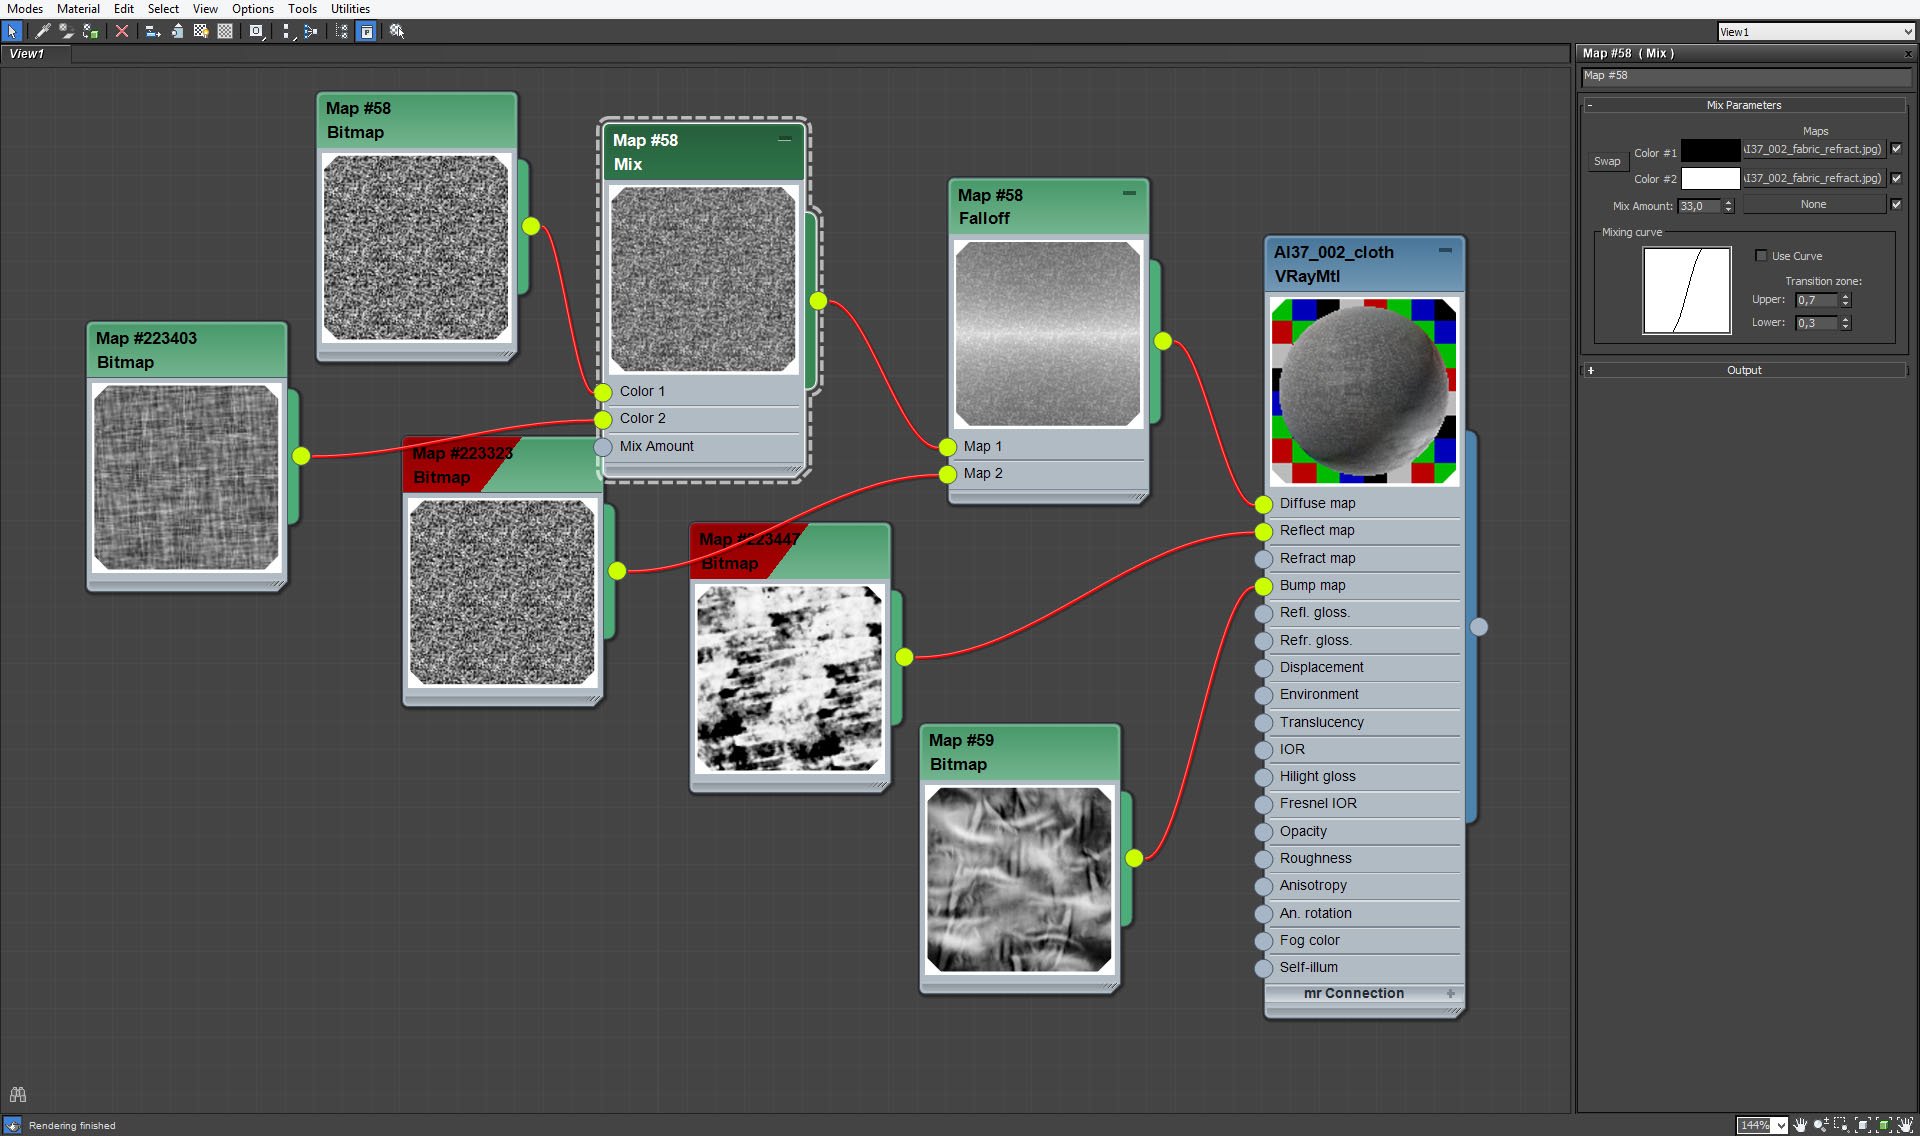
Pouf / couch material. We mixed two maps for color 1.
Click on image to enlarge 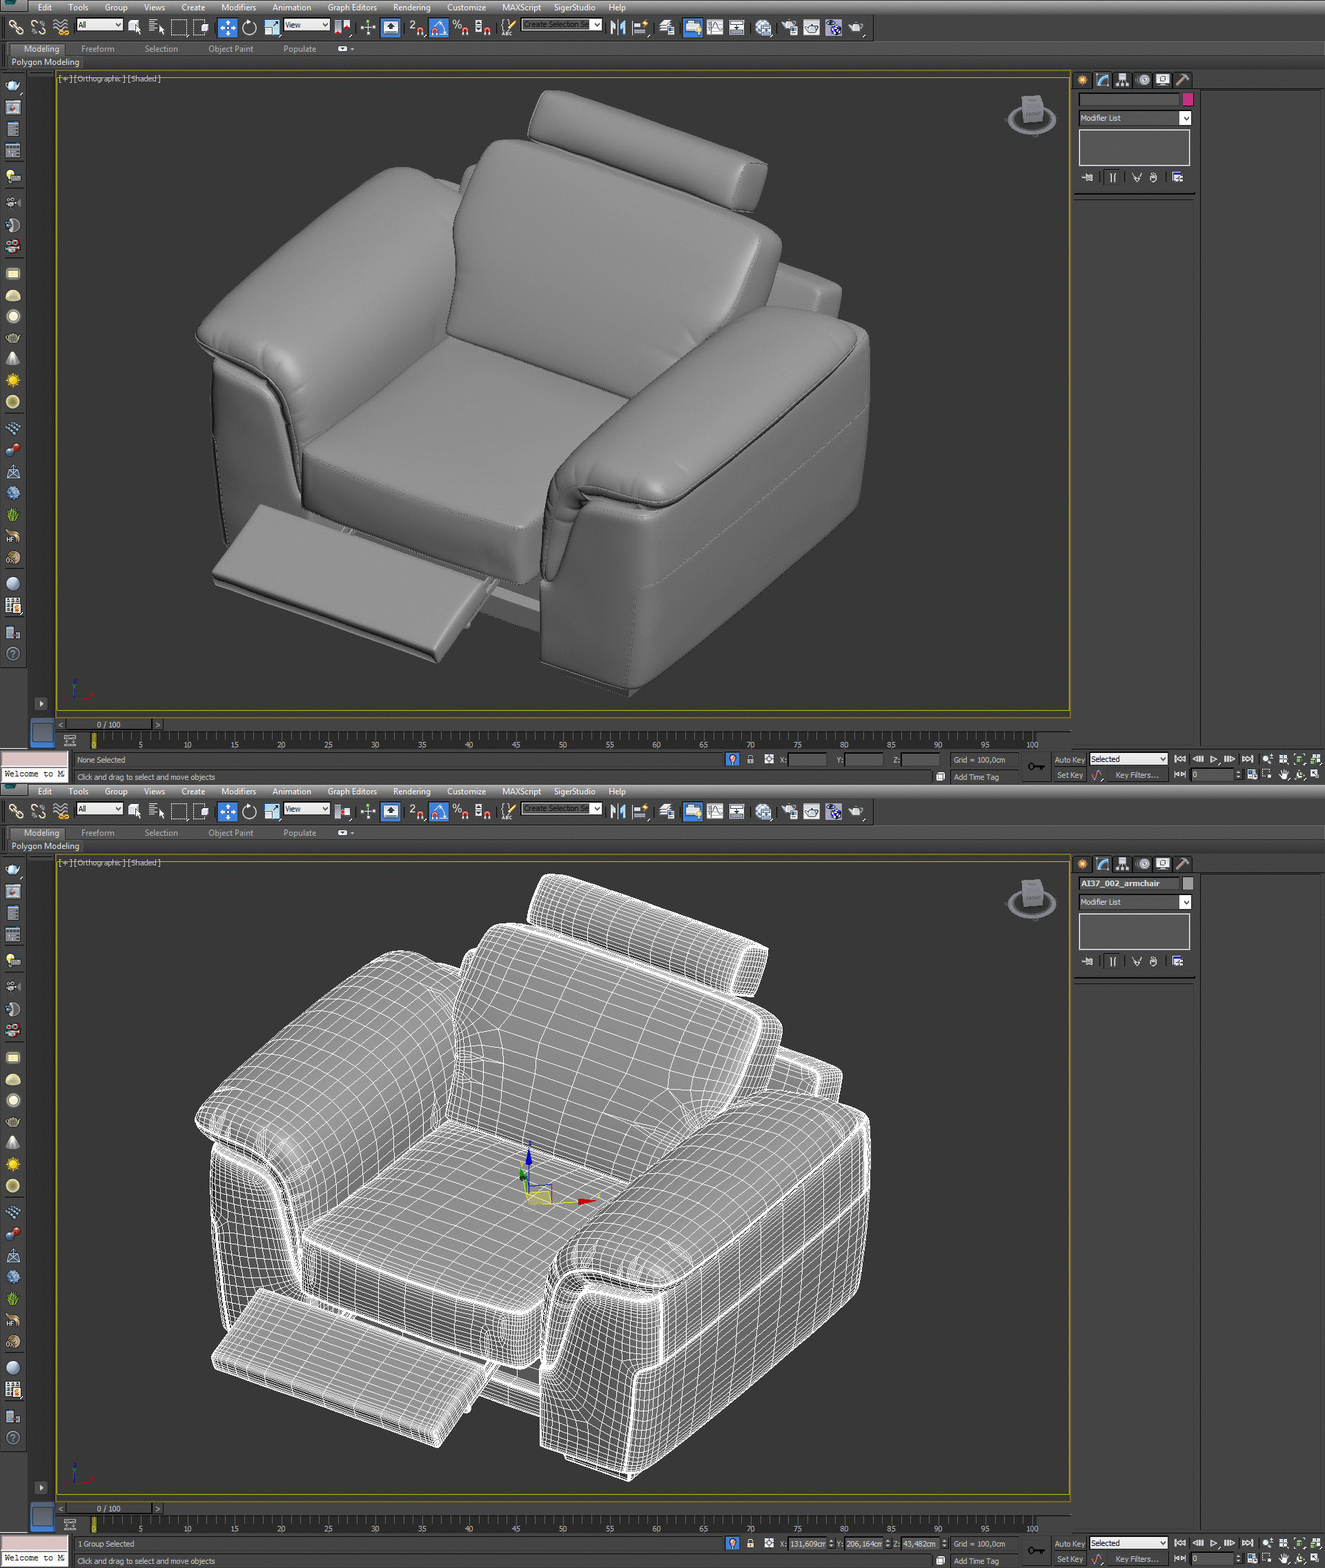
Click on image to enlarge 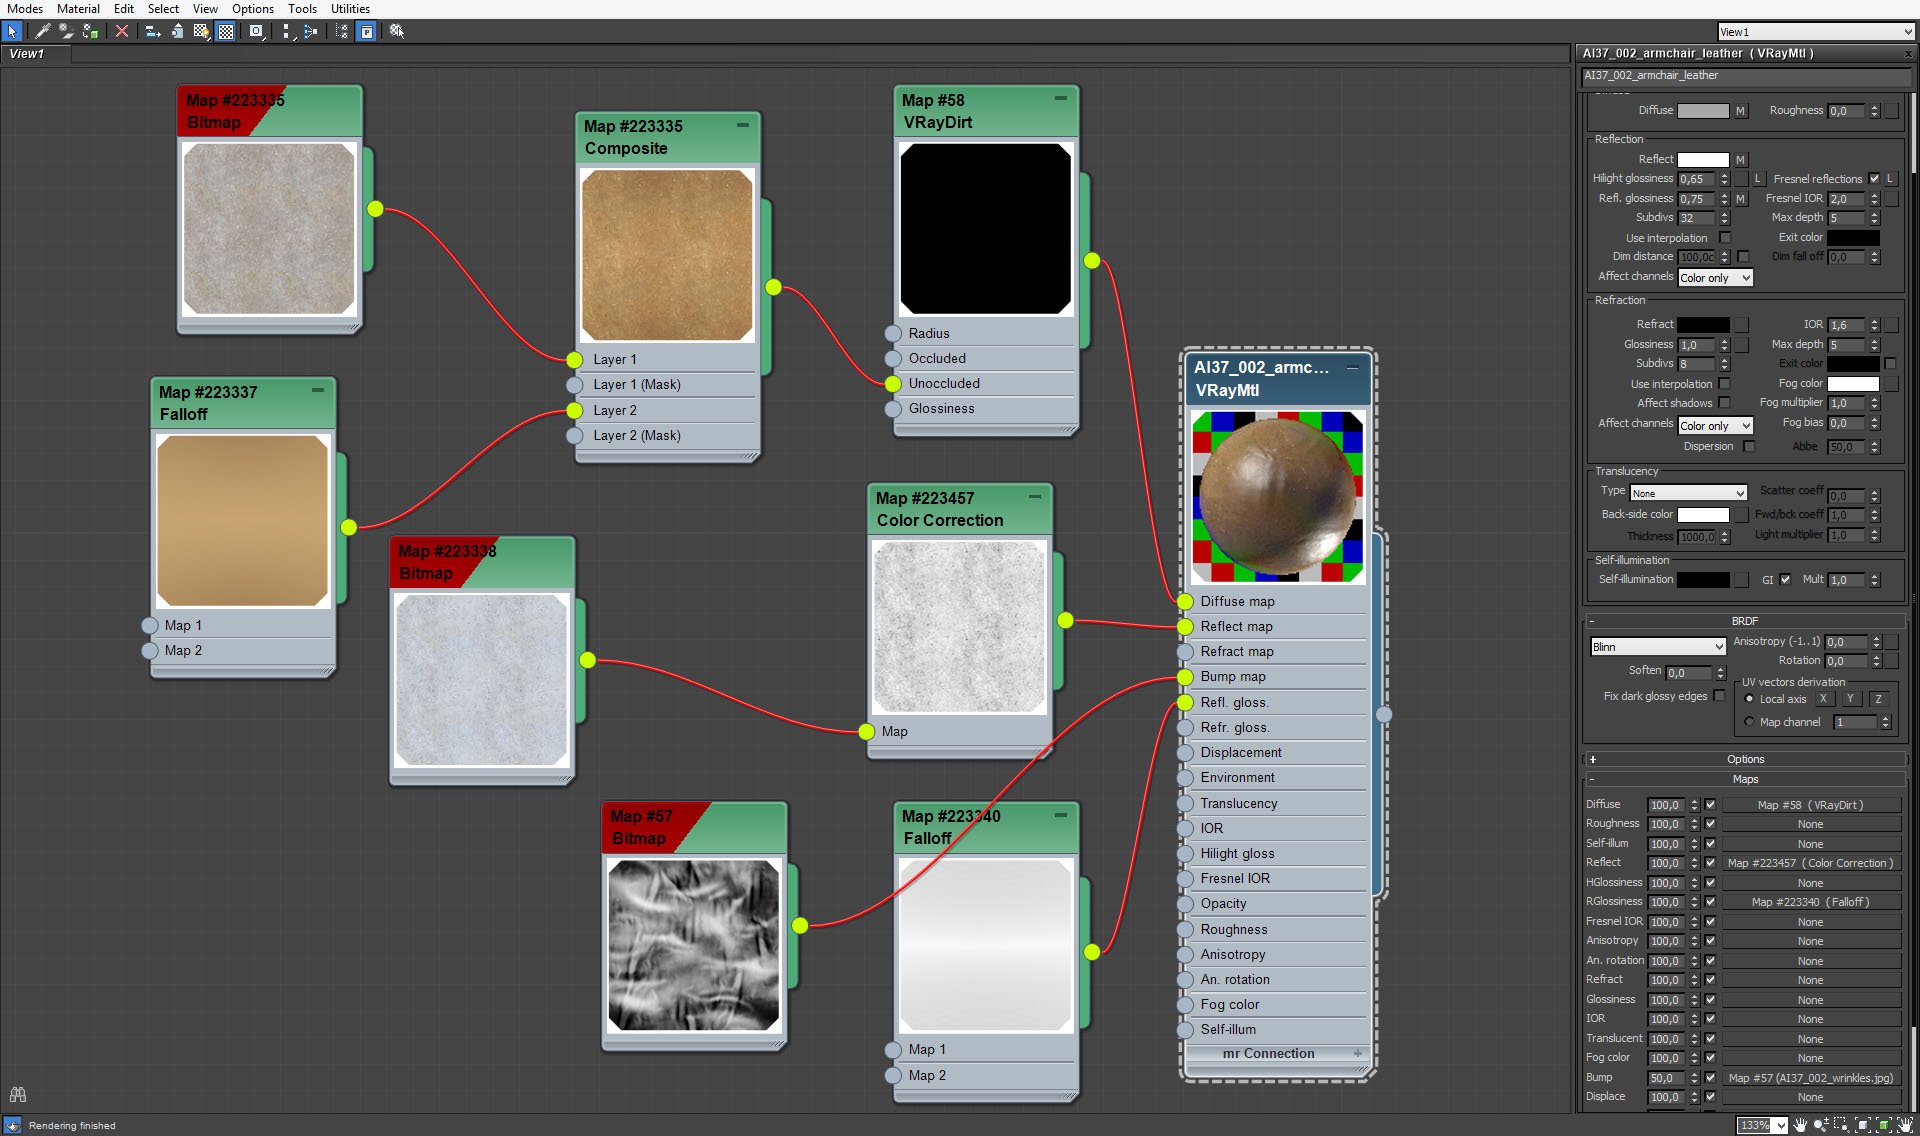
Armchair material is beige leather. We made it with diffuse map composited of beige gradient (falloff map) and bitmap with leather texture. We used VrayDirt for areas when the leather should be worn'off. for bumpiness we used bitmap.
Click on image to enlarge 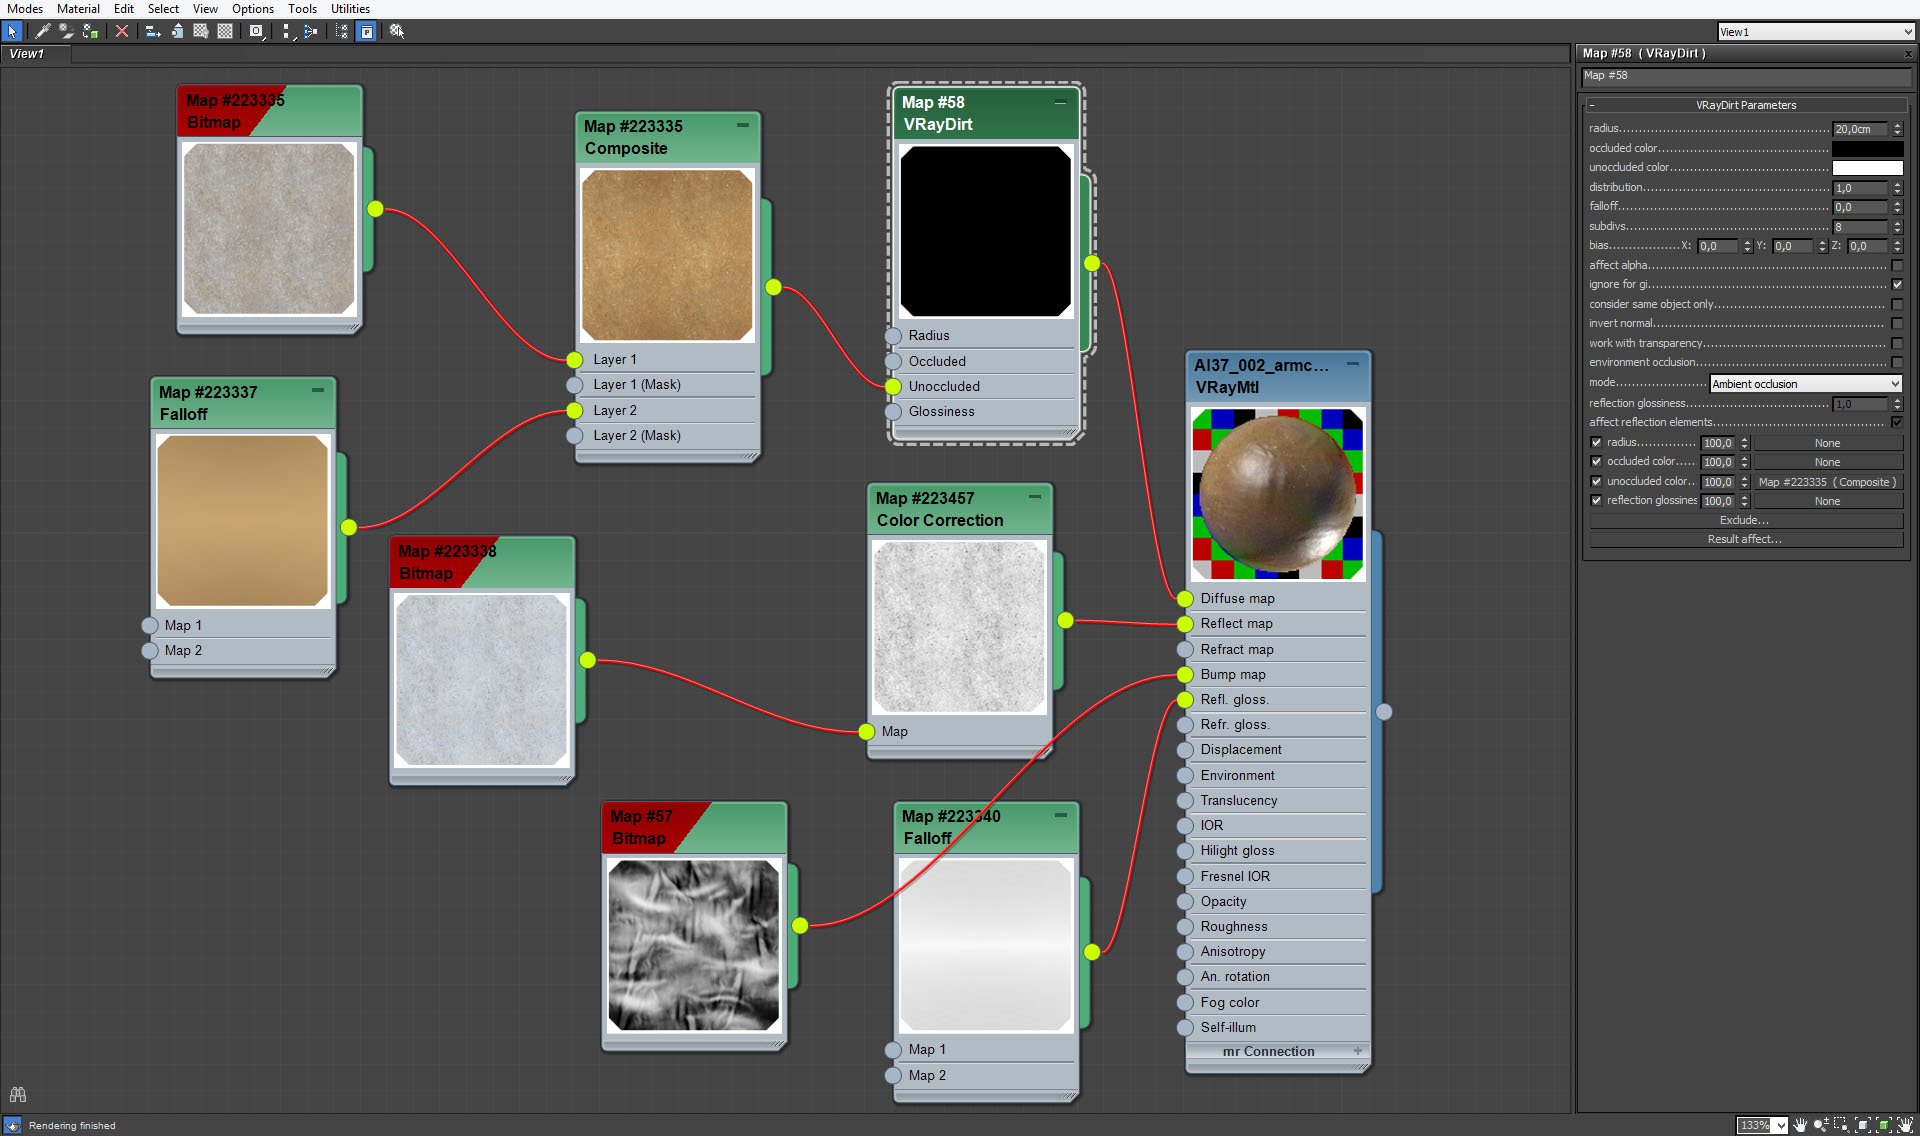
Beige leather - Vraydirt map settings.
Click on image to enlarge 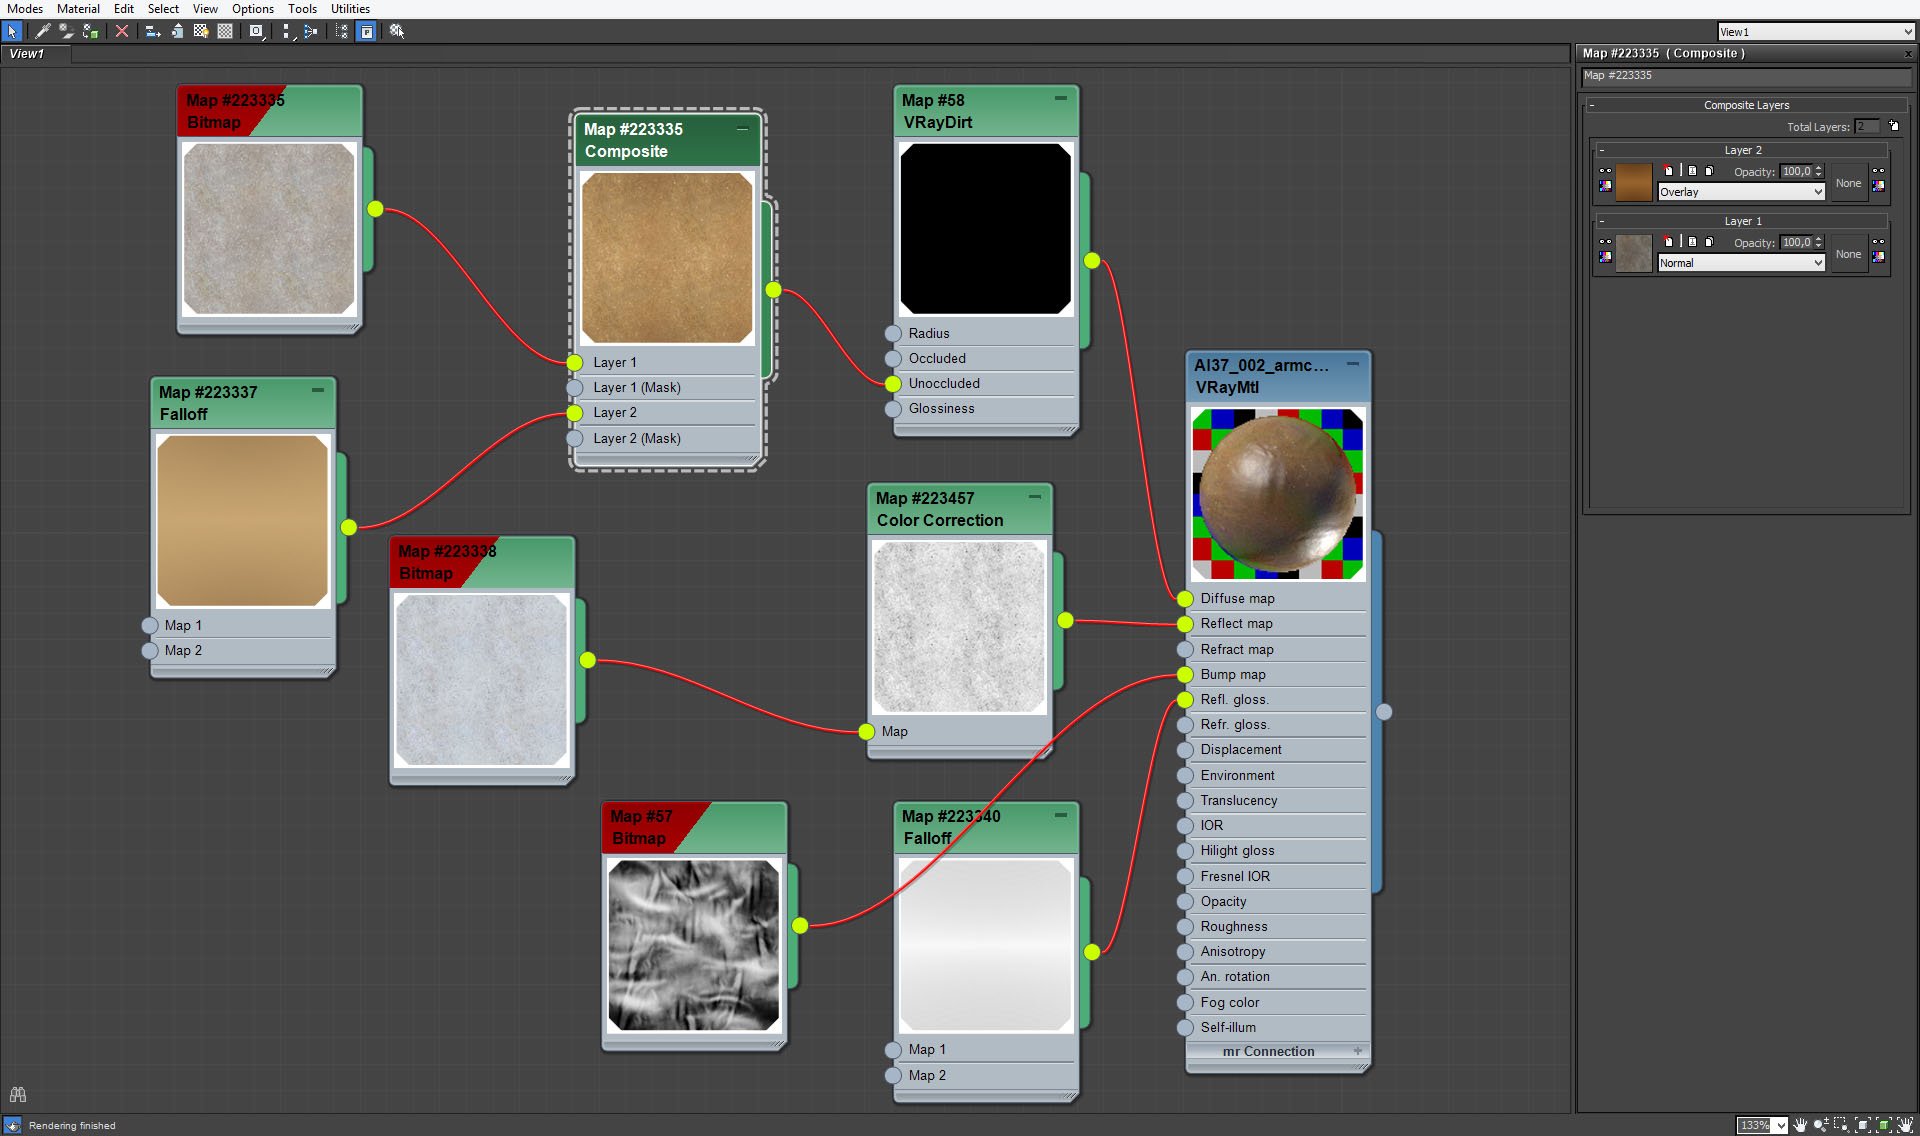
Beige leather (color) - gradient is overlayed on bitmap.
Click on image to enlarge 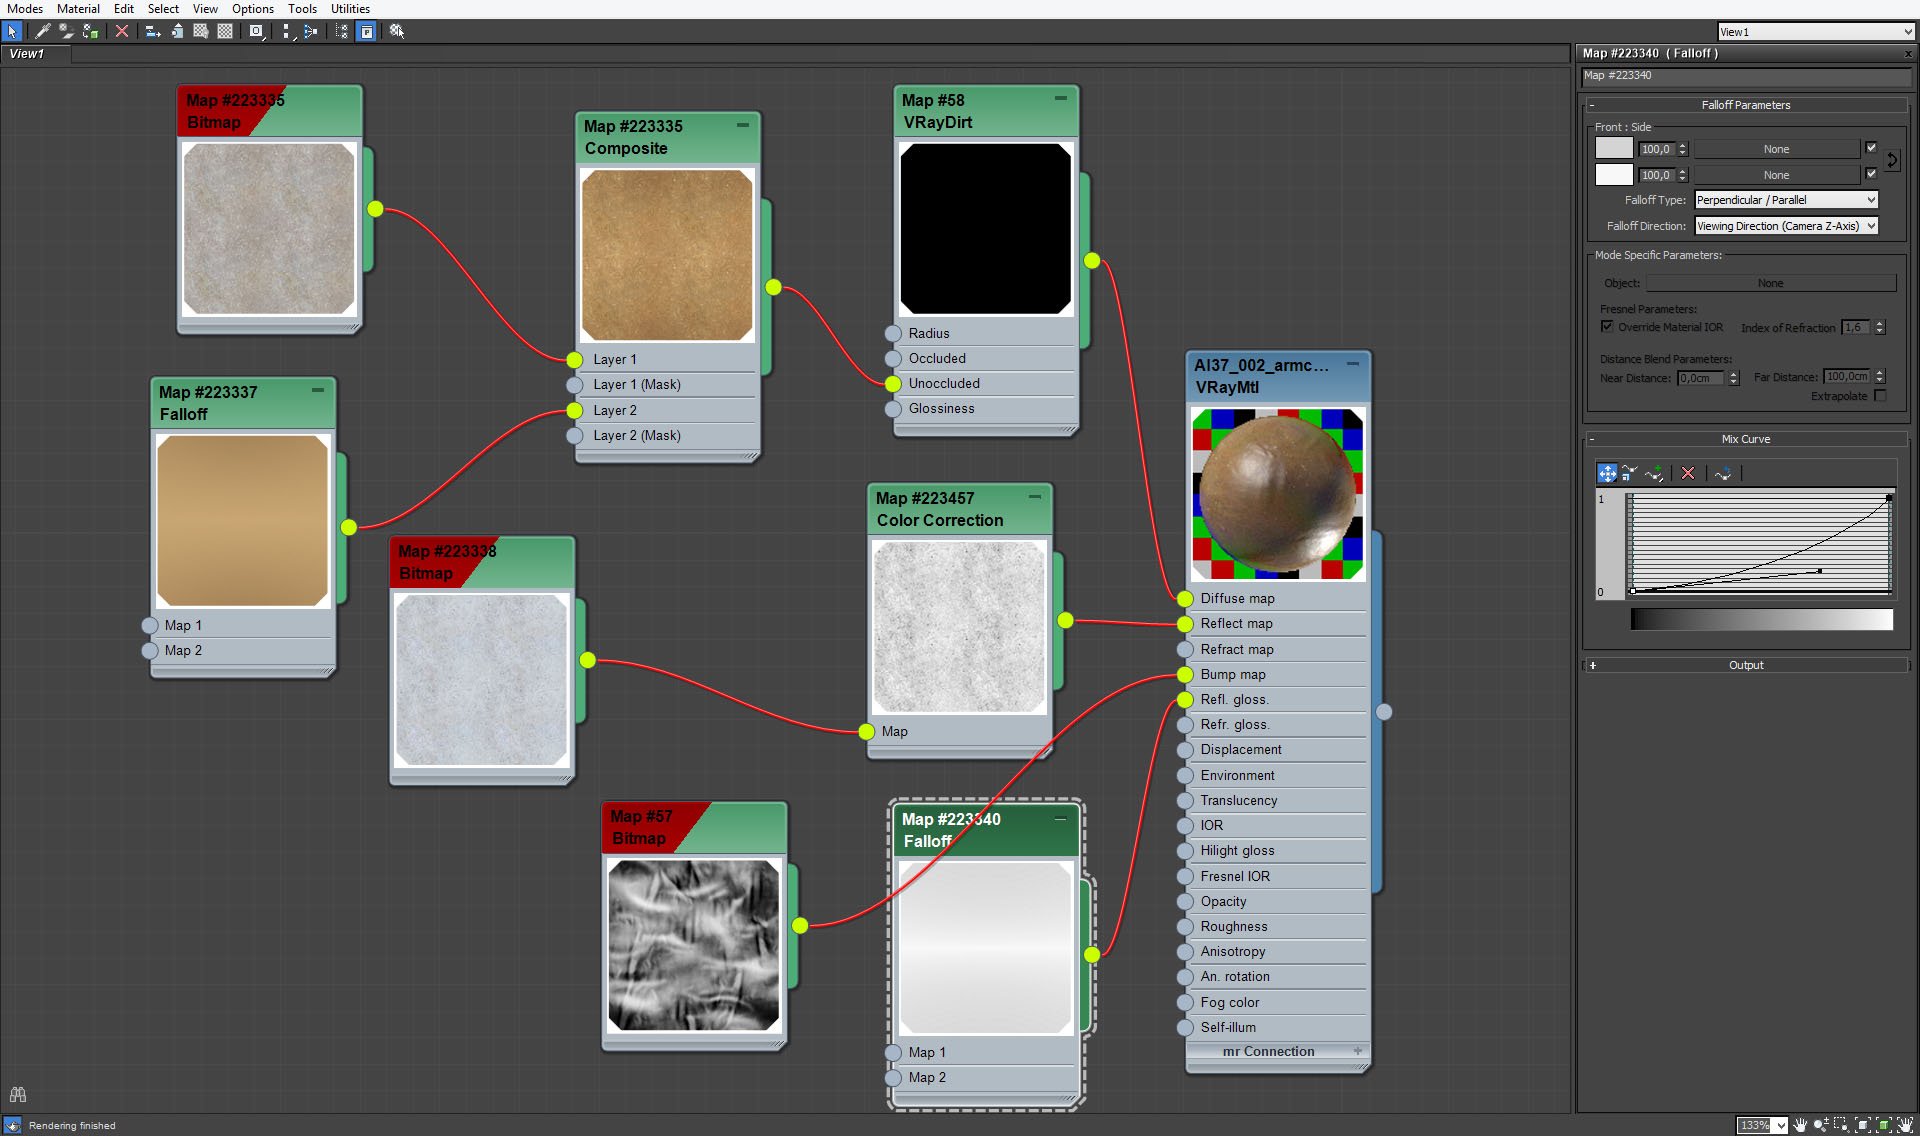
We used Falloff map for reflection glossiness slot.
Click on image to enlarge 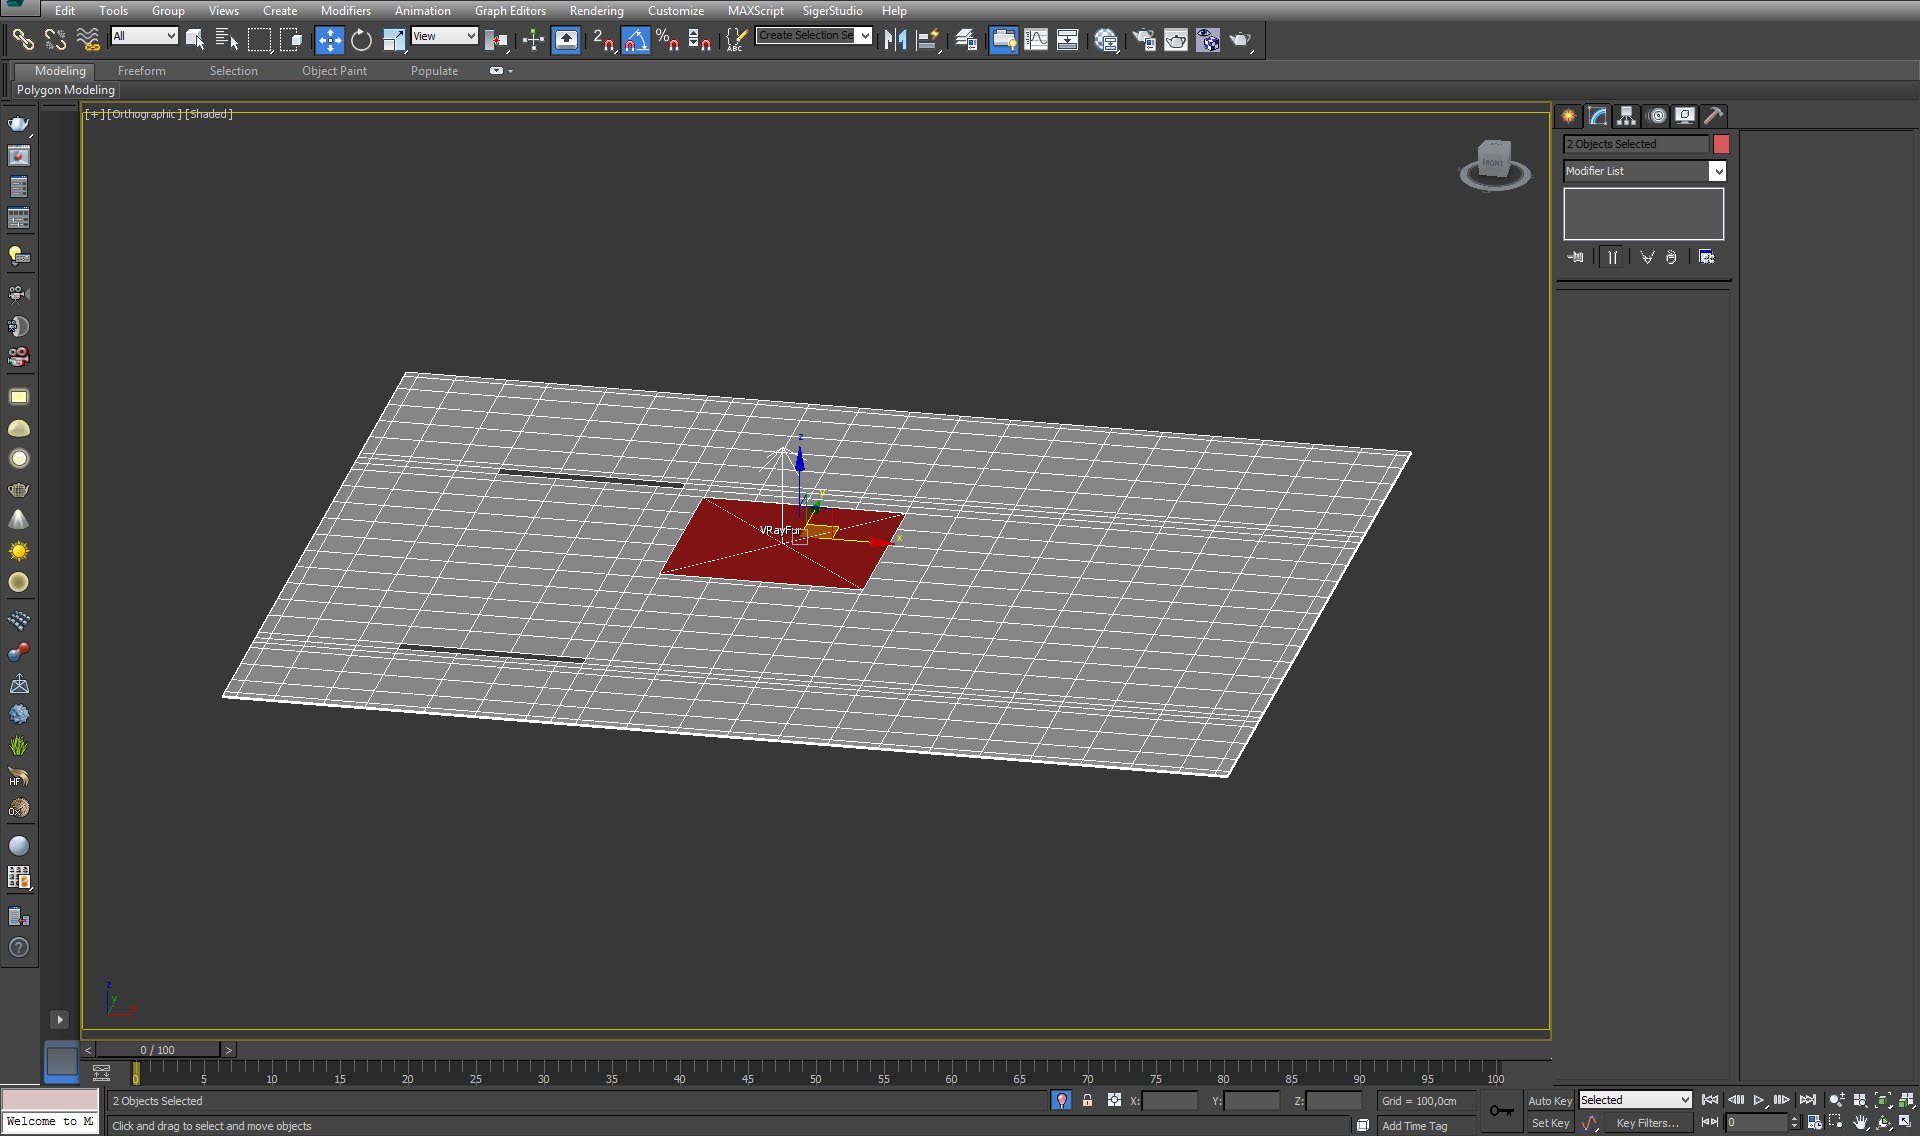
Grey carpet was made with VrayFur modifier.
Click on image to enlarge 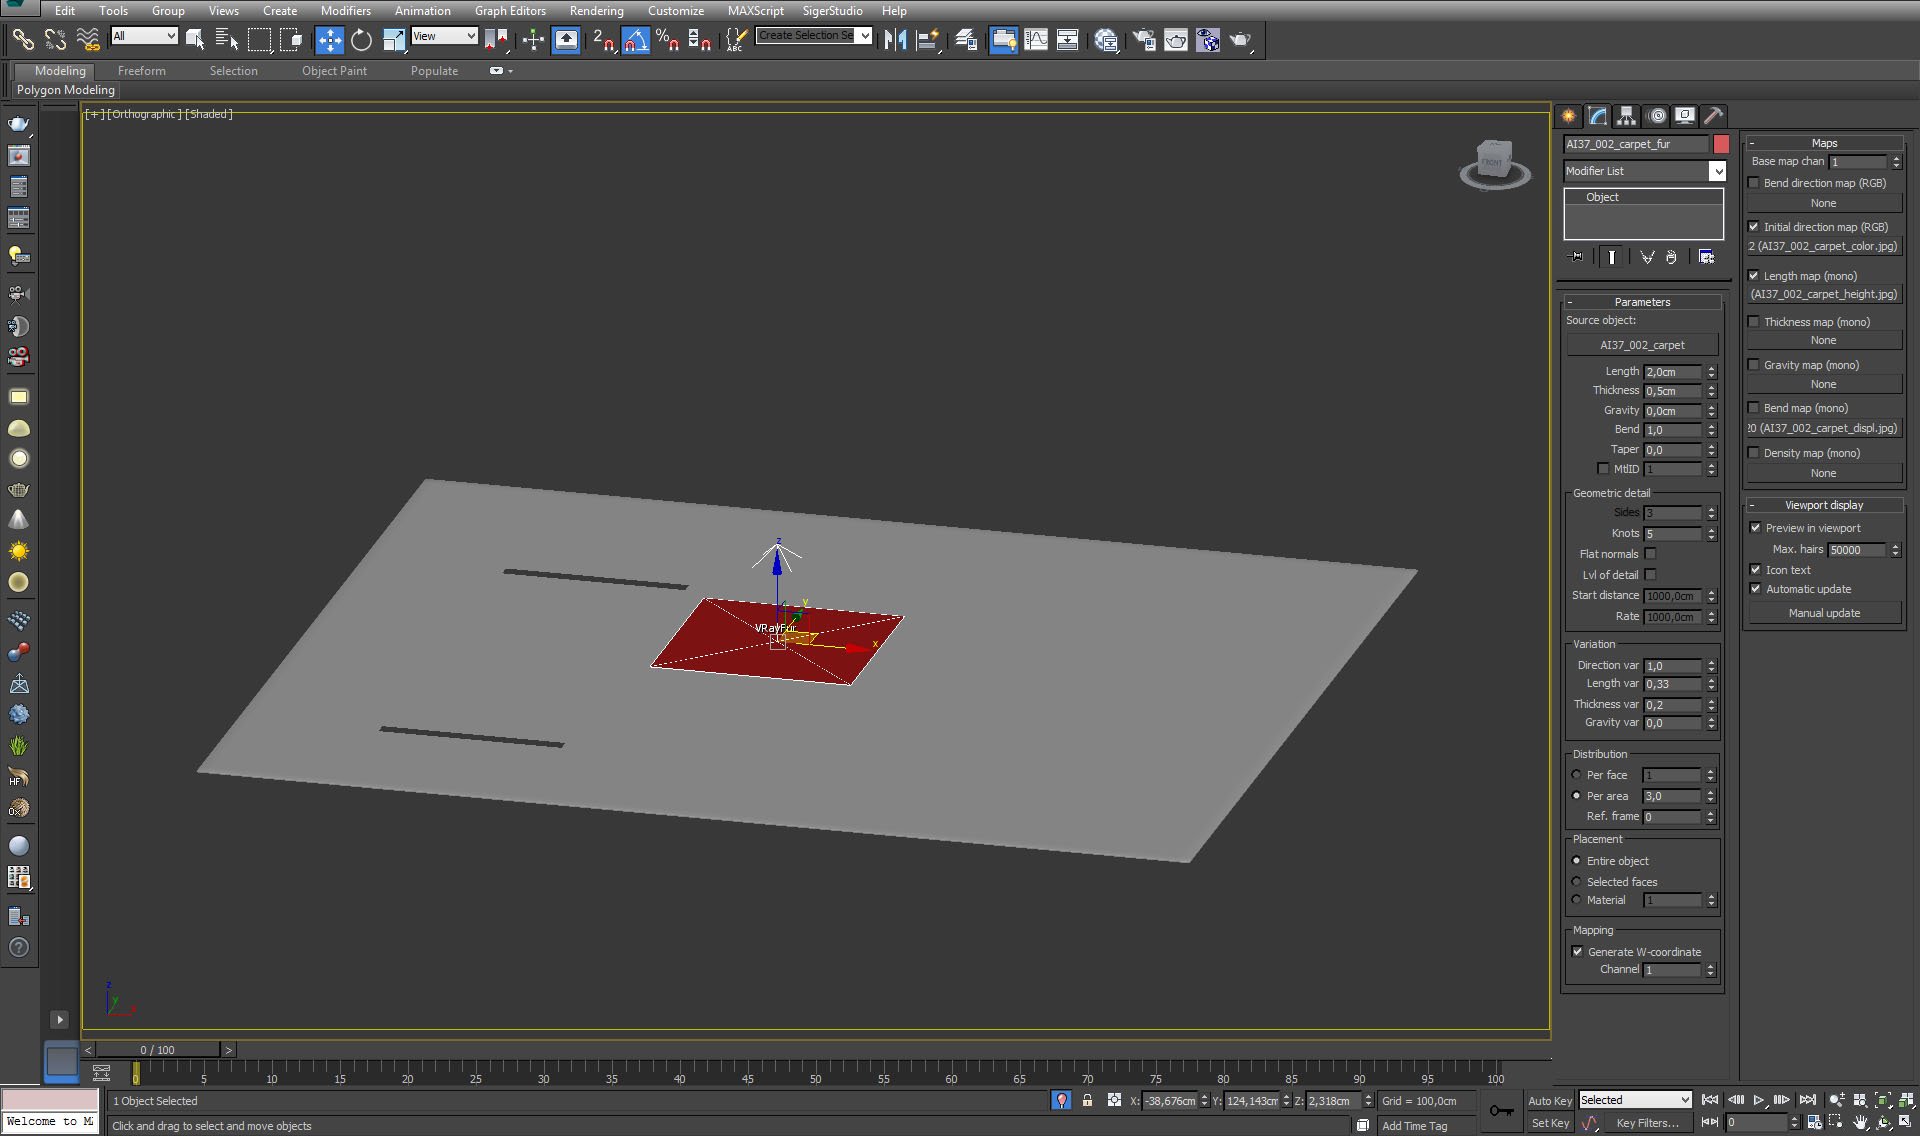
VrayFur modifier settings.
Click on image to enlarge 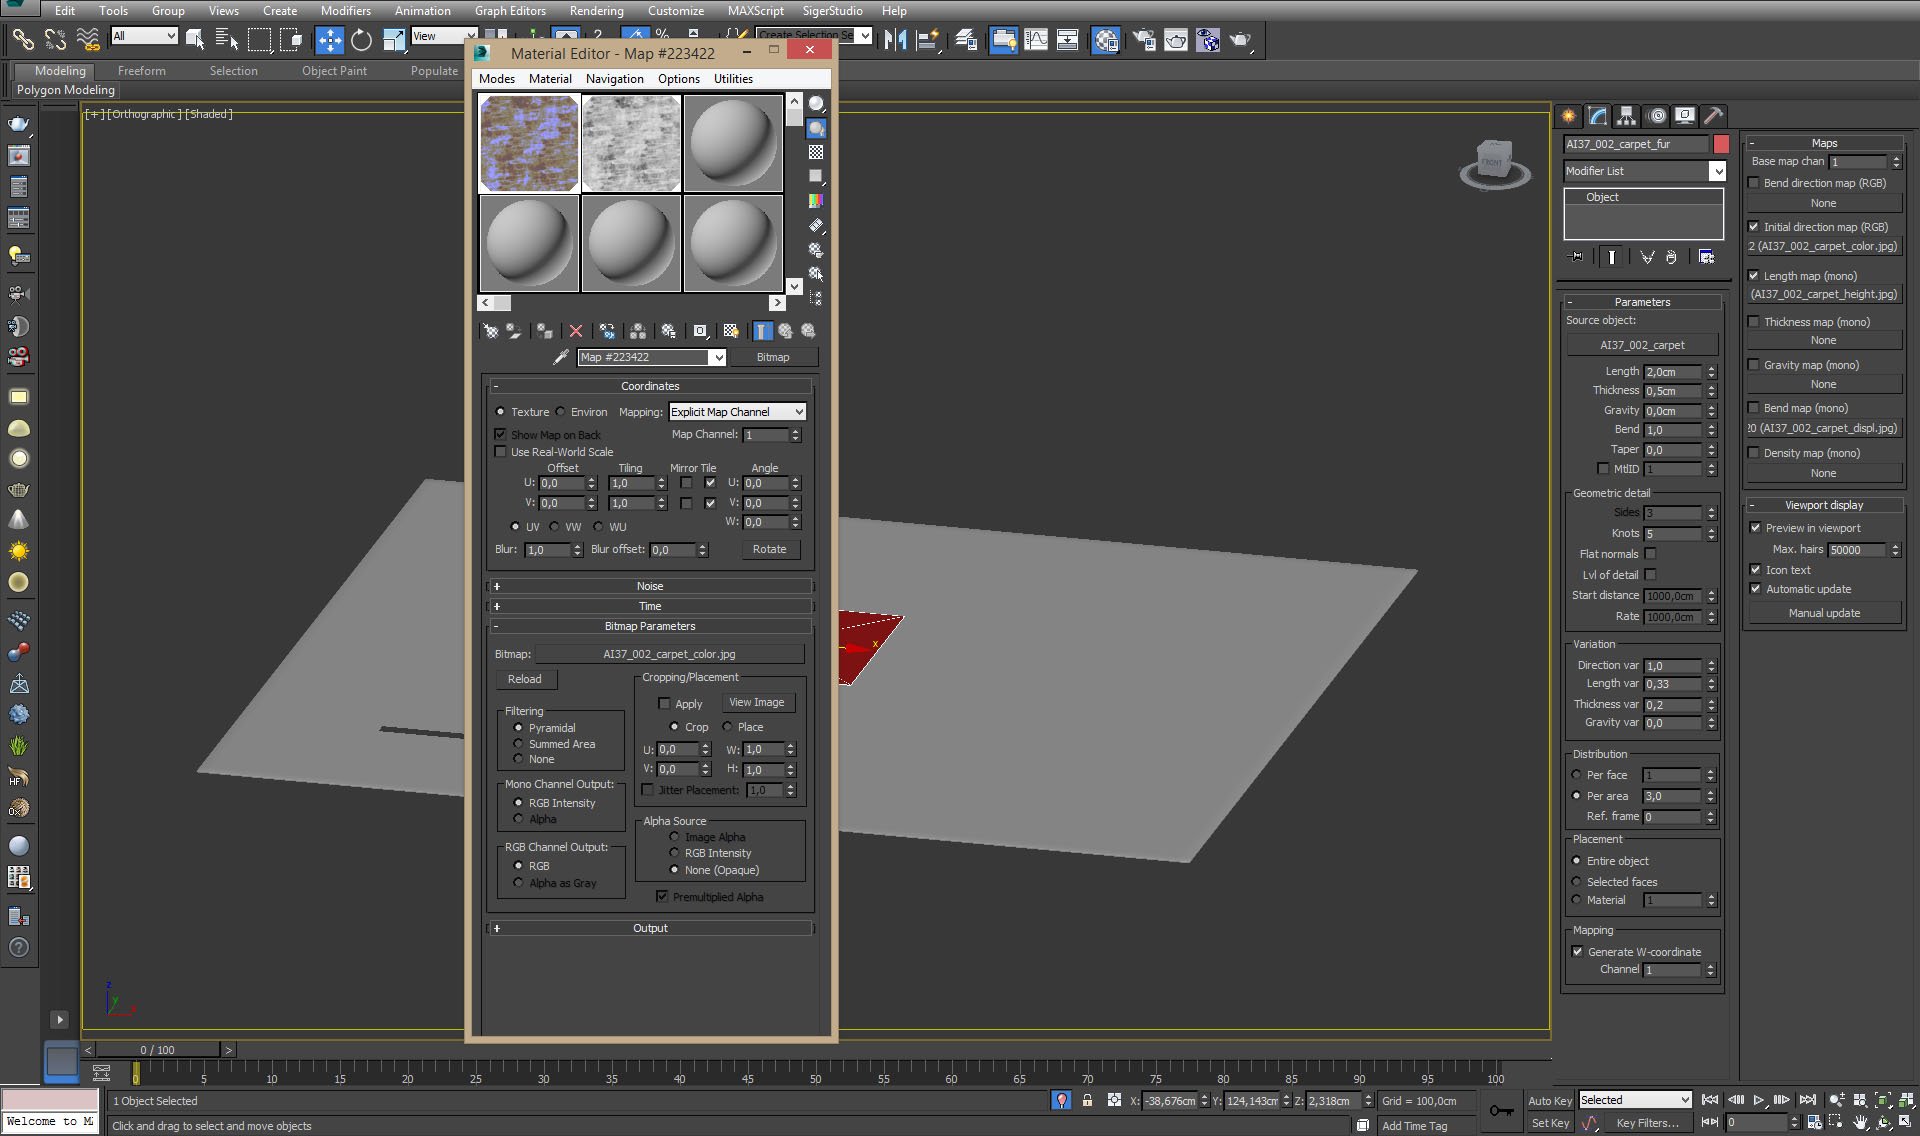
VrayFur uses two maps - one for initial direction (left slot) and one for length of the hair (right slot).
Click on image to enlarge 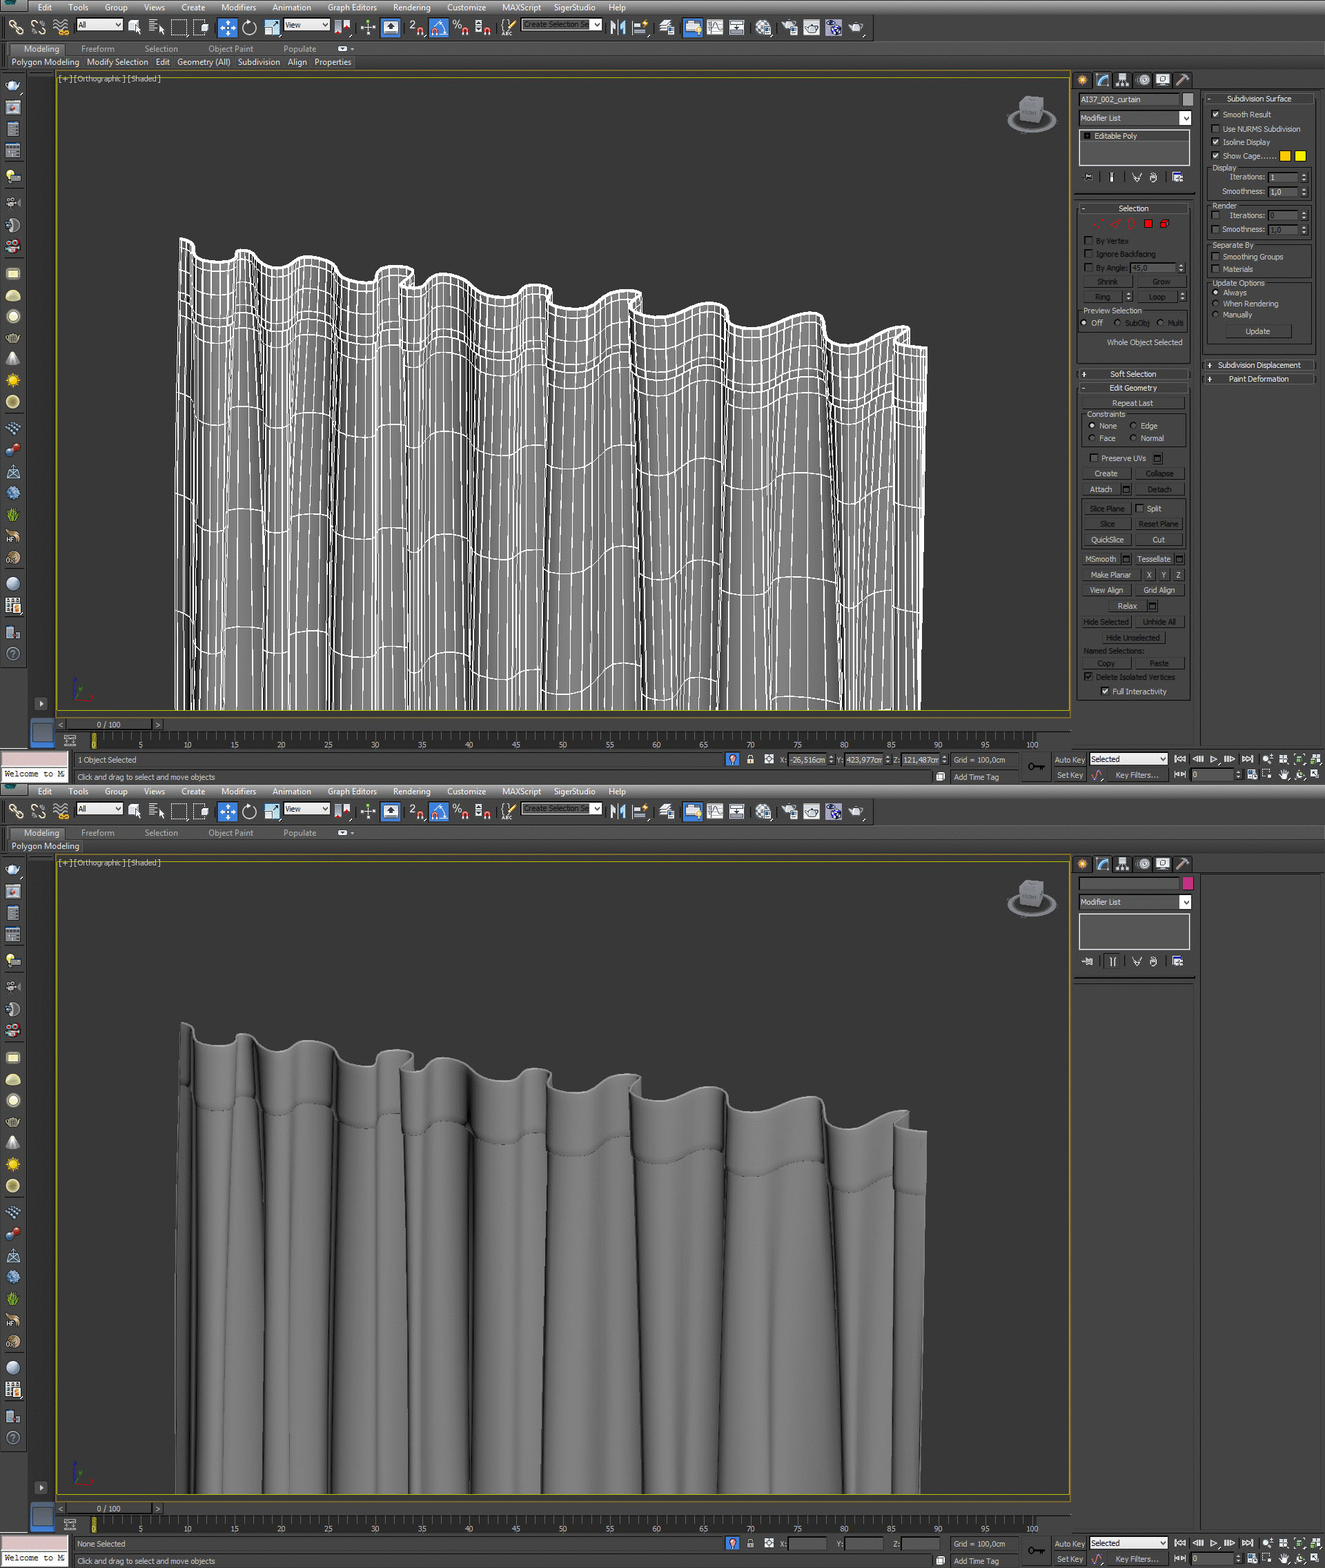
Click on image to enlarge 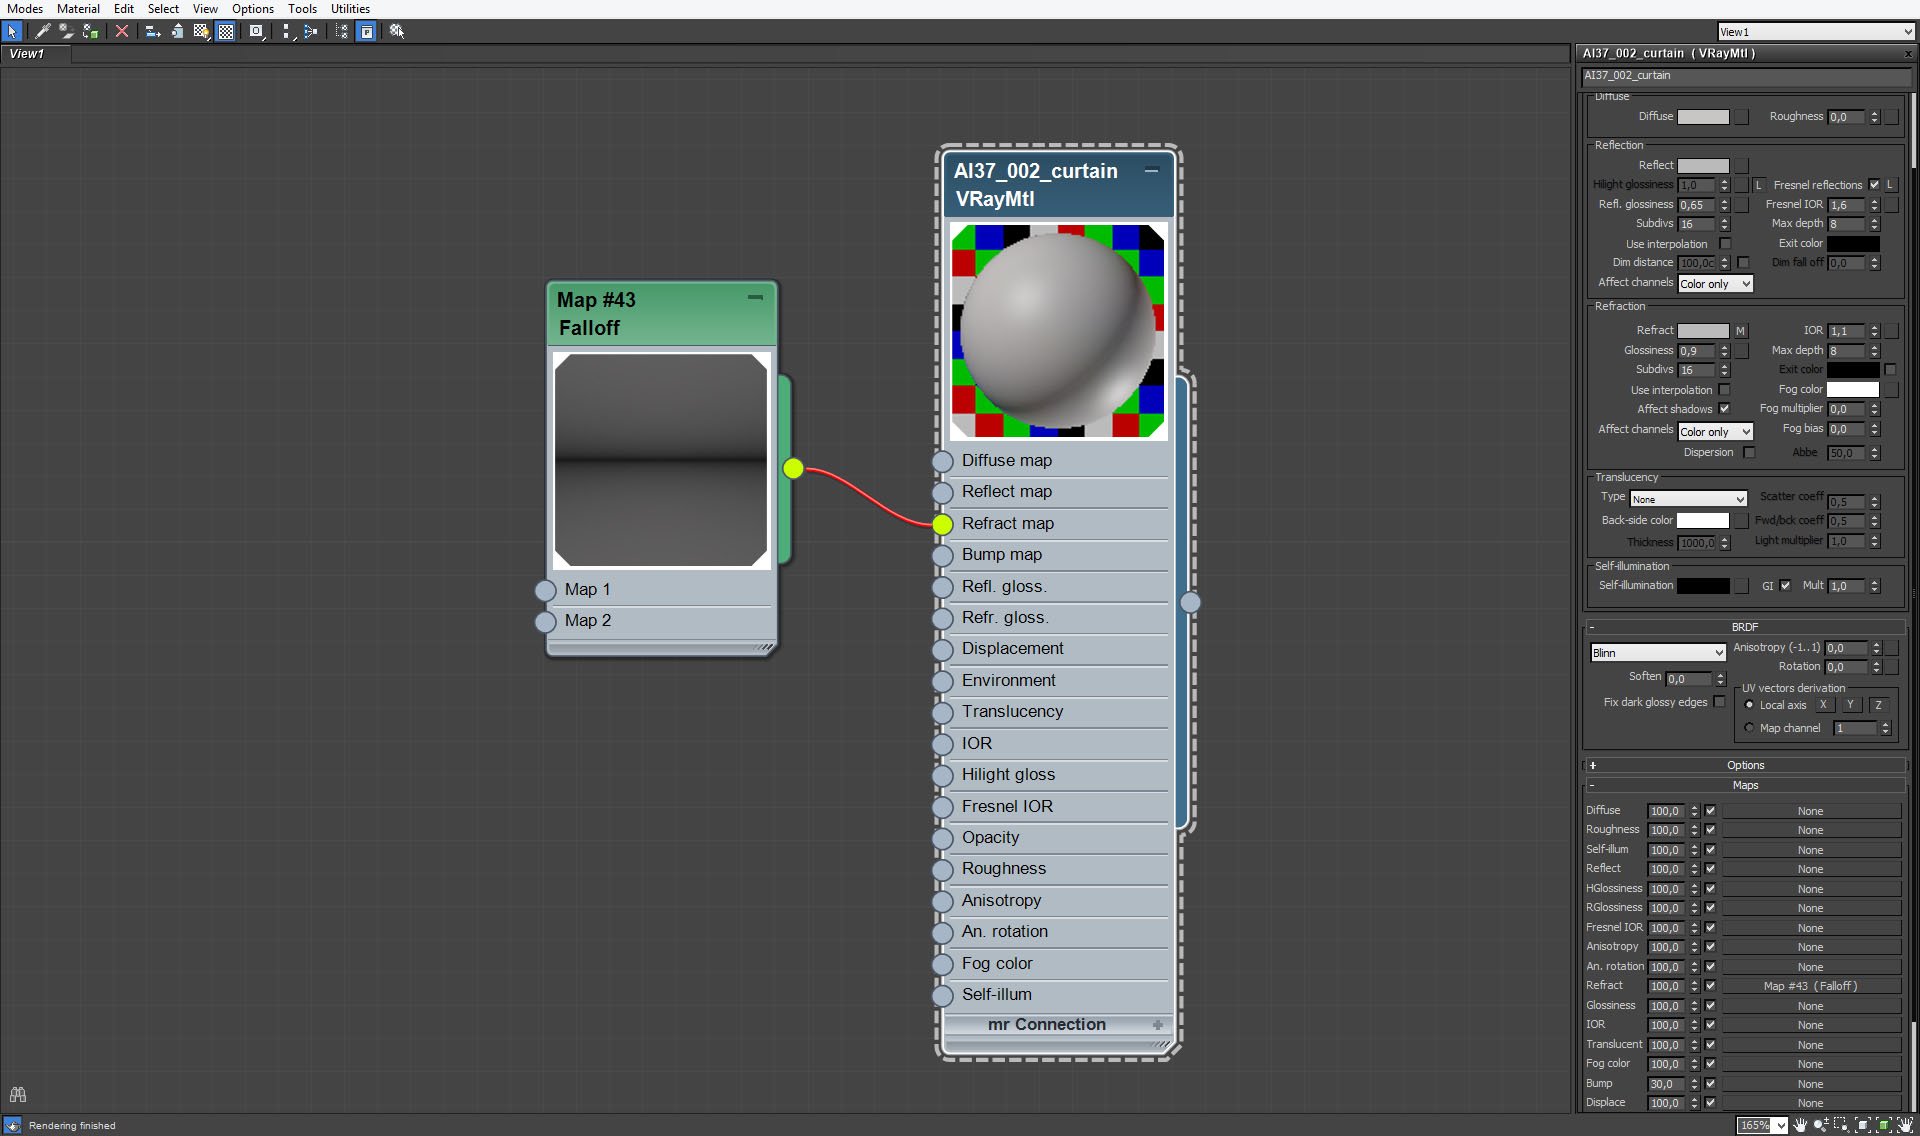
Click on image to enlarge 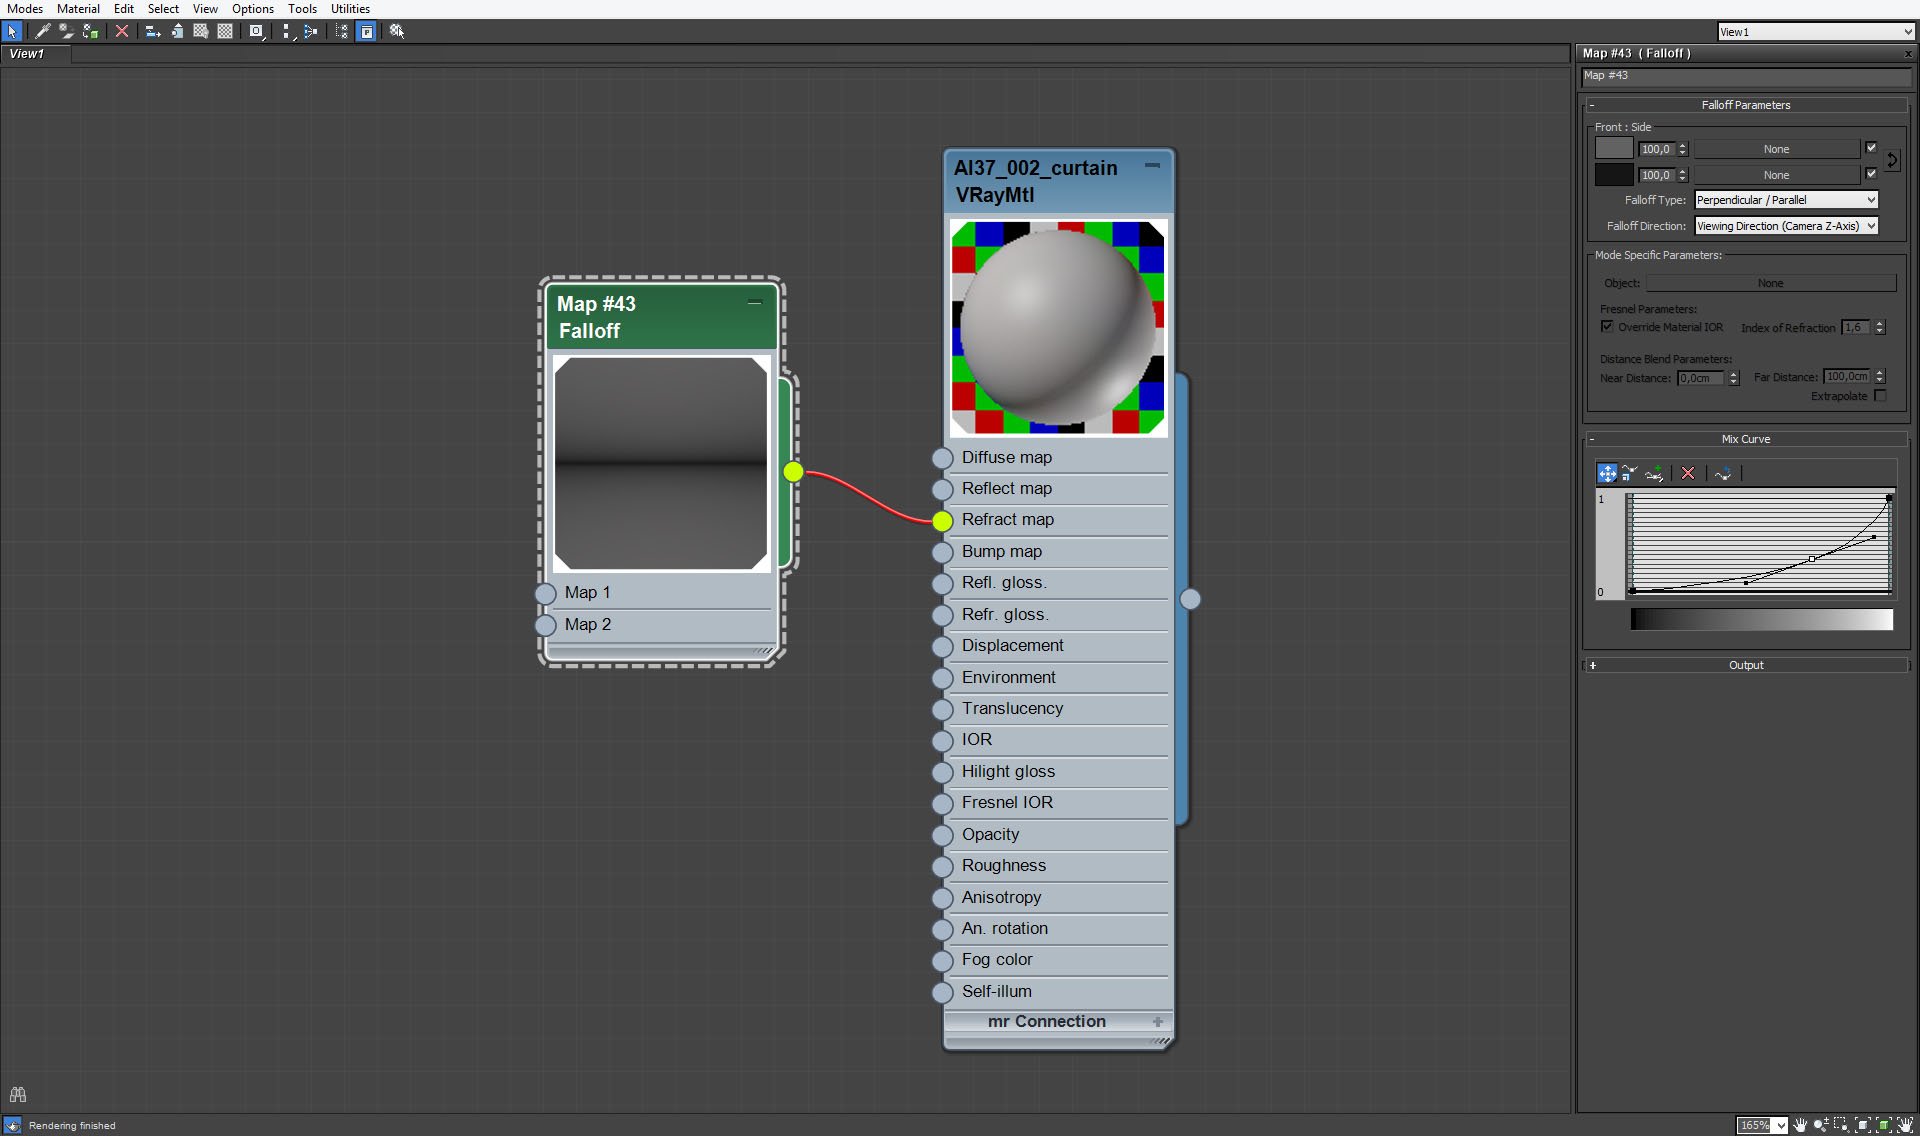
Curtain material - falloff map settings.
Click on image to enlarge 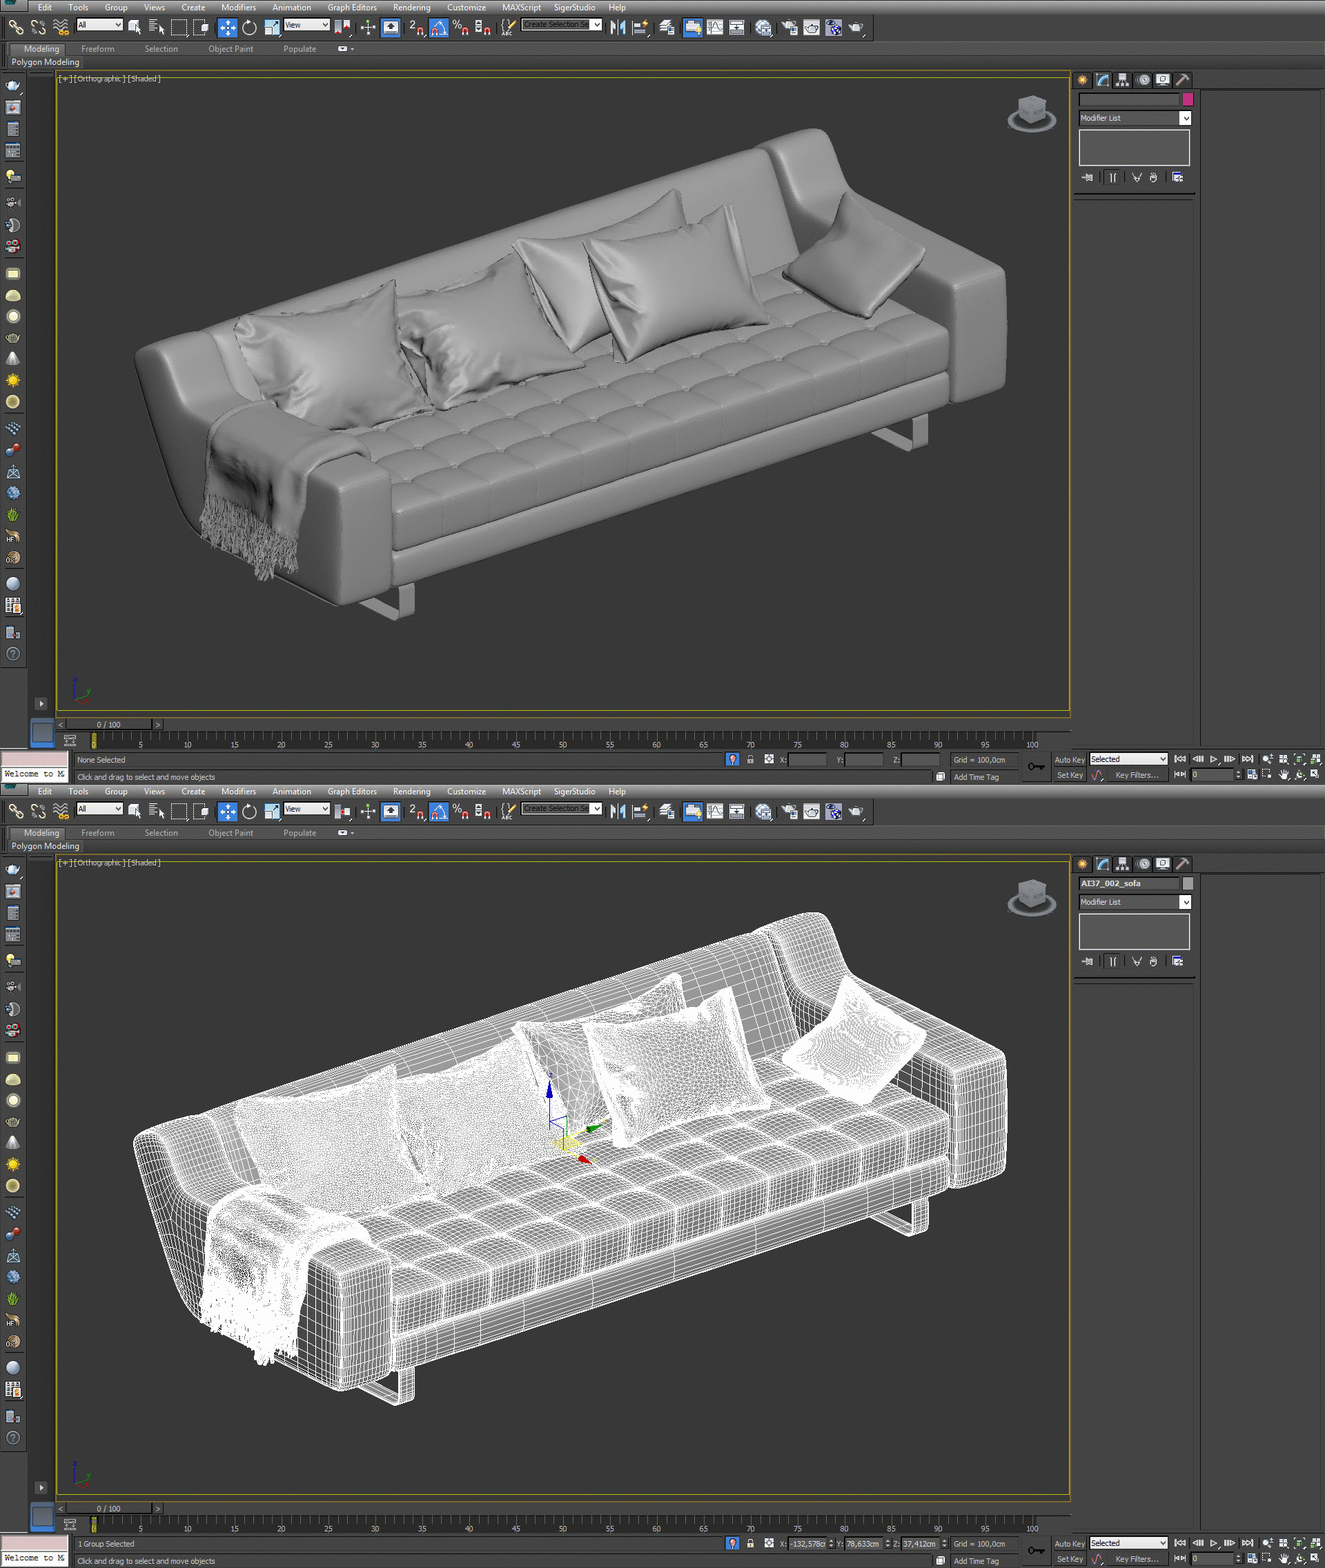
Click on image to enlarge 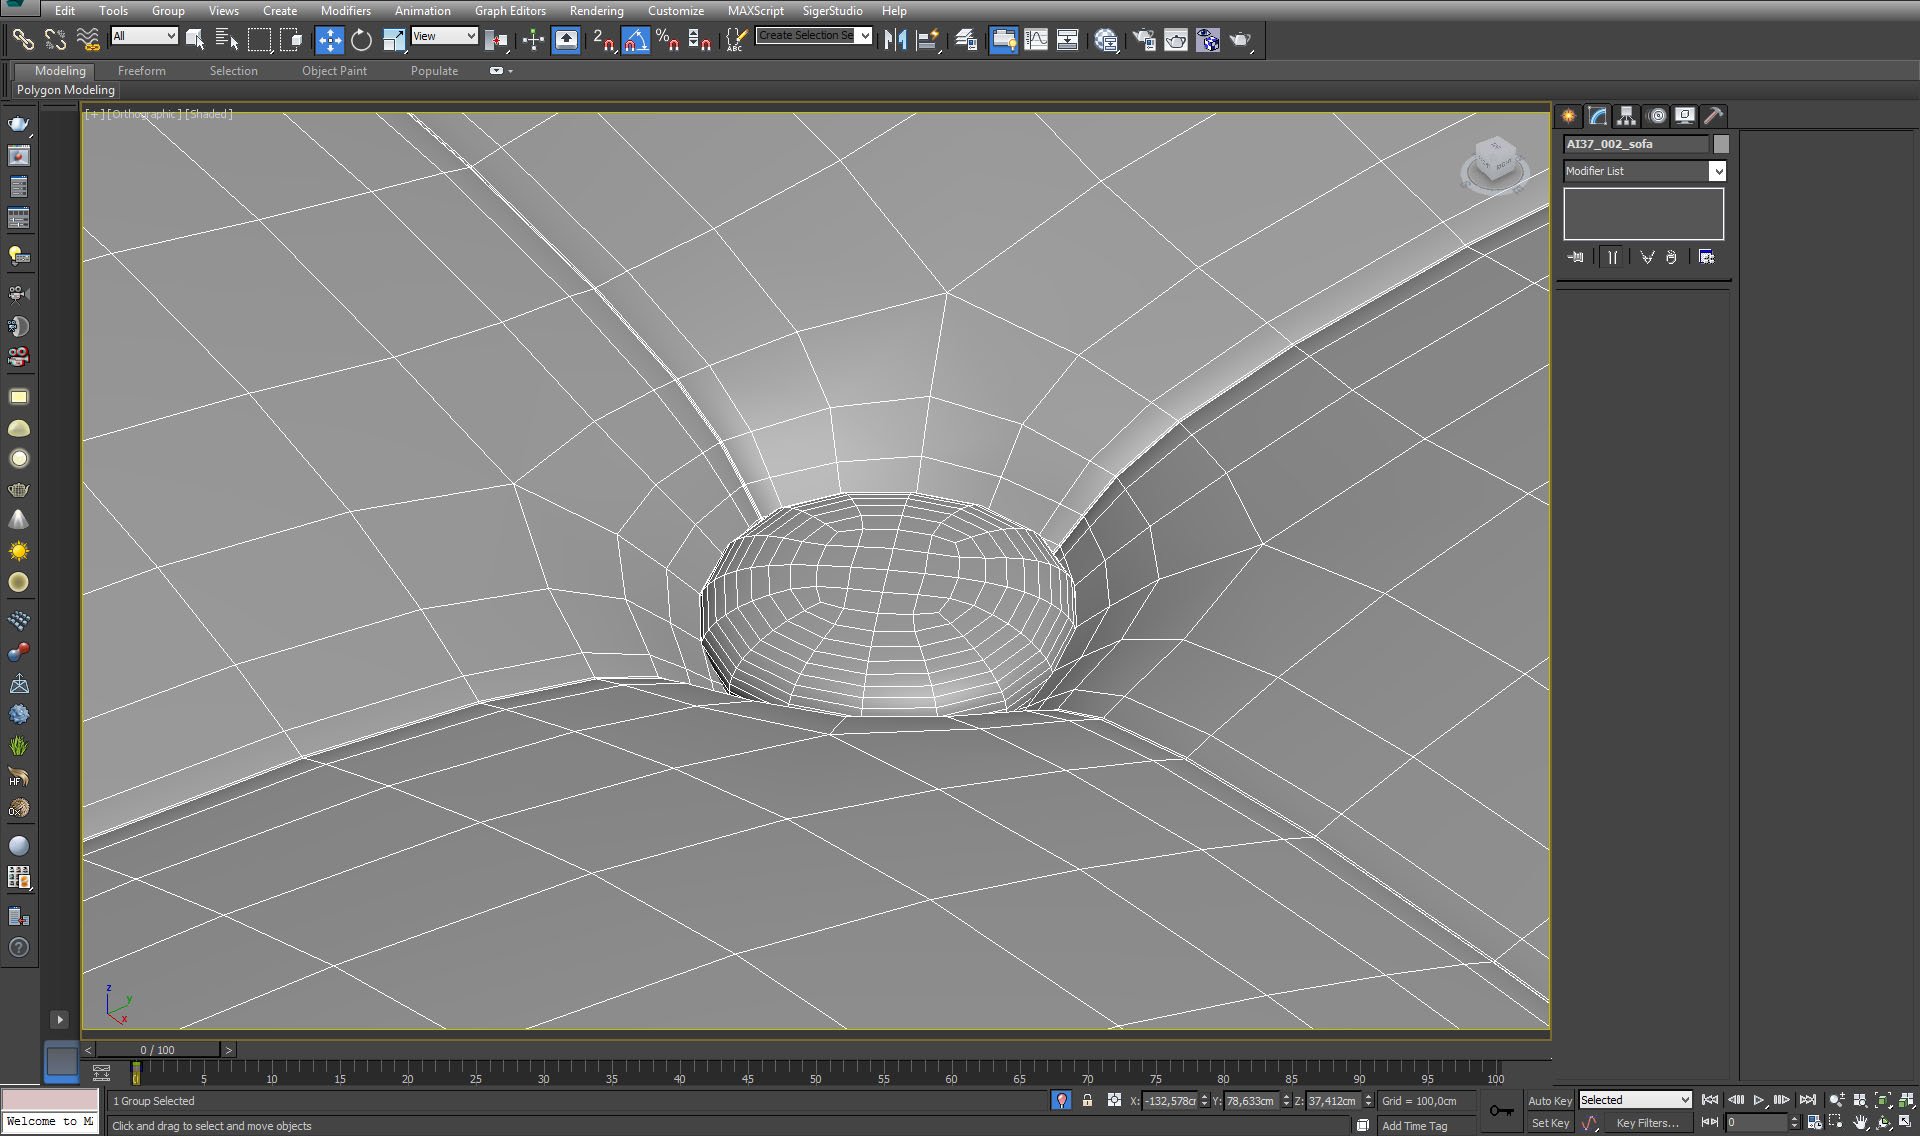
Click on image to enlarge 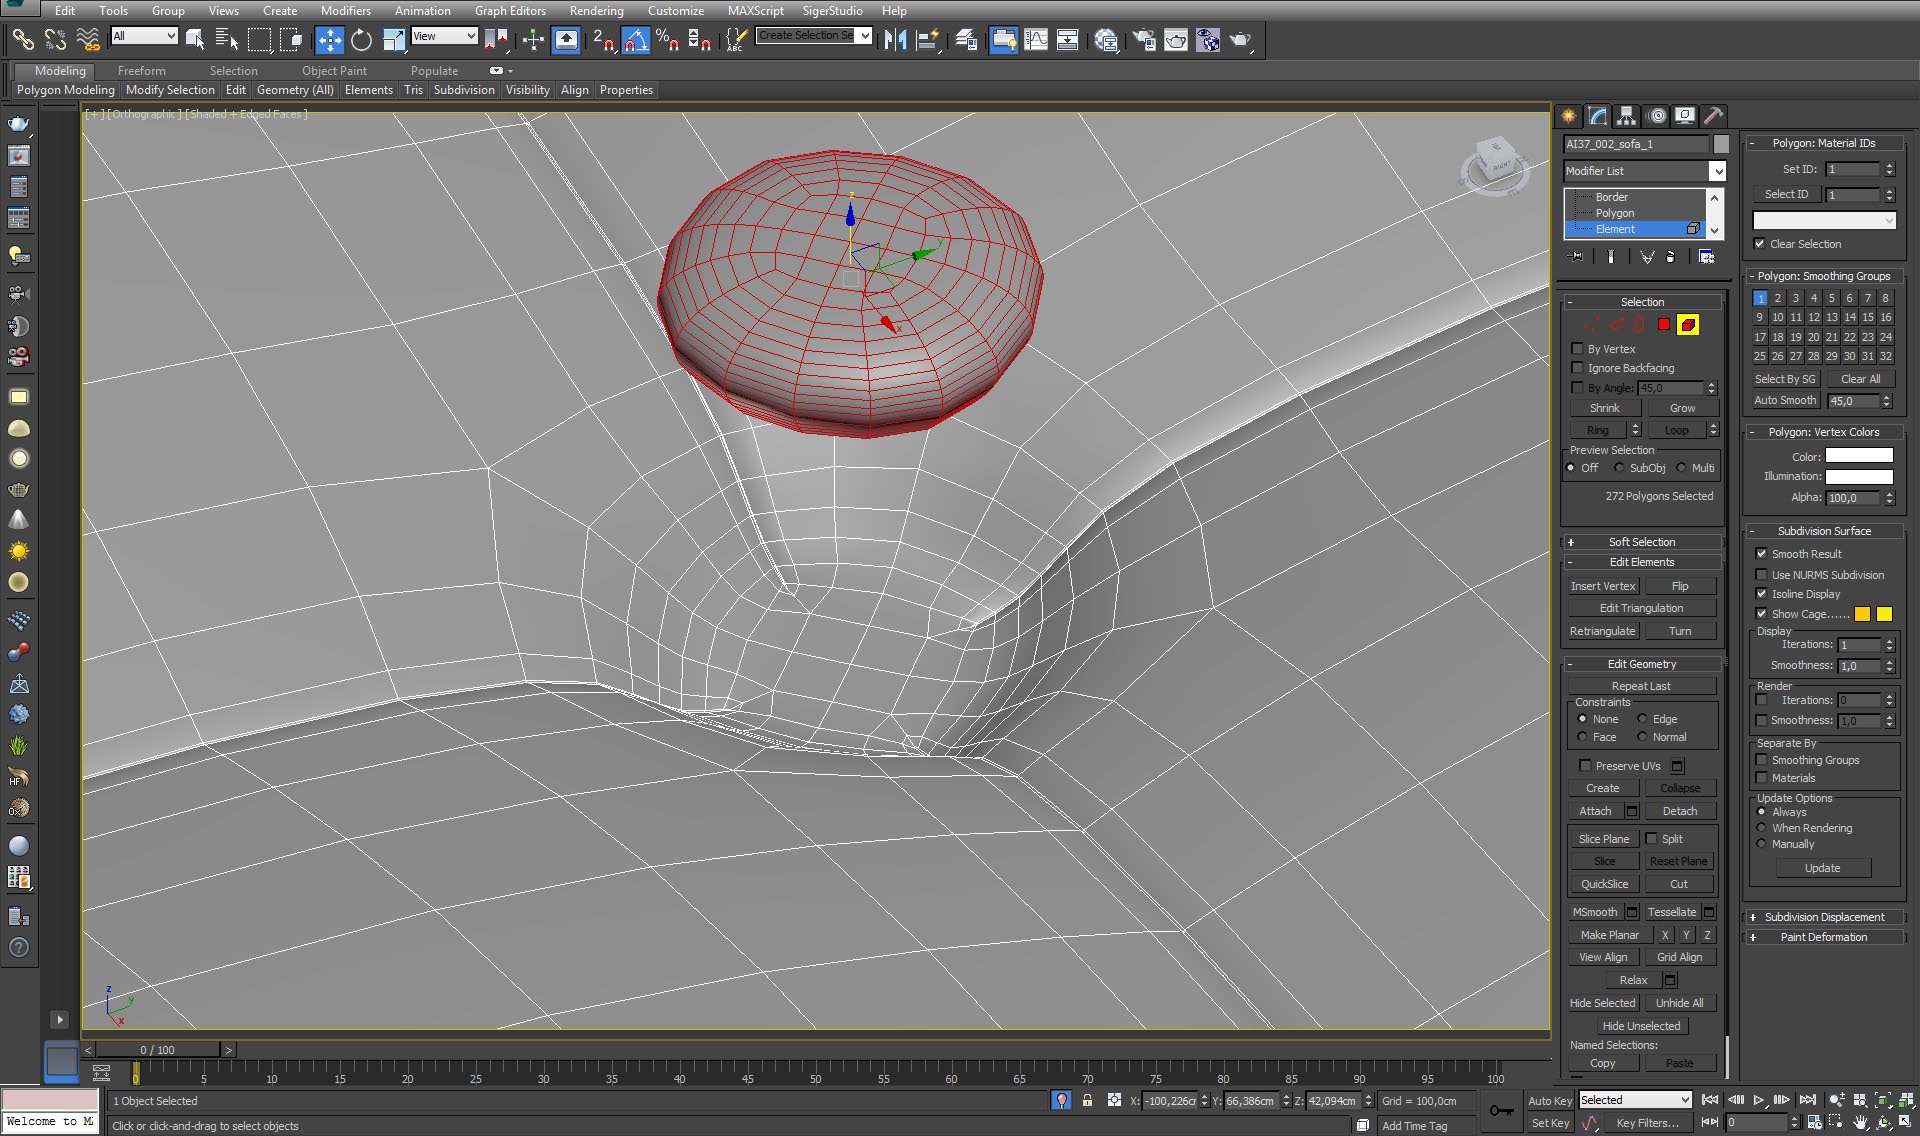
Click on image to enlarge 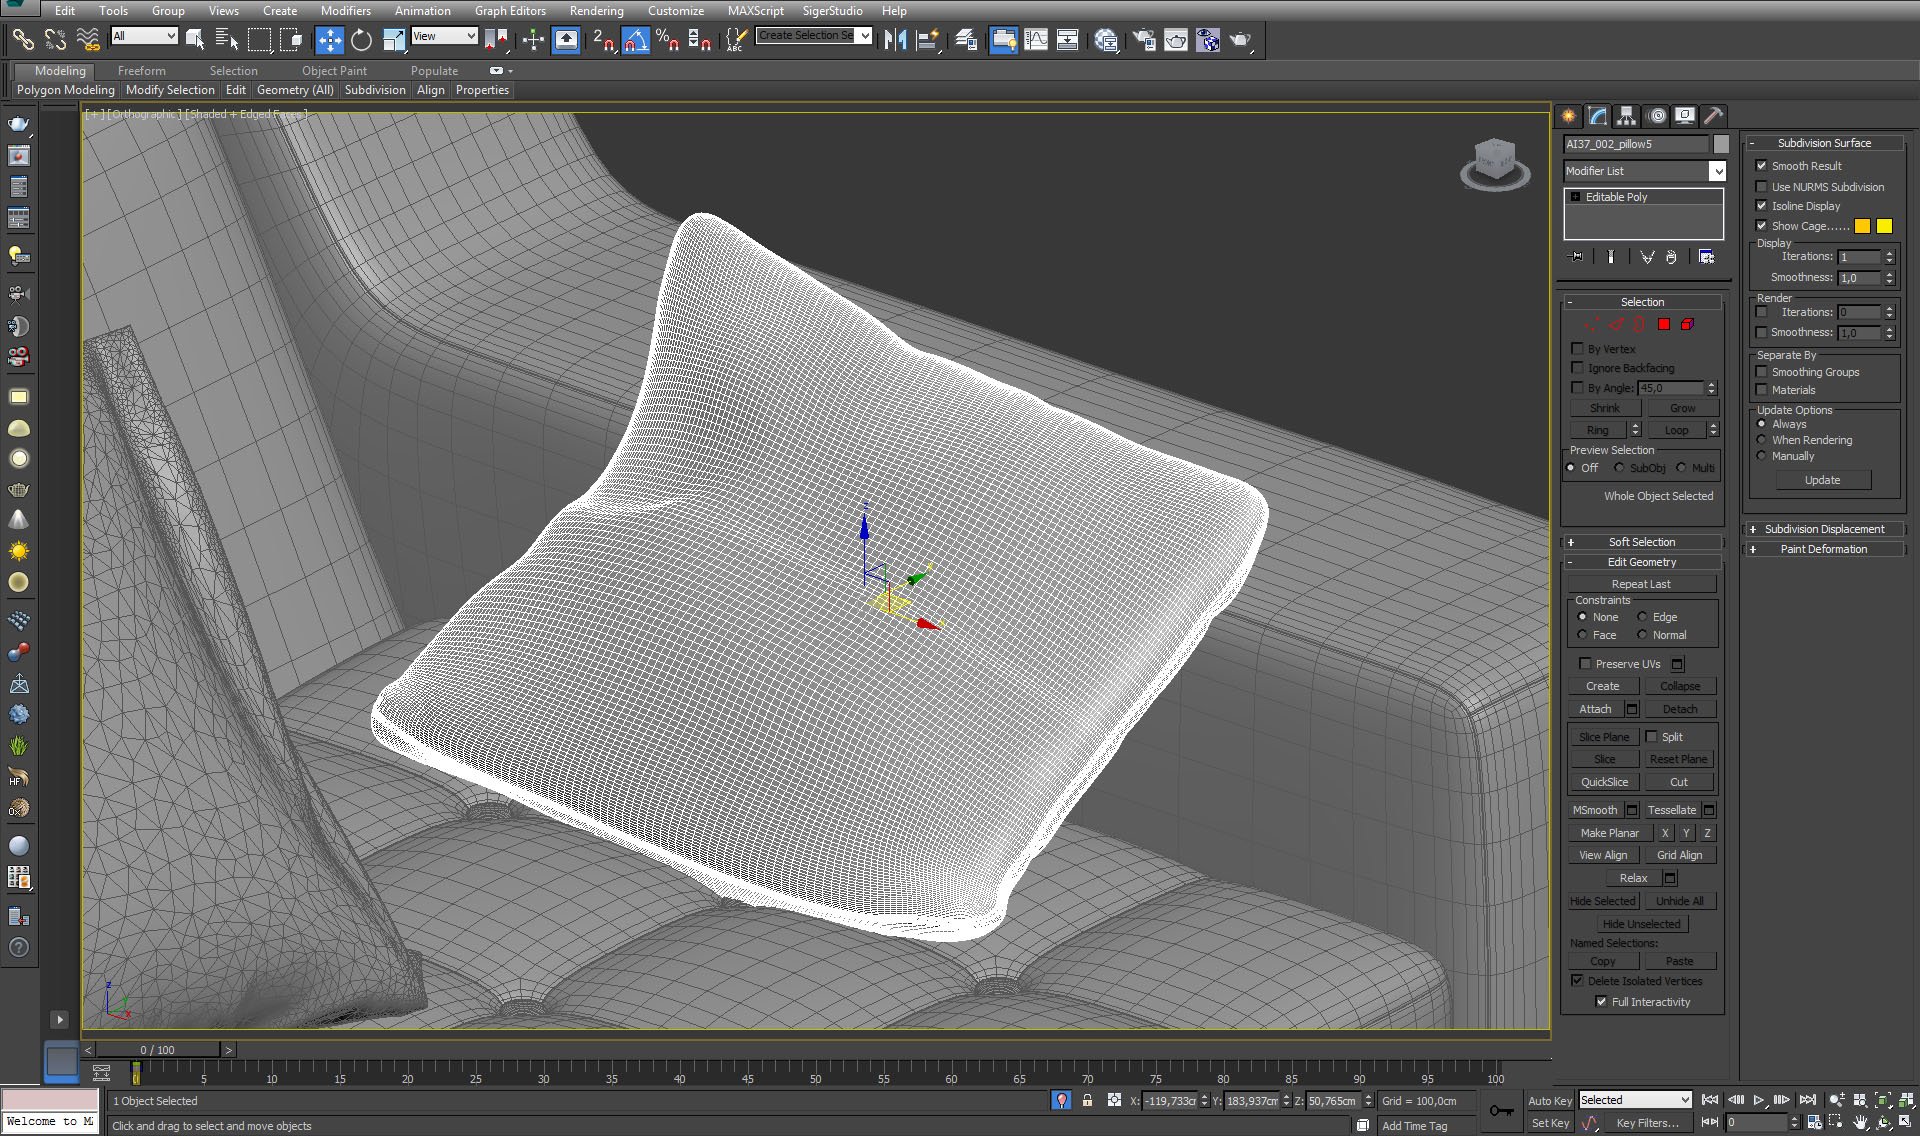
Click on image to enlarge 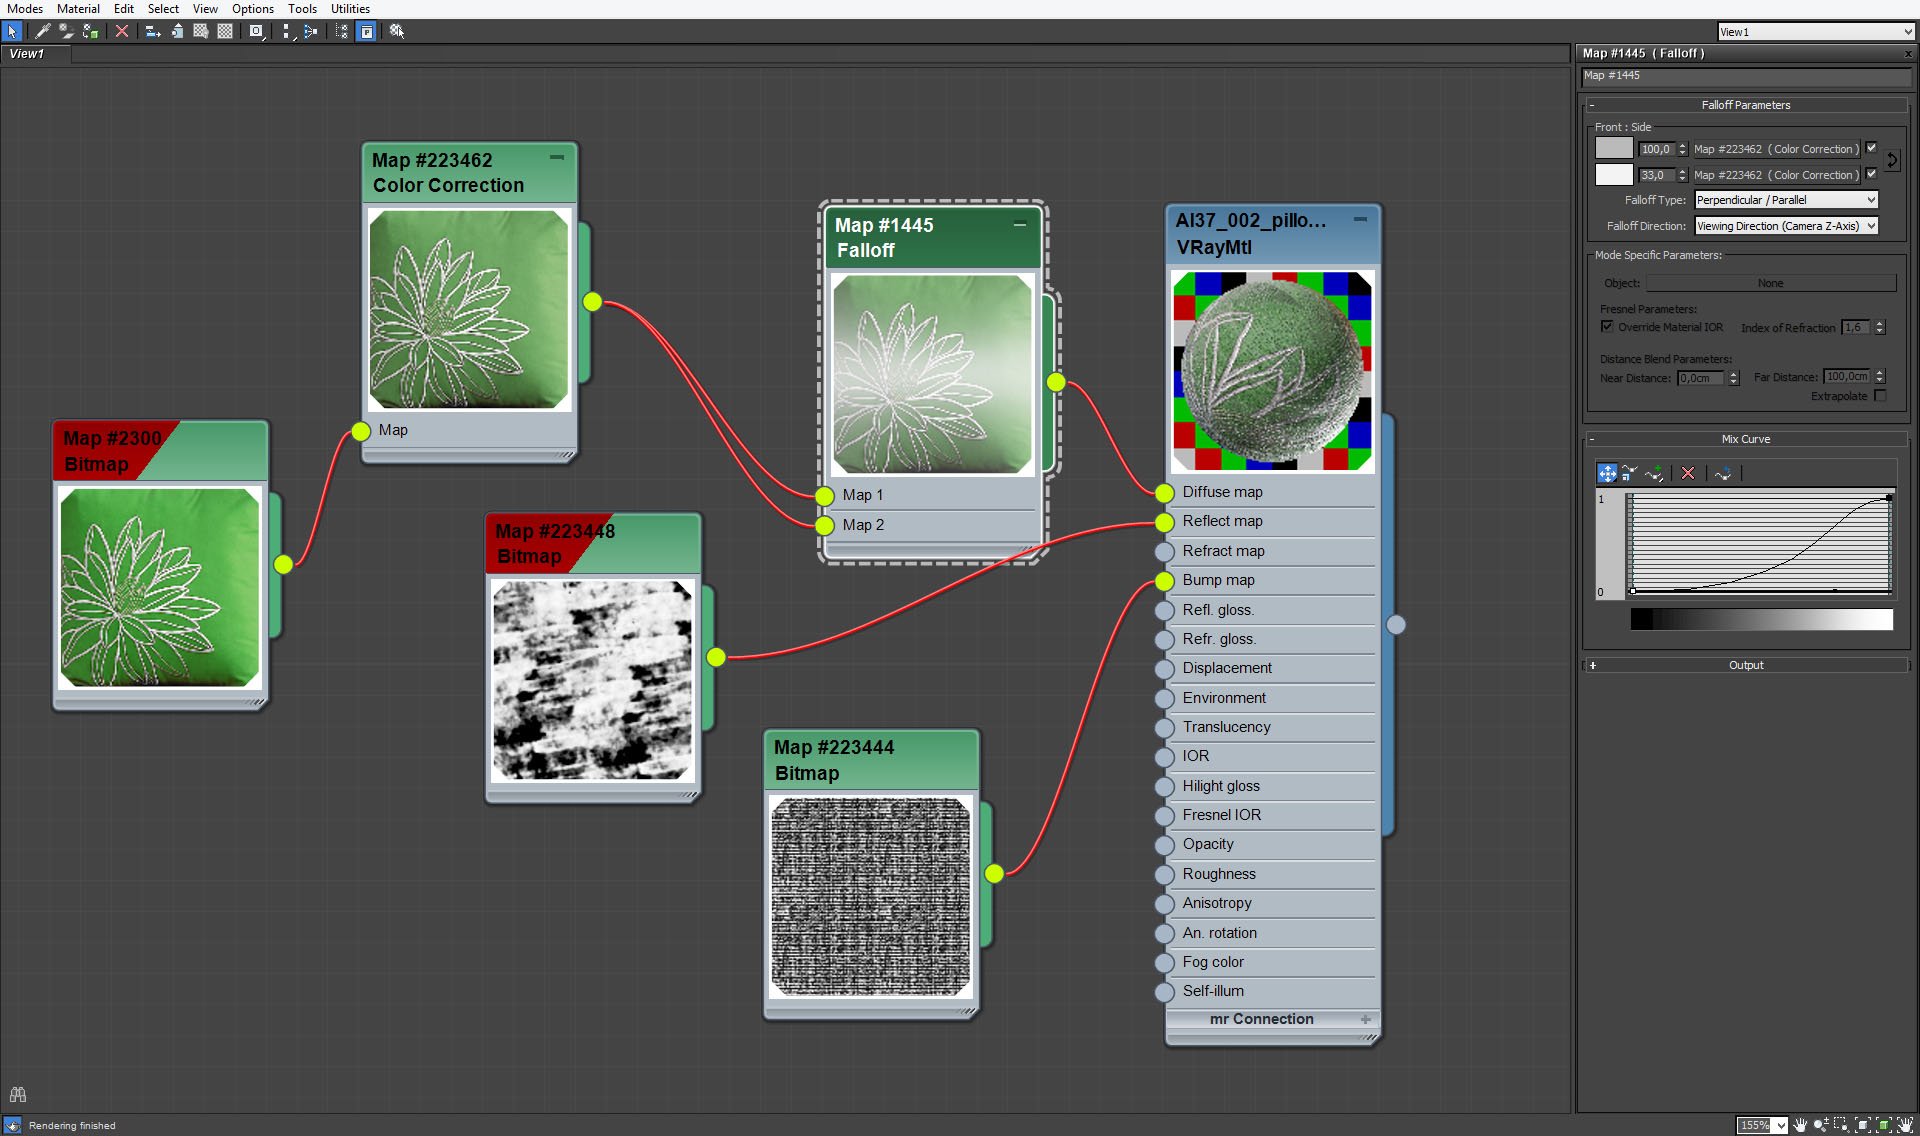
Pillow material - falloff map settings.
Click on image to enlarge 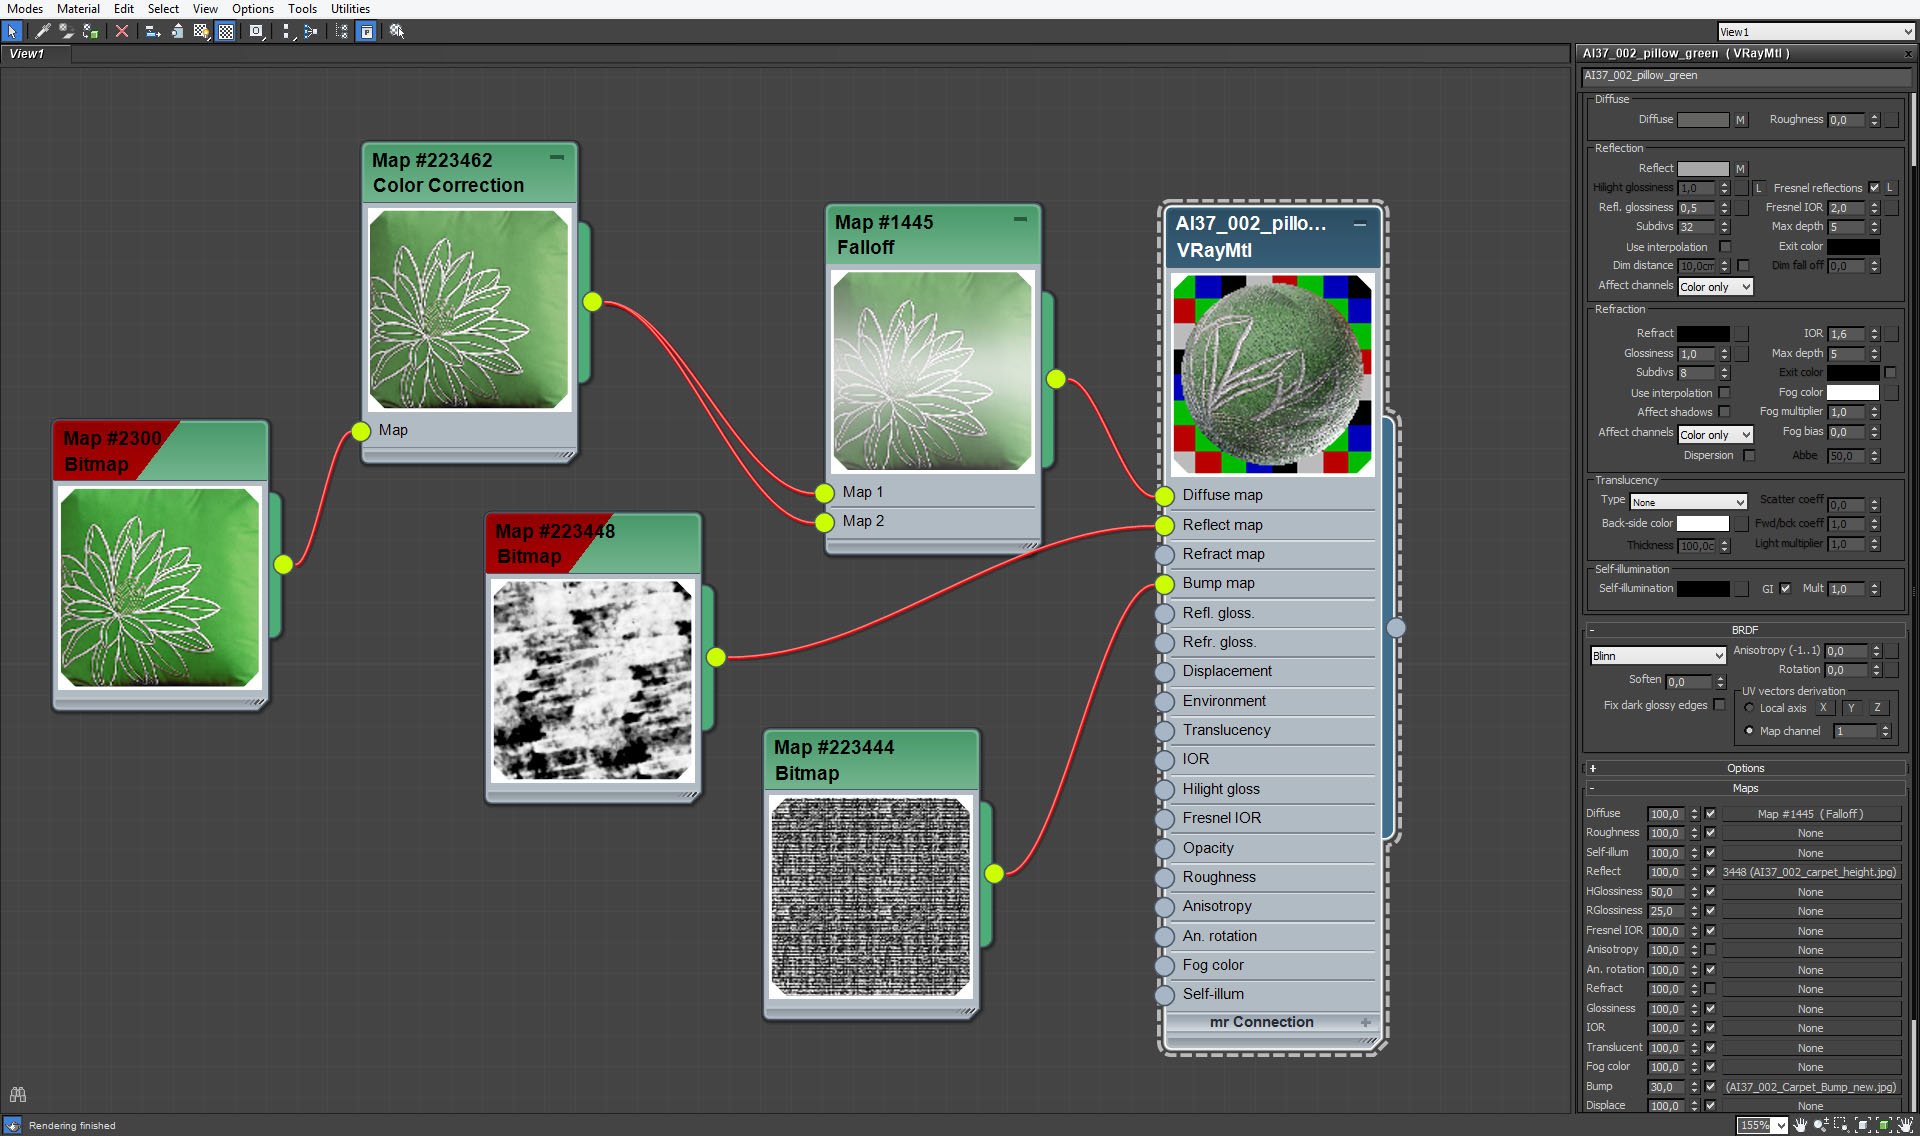
Pillow material settings.
Click on image to enlarge 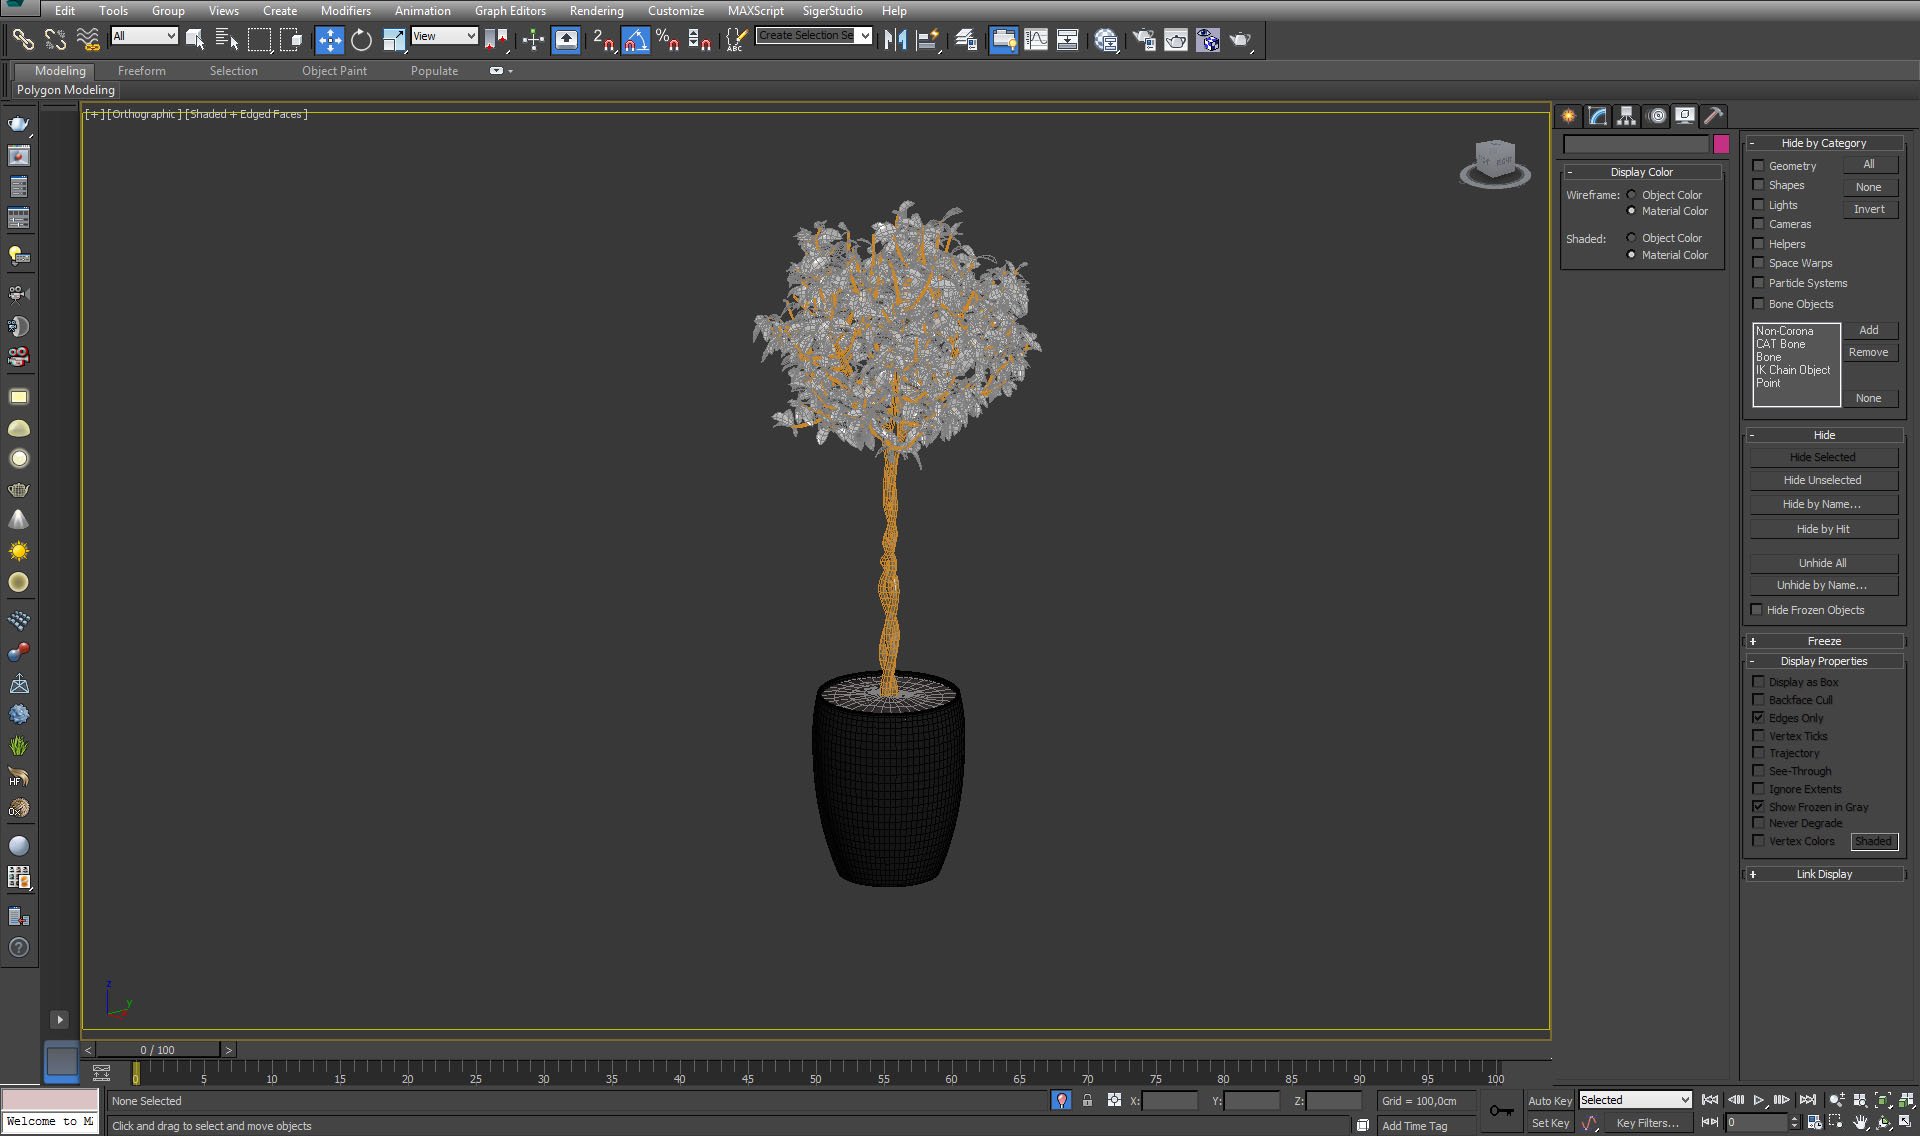
Click on image to enlarge 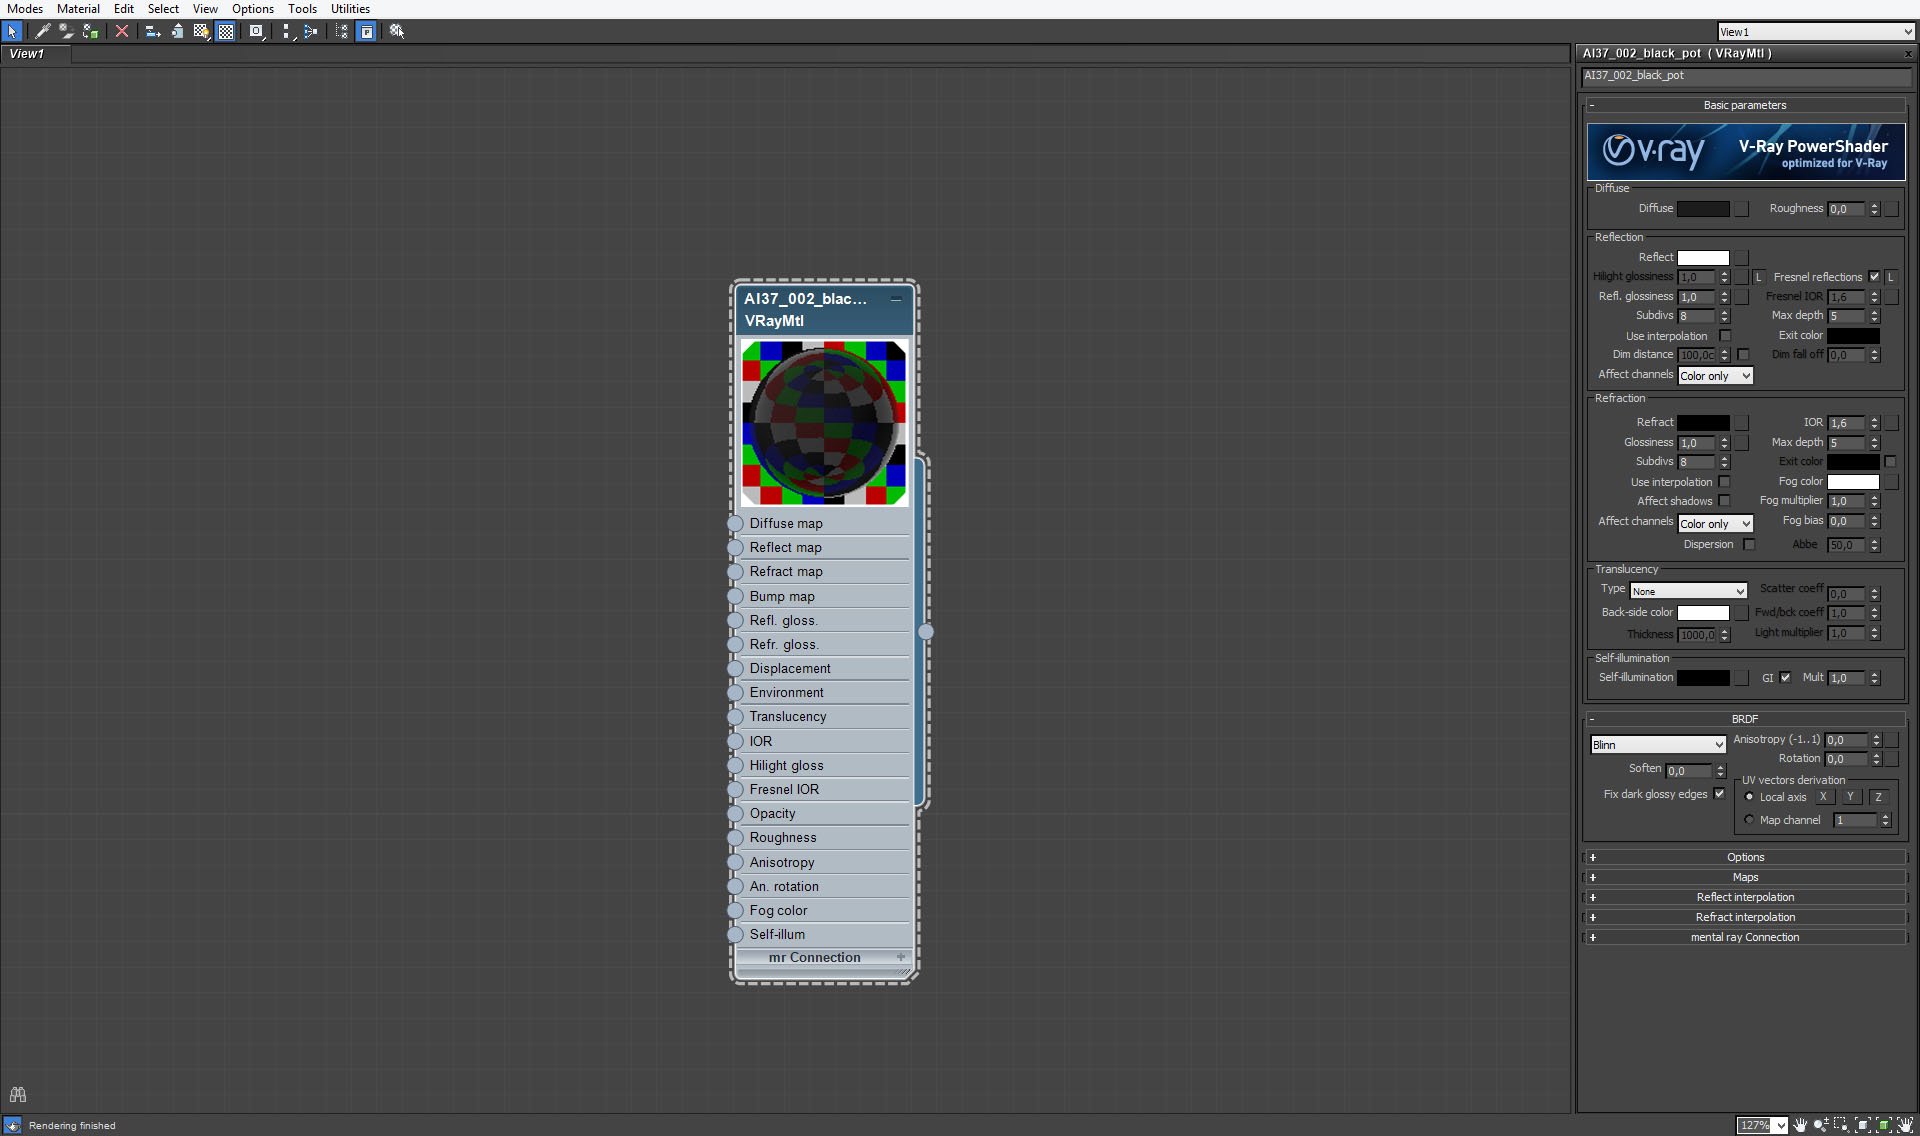
Click on image to enlarge 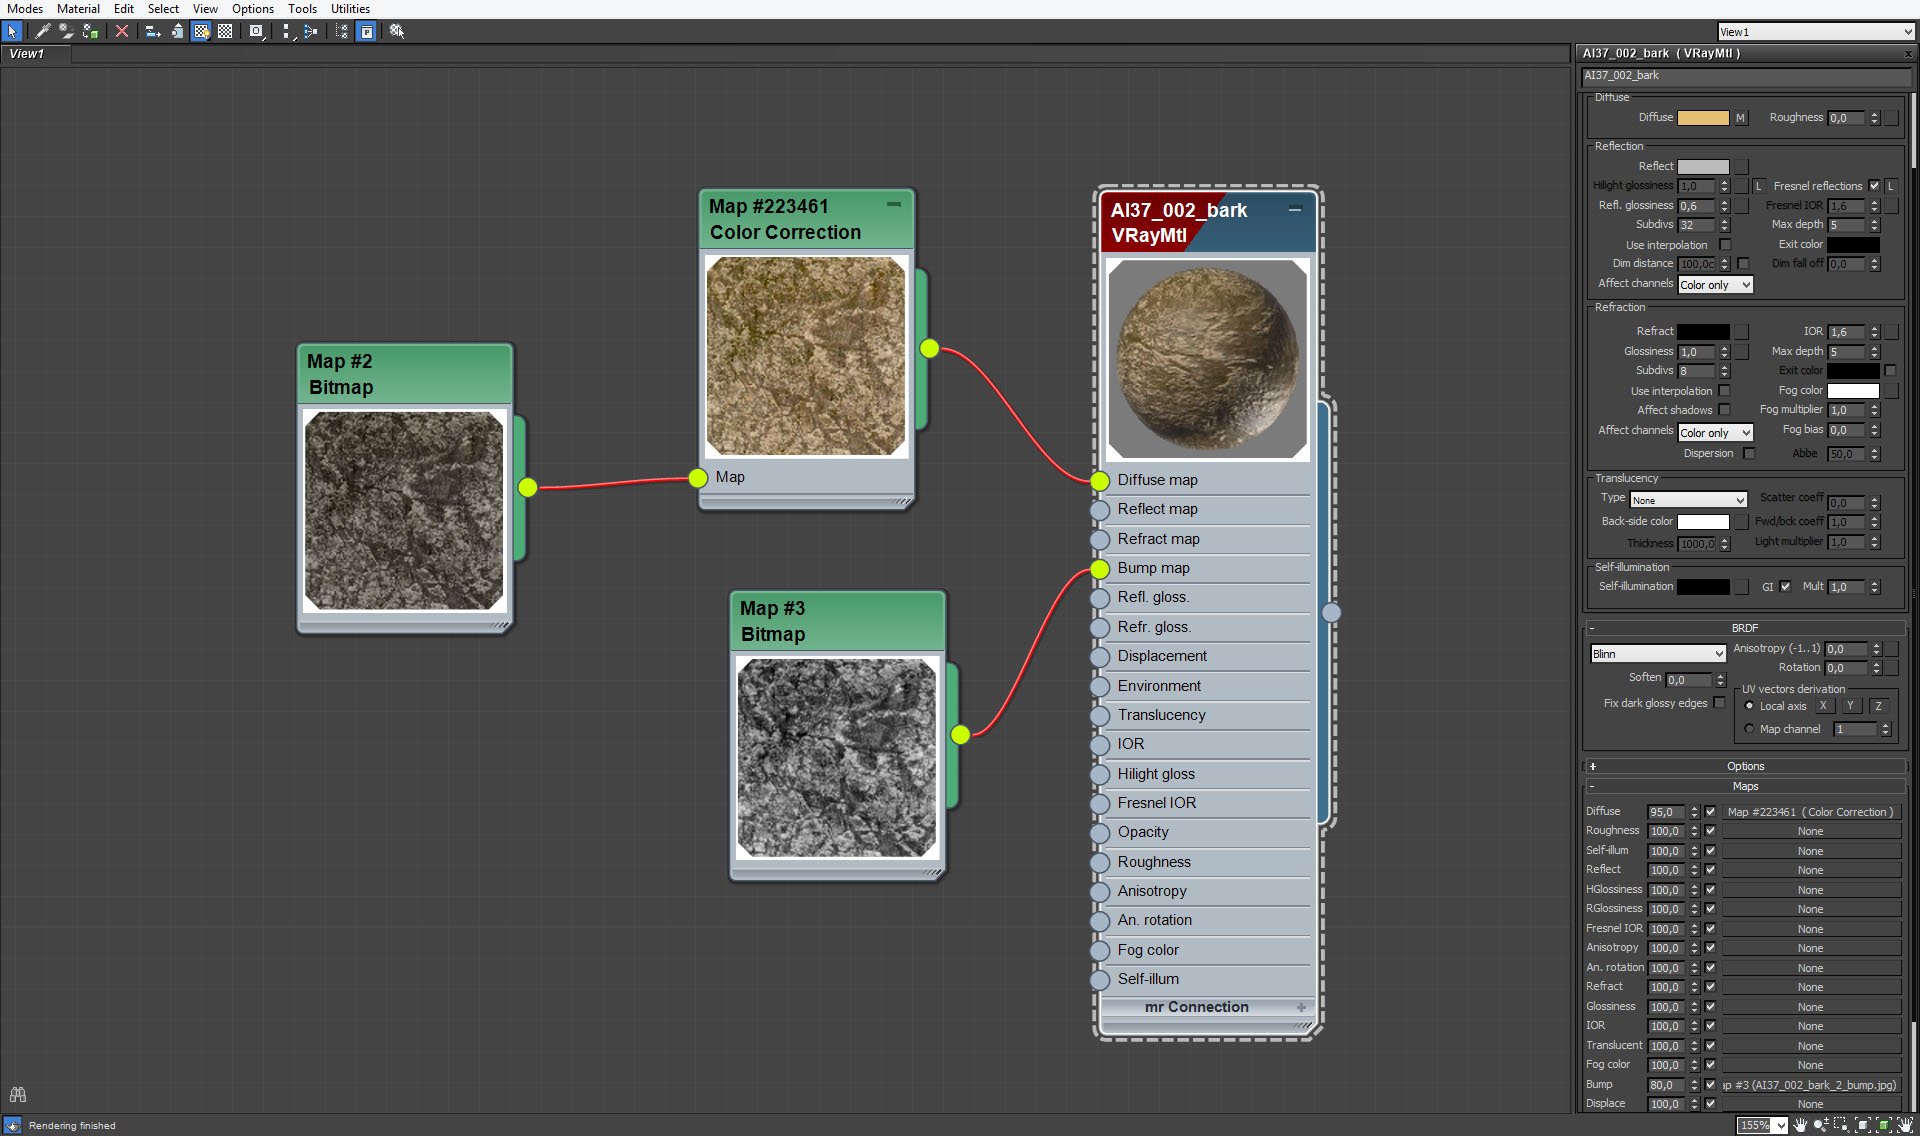
Click on image to enlarge 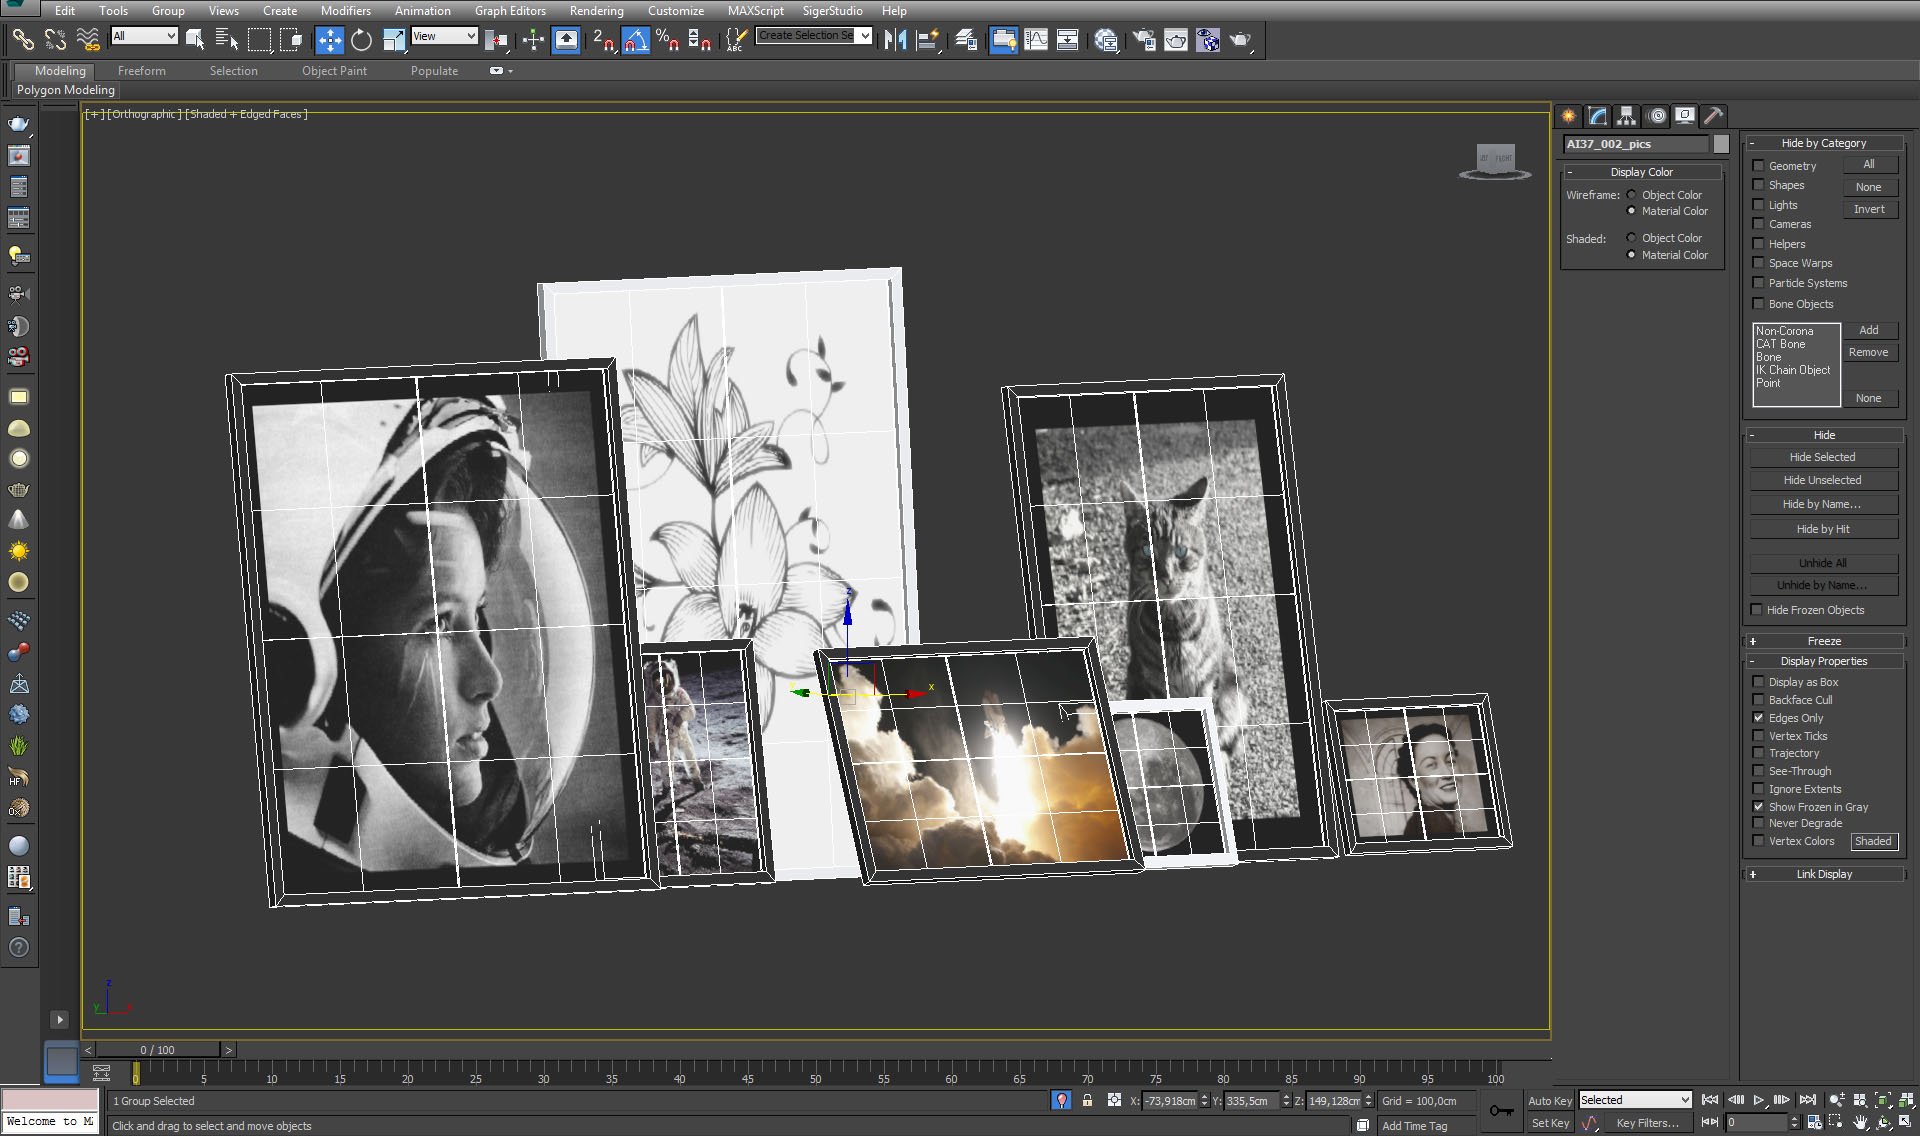
Click on image to enlarge 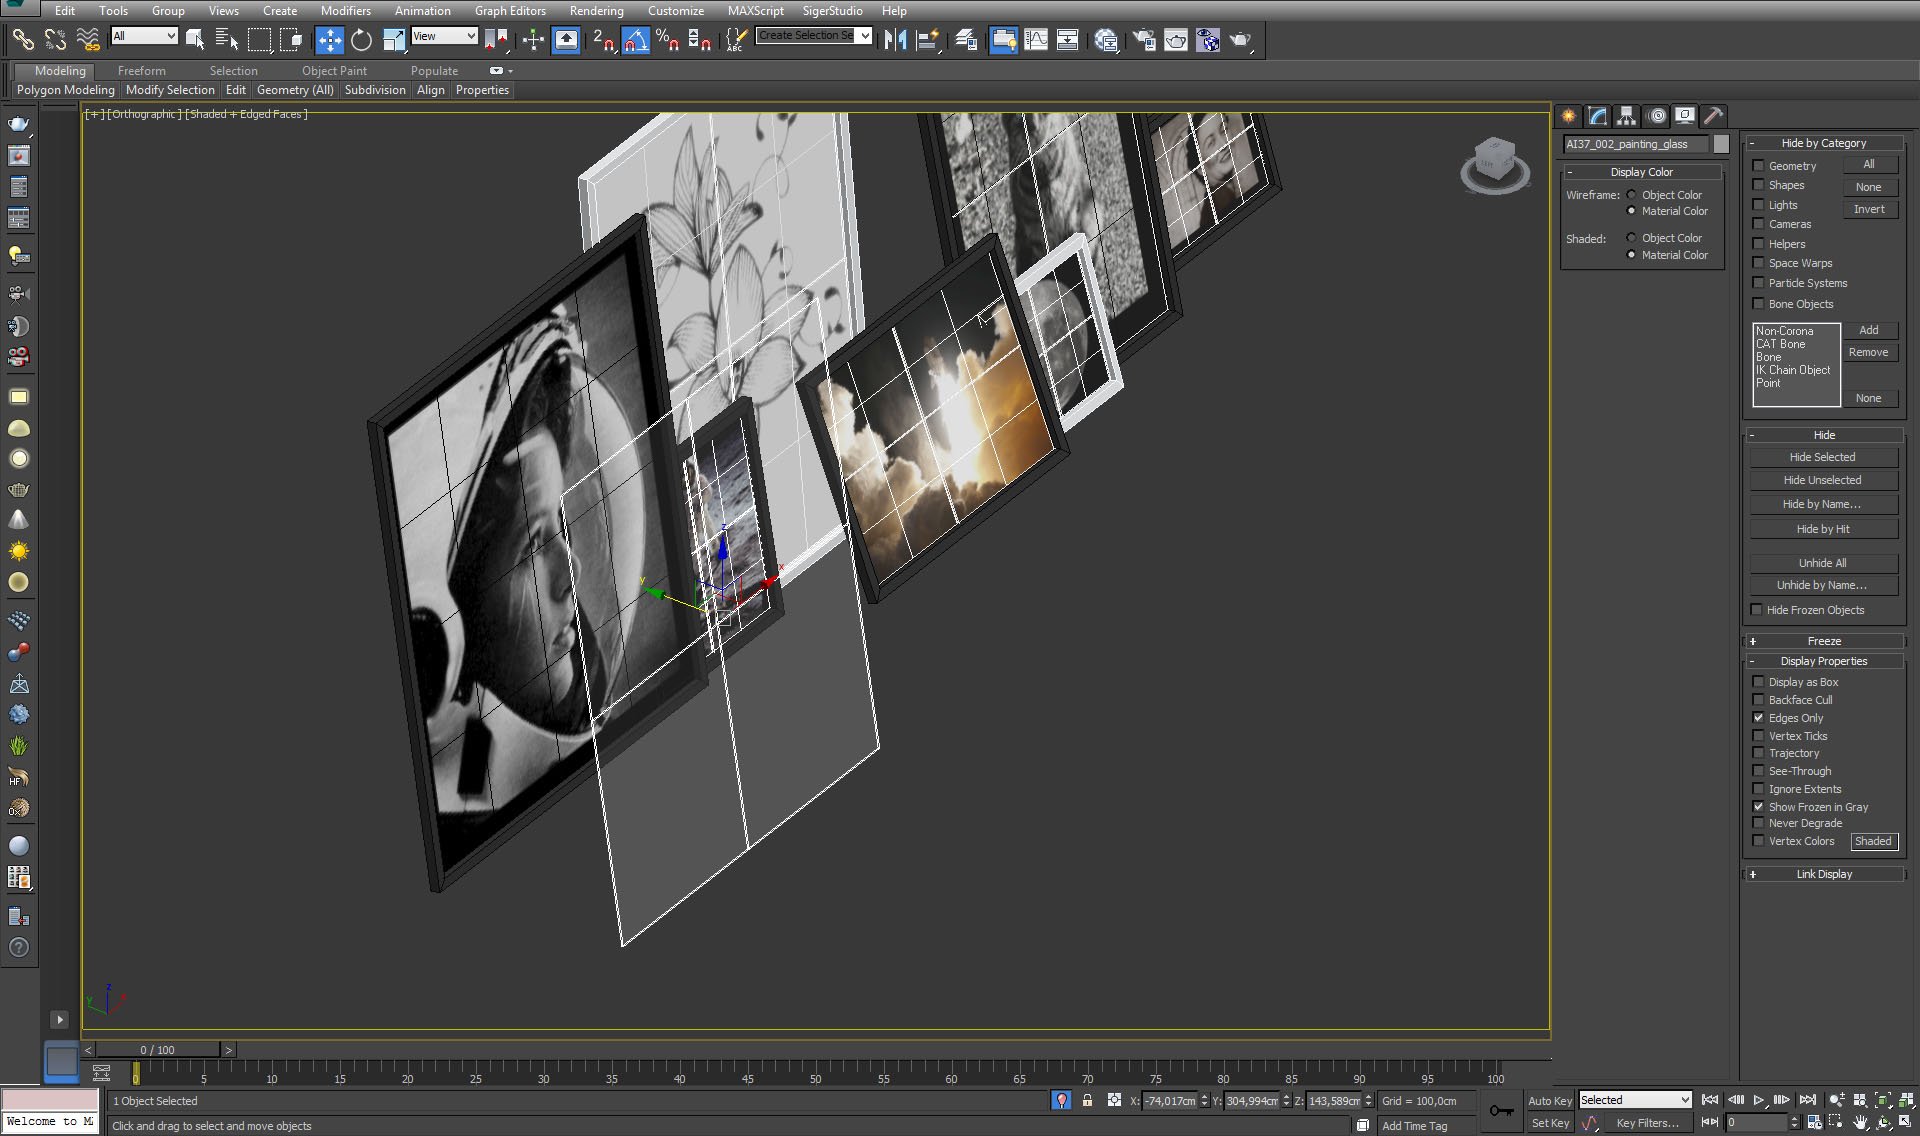
Each image has a small amount of glass covering.
Click on image to enlarge 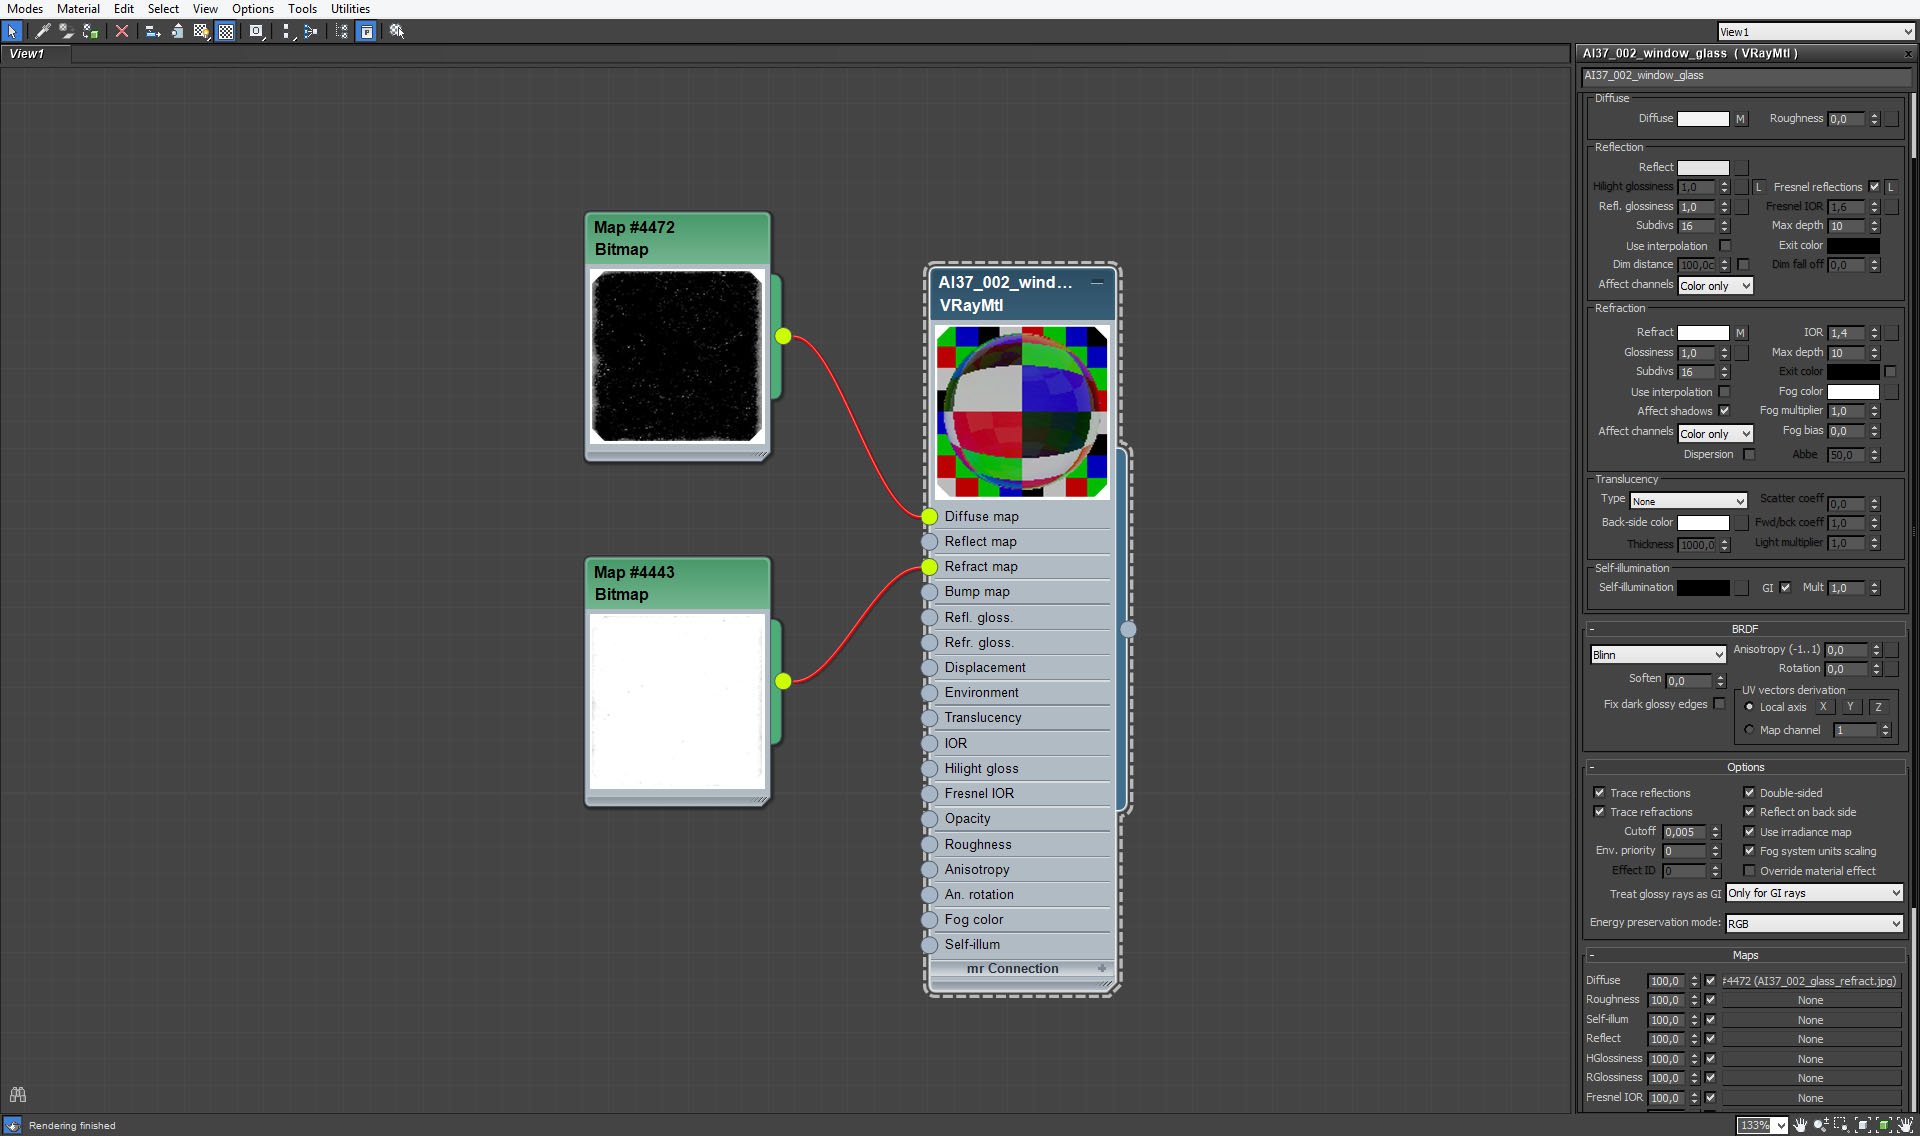
Click on image to enlarge 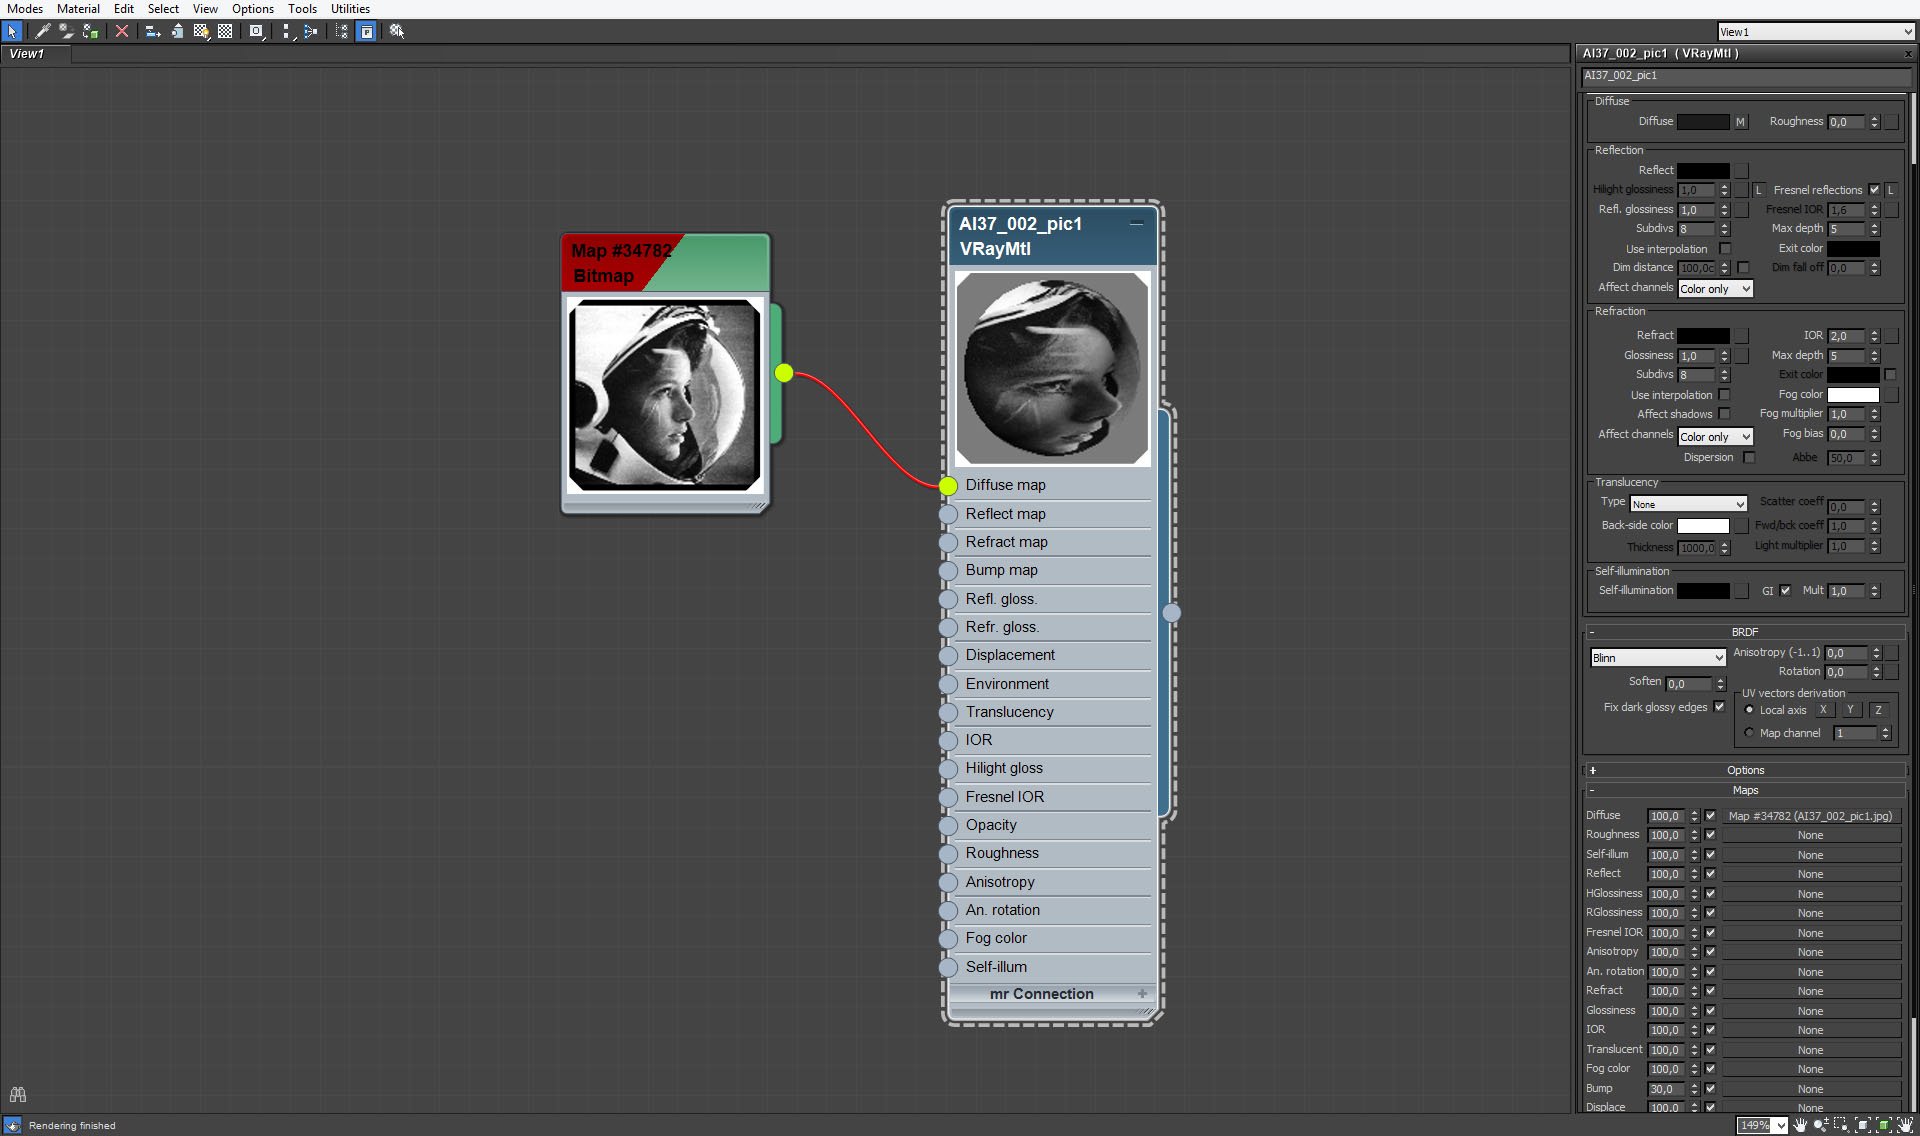
Pictures are simple materials with maps in Diffuse slots.
Click on image to enlarge 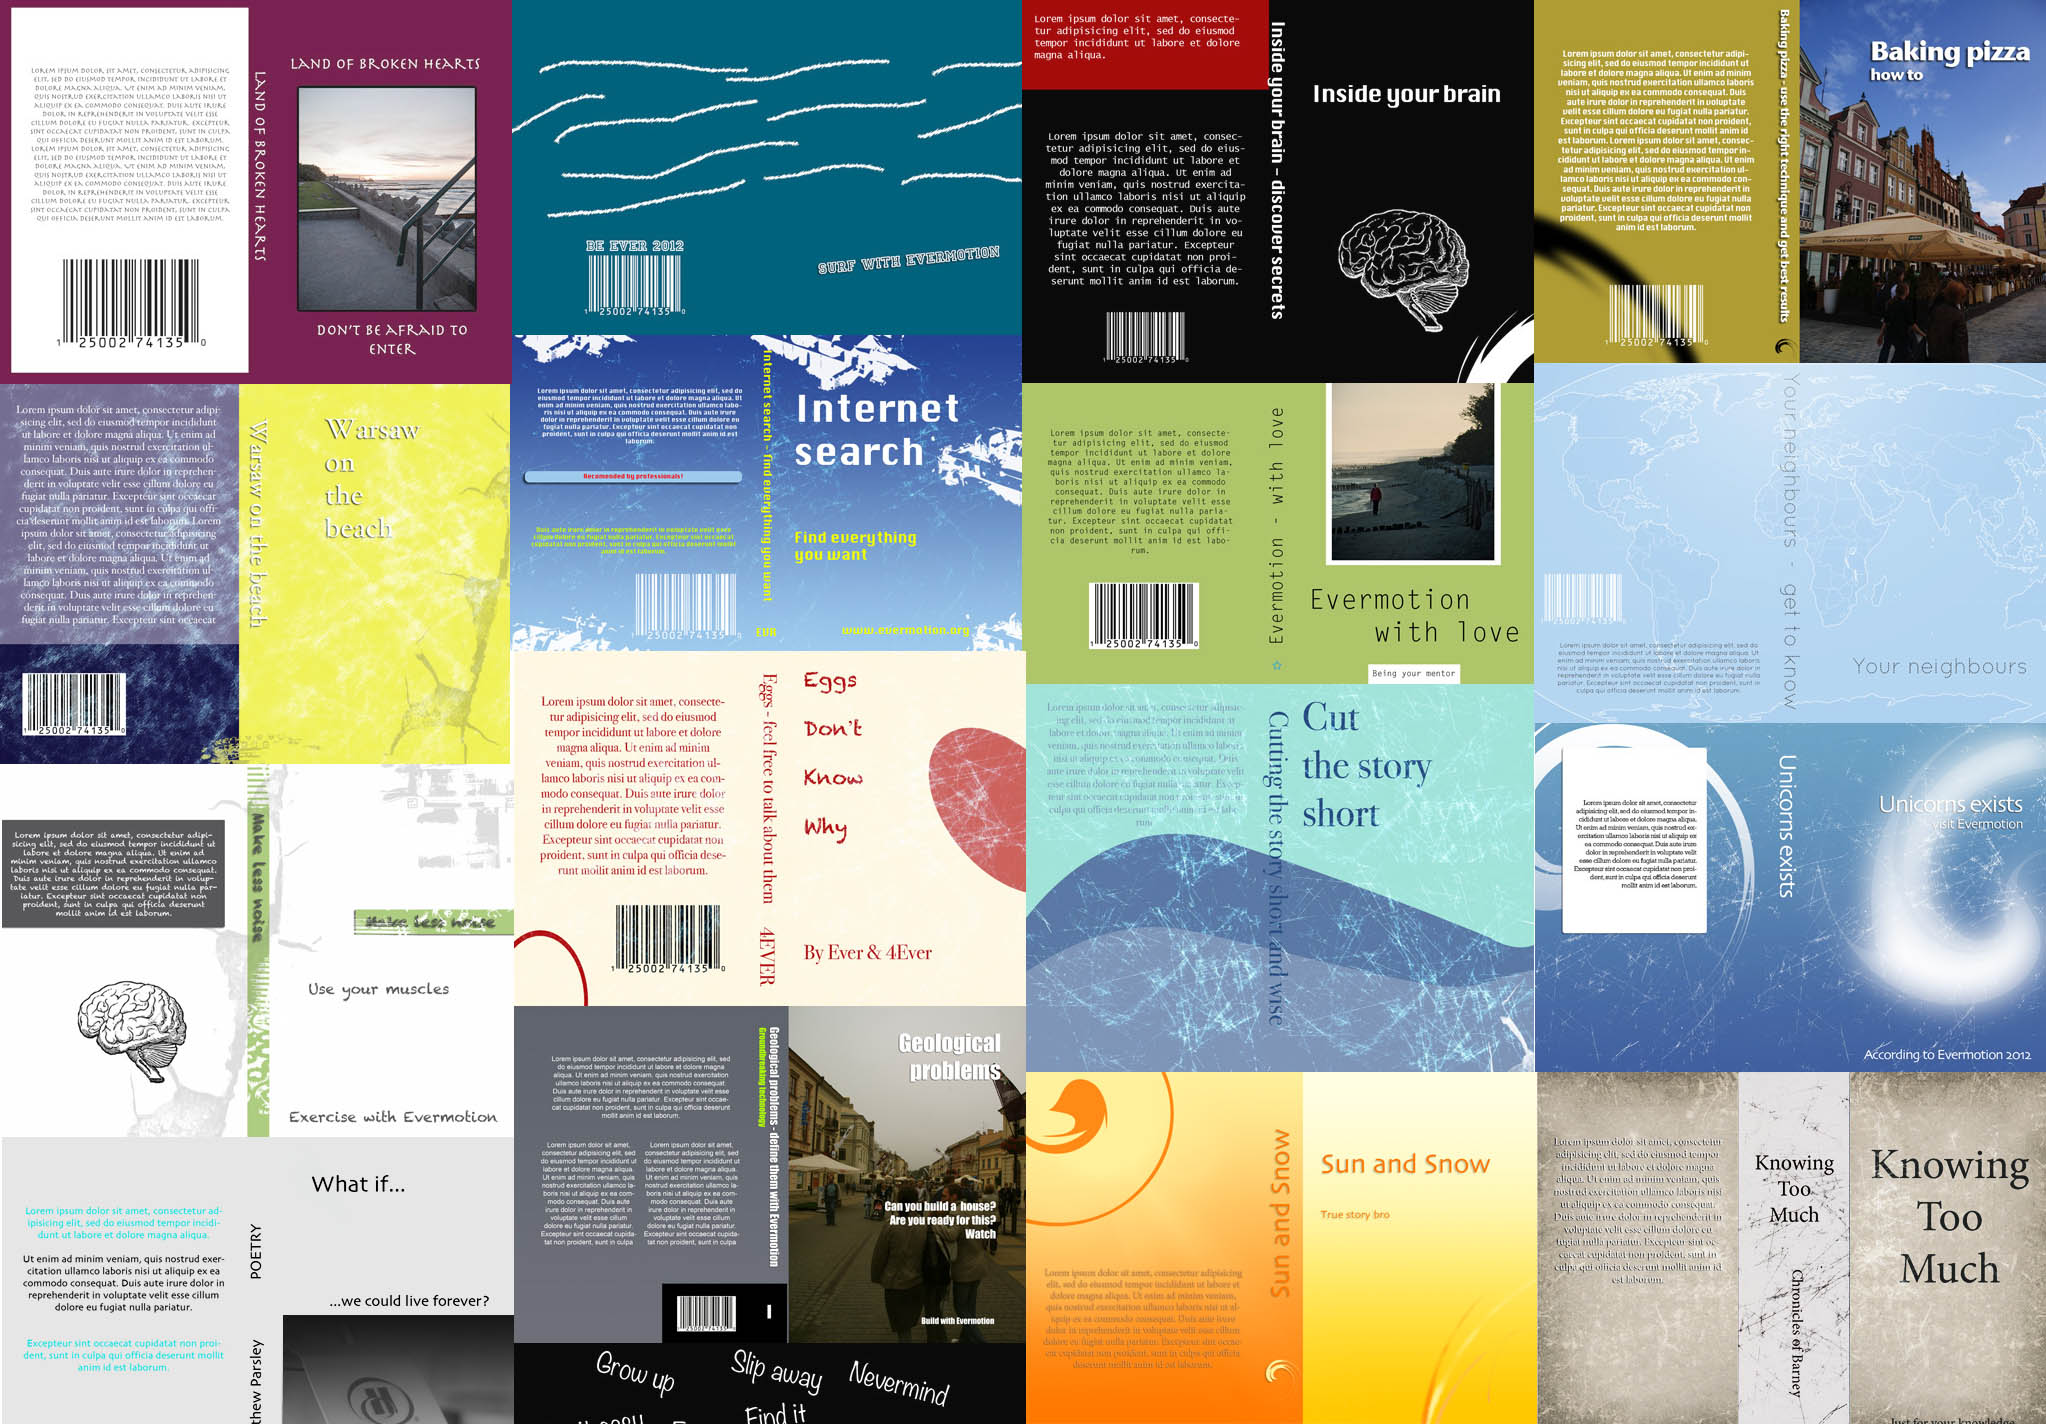
Just for fun - some book covers maps. Our favorite are: "Sun and Snow - true story bro" and "Eggs don't know why" ;)
Click on image to enlarge 
Click on image to enlarge 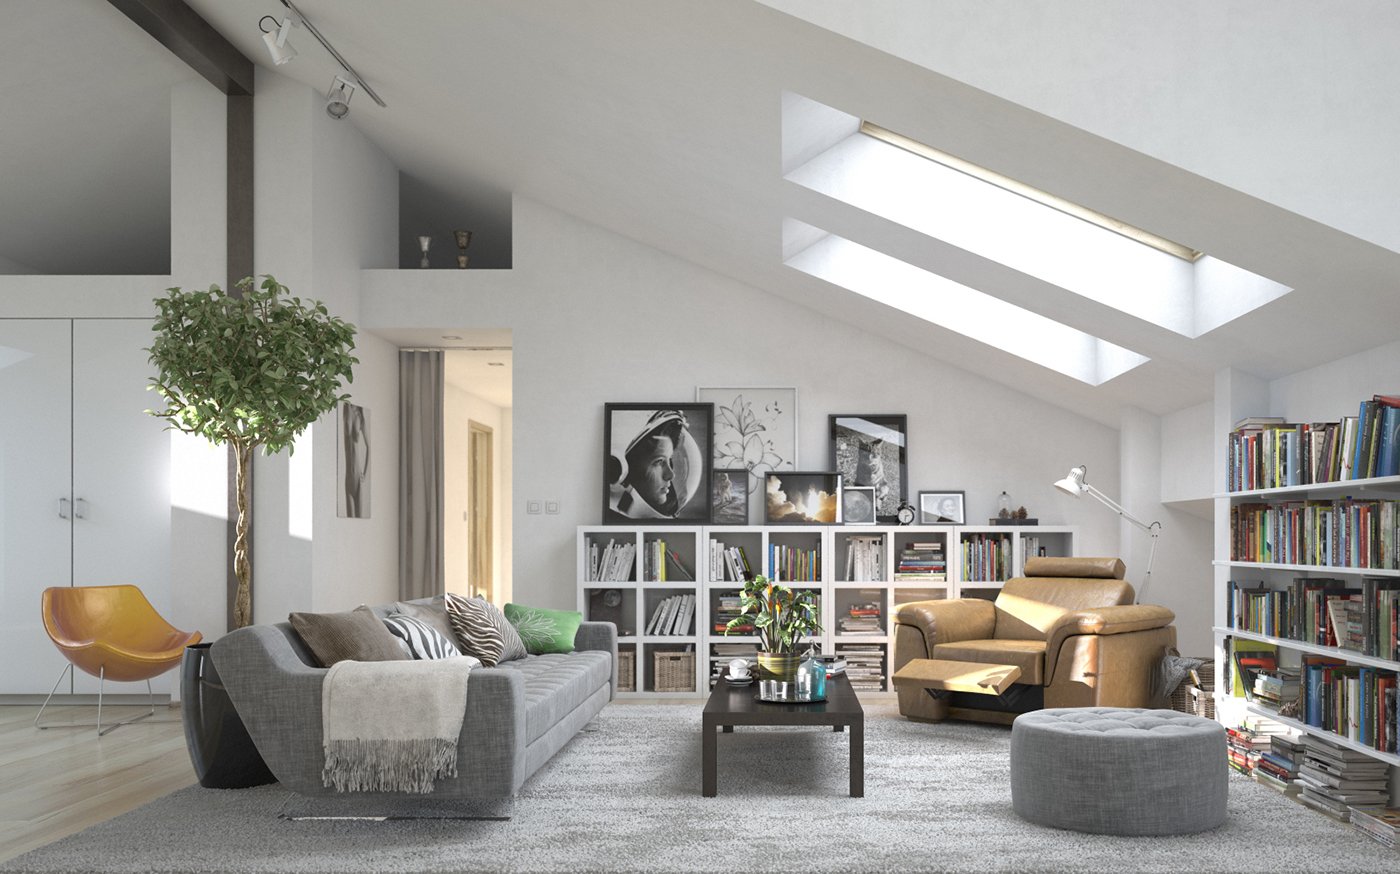
Click on image to enlarge 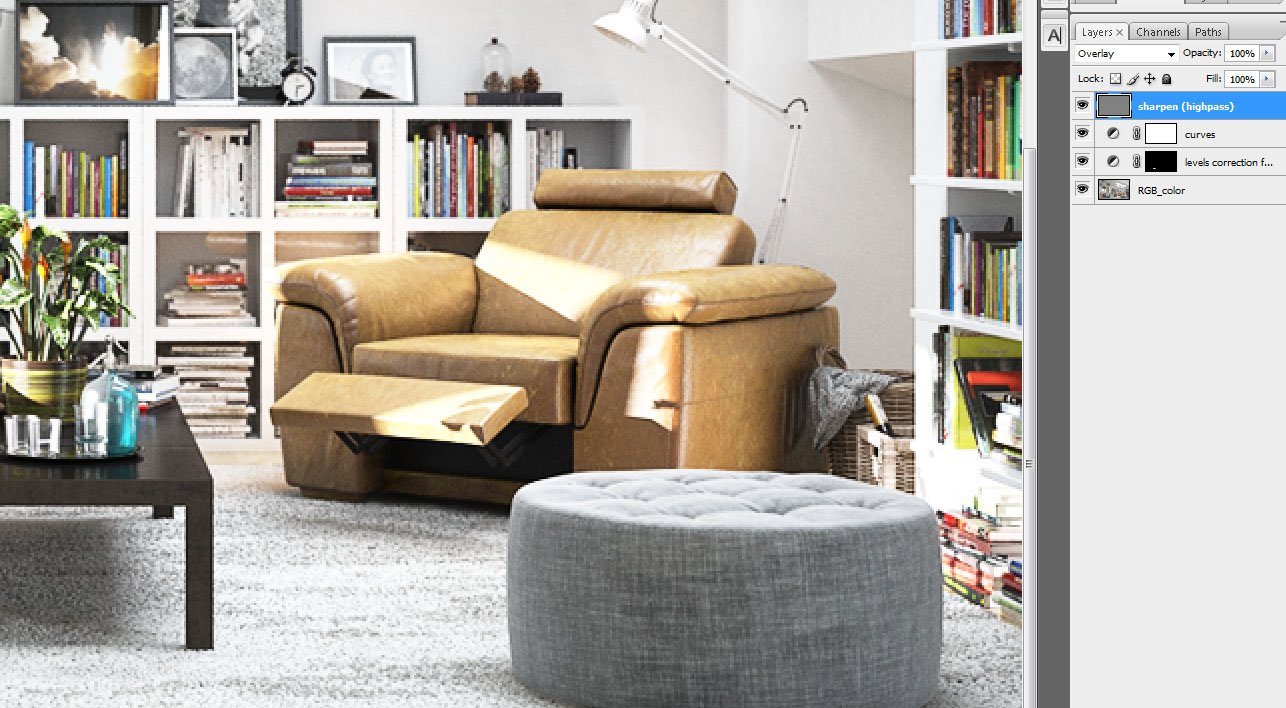
Photoshop stack. We used levels correction for a towel on the couch (lightening), next layer (curves) gives more overall brightness for the image. On the top we placed a sharpening layer.
Click on image to enlarge 
Final image after post-production.
This exterior scene was made by Evermotion in 3ds Max and V-Ray. It is a scene 8 from Archinteriors vol. 37. You can purchase this single scene or entire Archinteriors vol. 37 collection in Evermotion Shop.




COMMENTS