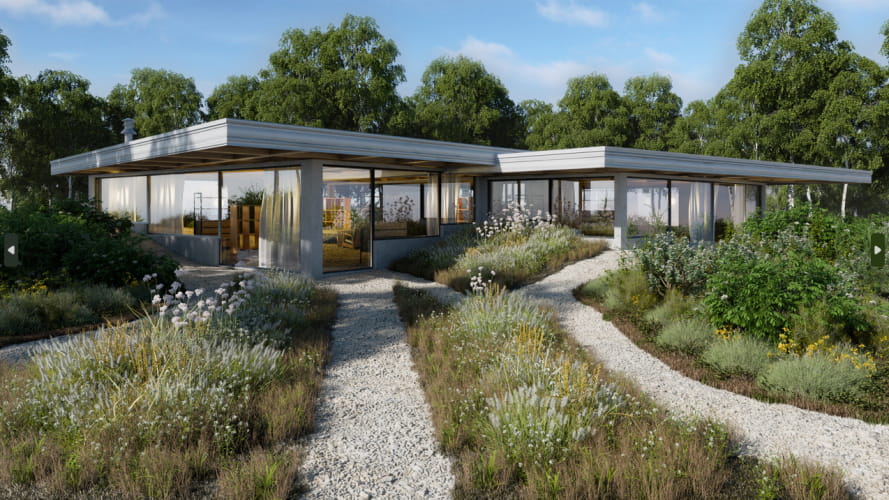
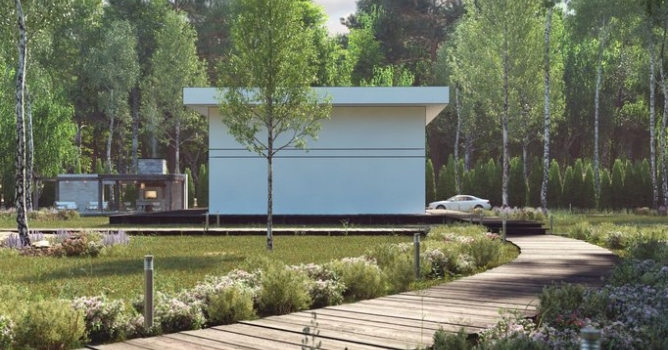
This exterior scene was made by Marcin Białecki from Evermotion in 3ds Max and V-Ray. It is a scene 3 from Archexteriors vol. 26.
You can:
Click on image to enlarge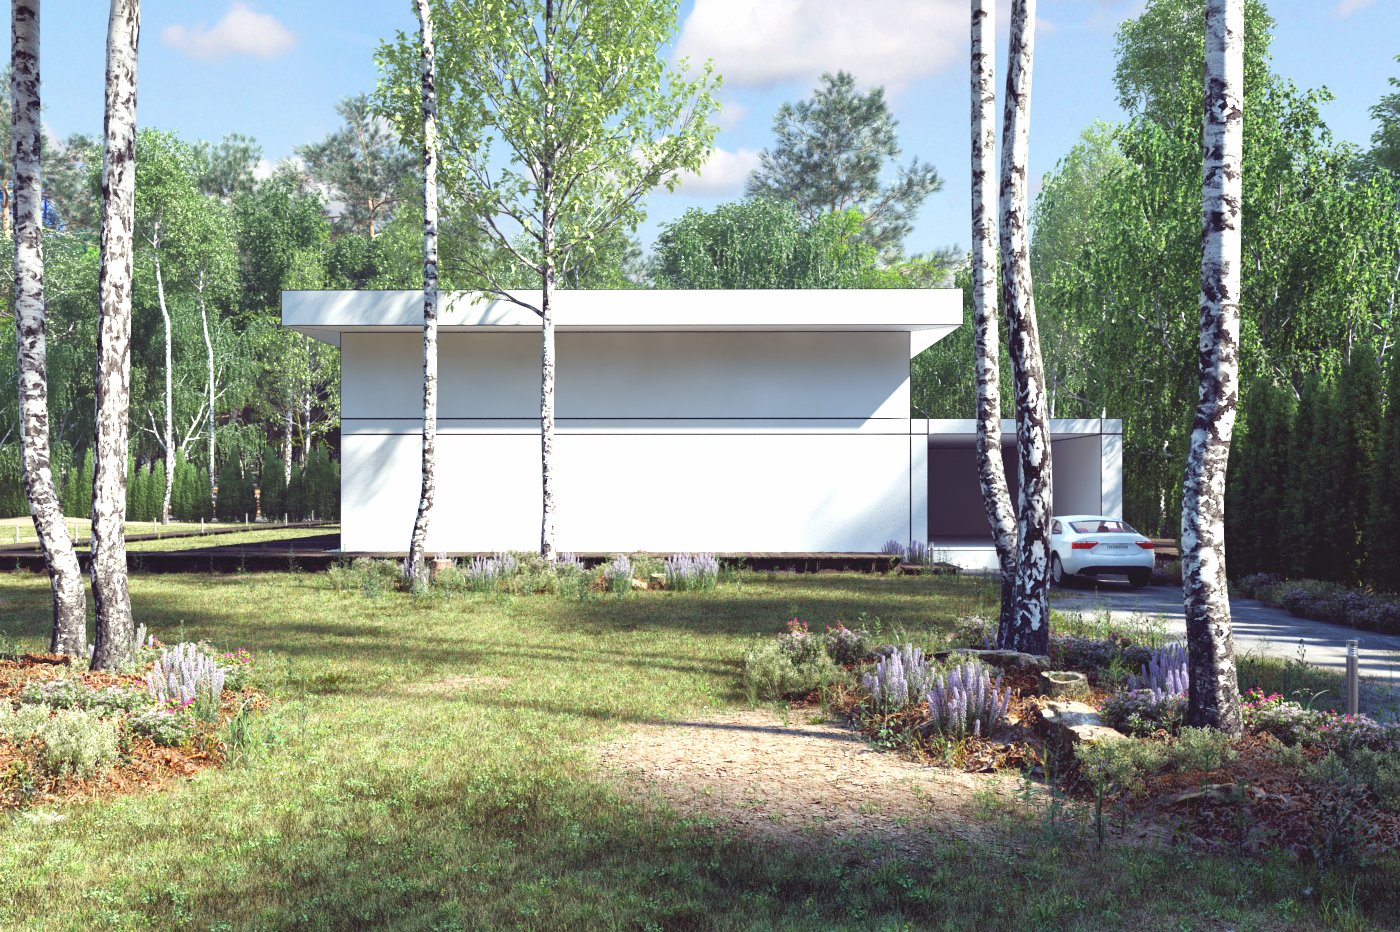
This if the final scene after post-production, as seen by the camera 1.
Click on image to enlarge 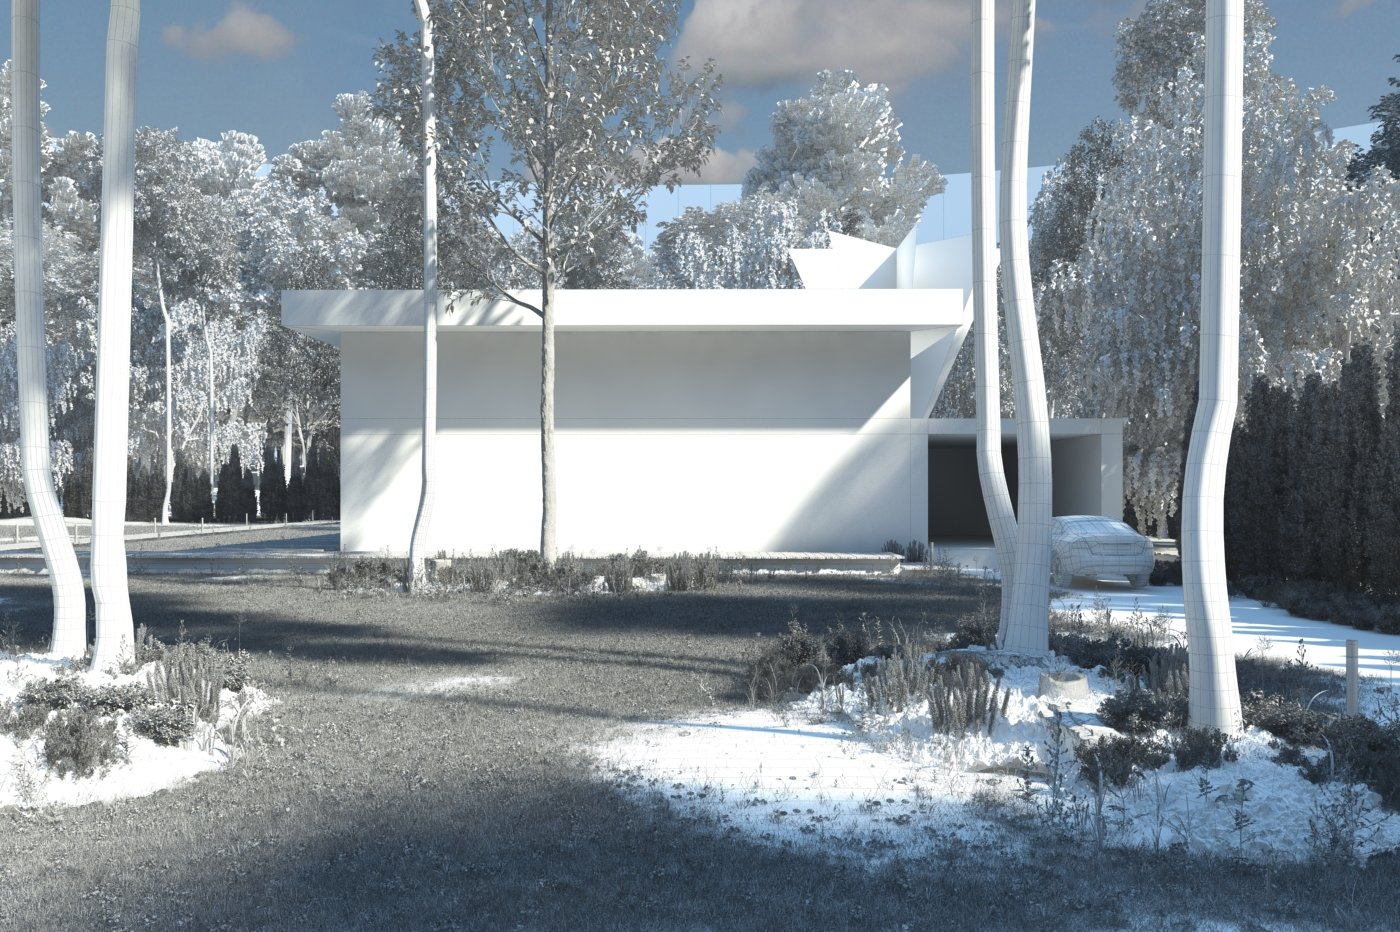
Camera 1 - wireframe view.
Click on image to enlarge 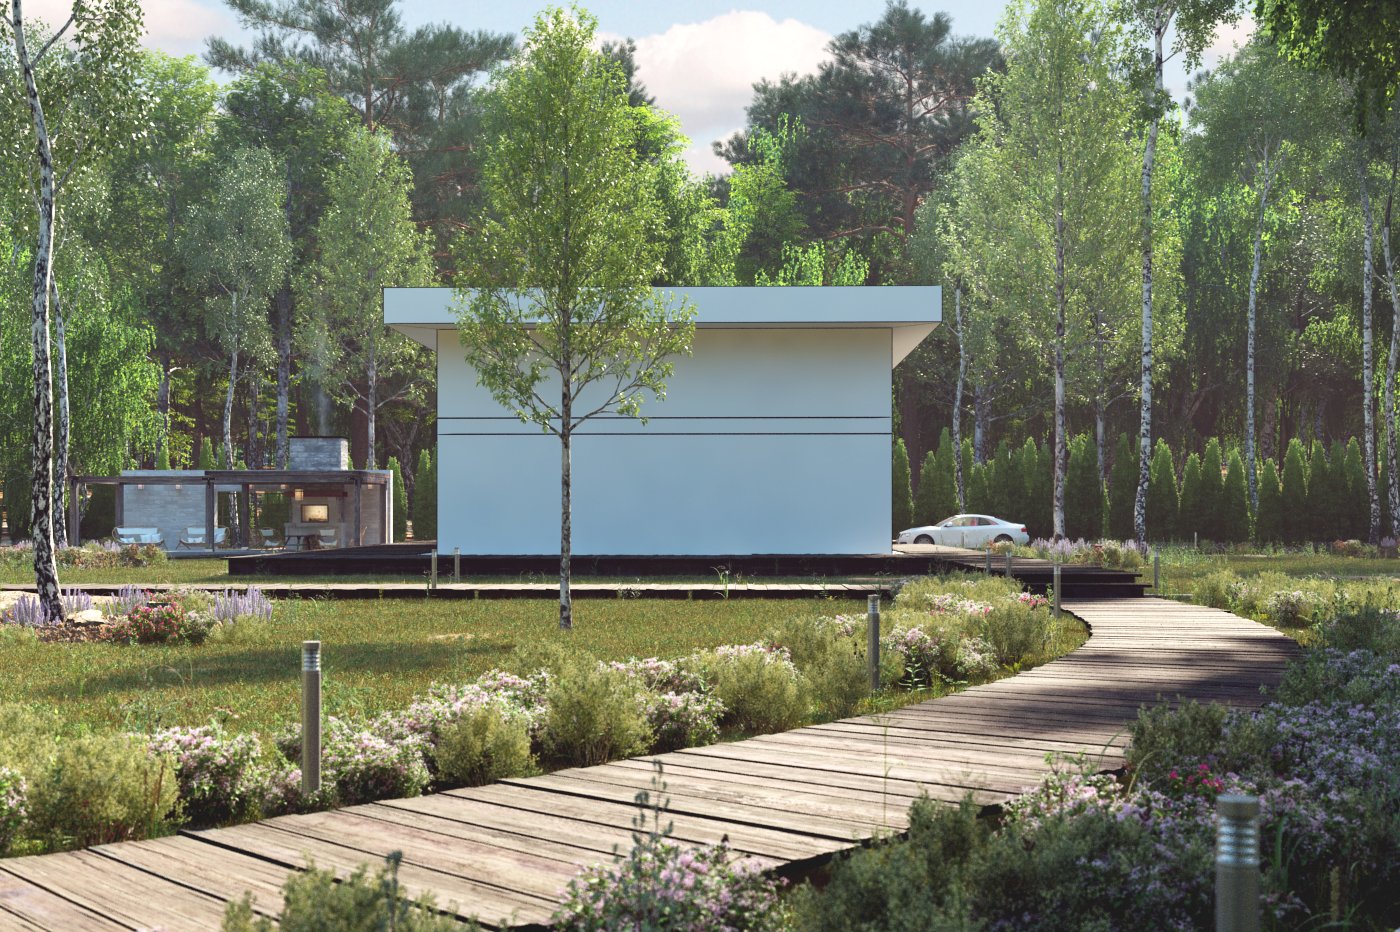
Final scene after post-production - camera 2. Camera 2 is placed to the left of the building, you can see the wooden arbor behind the building from this perspective.
Click on image to enlarge 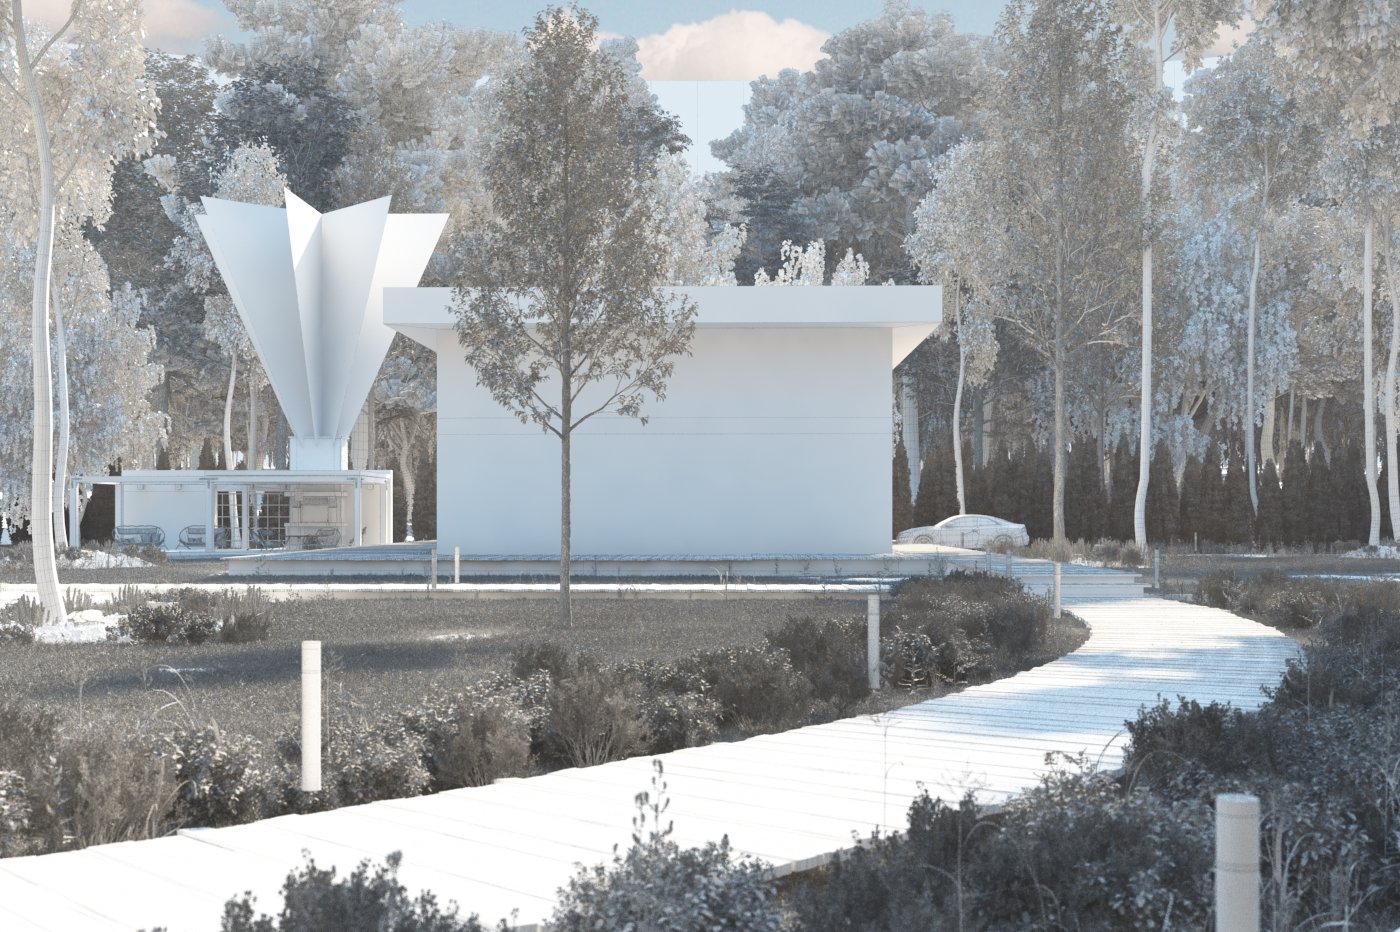
Camera 2 - wireframe view. The planes that are emerging from the chimney are simulating the smoke.
Click on image to enlarge 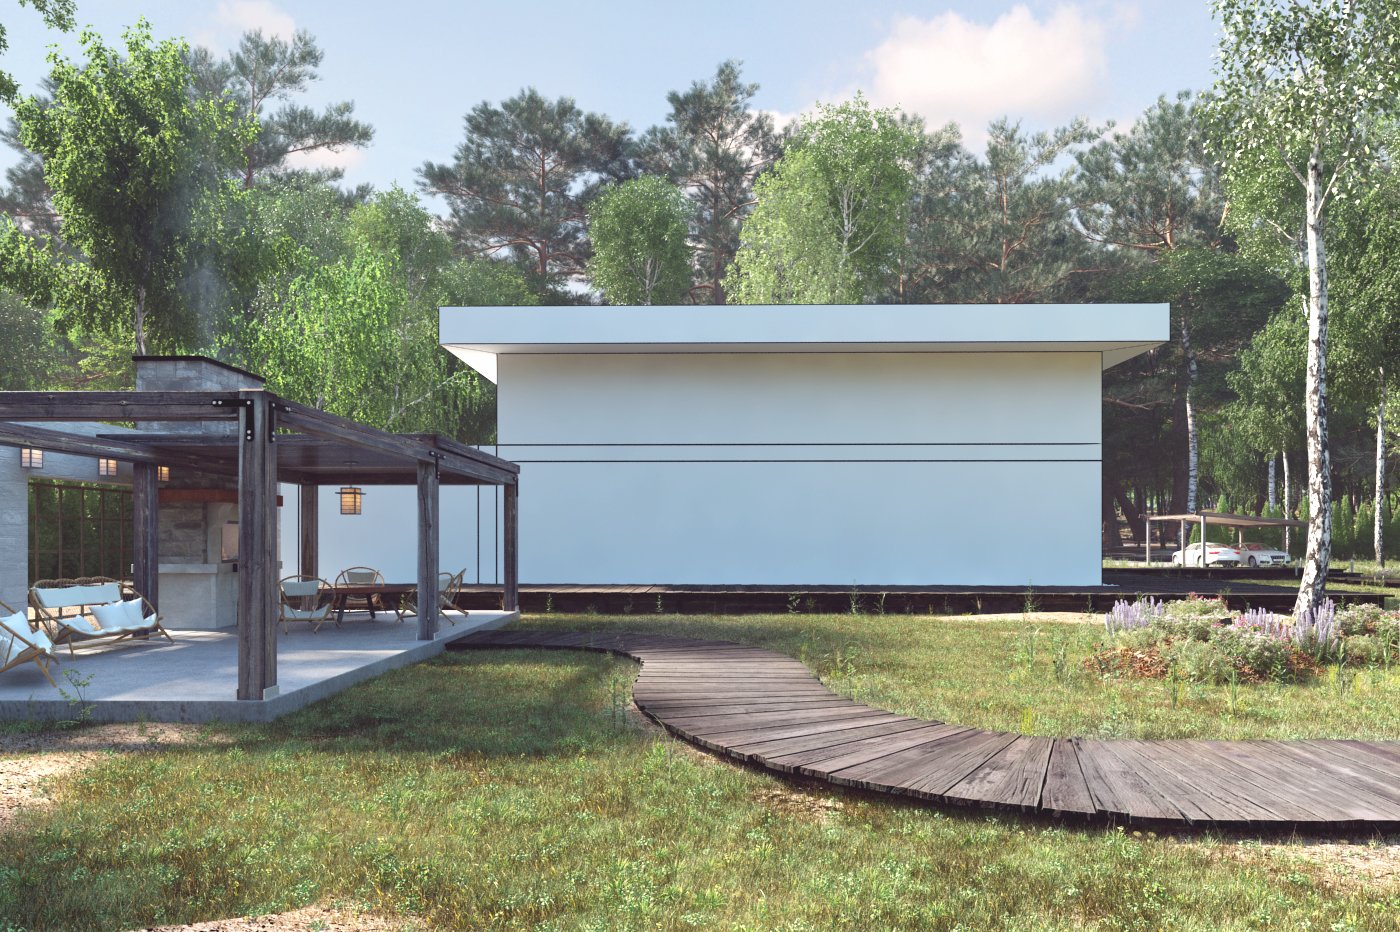
Final image after post-production - camera 3. There is a wooden path that leads to arbor and goes around the building.
Click on image to enlarge 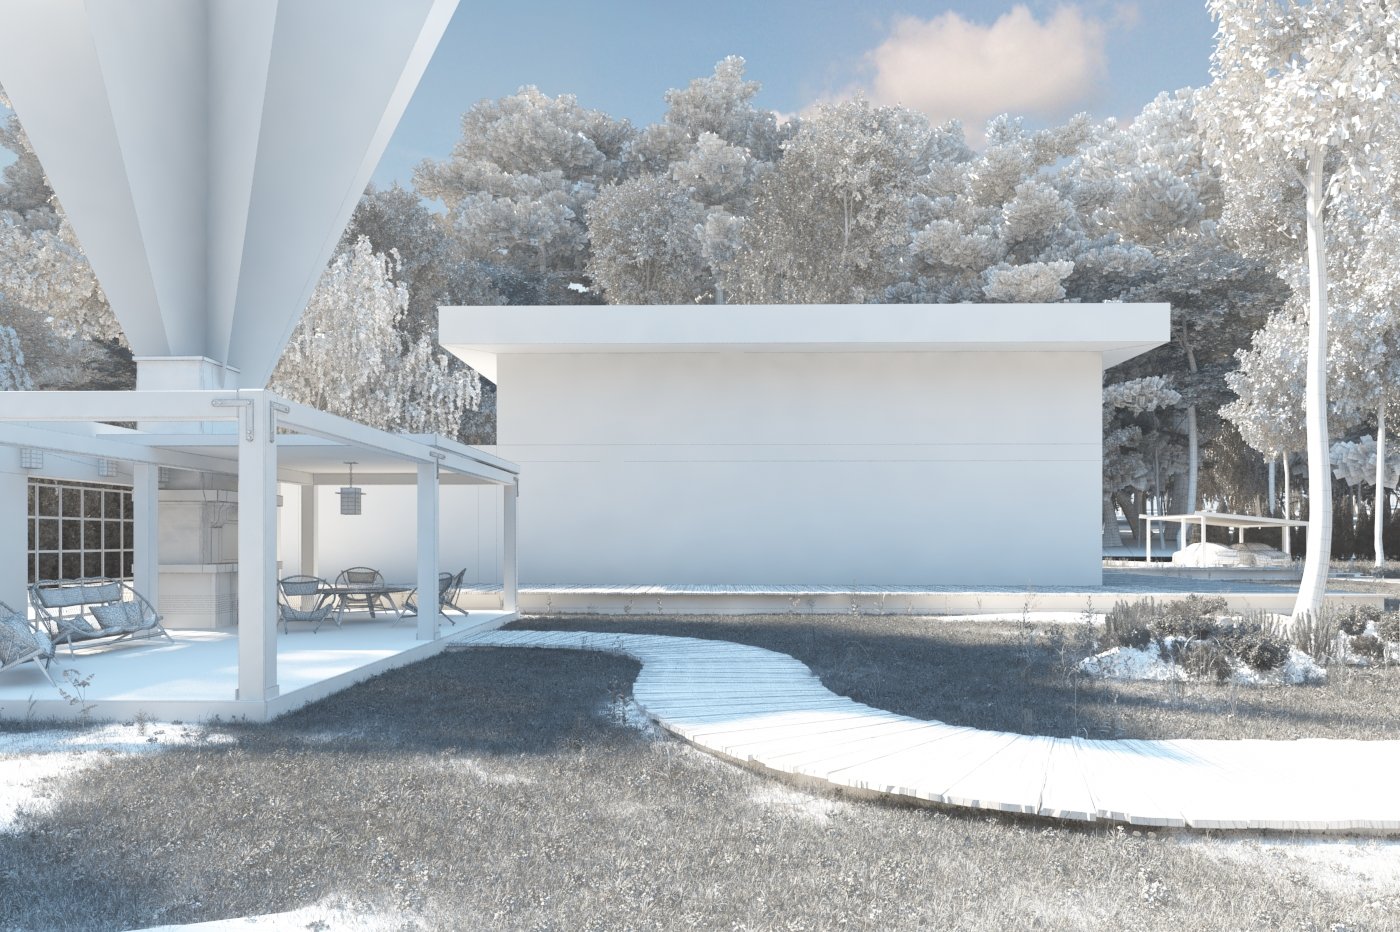
View from camera 3 - wireframe.
Click on image to enlarge 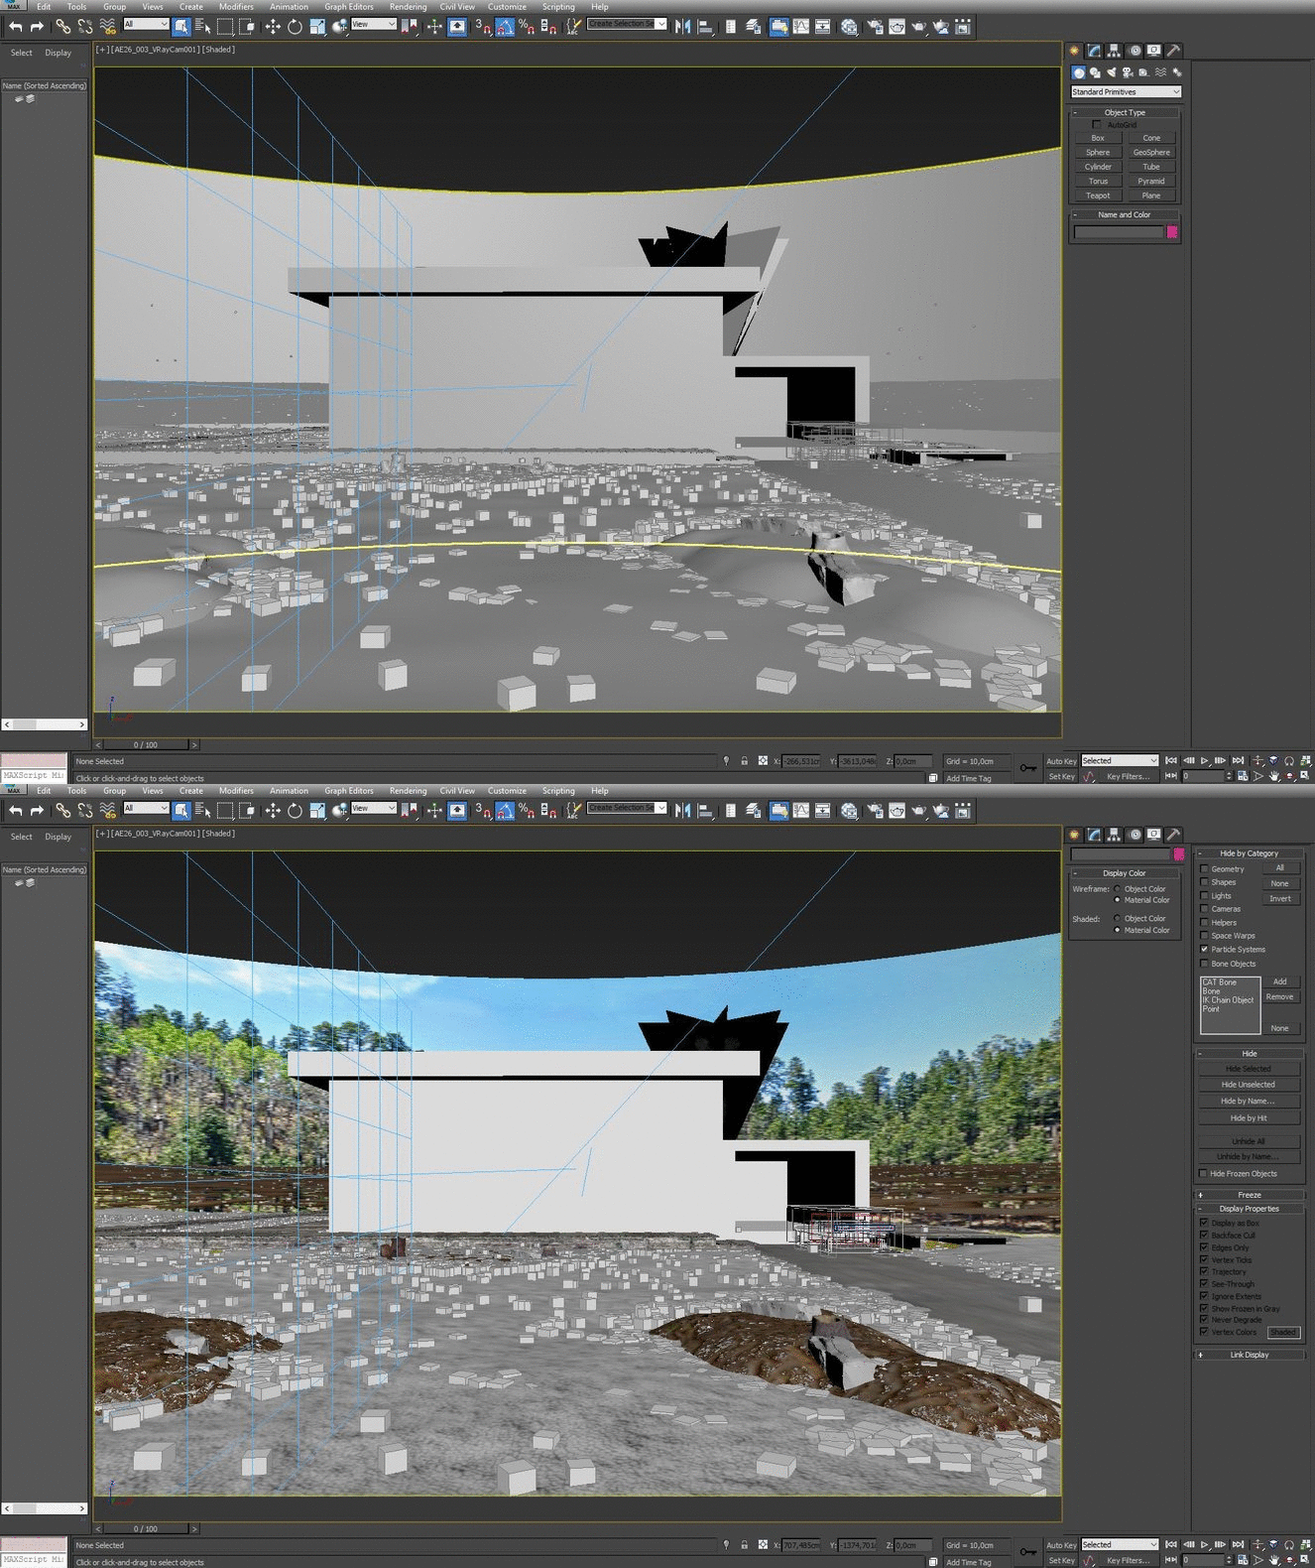
Camera 1 - view in 3ds Max viewport with material / object color on / off (gif animation)
Click on image to enlarge 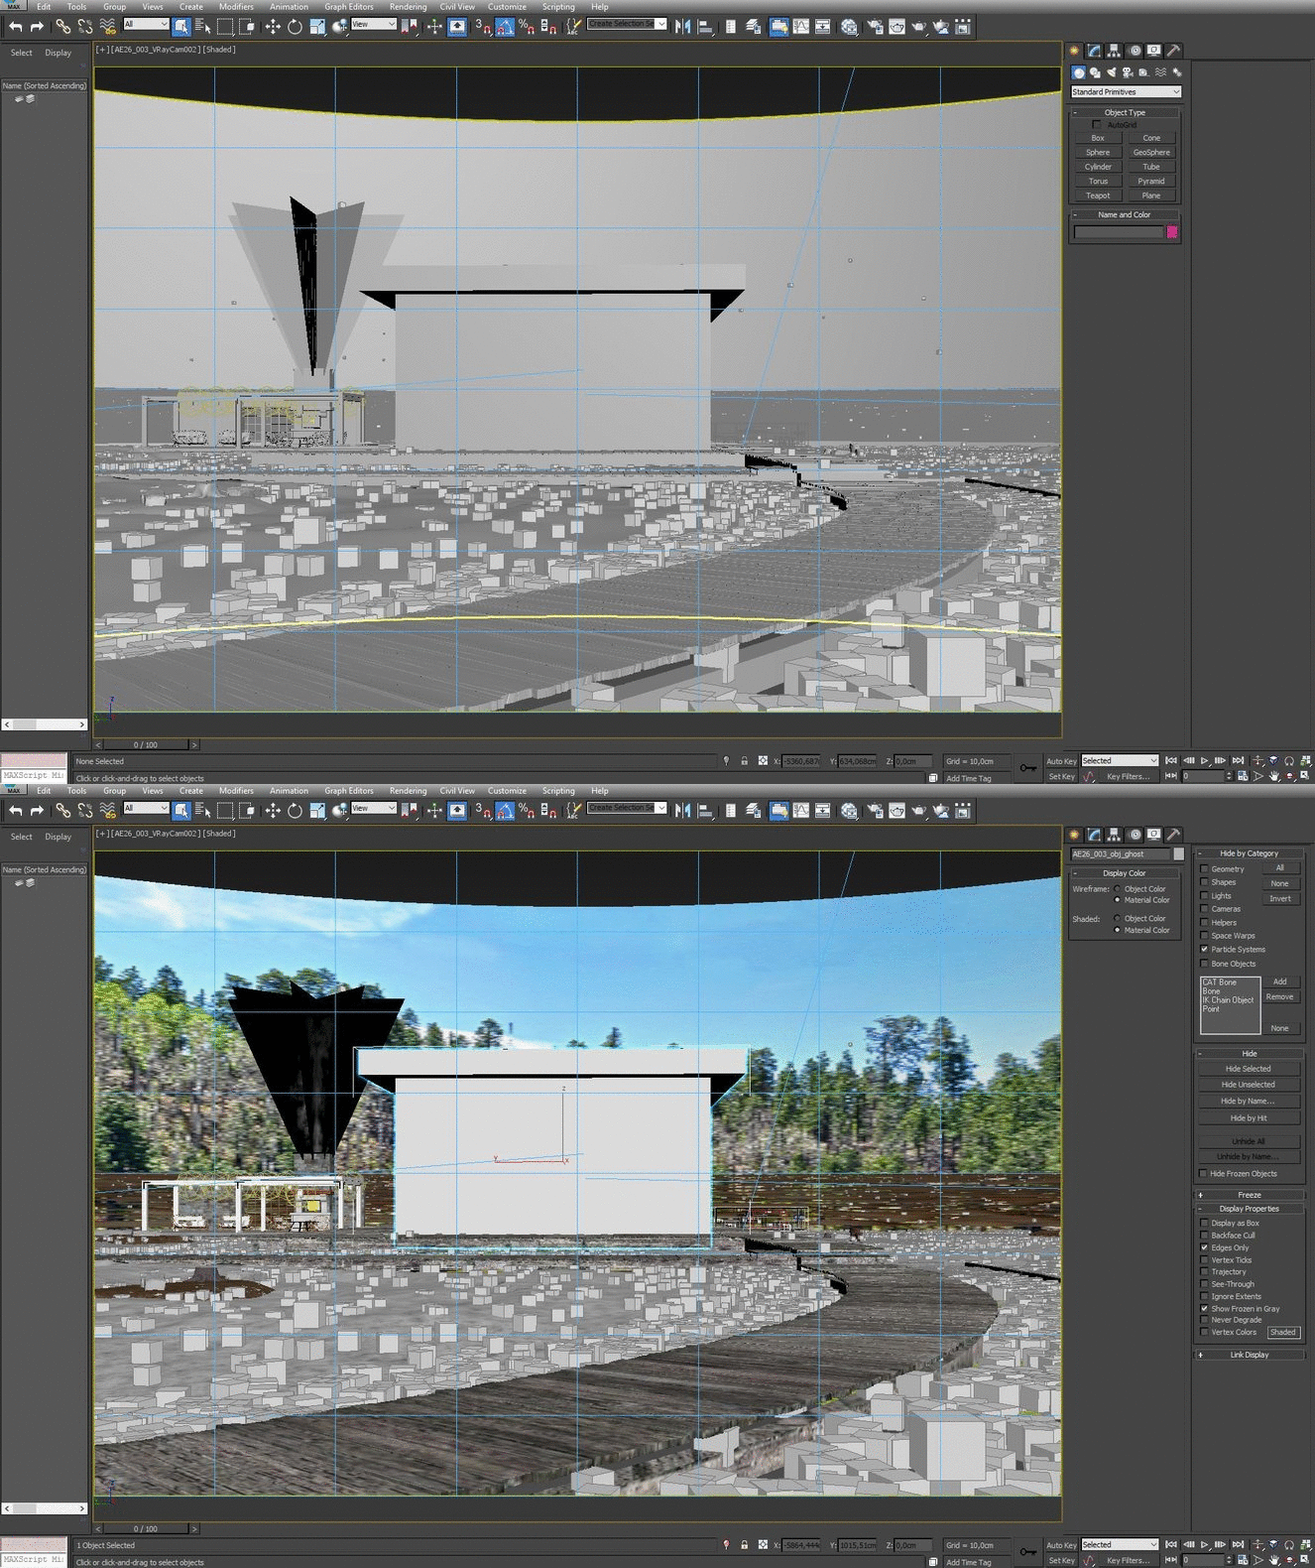
Camera 2 - view in 3ds Max viewport with material / object color on / off (gif animation)
Click on image to enlarge 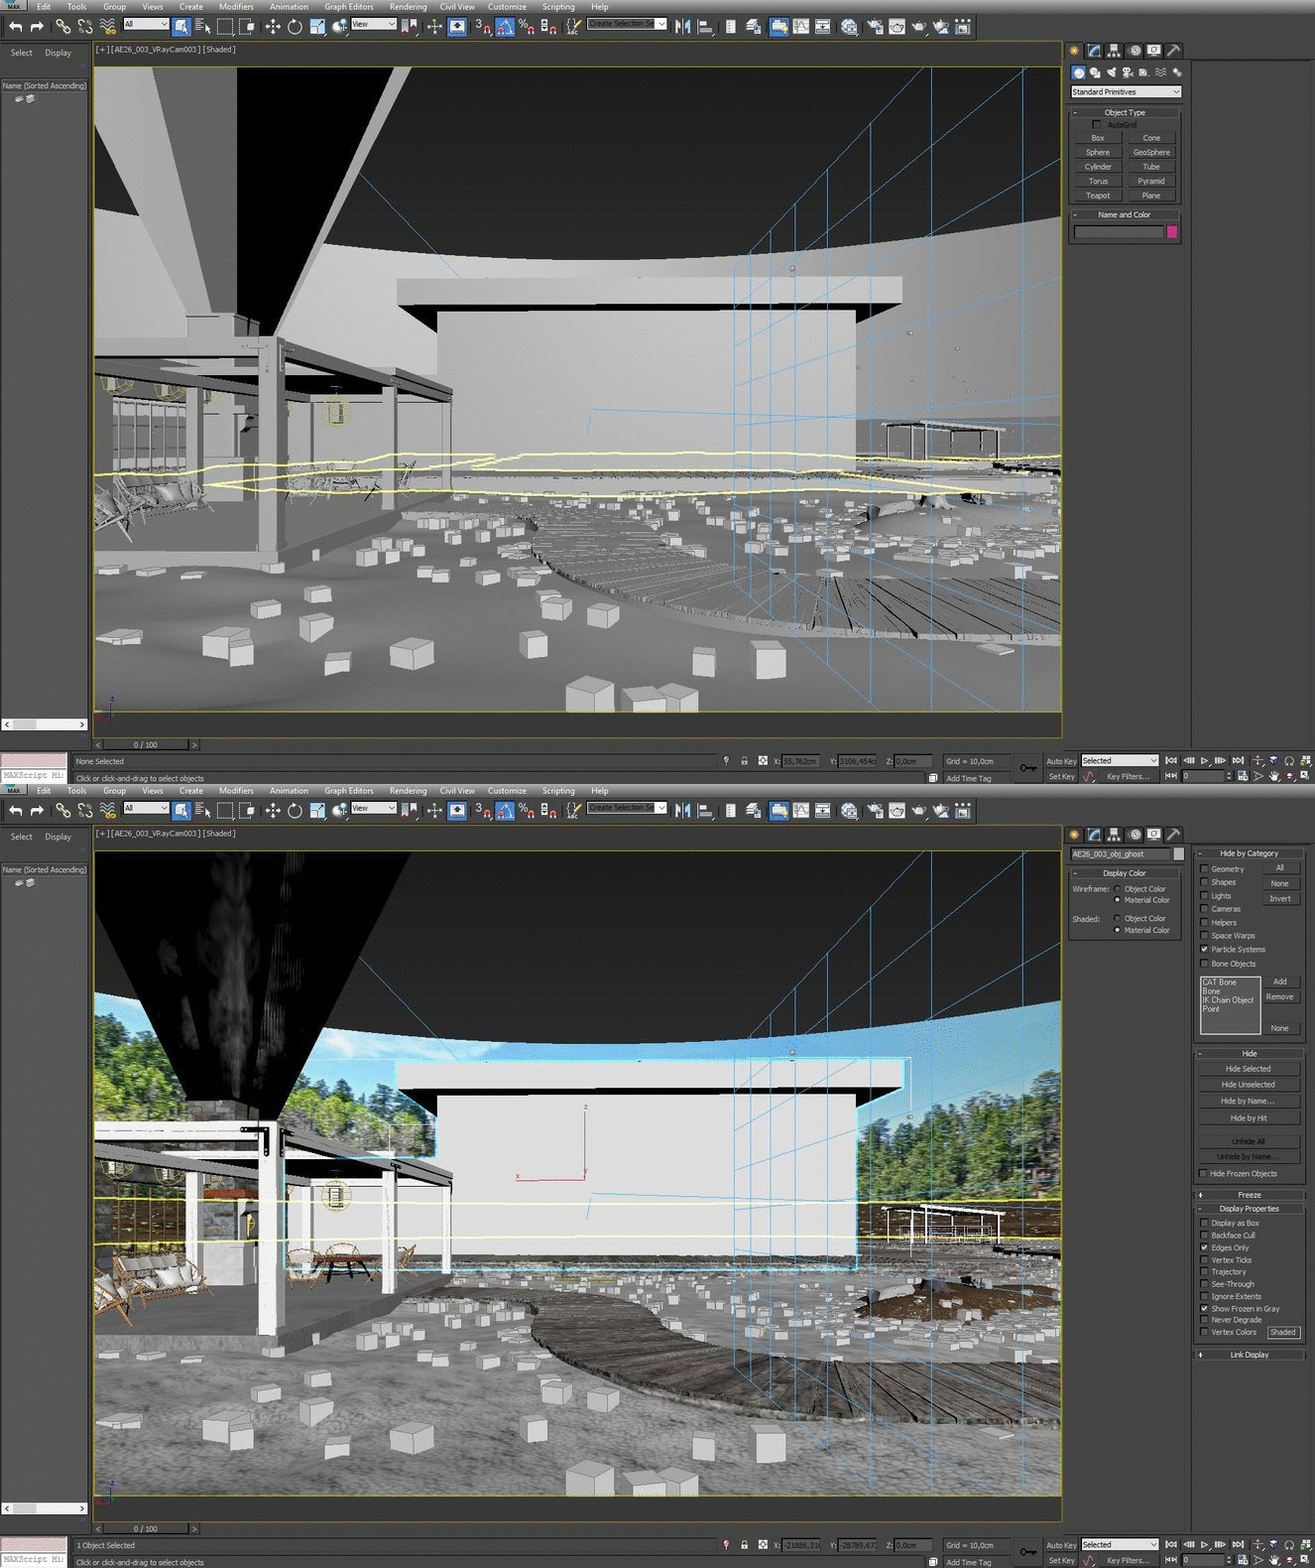
Camera 3 - view in 3ds Max viewport with material / object color on / off (gif animation)
Click on image to enlarge 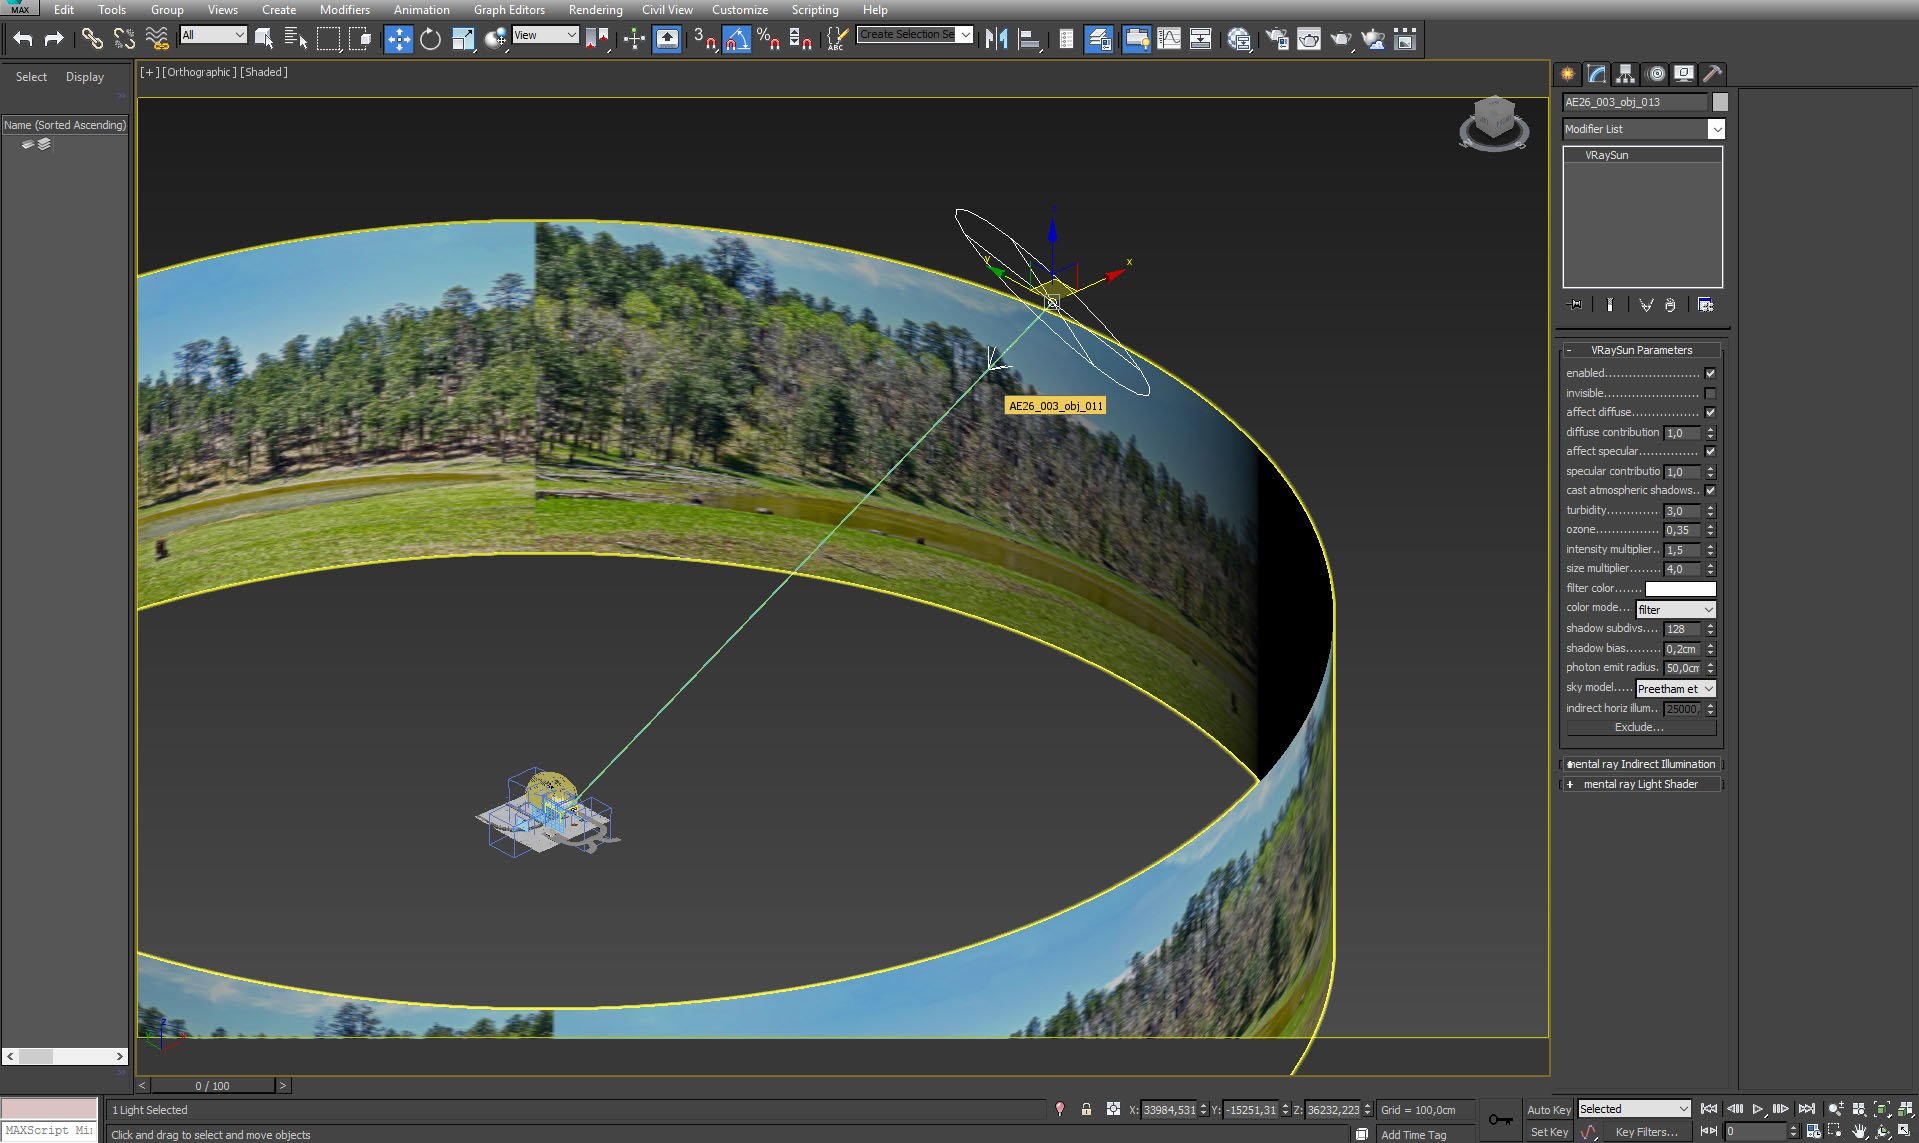
Main light source is provided by VraySun - settings on the right. The far environment is a bitmap on cylinder.
Click on image to enlarge 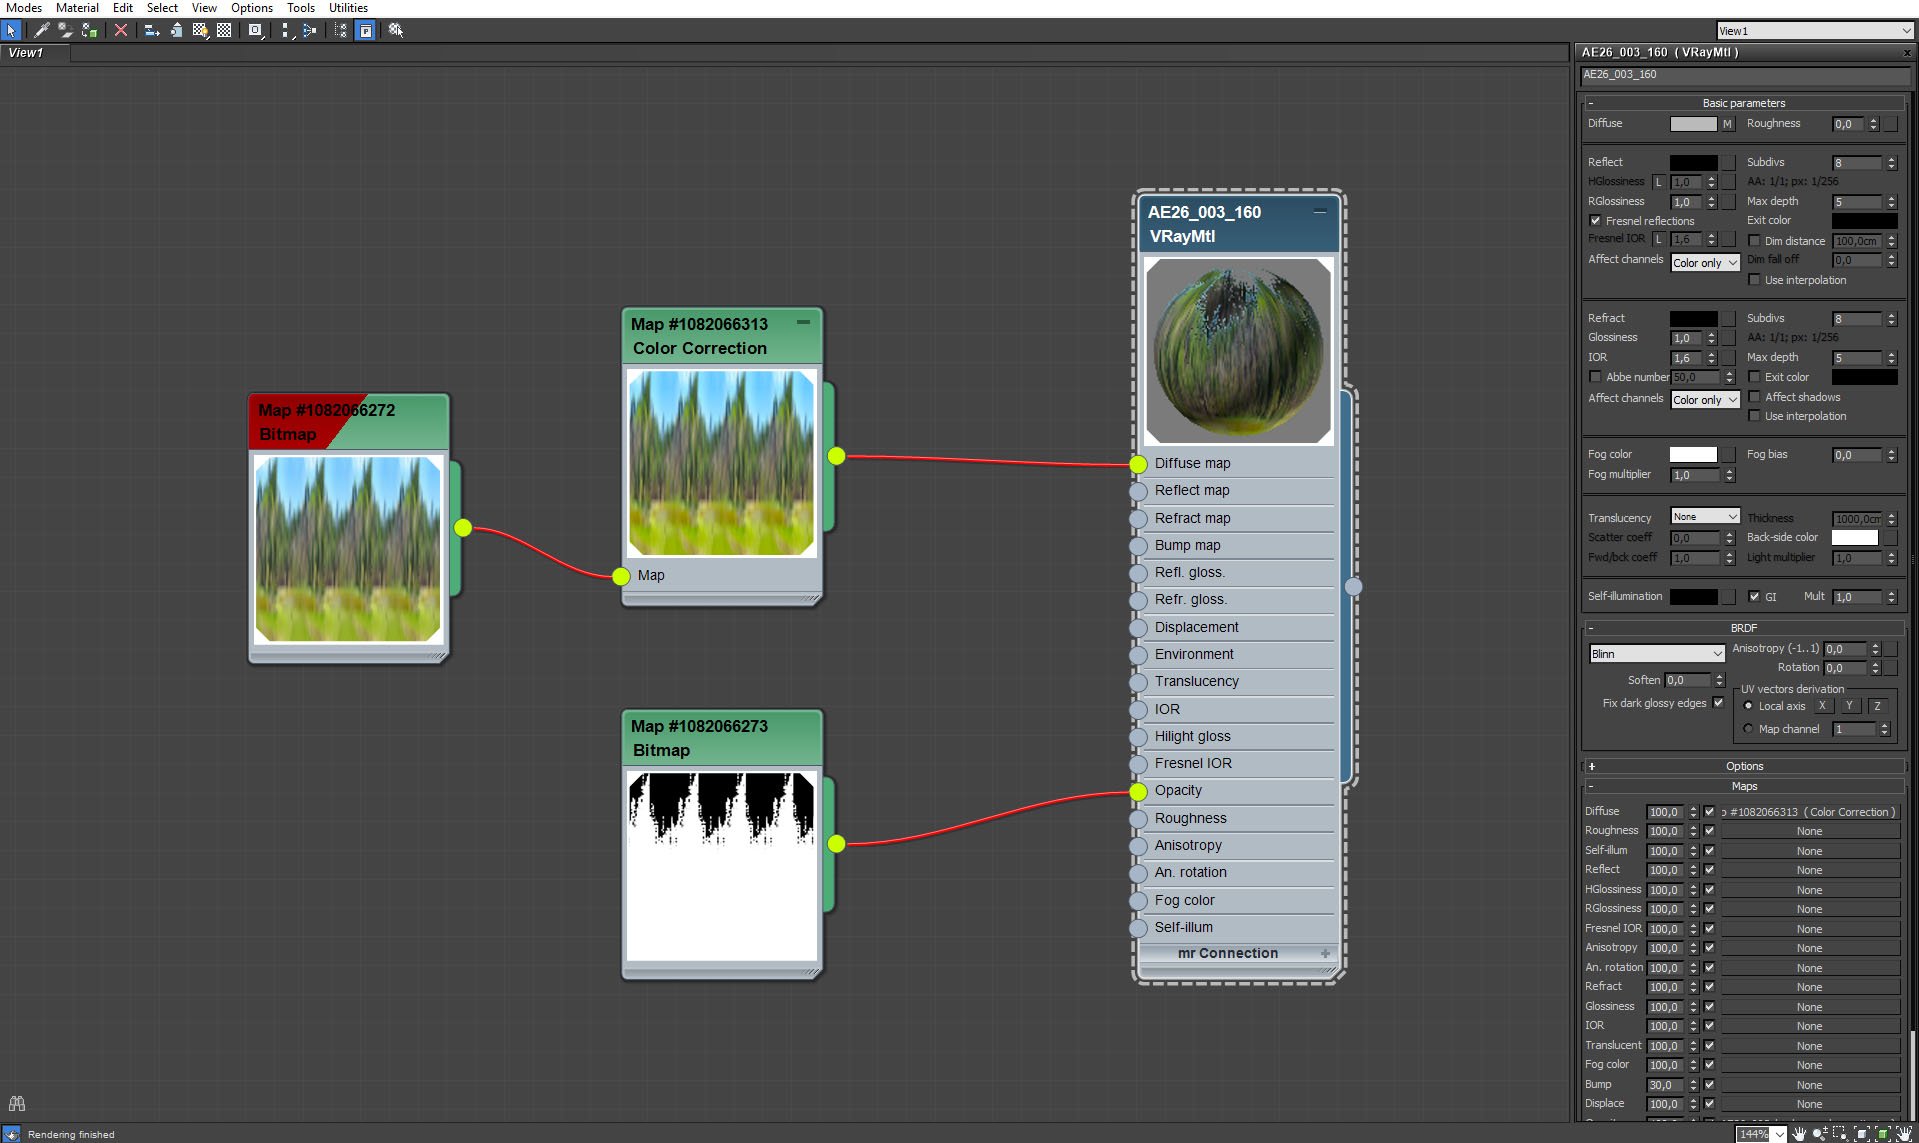
Environment background cylinder material - simple bitmap with opacity, to exlude sky, The sky in this scene is simulated with HDRI map.
Click on image to enlarge 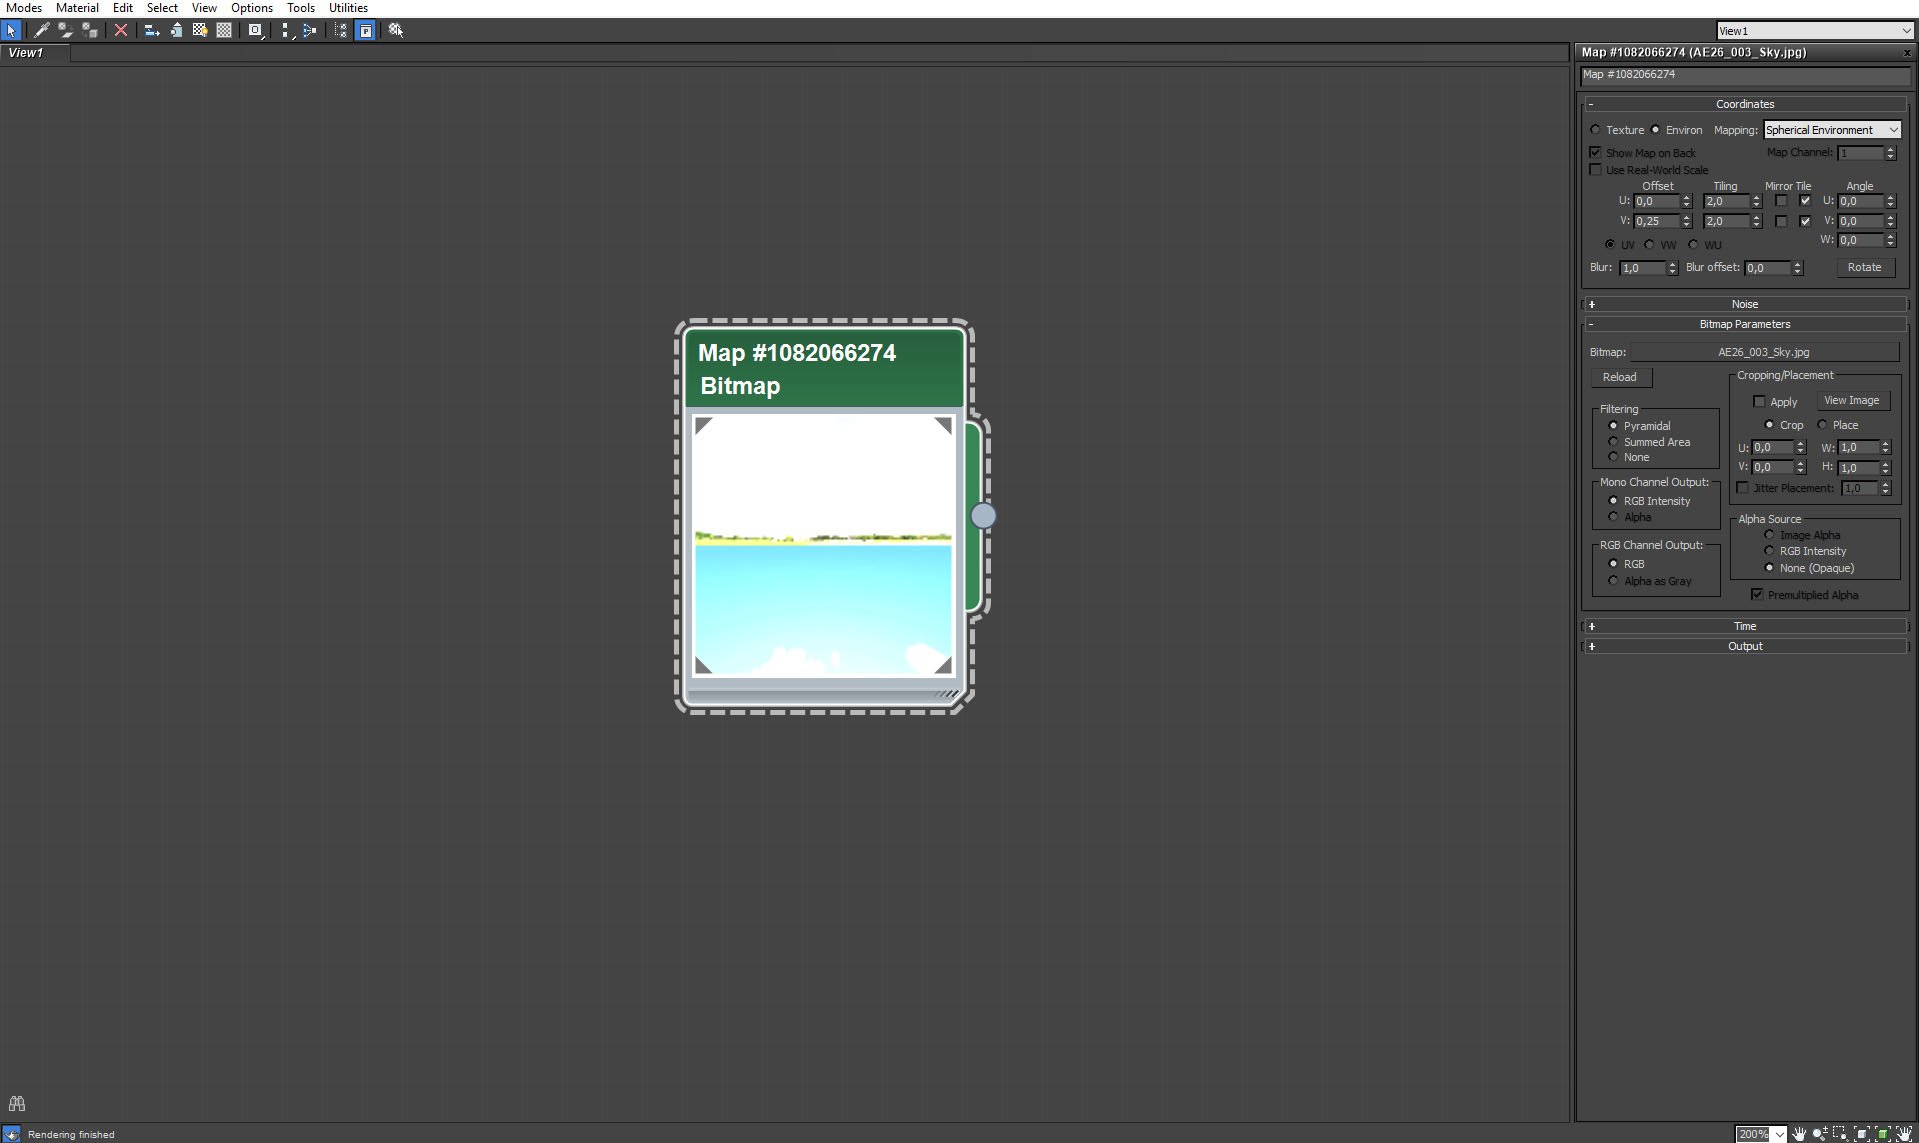
HDRI map in the Environment slot - our sky and green horizon.
Click on image to enlarge 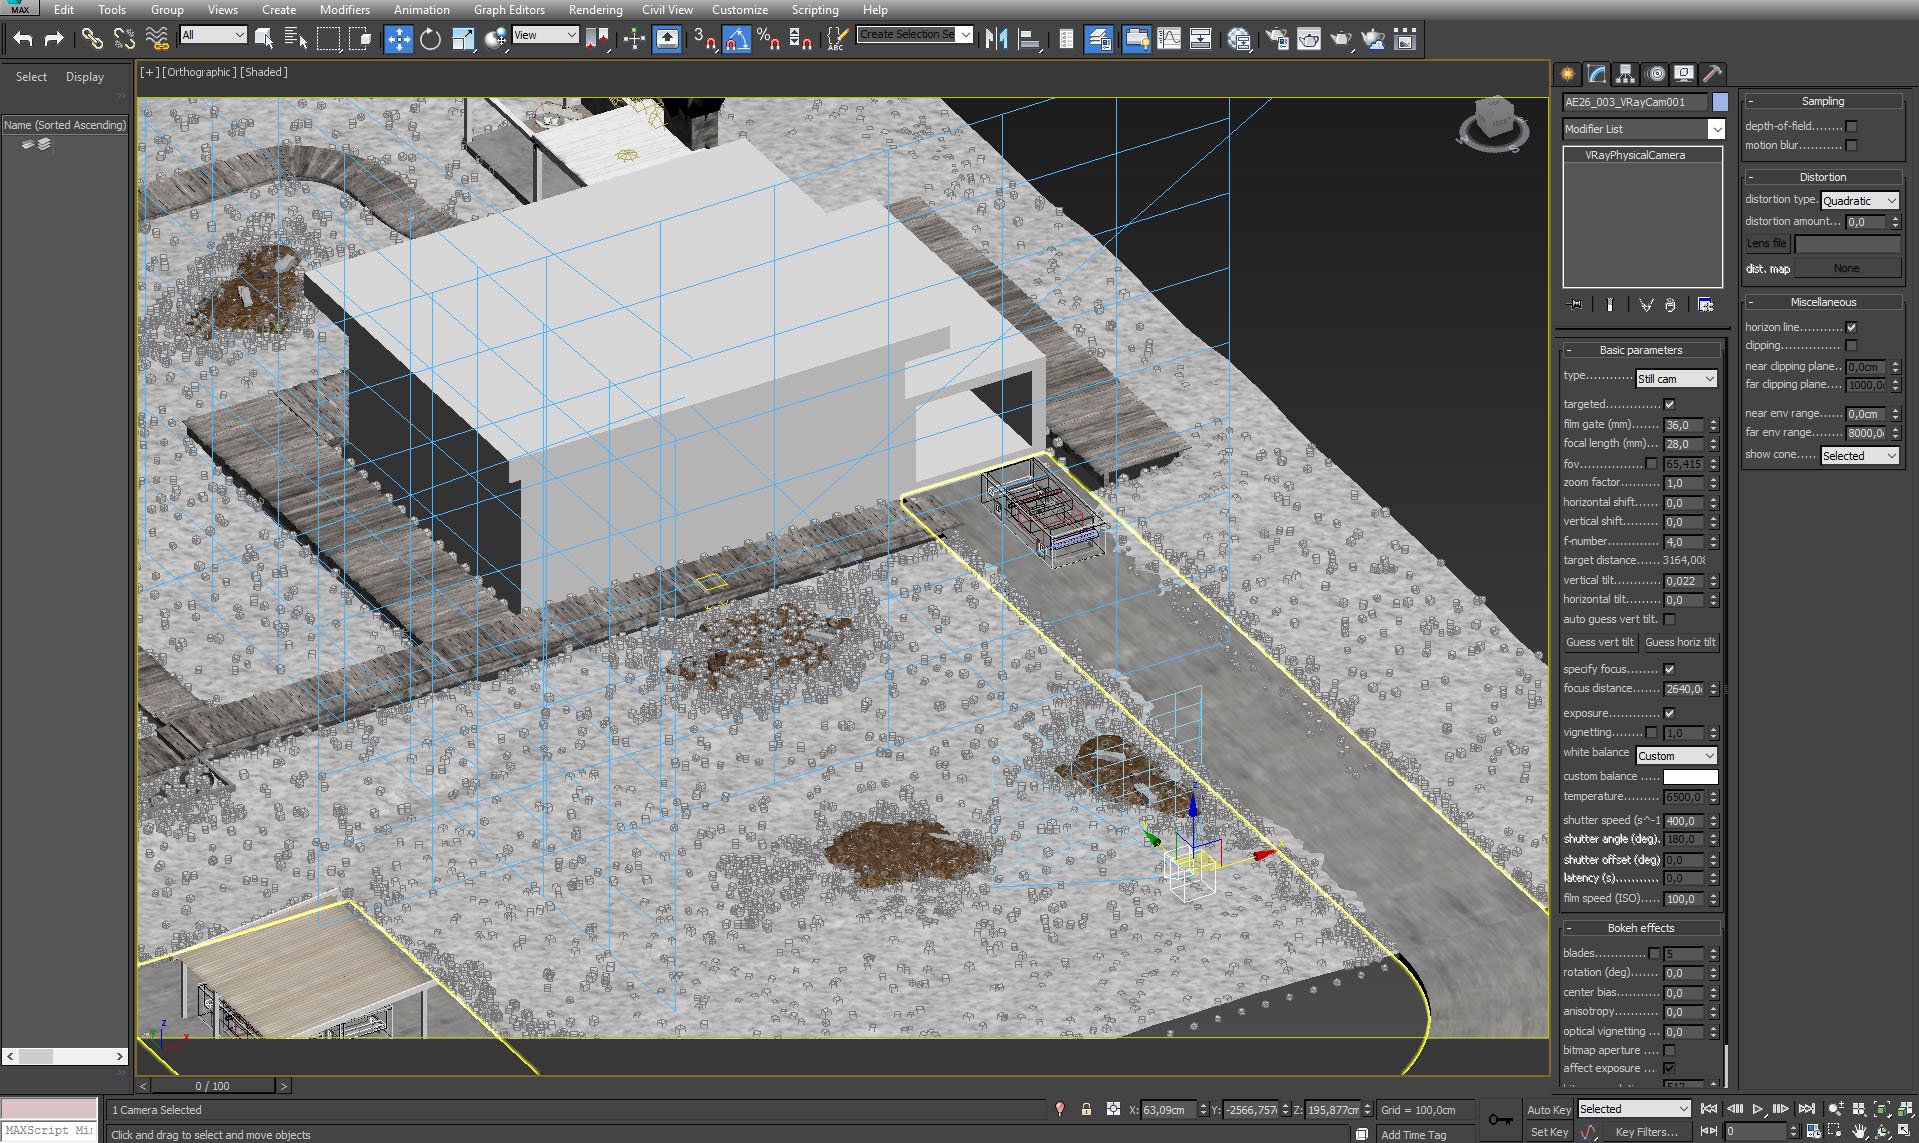
Camera 1 is placed in front of the "house". Settings are to the right.
Click on image to enlarge 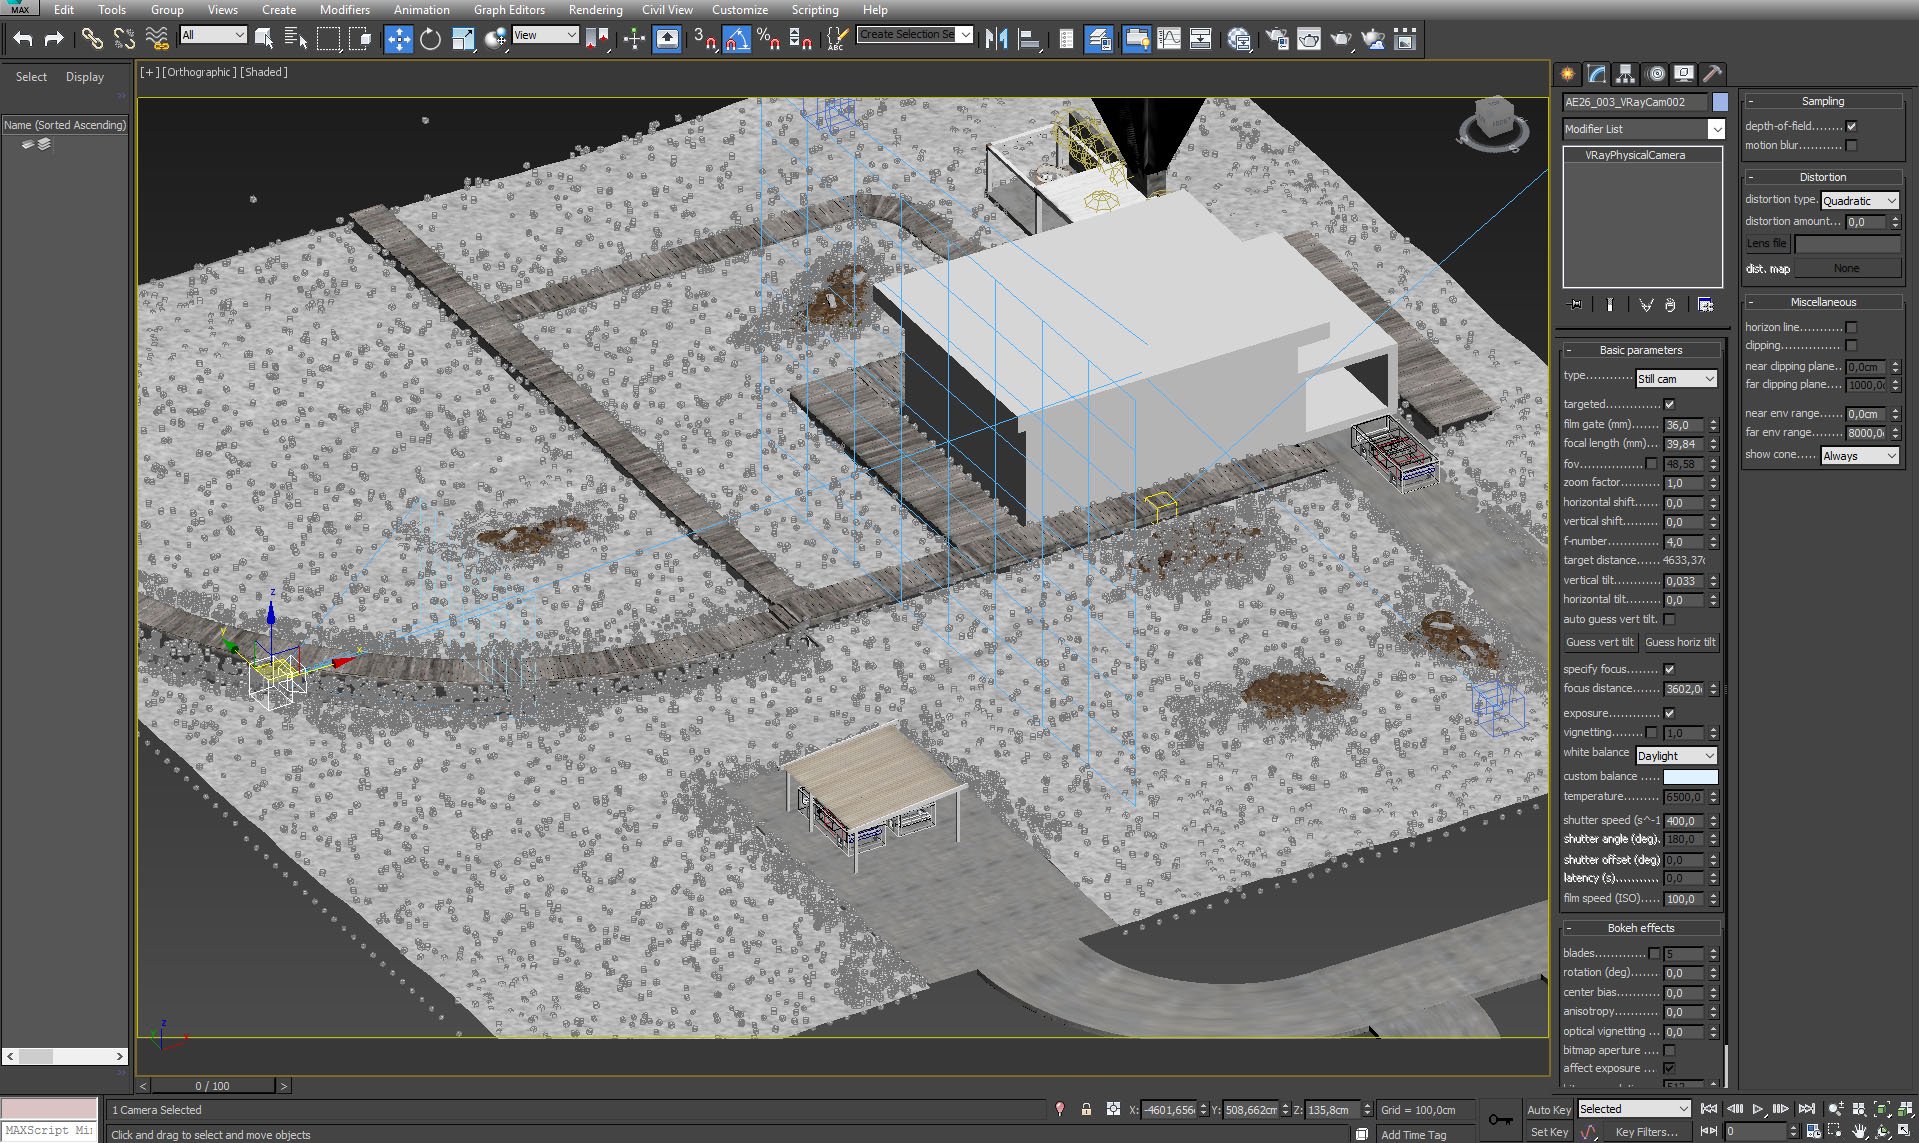
Our side camera (2) settings.
Click on image to enlarge 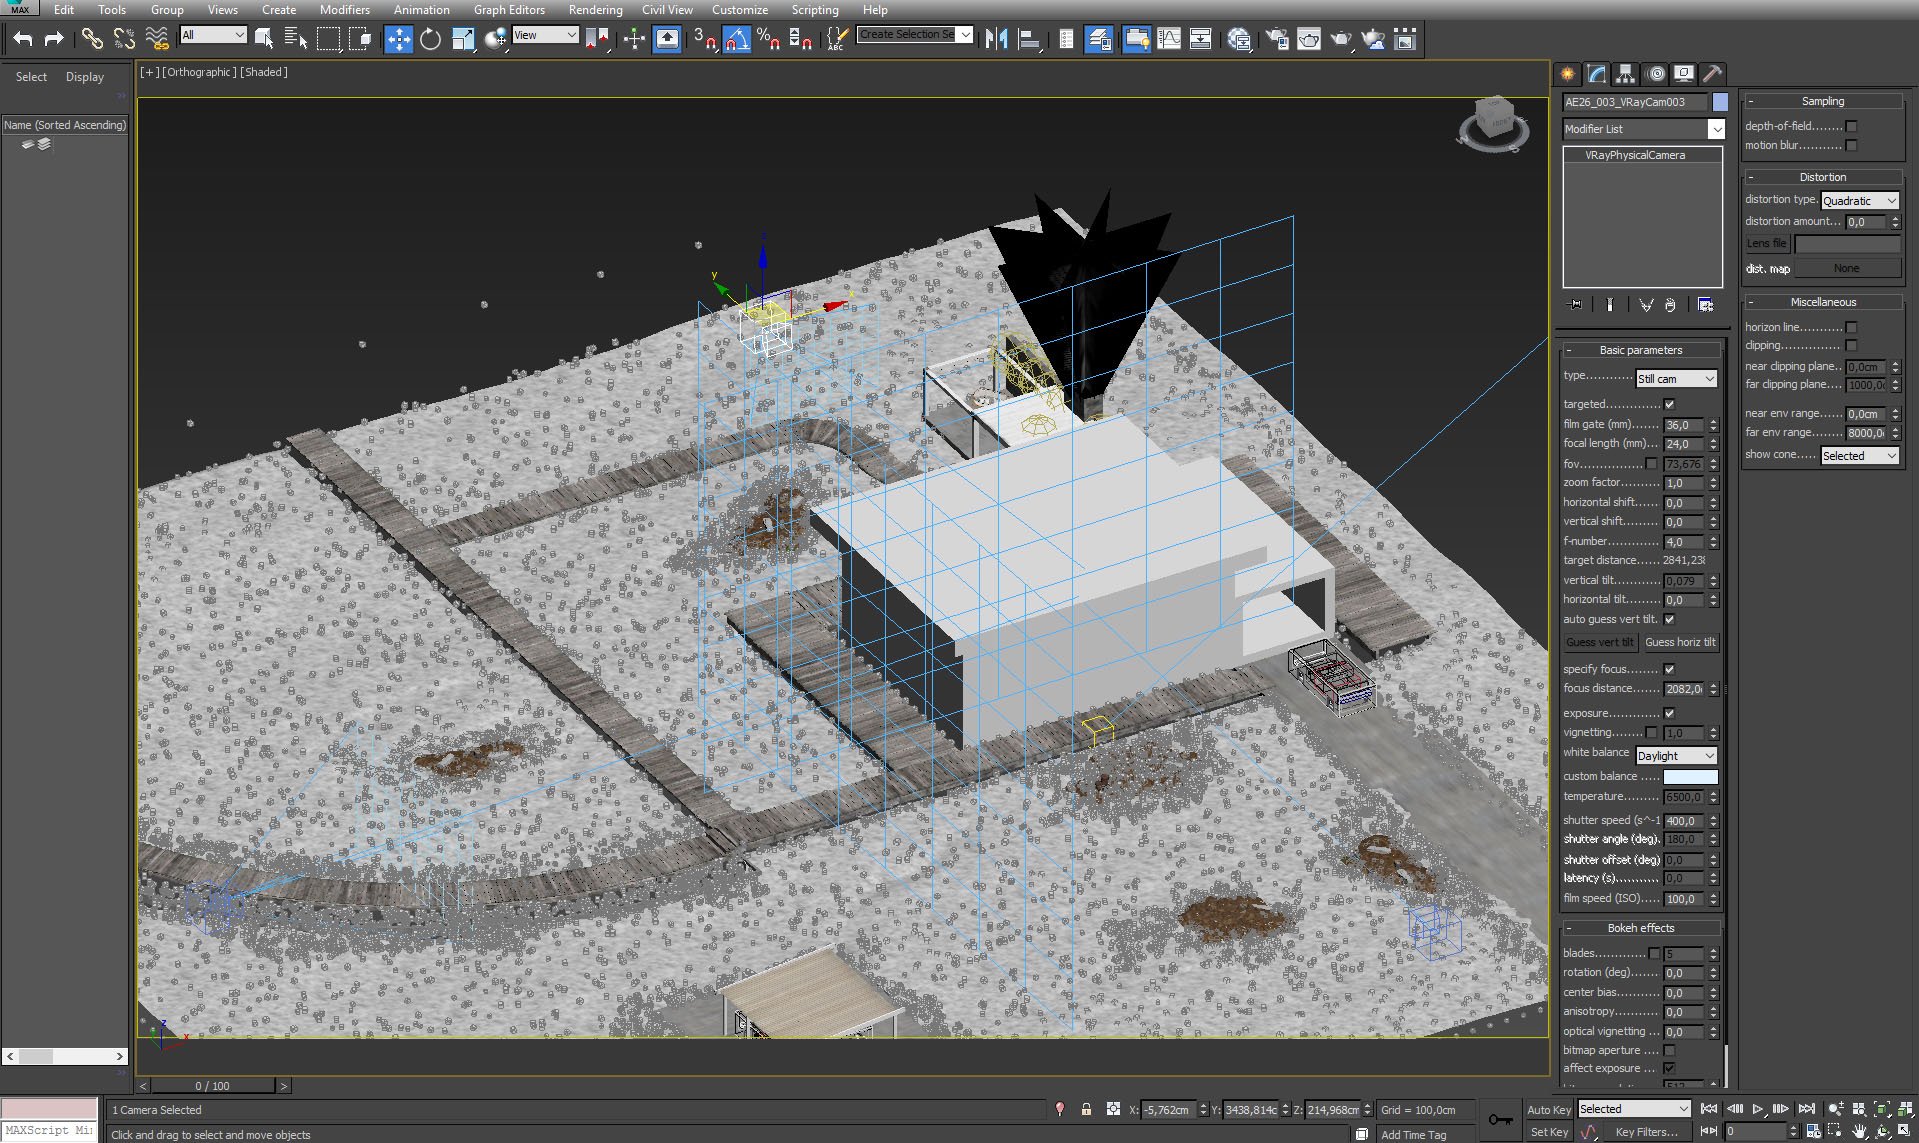
Camera 3 (behind the house) settings.
Click on image to enlarge 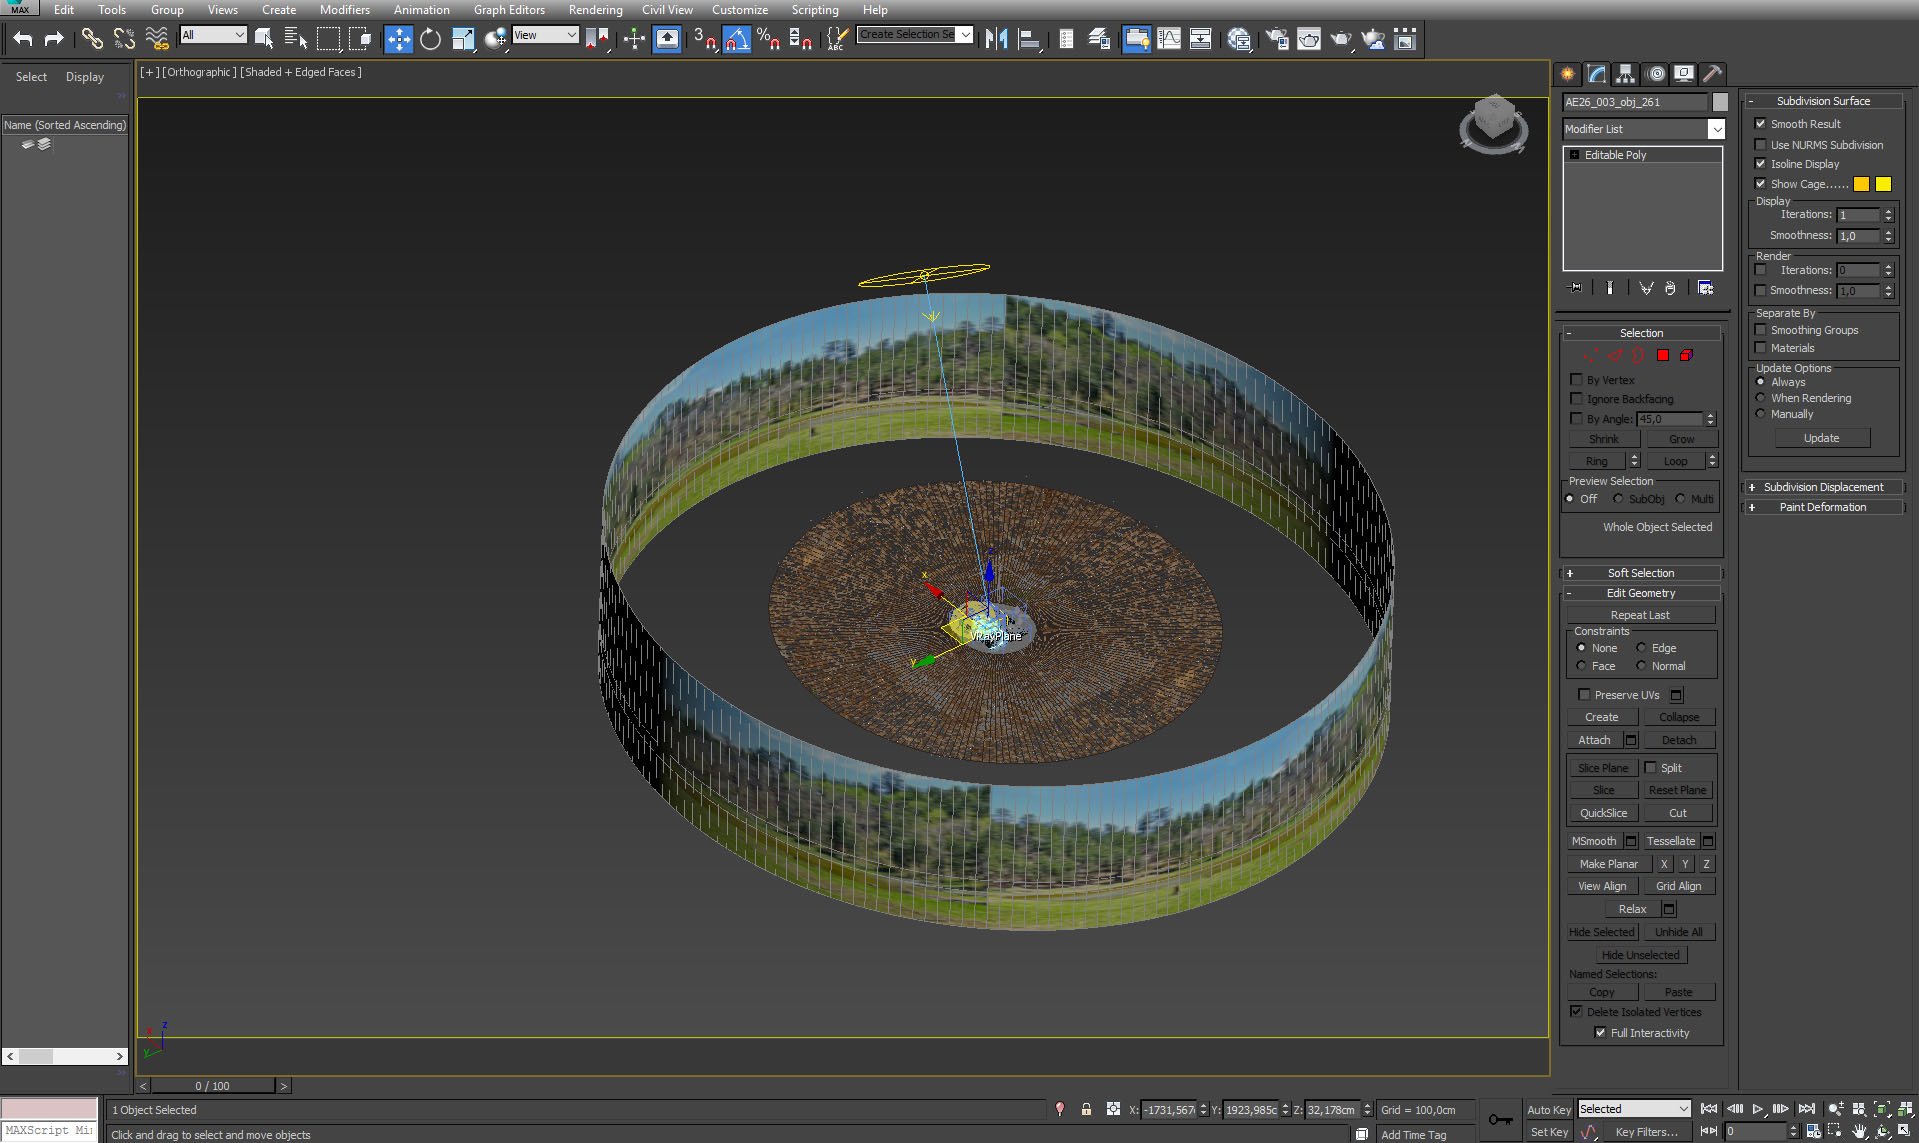
Overall isometric view of the scene. The part with the house is the small grey circle. The big brown circle around it has in fact a cone shape and it is a base for our trees / forest.
Click on image to enlarge 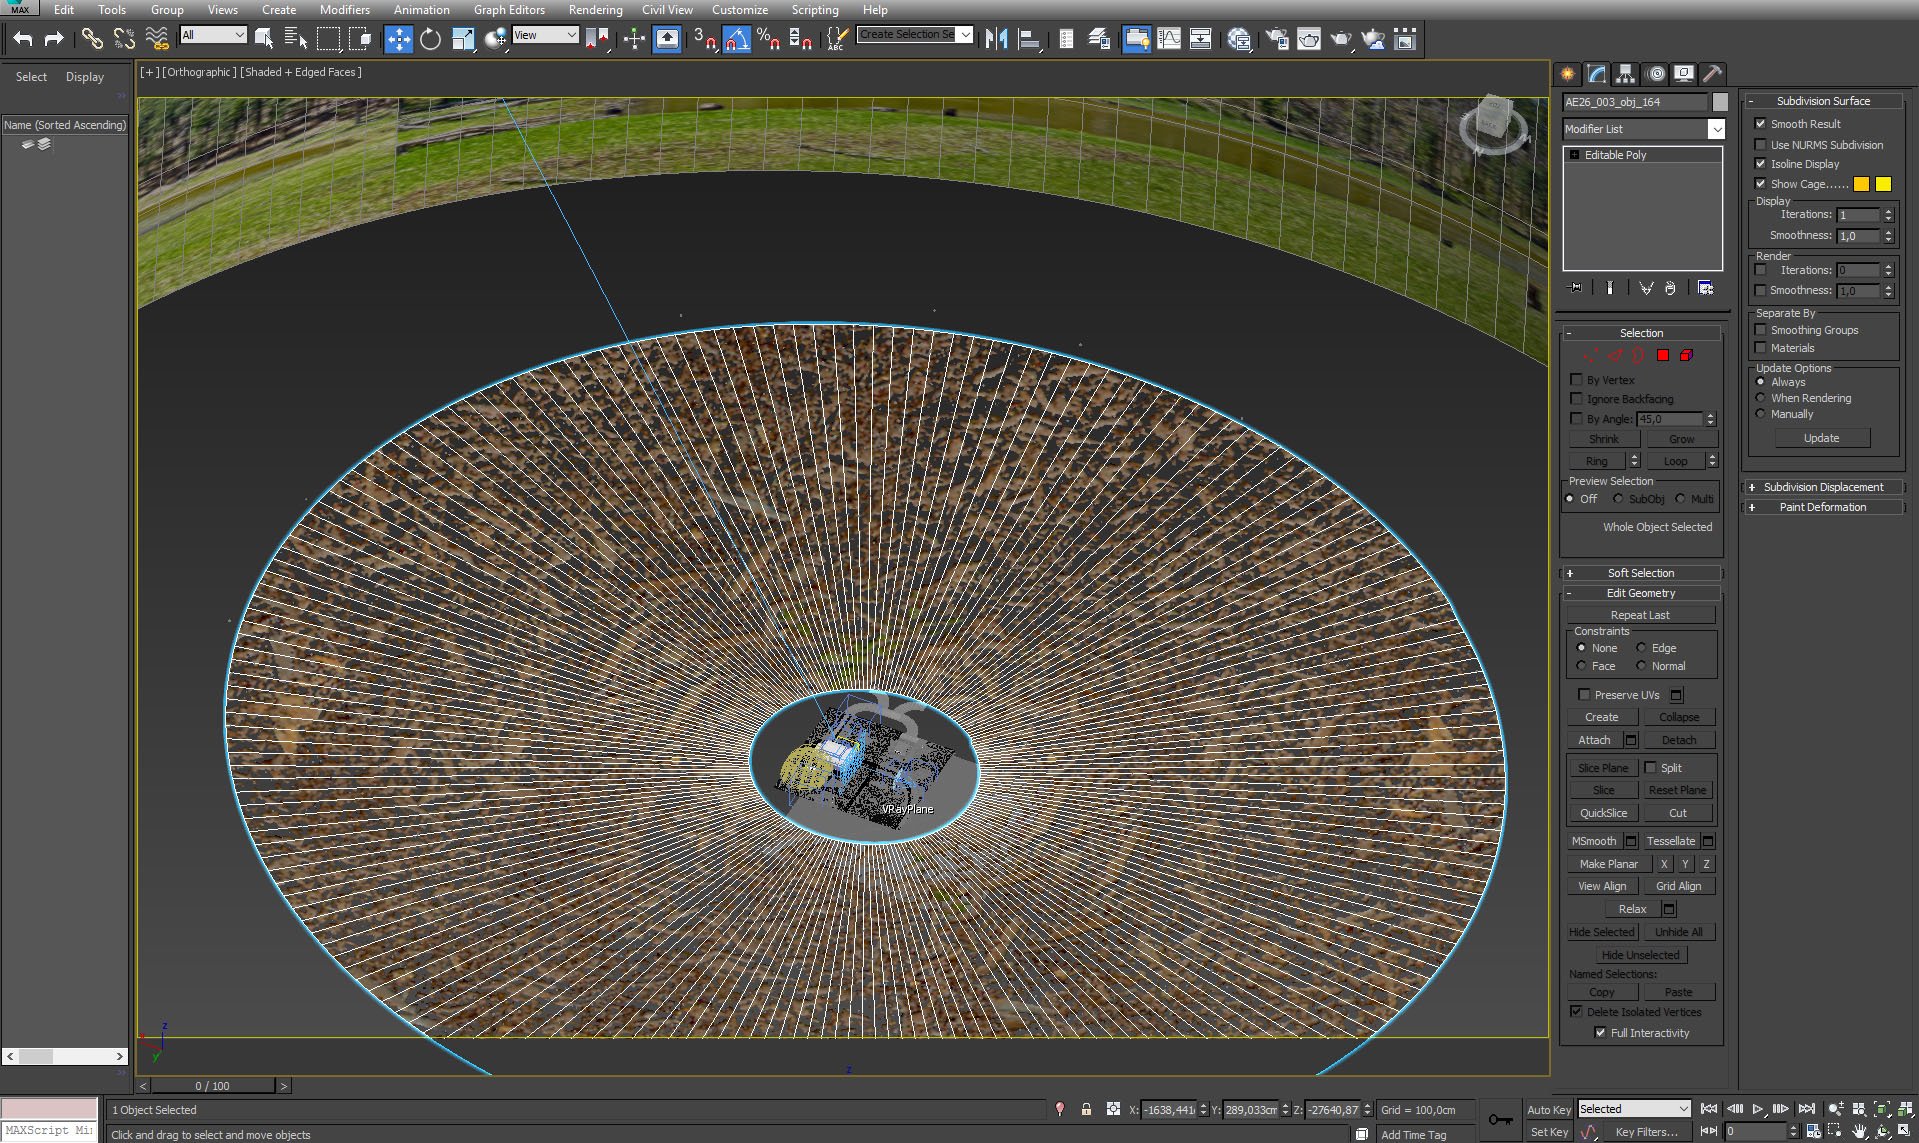
Ground cone and the scene with the building in the middle.
Click on image to enlarge 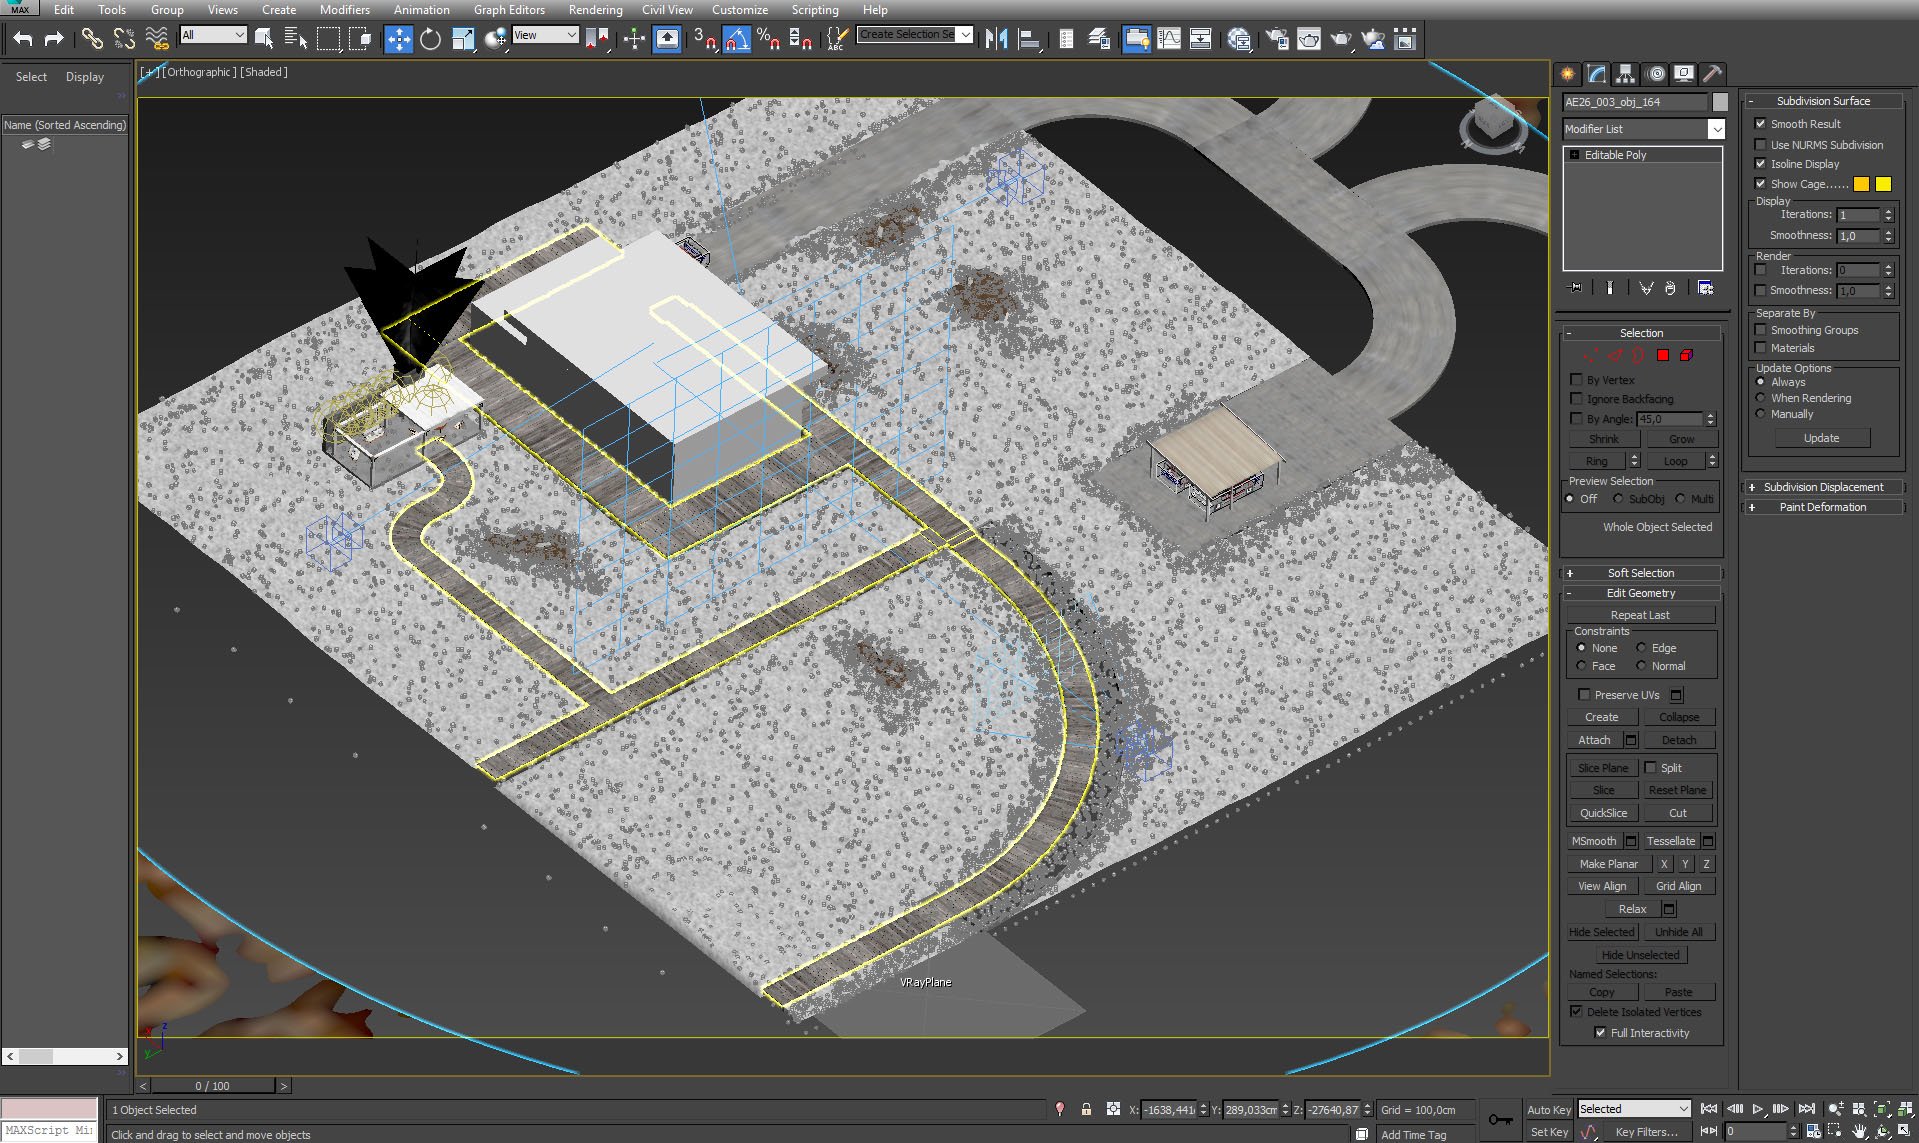
Wooden path surrounding the building.
Click on image to enlarge 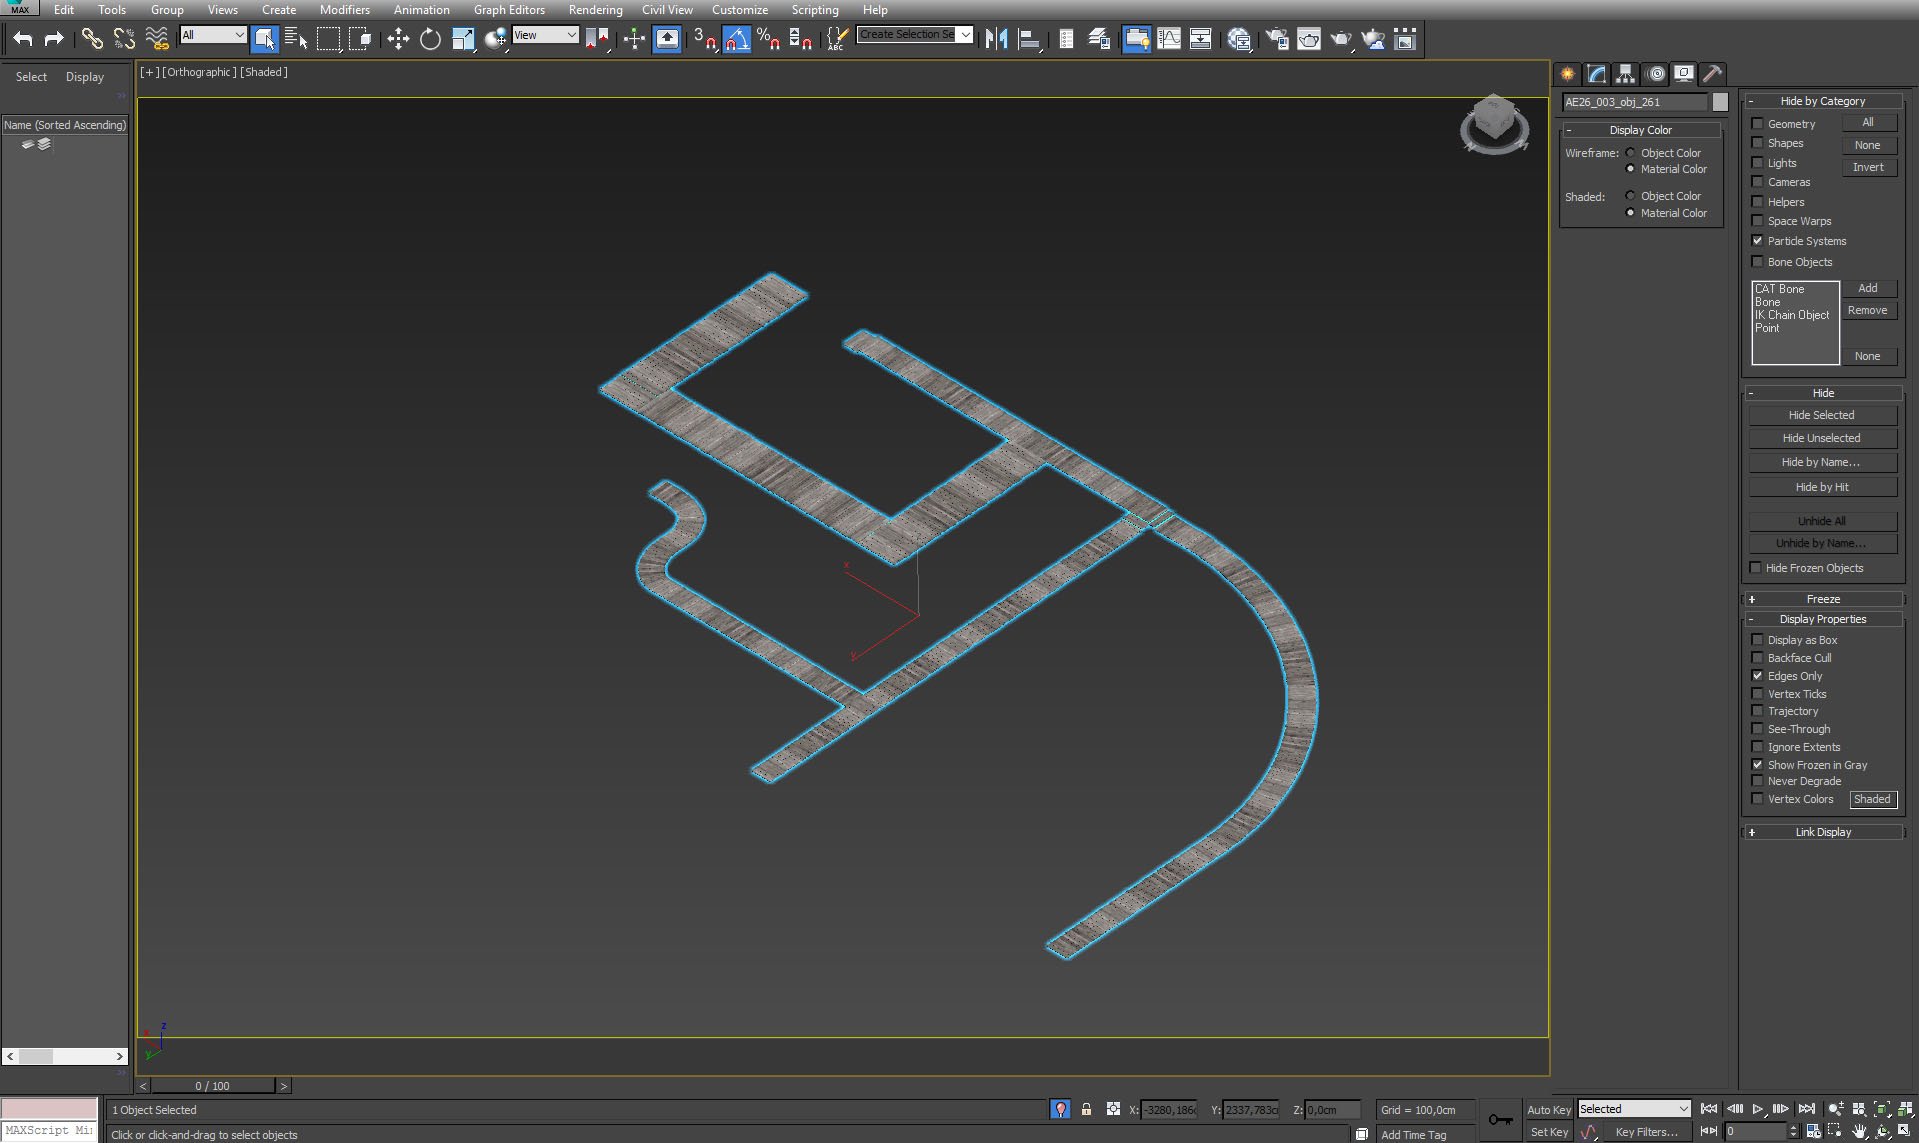
Wooden path - isolated.
Click on image to enlarge 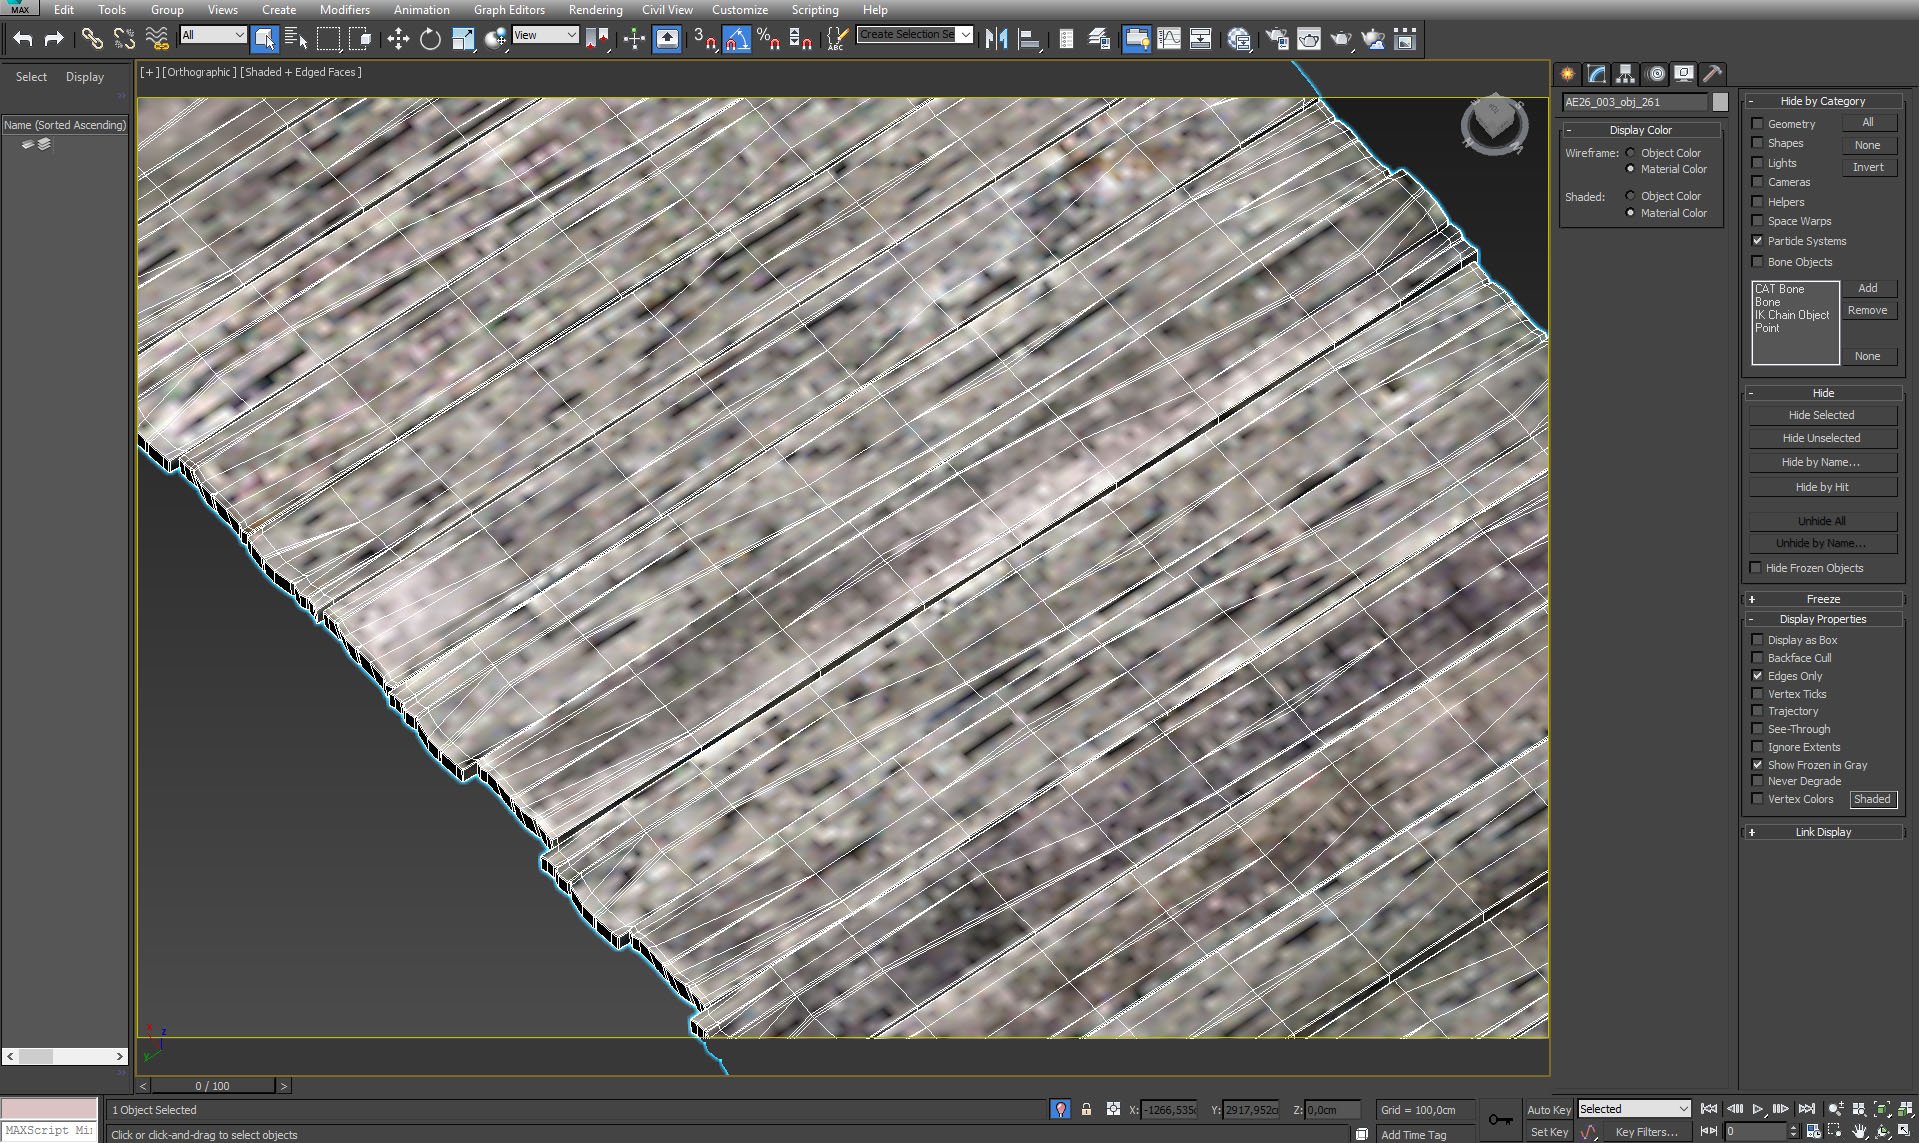
Wooden path mesh.
Click on image to enlarge 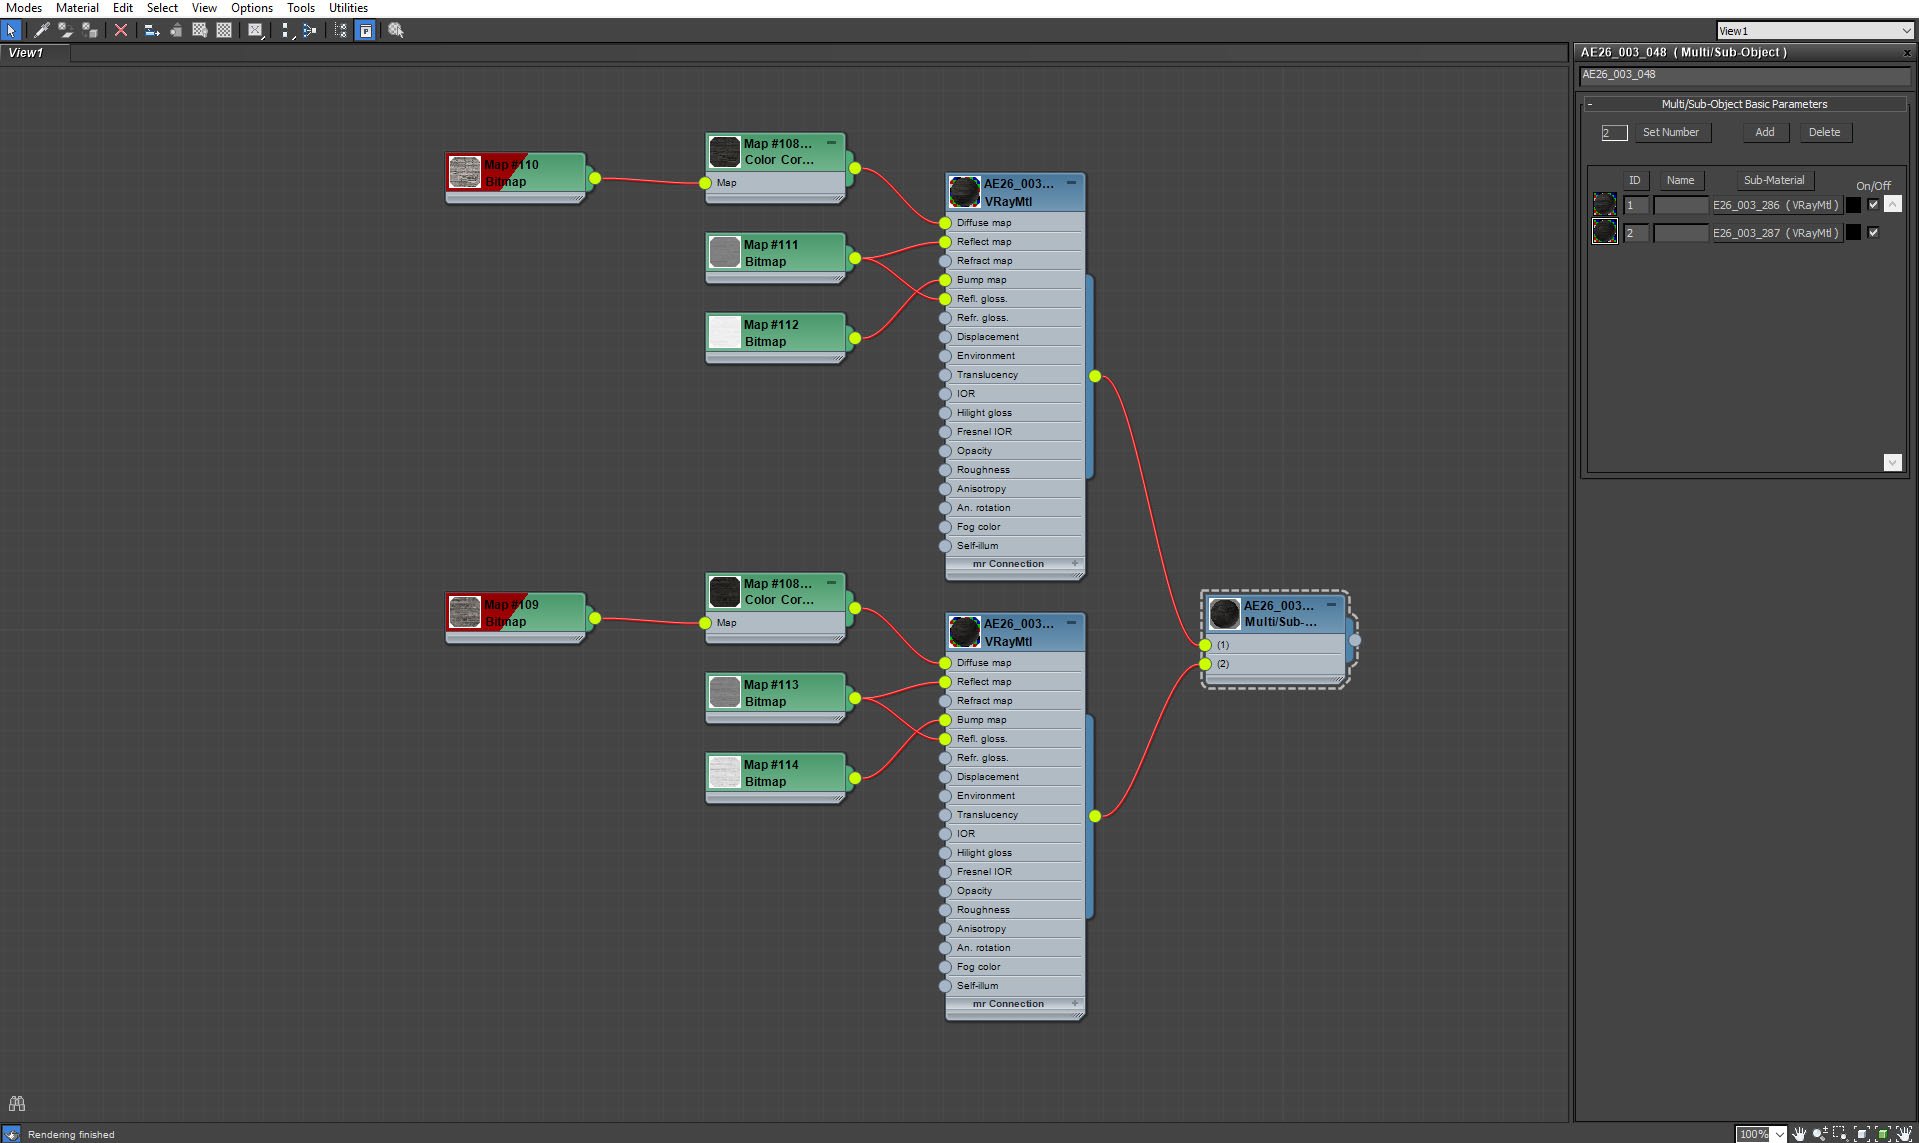
Click on image to enlarge 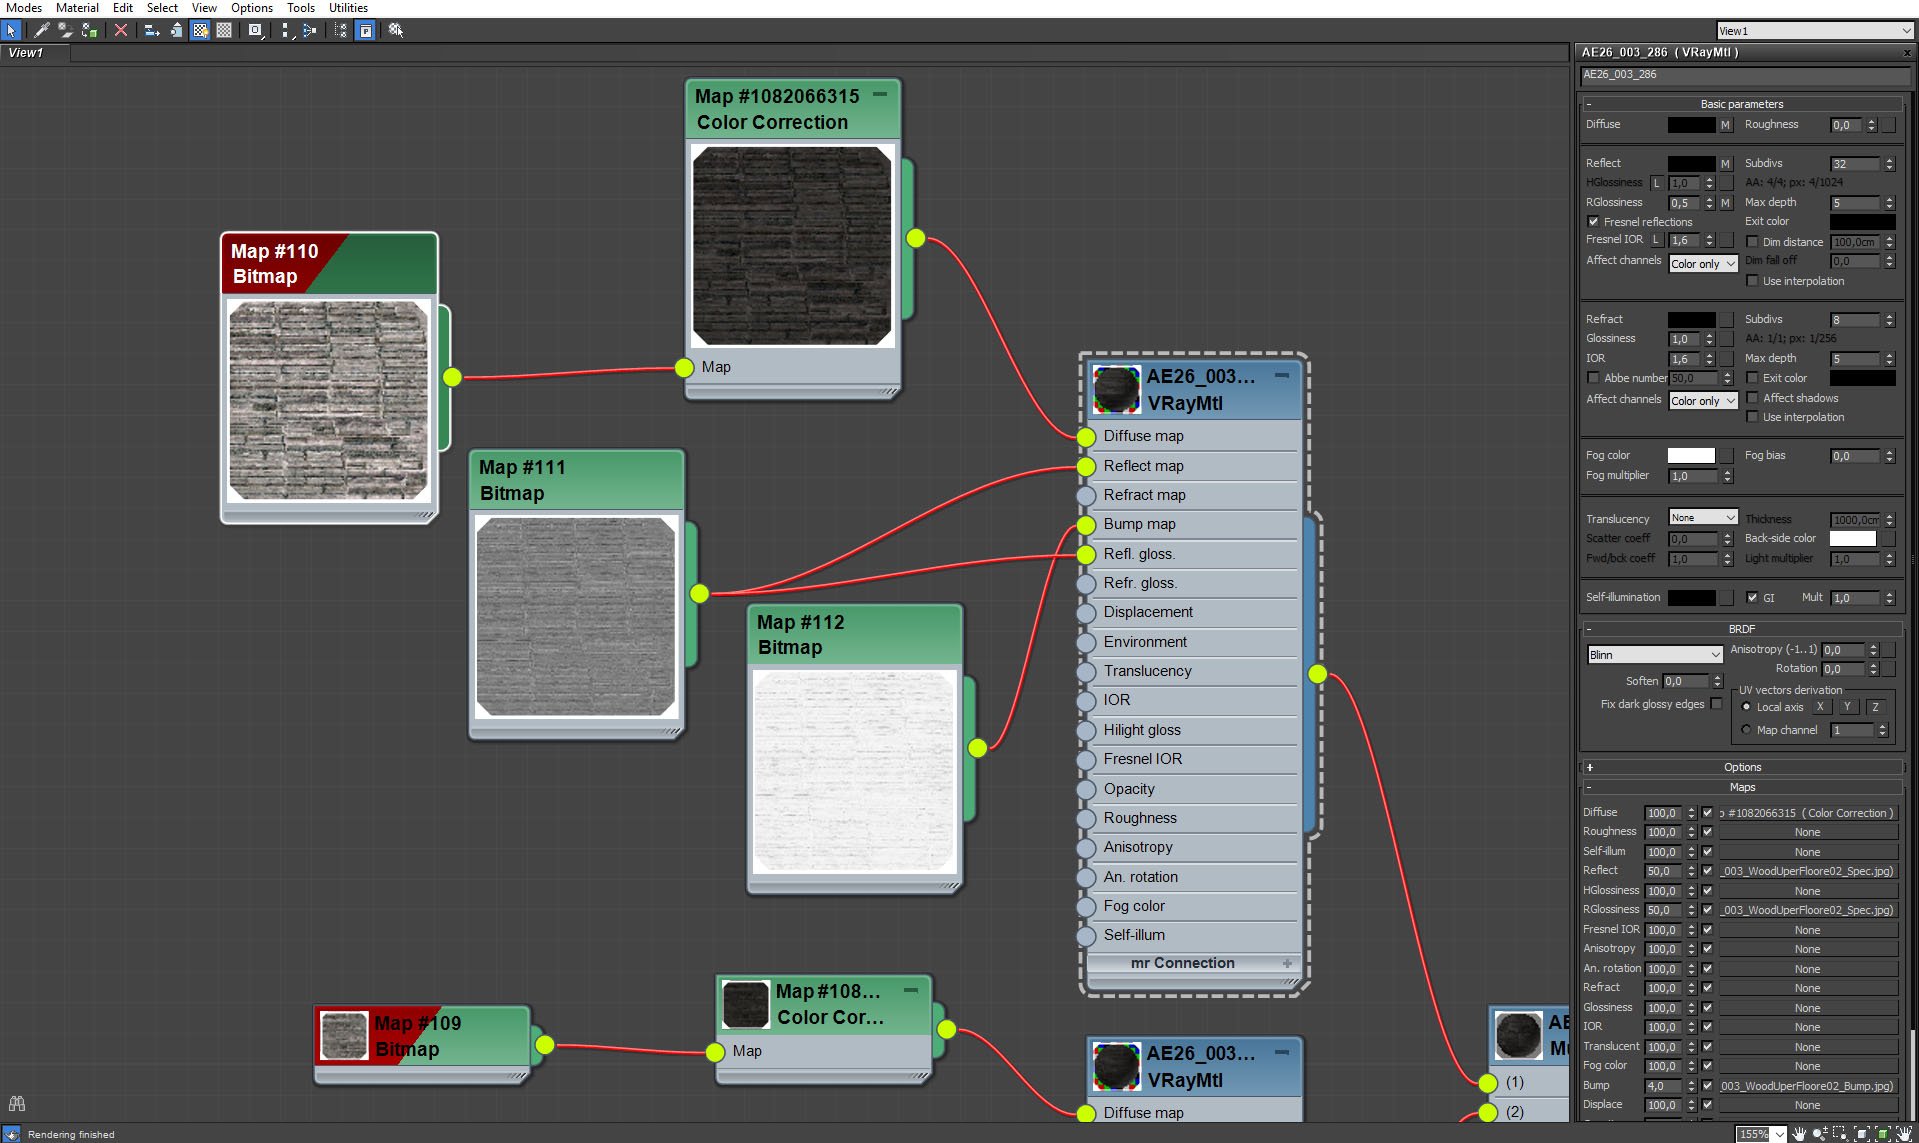
Wooden path material 1.
Click on image to enlarge 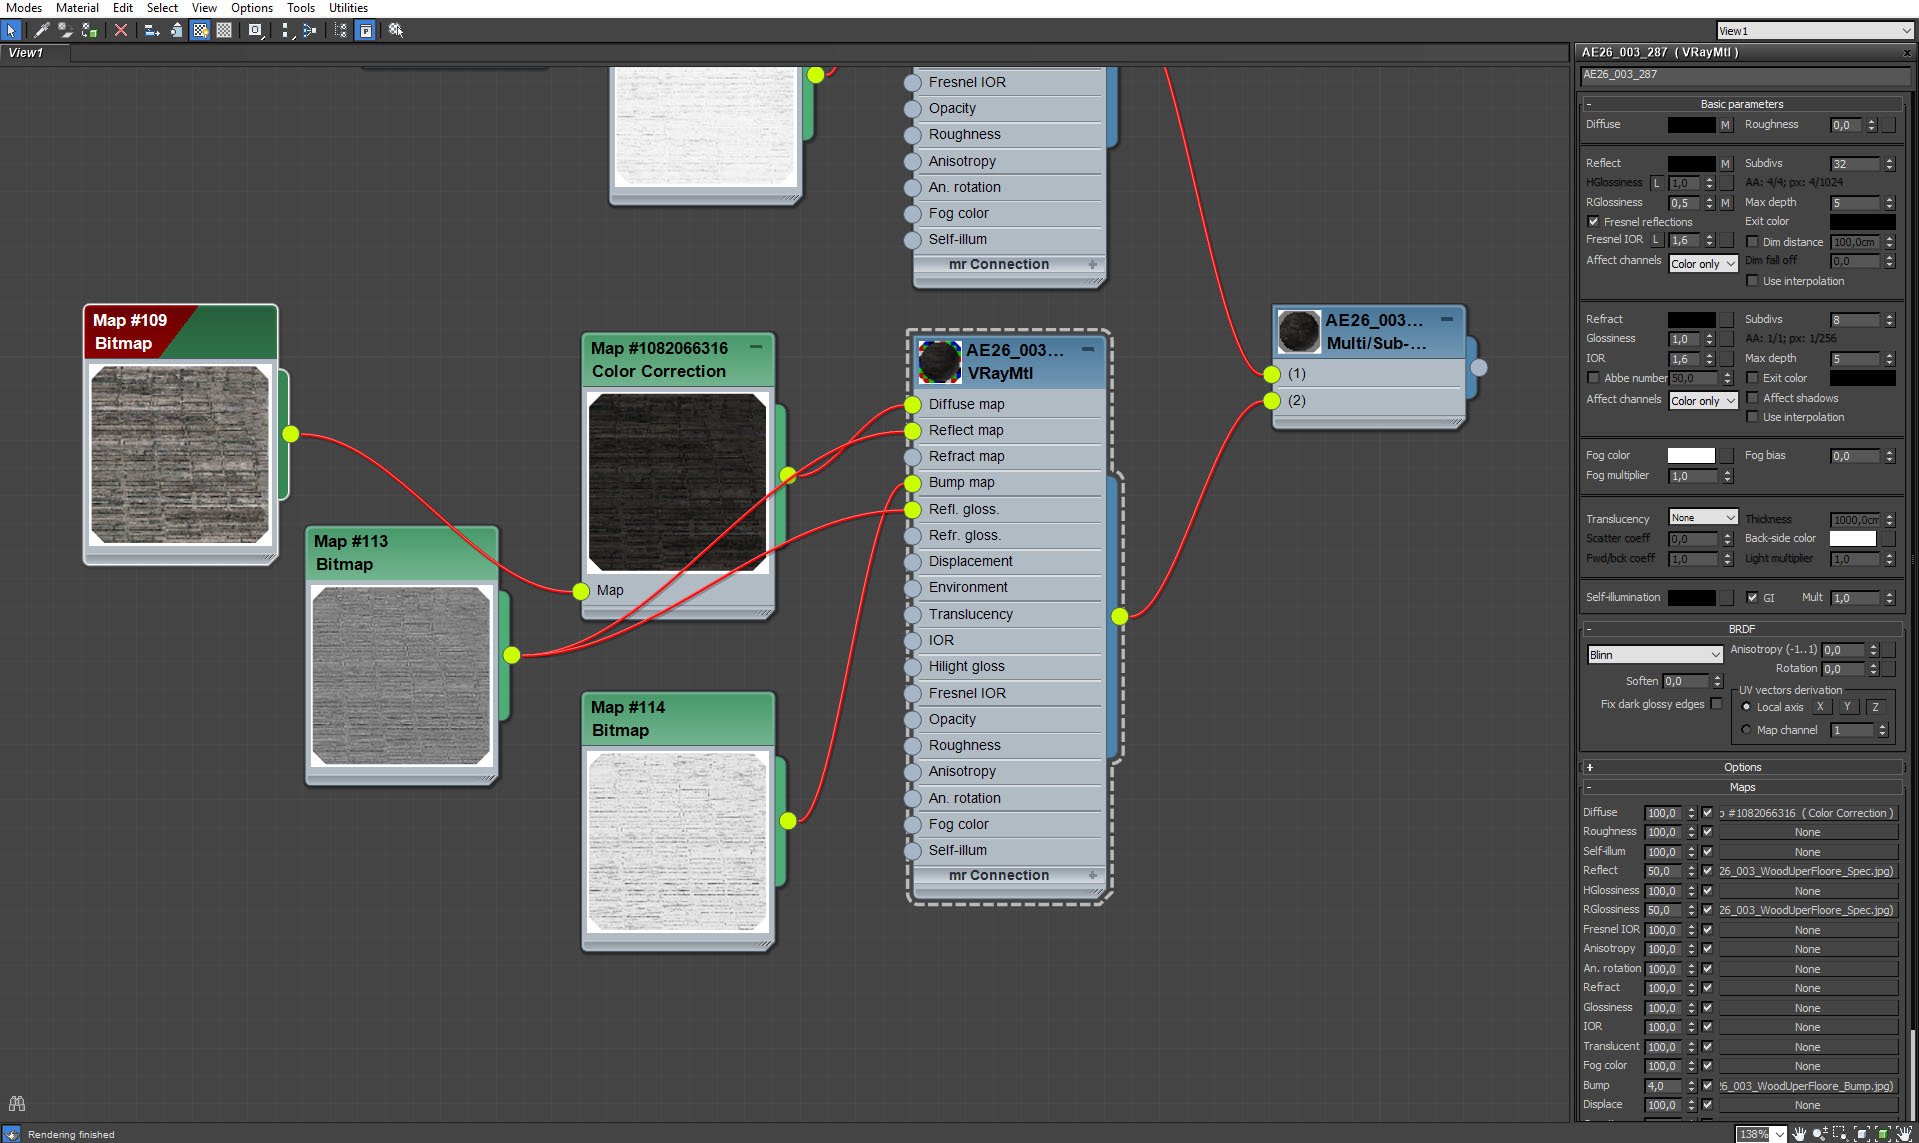
Wooden path material 2.
Click on image to enlarge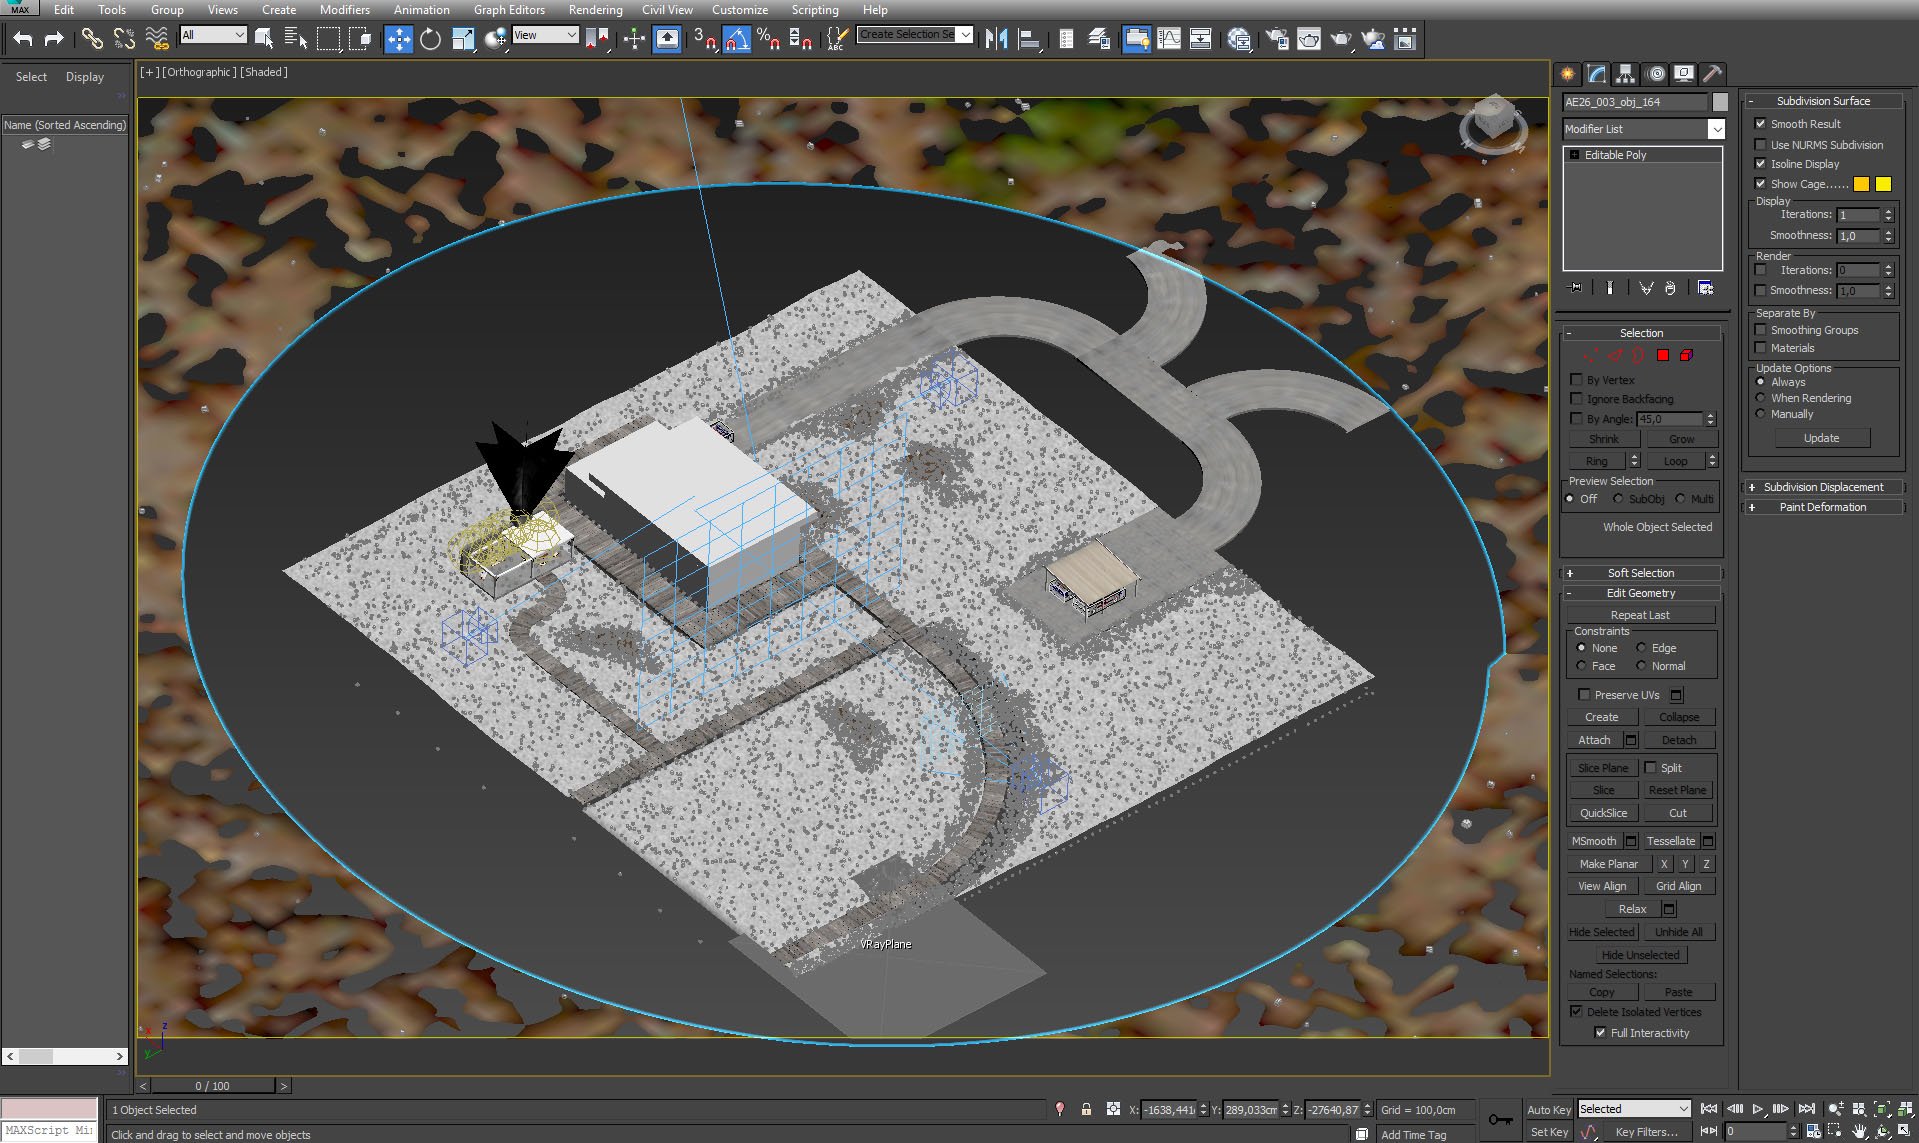
There is also a driveway leading to main building and to the second arbor that is our parking place.
Click on image to enlarge 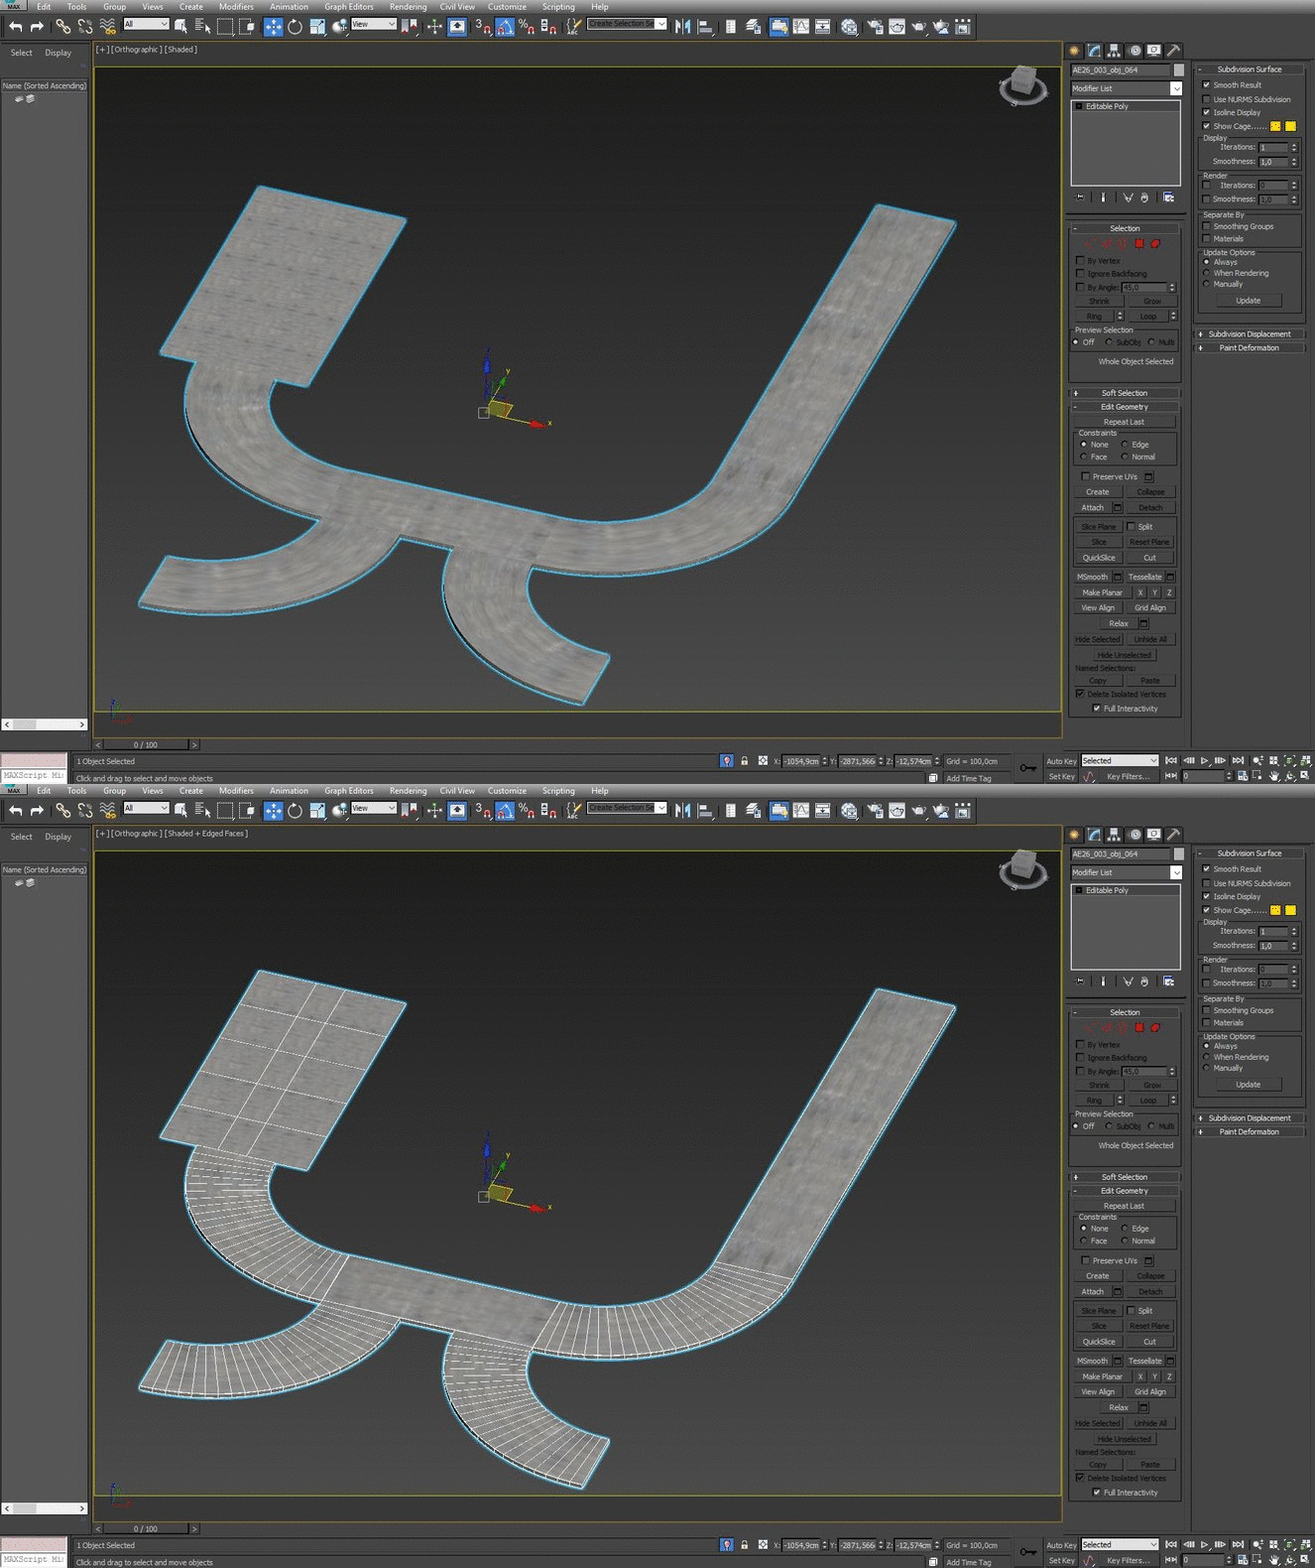
Driveway mesh (gif).
Click on image to enlarge 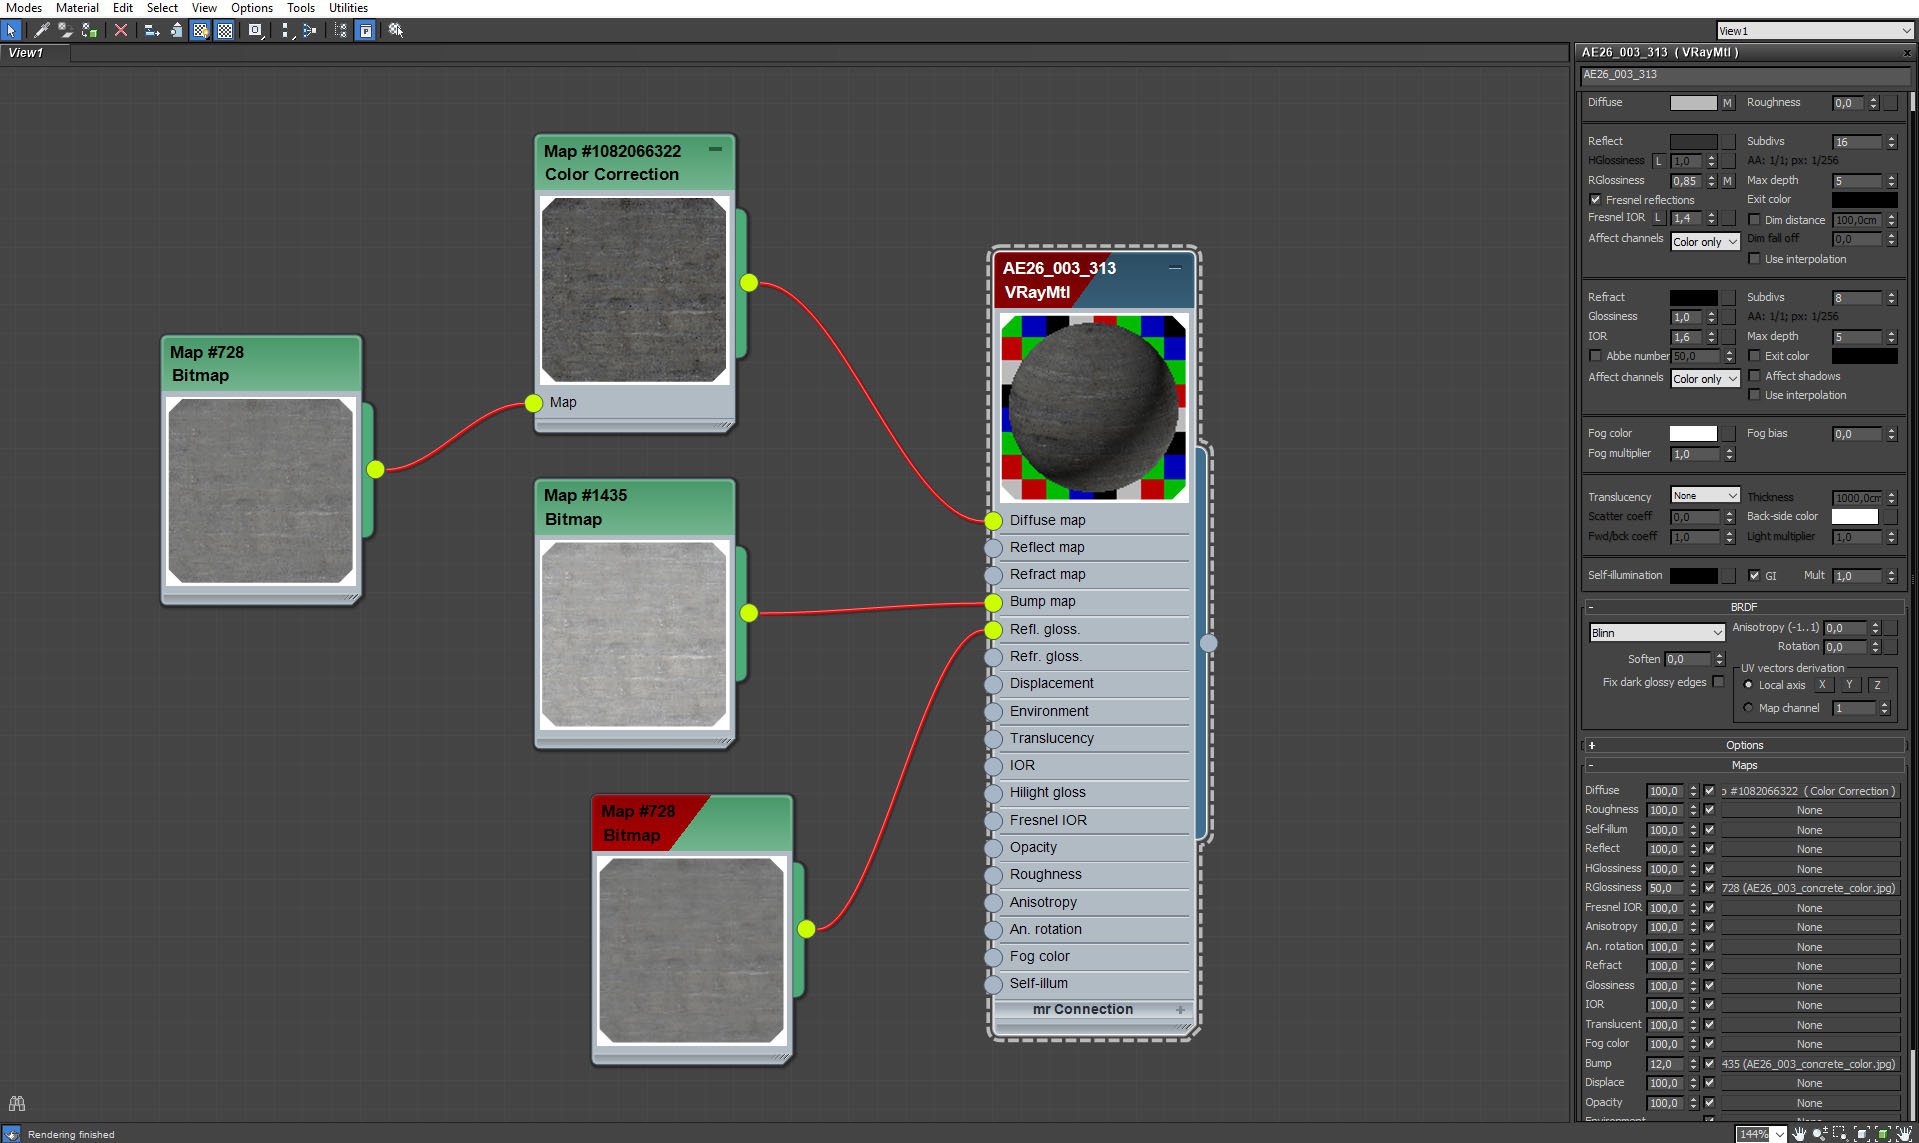
Driveway material.
Click on image to enlarge 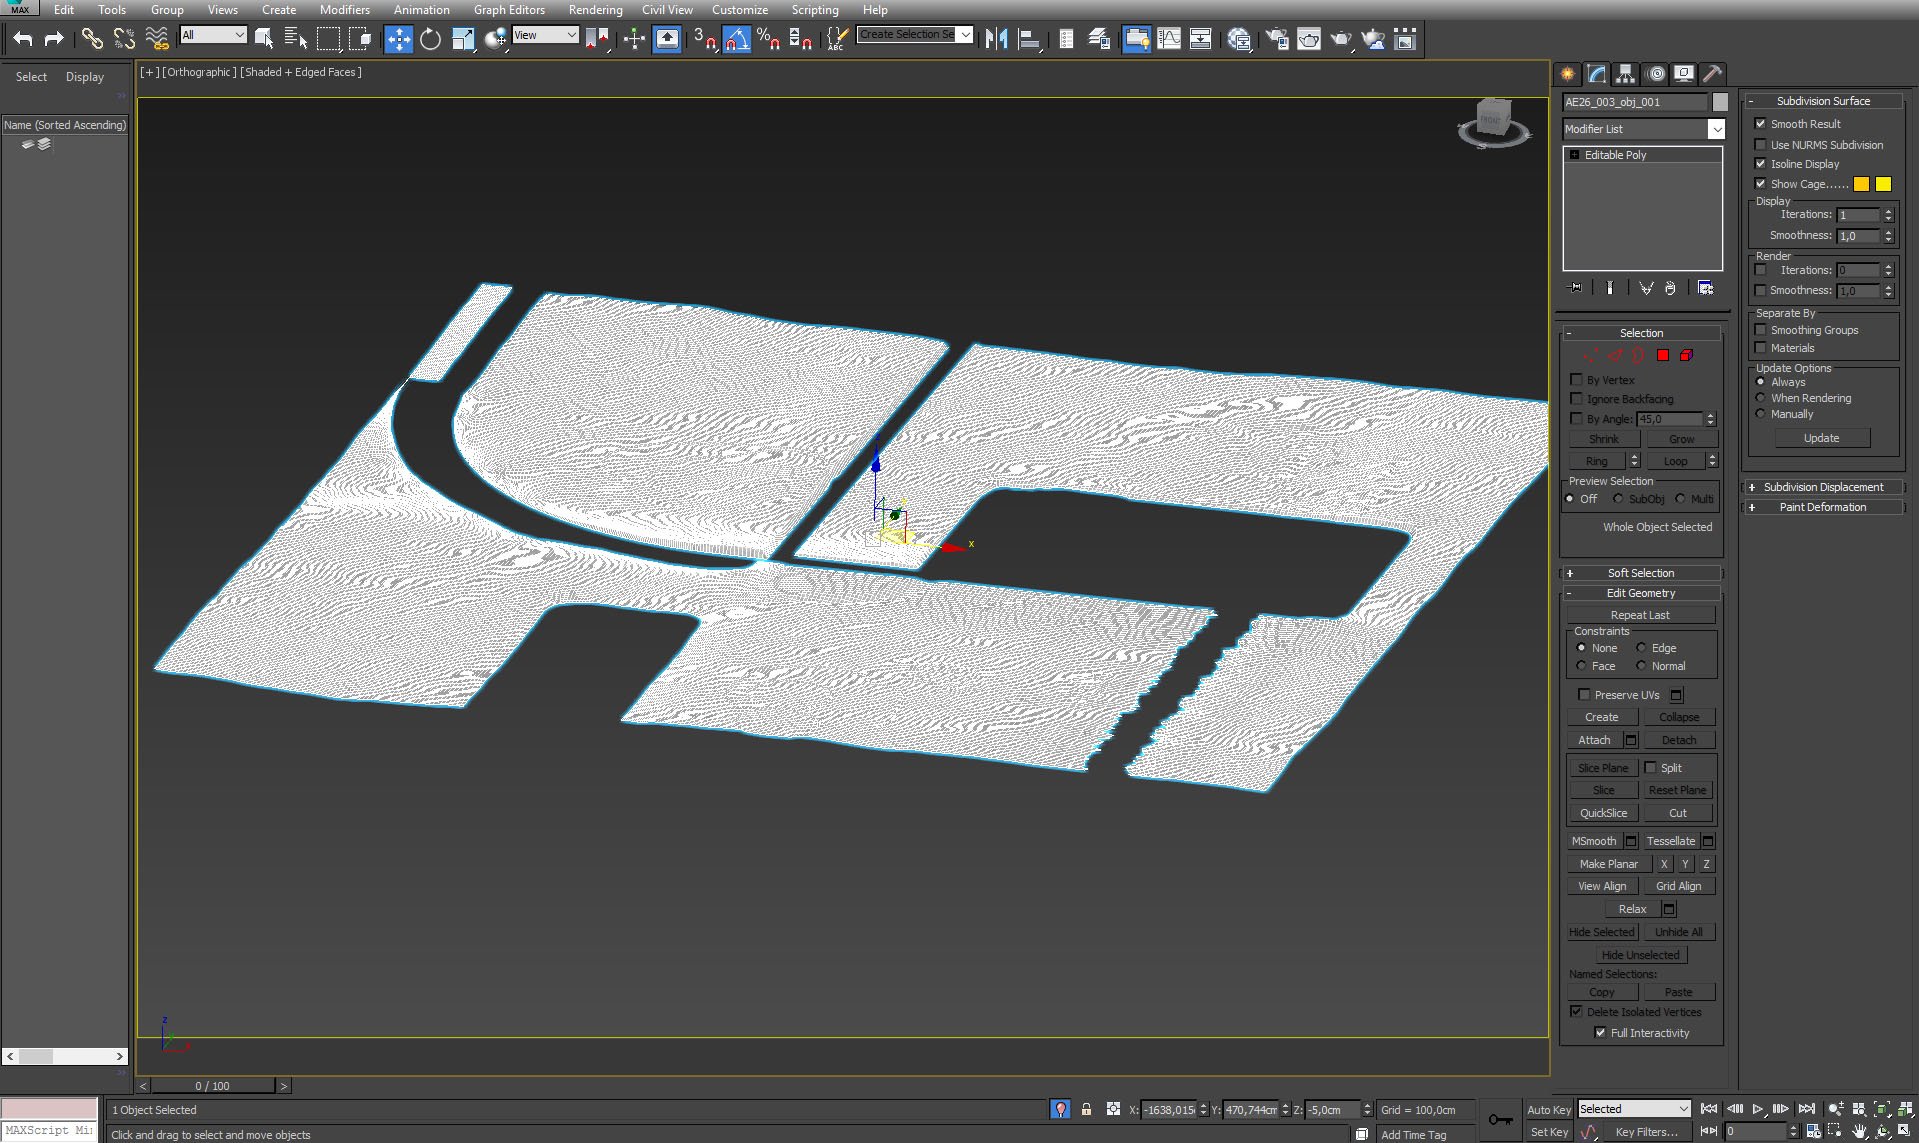
The main ground surrounding the building is a simple cut mesh that was manually deformed with paint deform in 3ds Max.
Click on image to enlarge 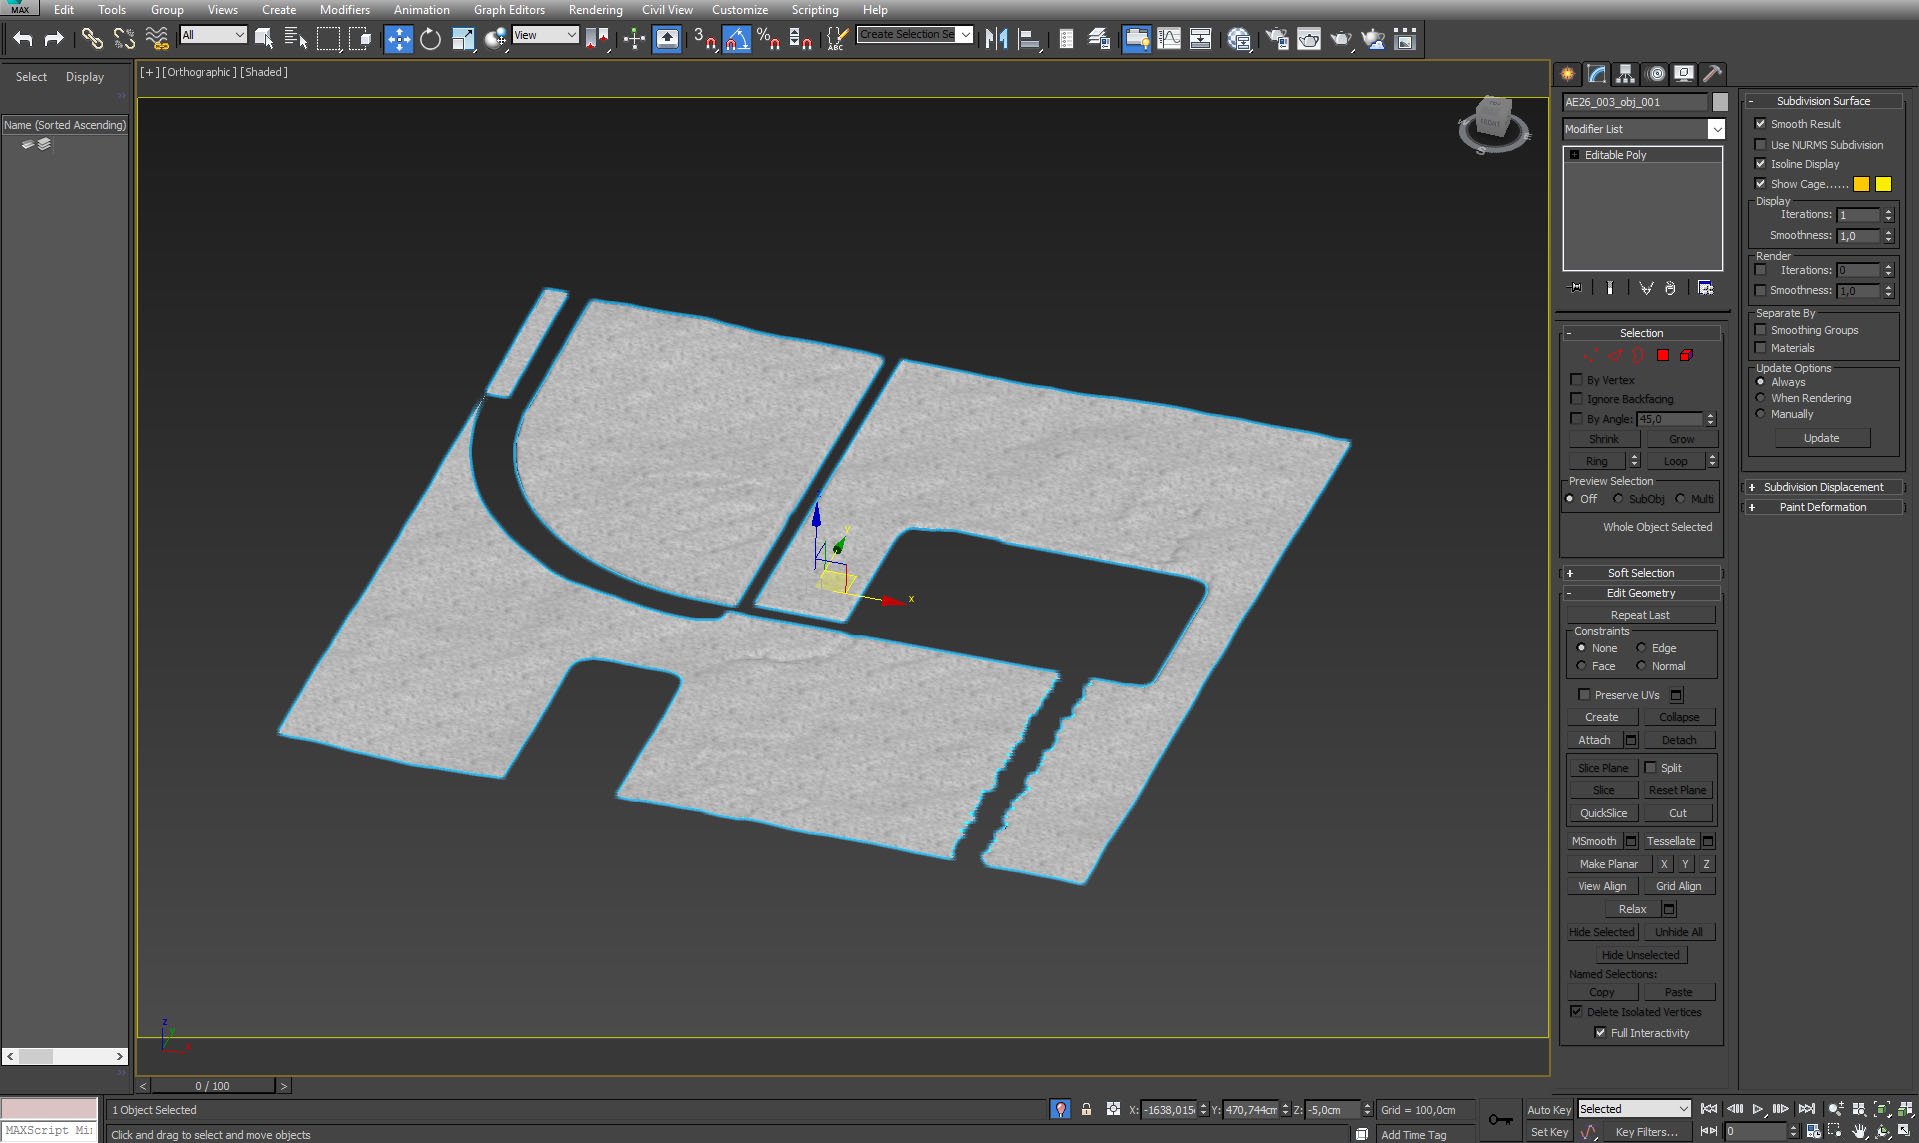
Ground plane without a wireframe.
Click on image to enlarge 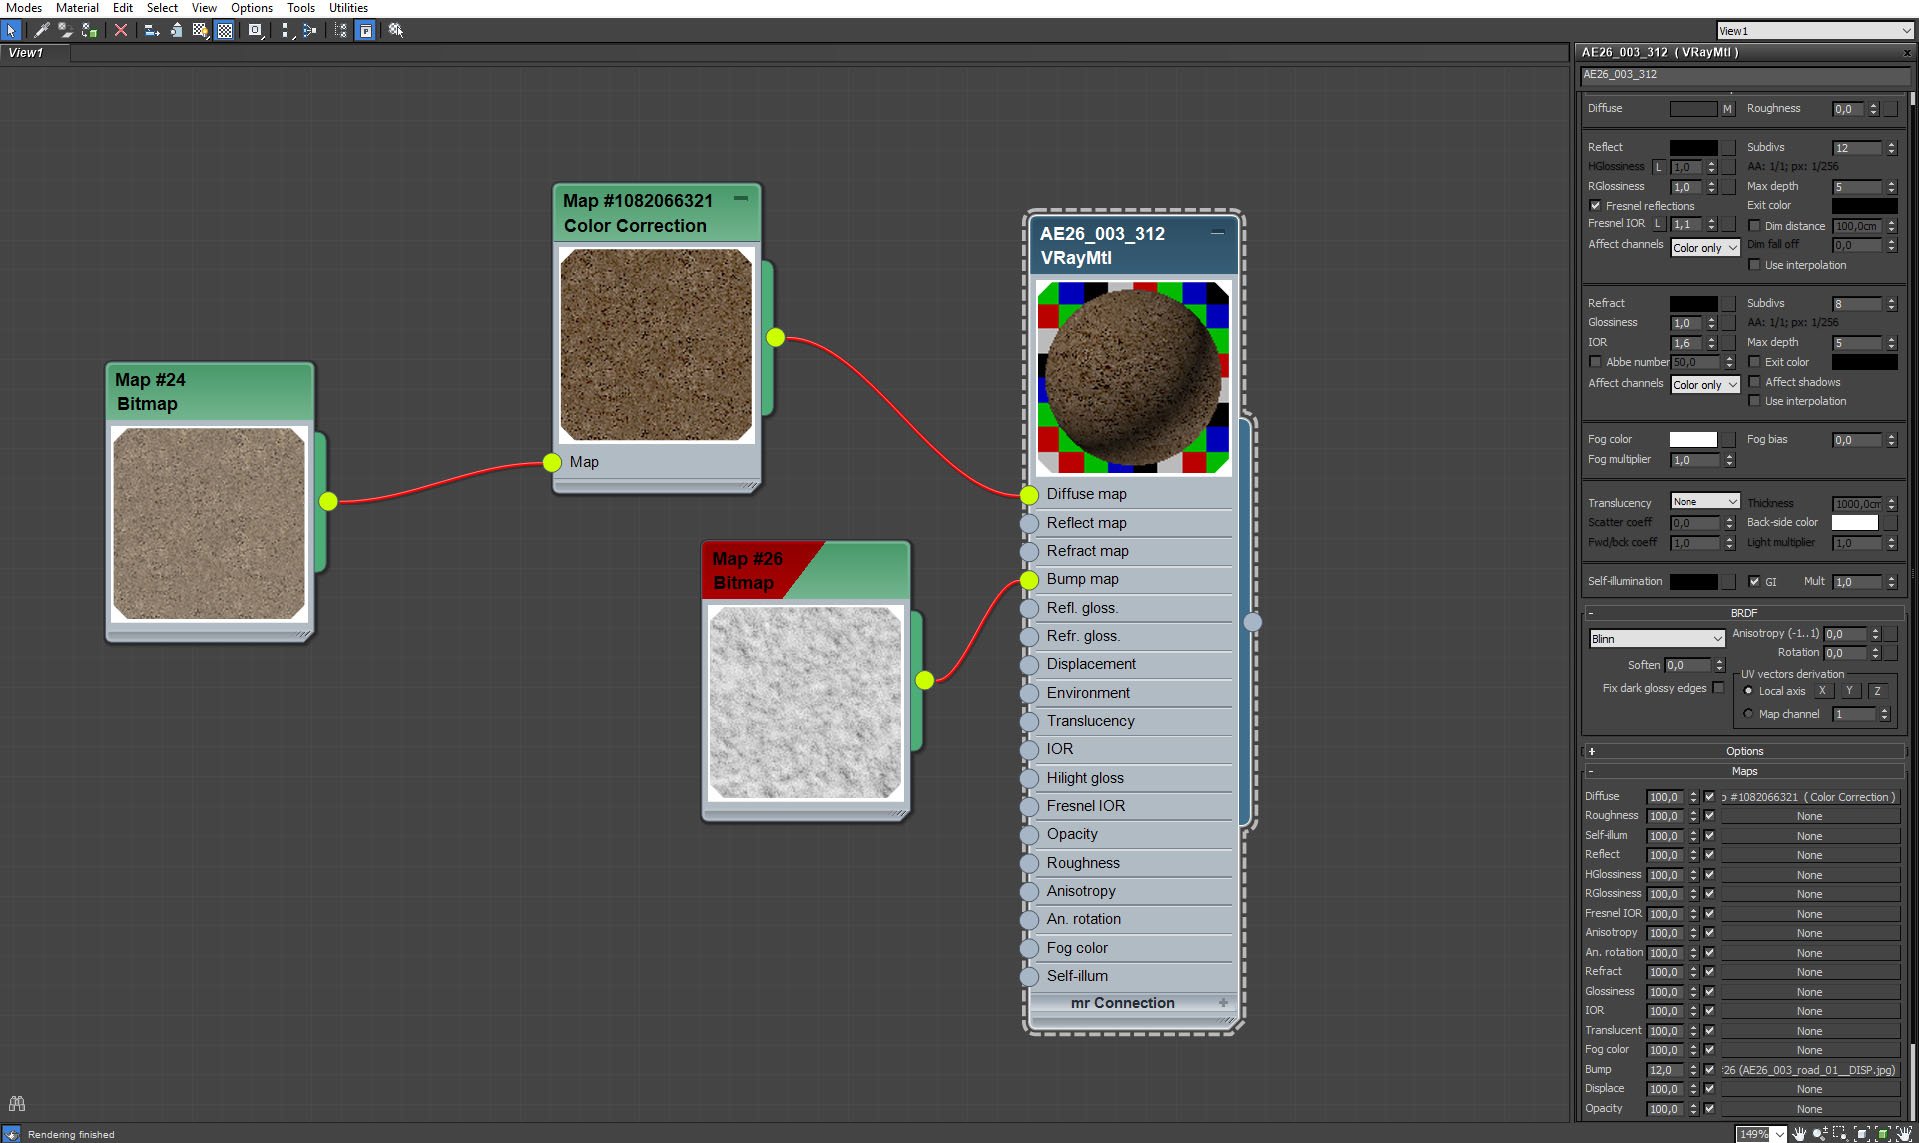
Click on image to enlarge 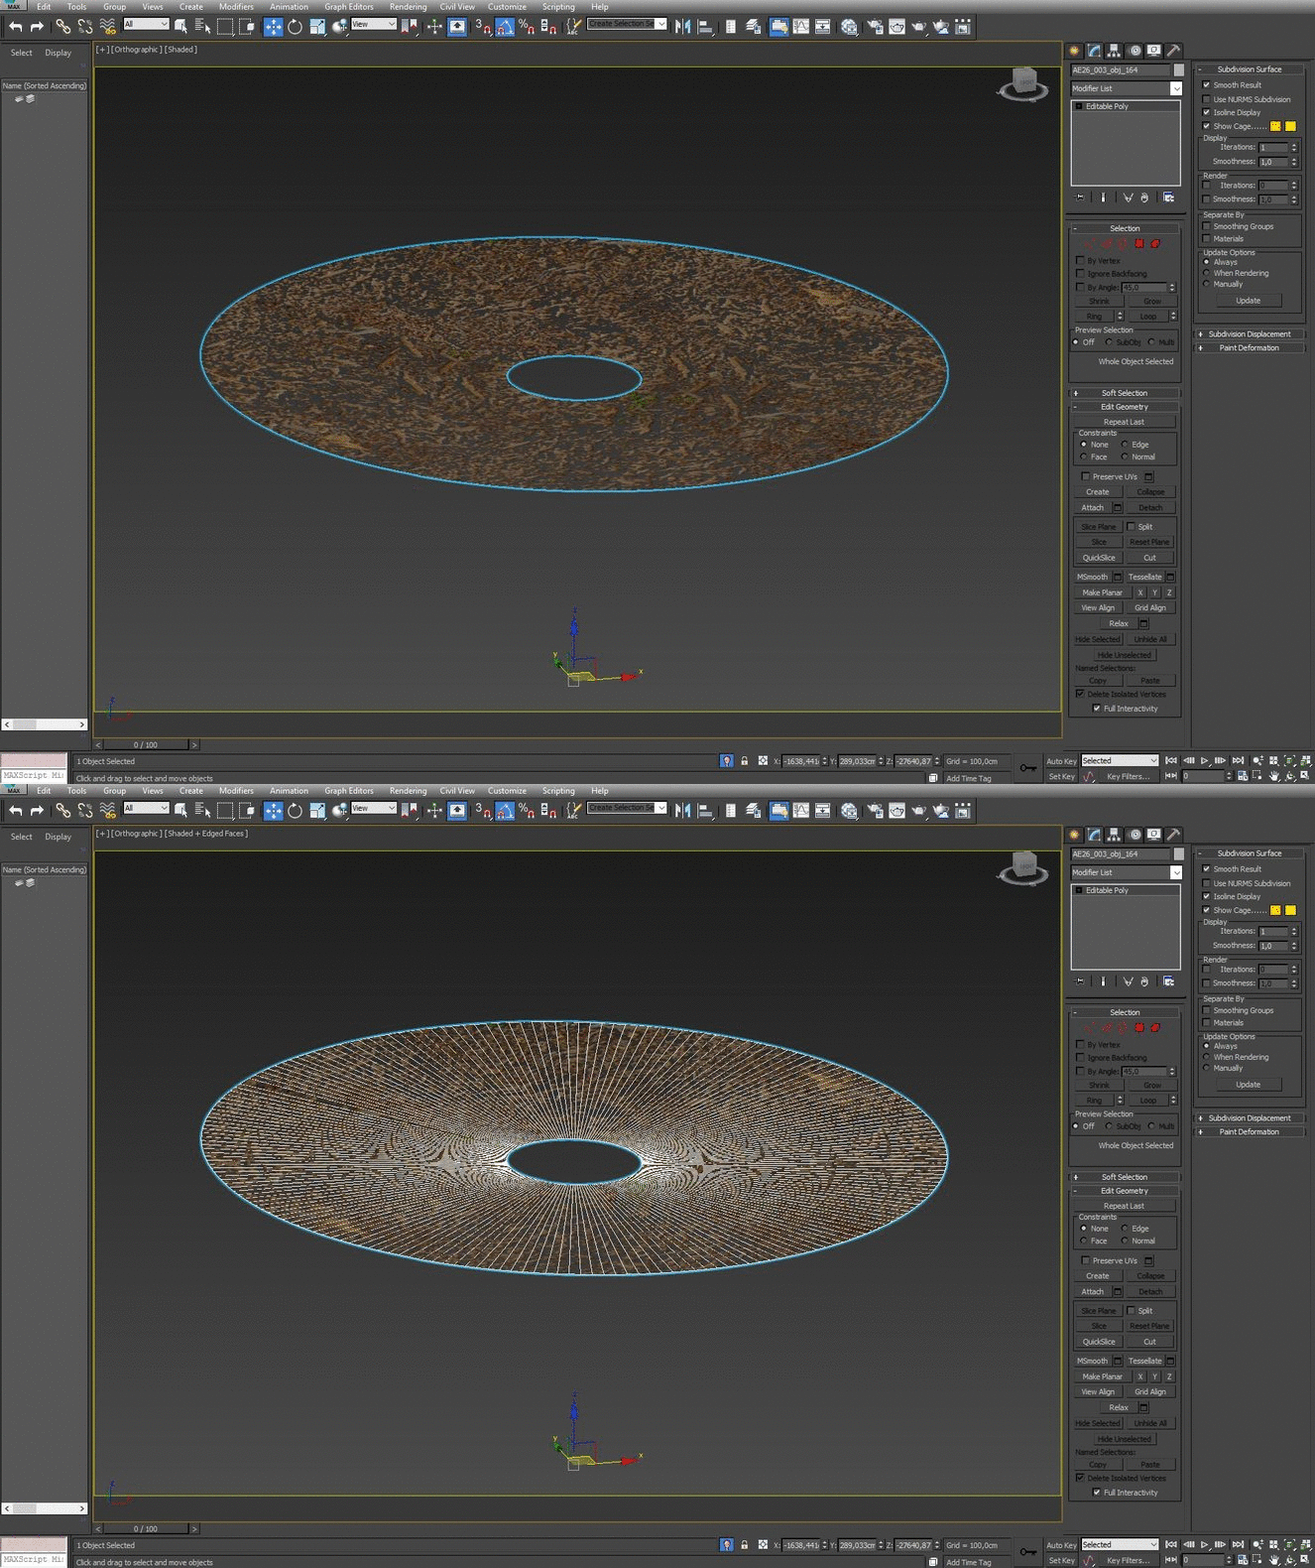
Far ground is made with a cone without a base and a cap.
Click on image to enlarge 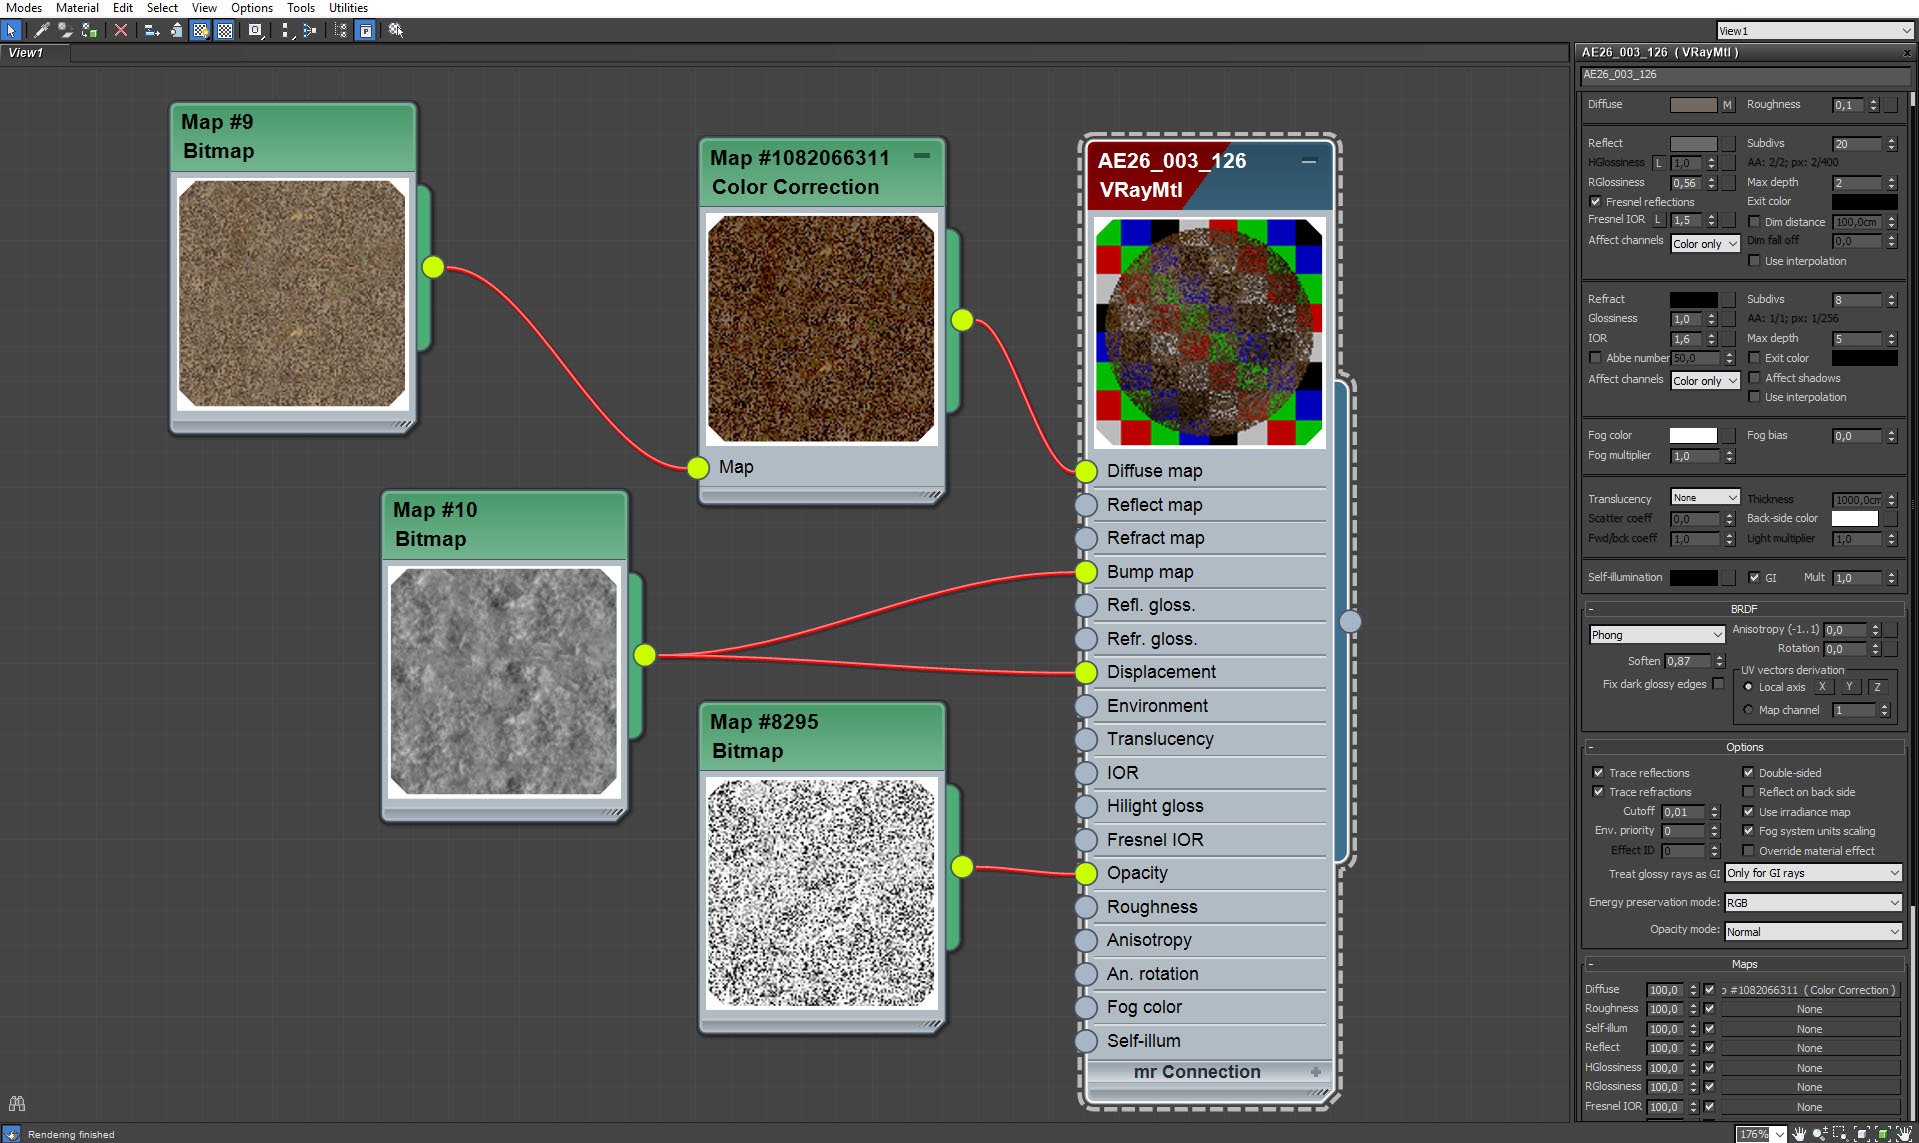
Far ground shader settings. Bump - 72, Displace - 100, Opacity - 100.
Click on image to enlarge 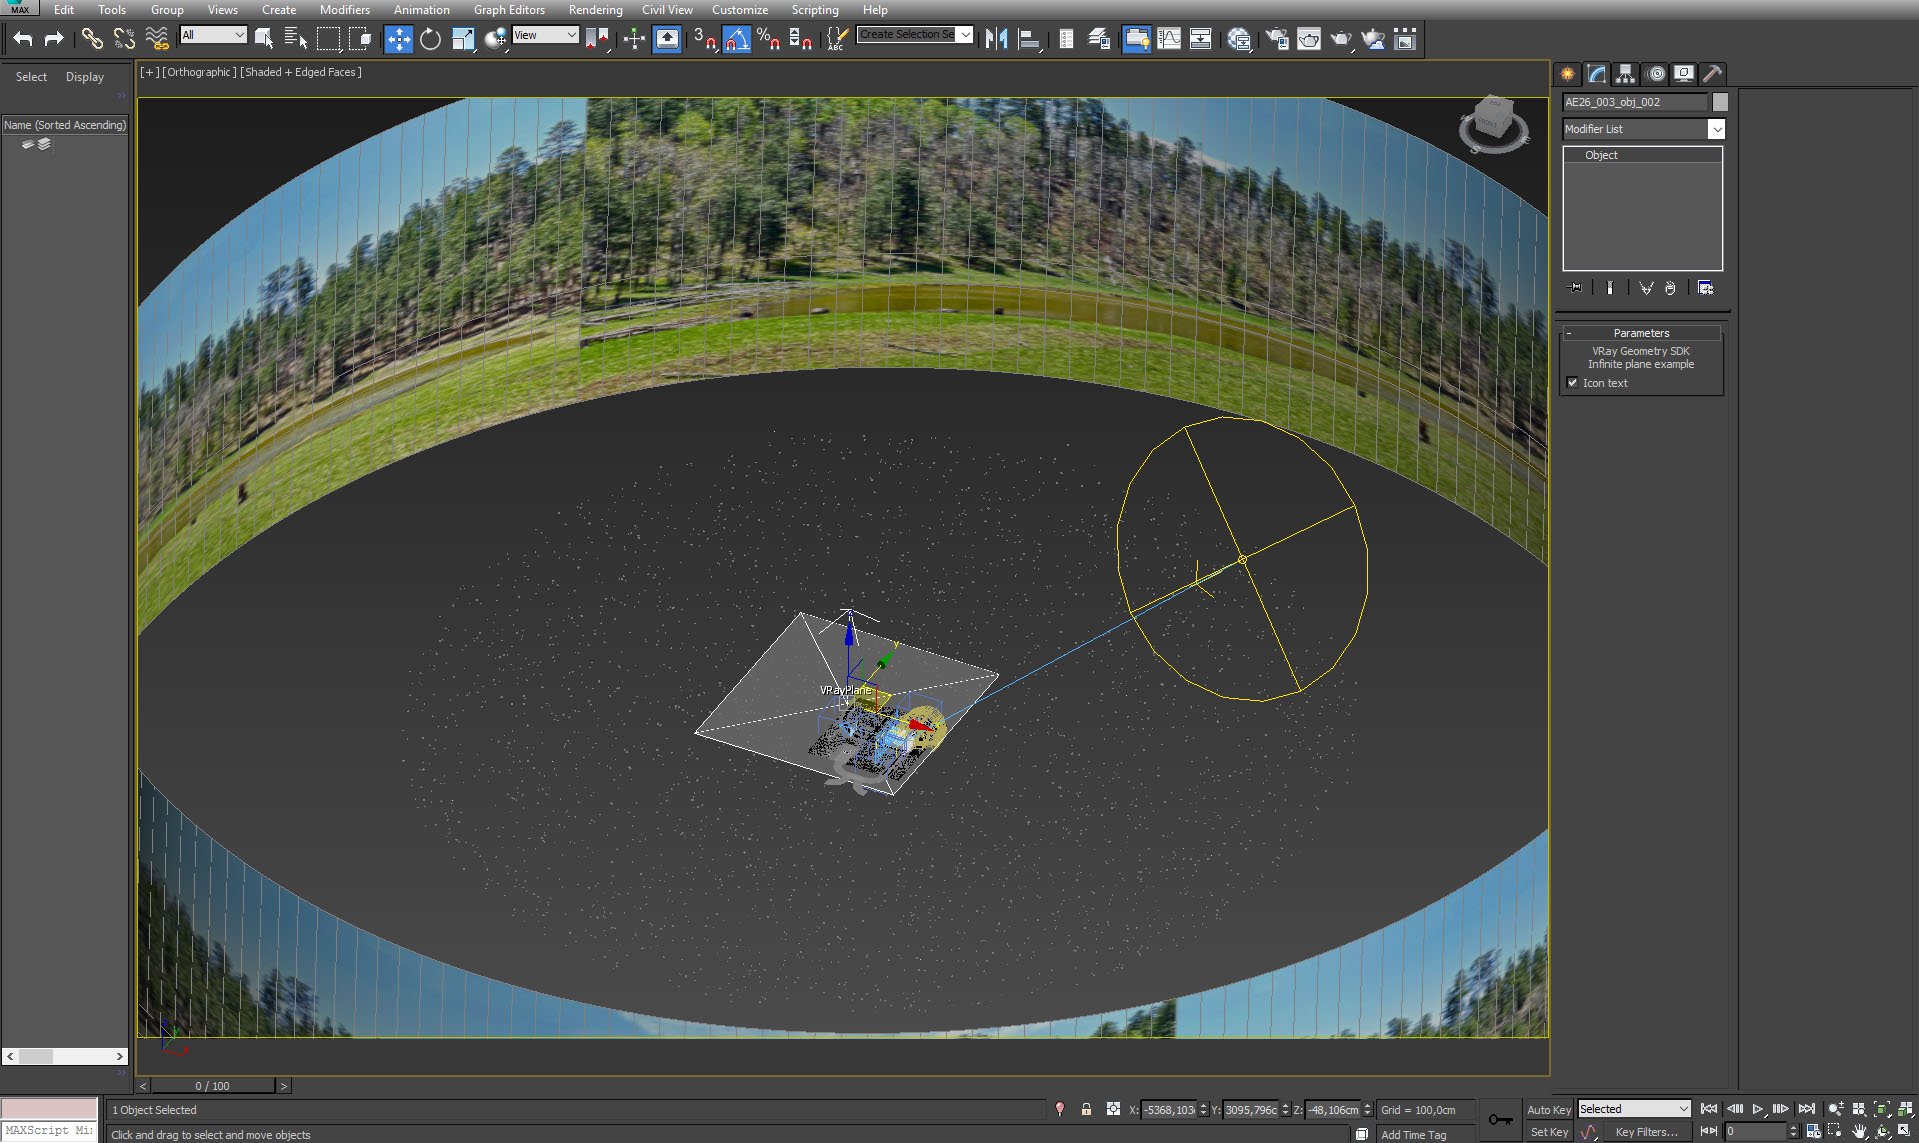
Below ground planes we placed VrayPlane to ensure that there are no holes or discontinuities that could be visible to the cameras or produce light artifacts.
Click on image to enlarge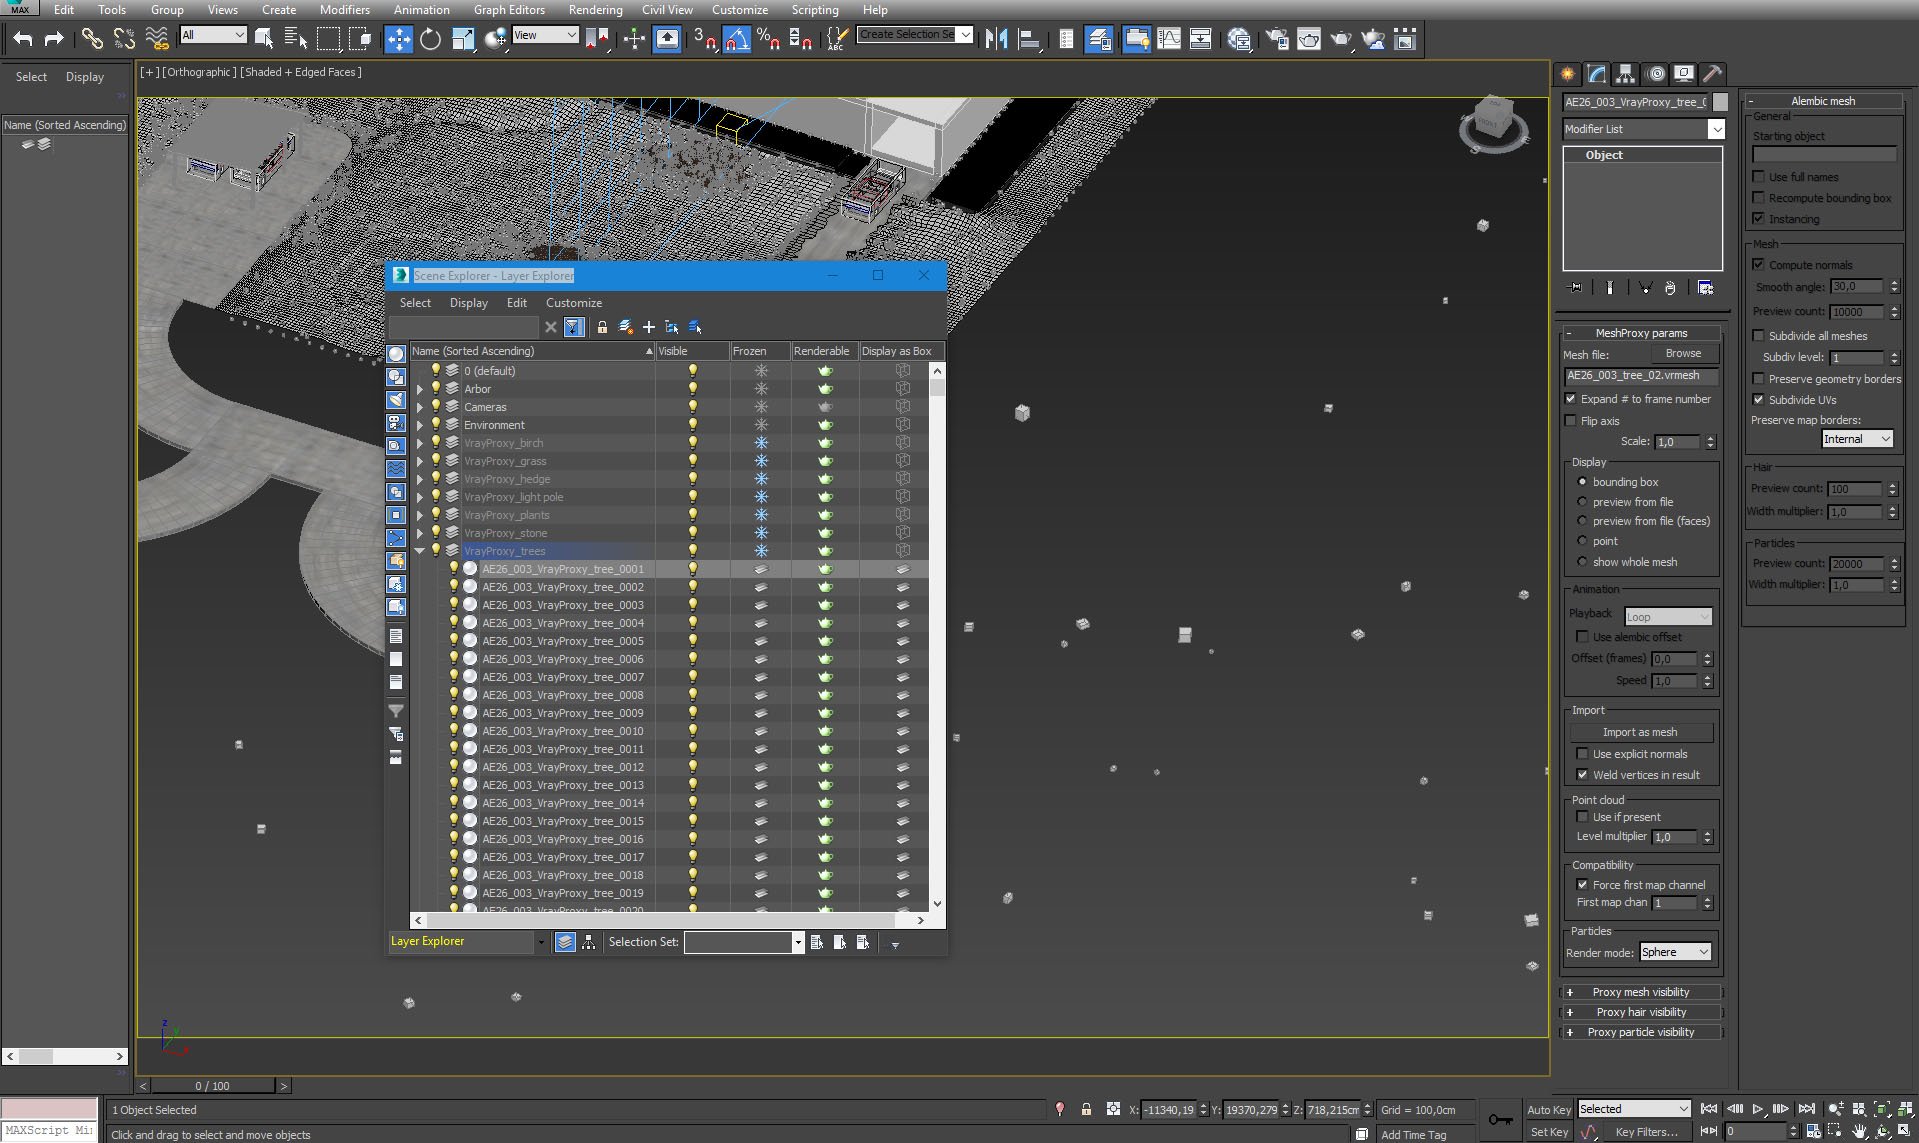
Small cubes are trees' proxies. We placed all greenery and small elements as proxies - grass, birches, hedges, plants, stones and trees.
Click on image to enlarge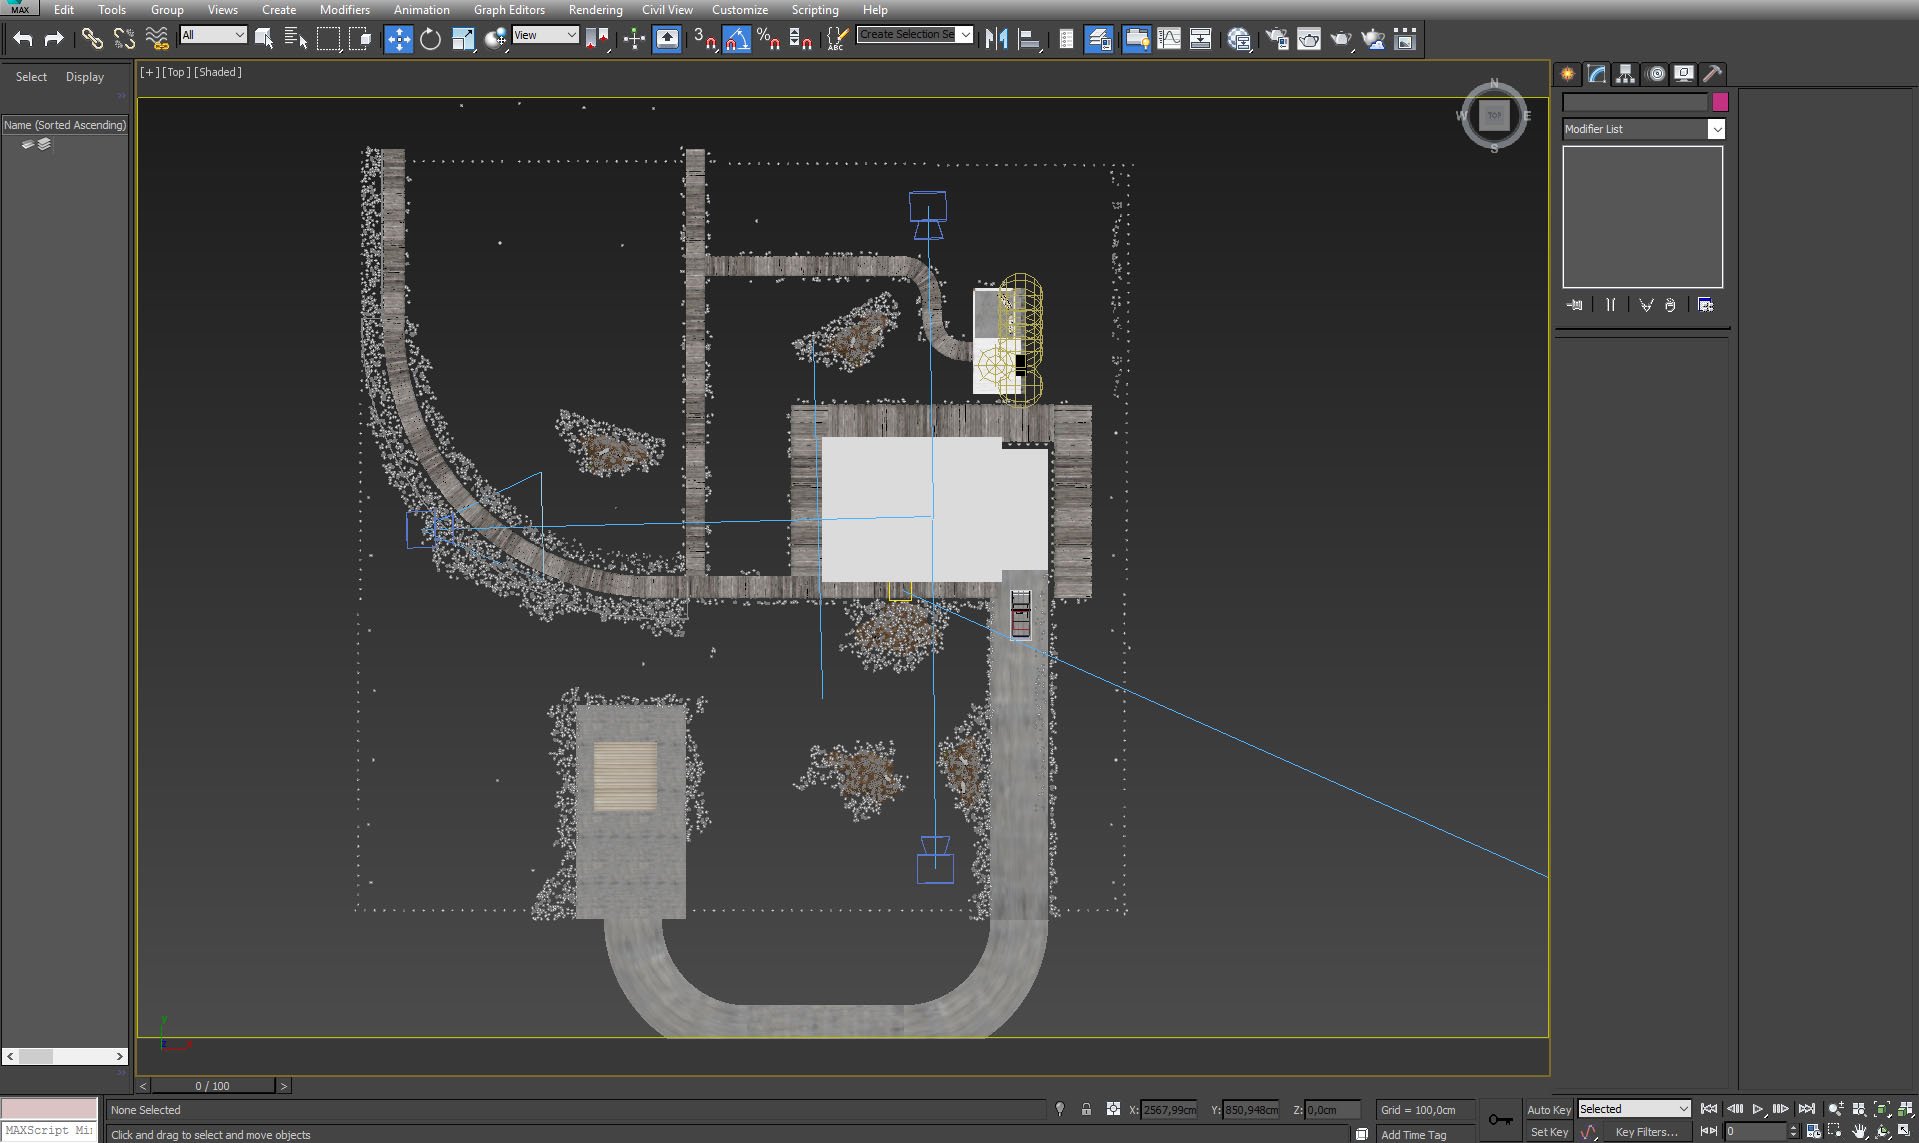
Top view of the scene (without VrayPlane and ground planes).
Click on image to enlarge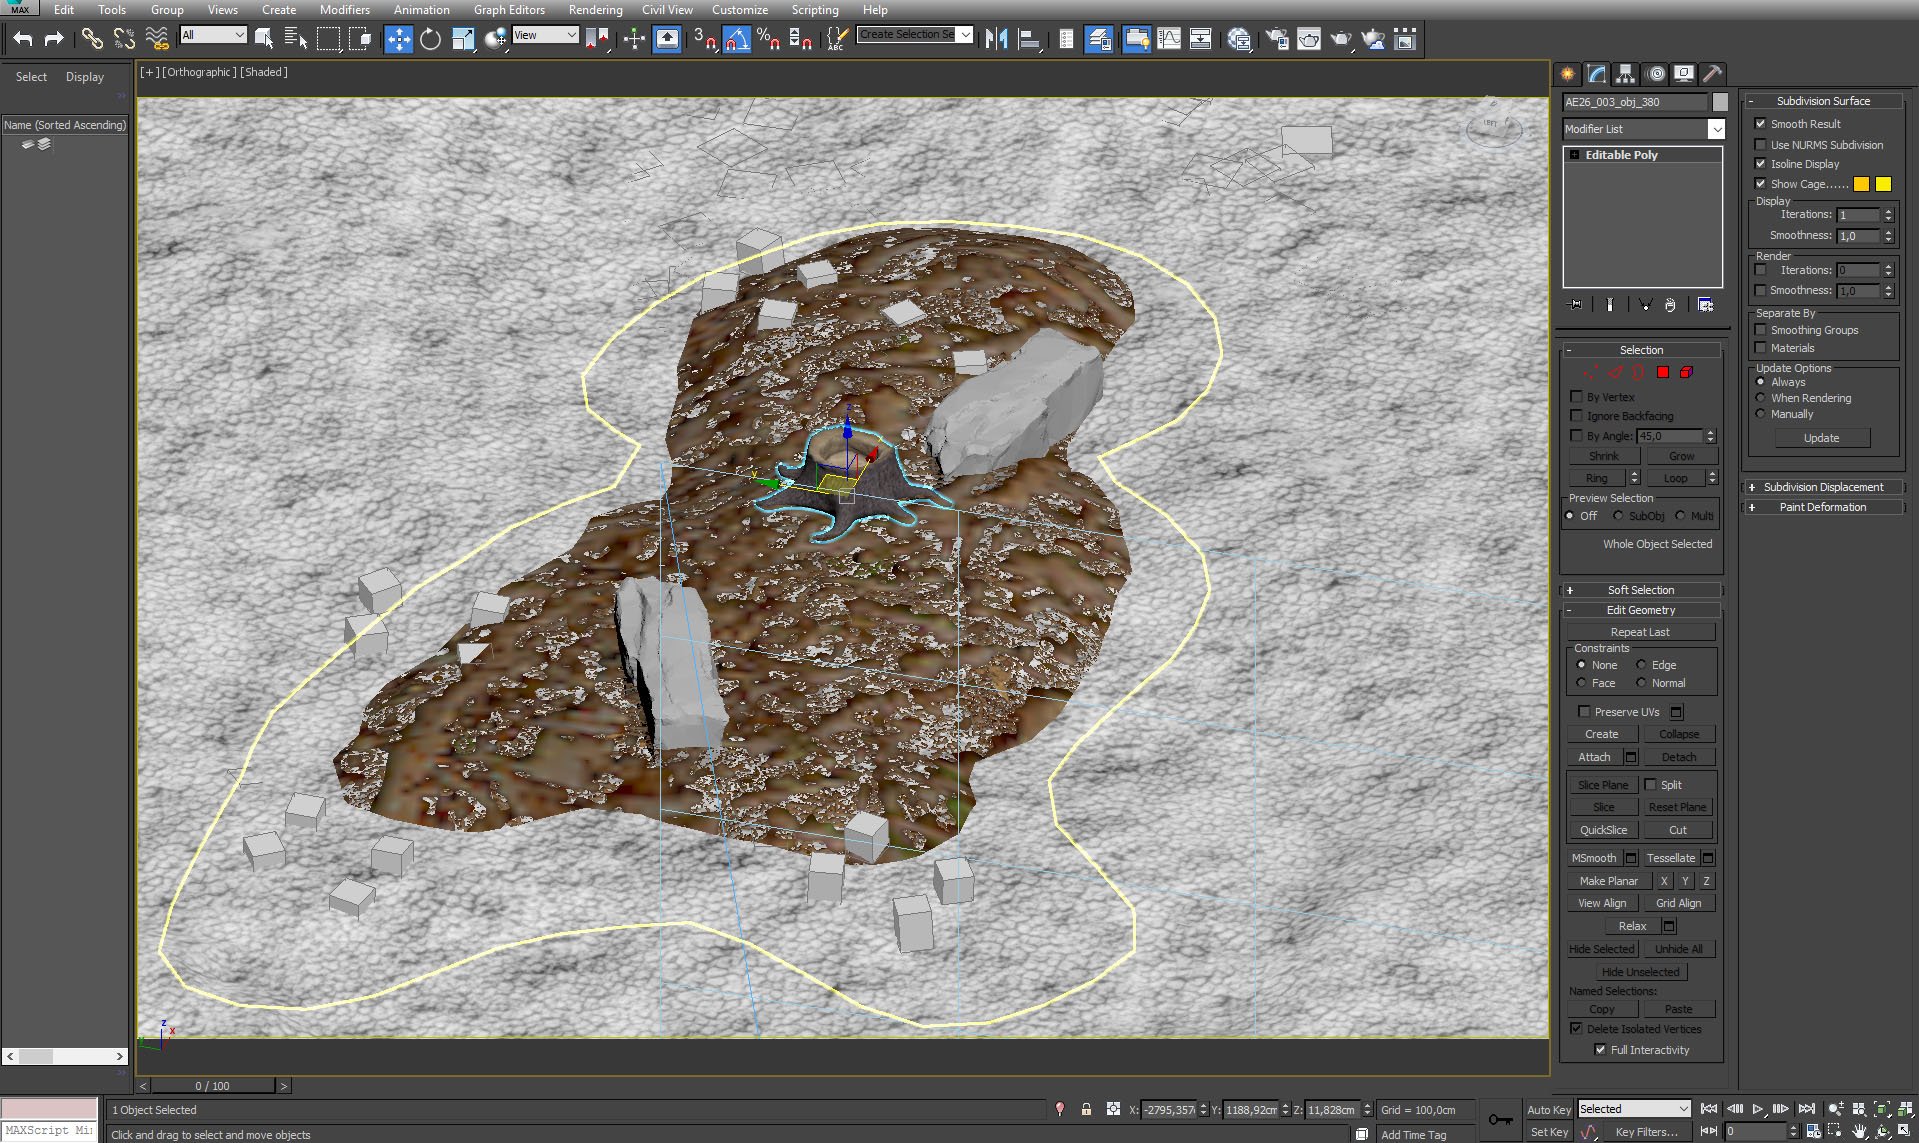
We made small areas with different ground material, stones and trunks to make the visualization more interesting. the trunk comes from Archmodels vol. 148. You can get it
here.
Click on image to enlarge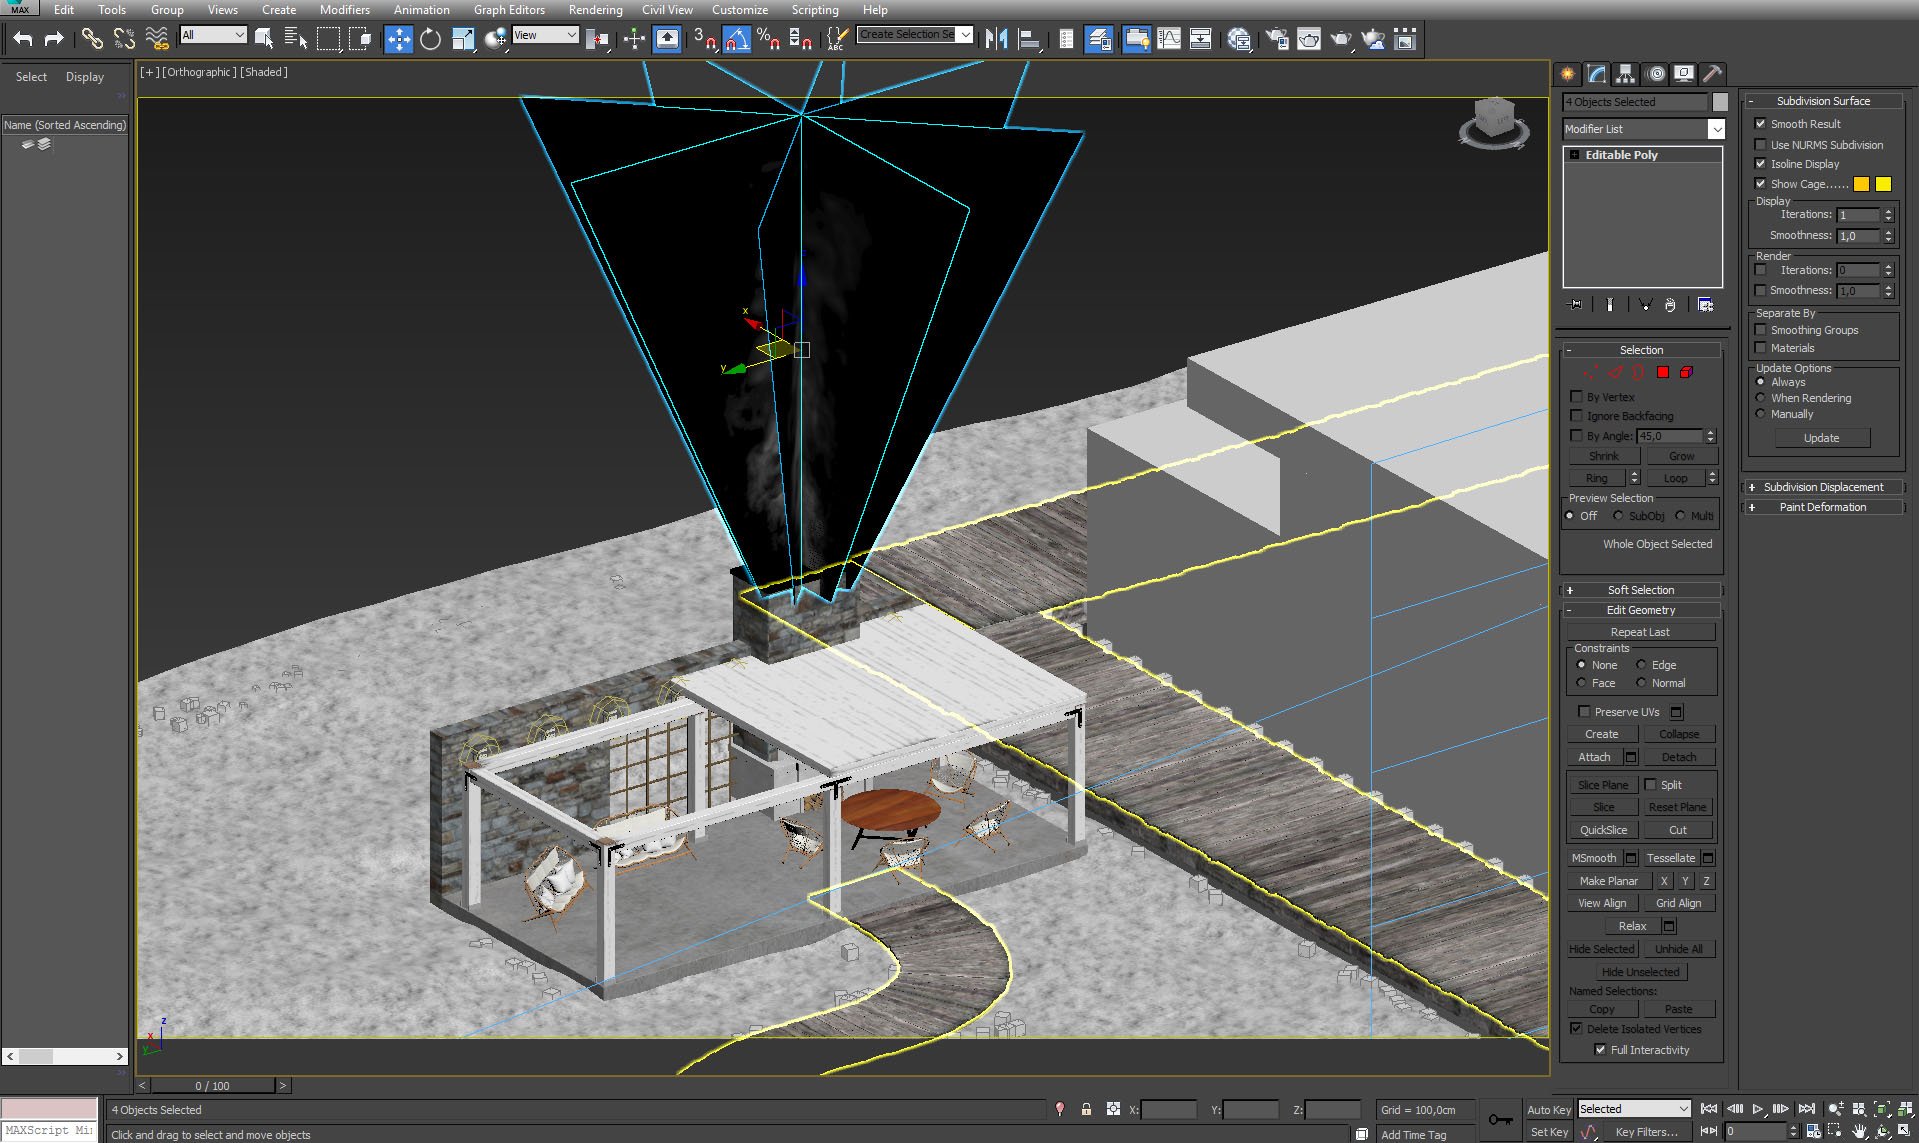
Smoke from the chimney - eight planes with mapped smoke bitmap.
Click on image to enlarge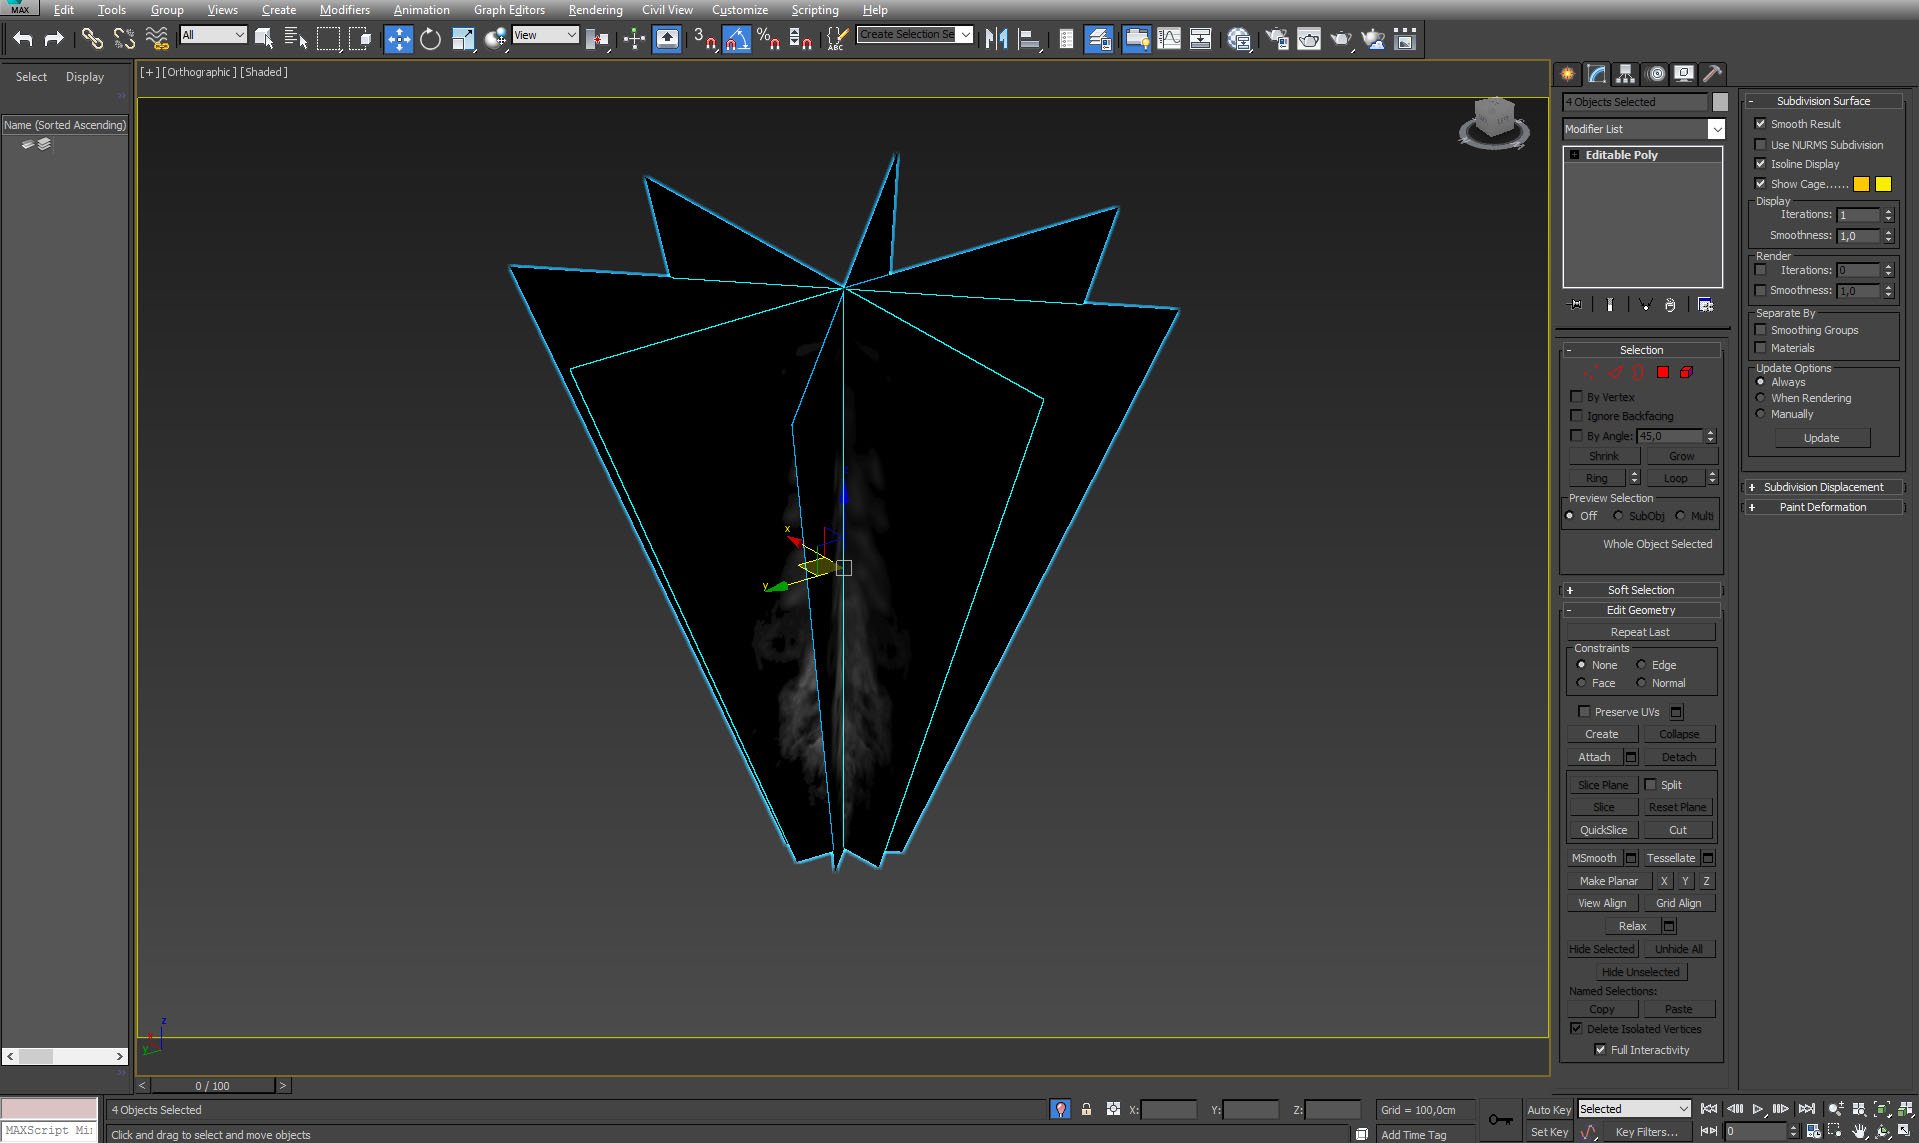
Smoke planes isolated.
Click on image to enlarge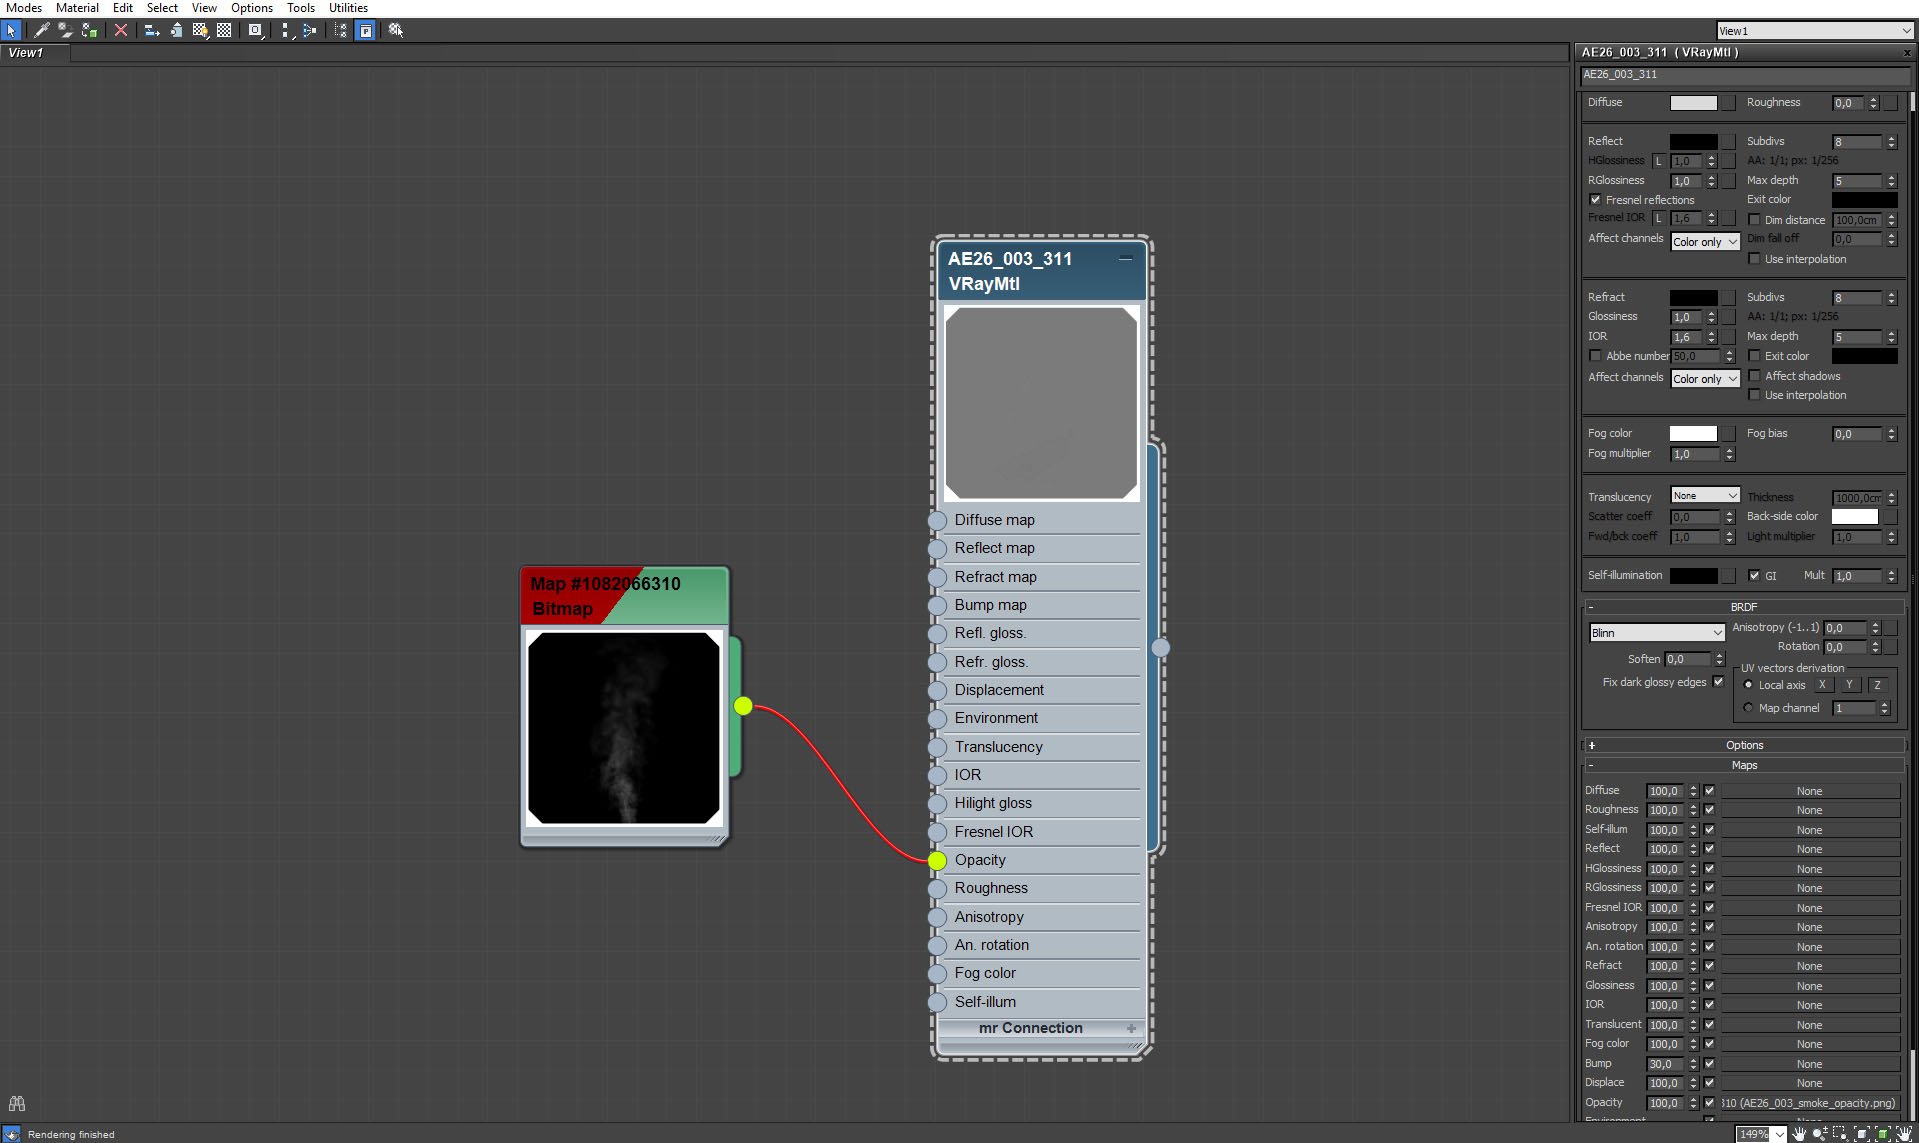
Smoke material.
Click on image to enlarge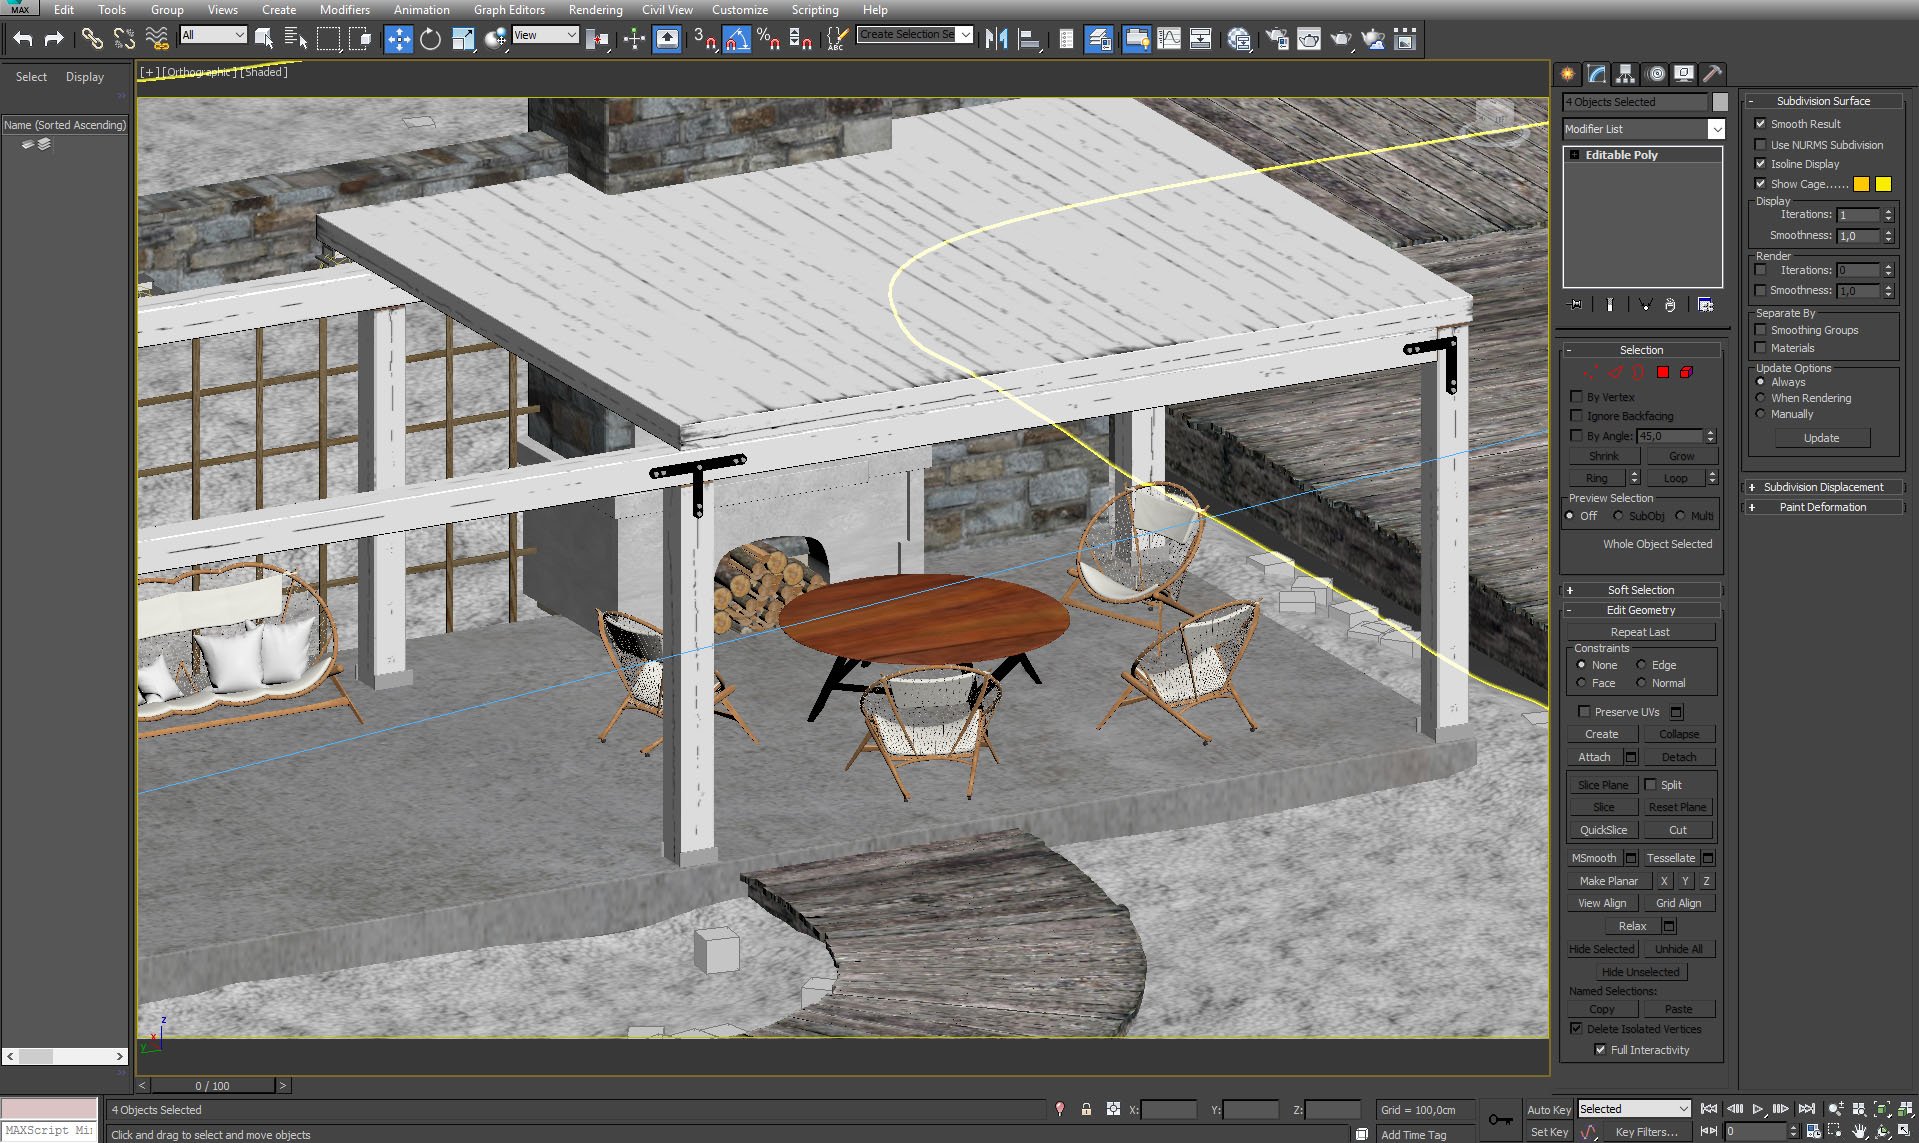
Click on image to enlarge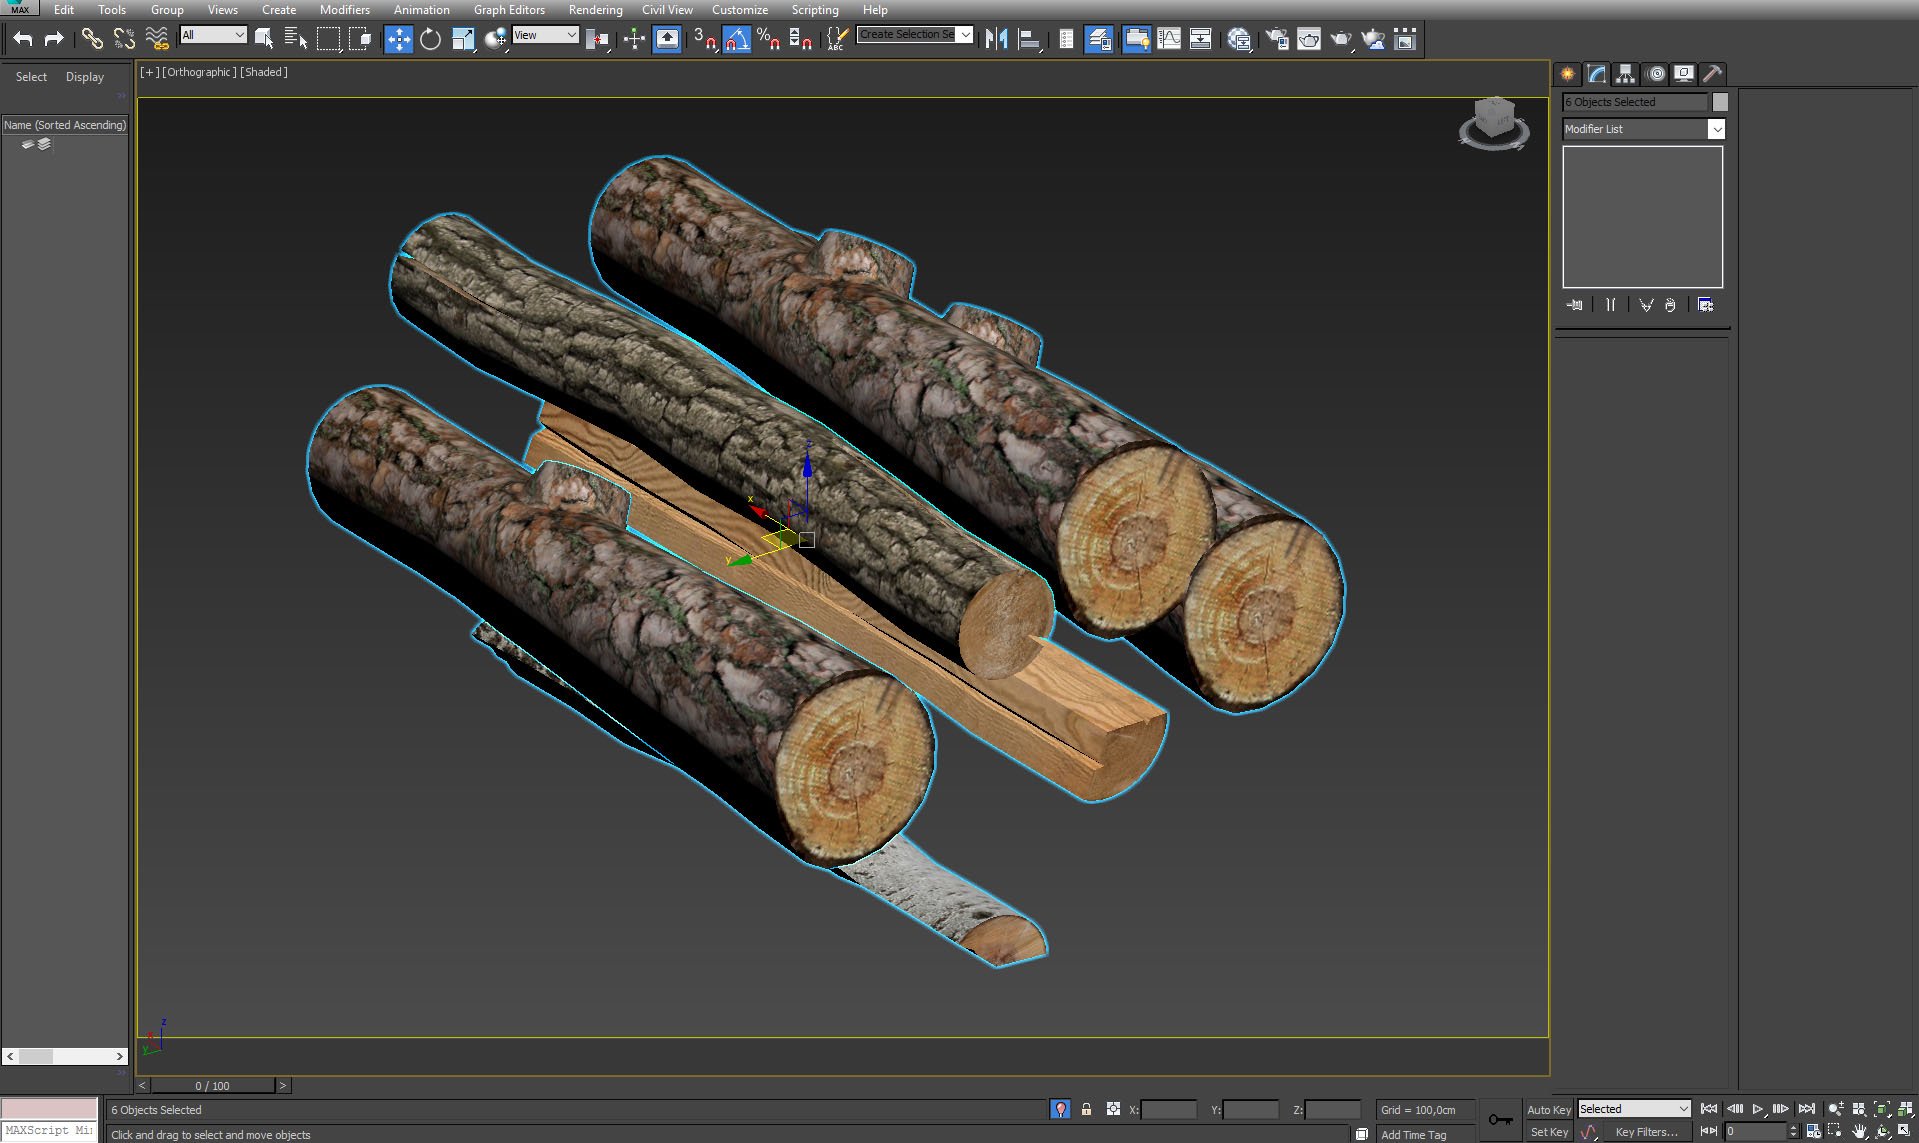
...and wooden logs in the fireplace.
Click on image to enlarge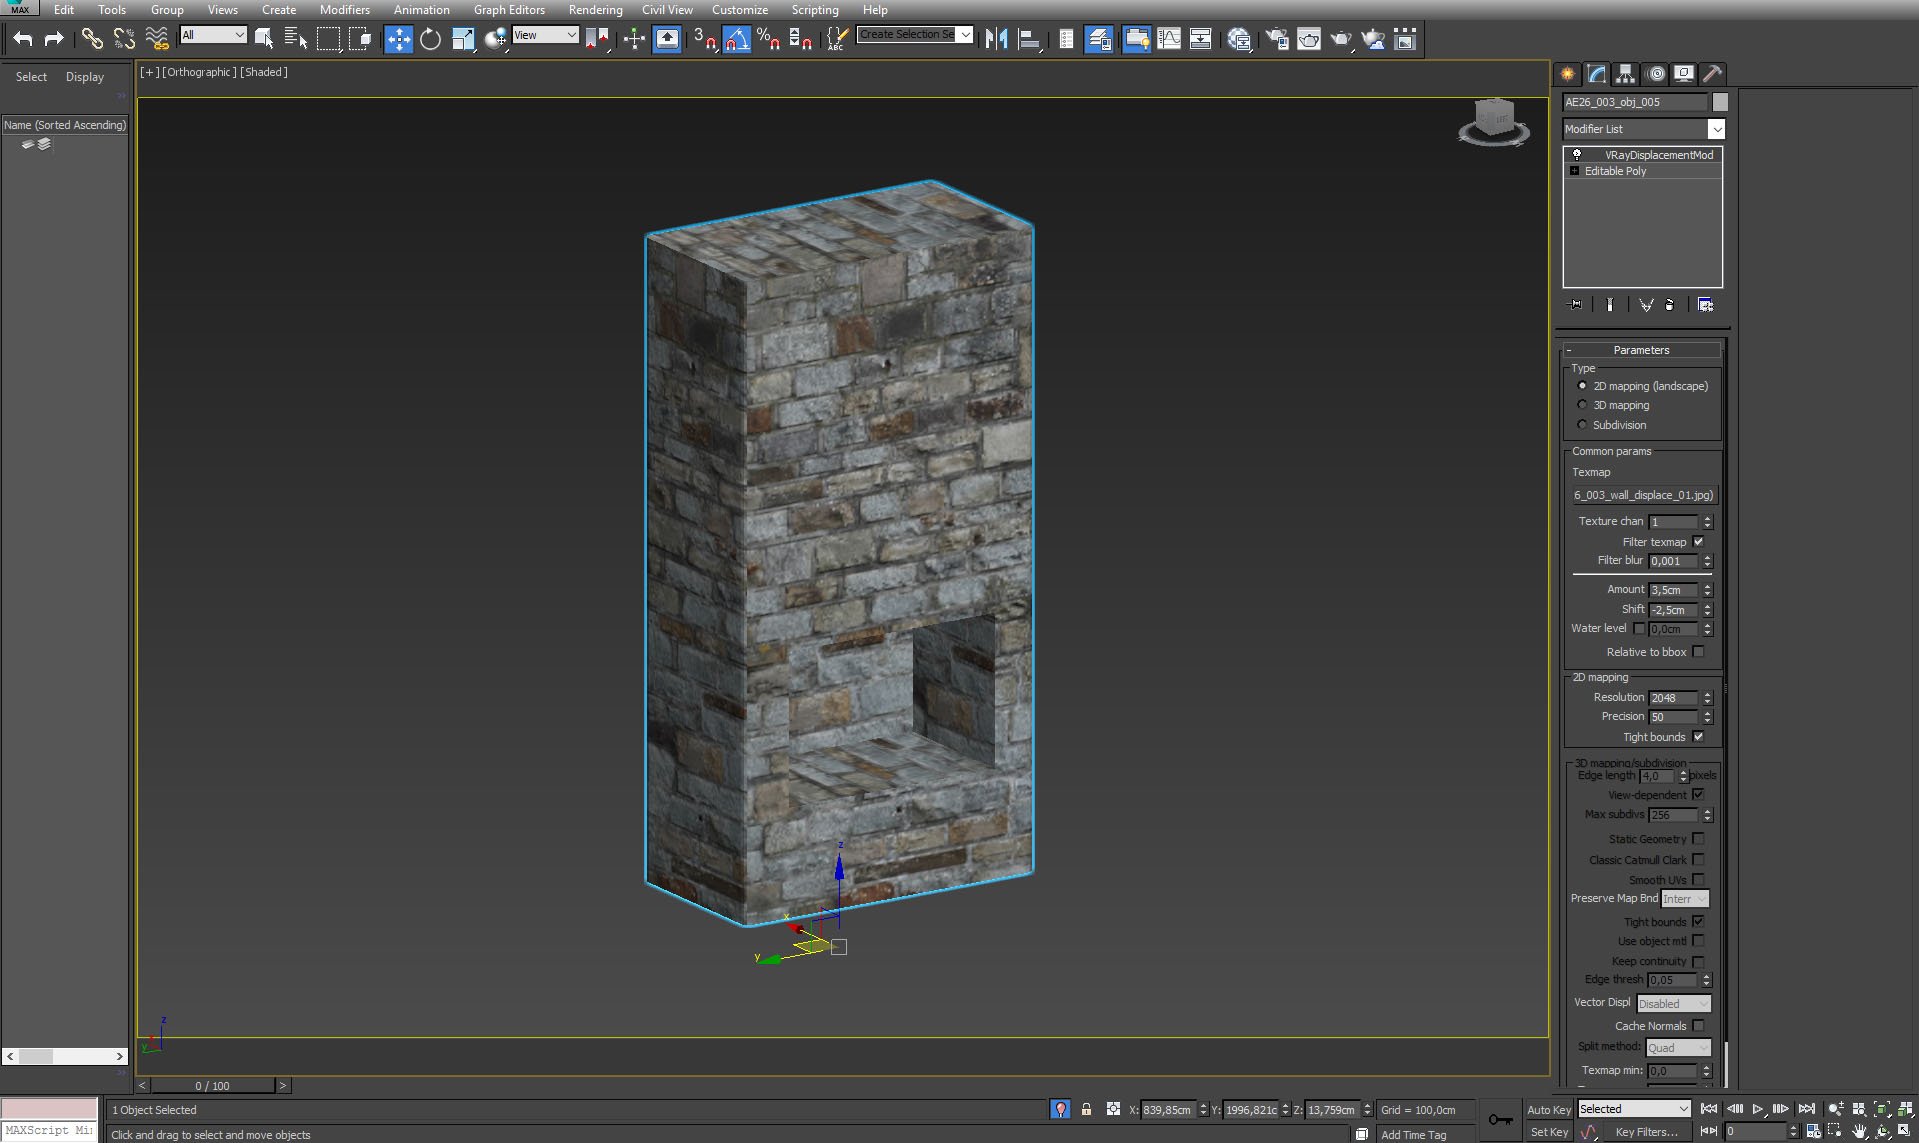
Fireplace mesh.
Click on image to enlarge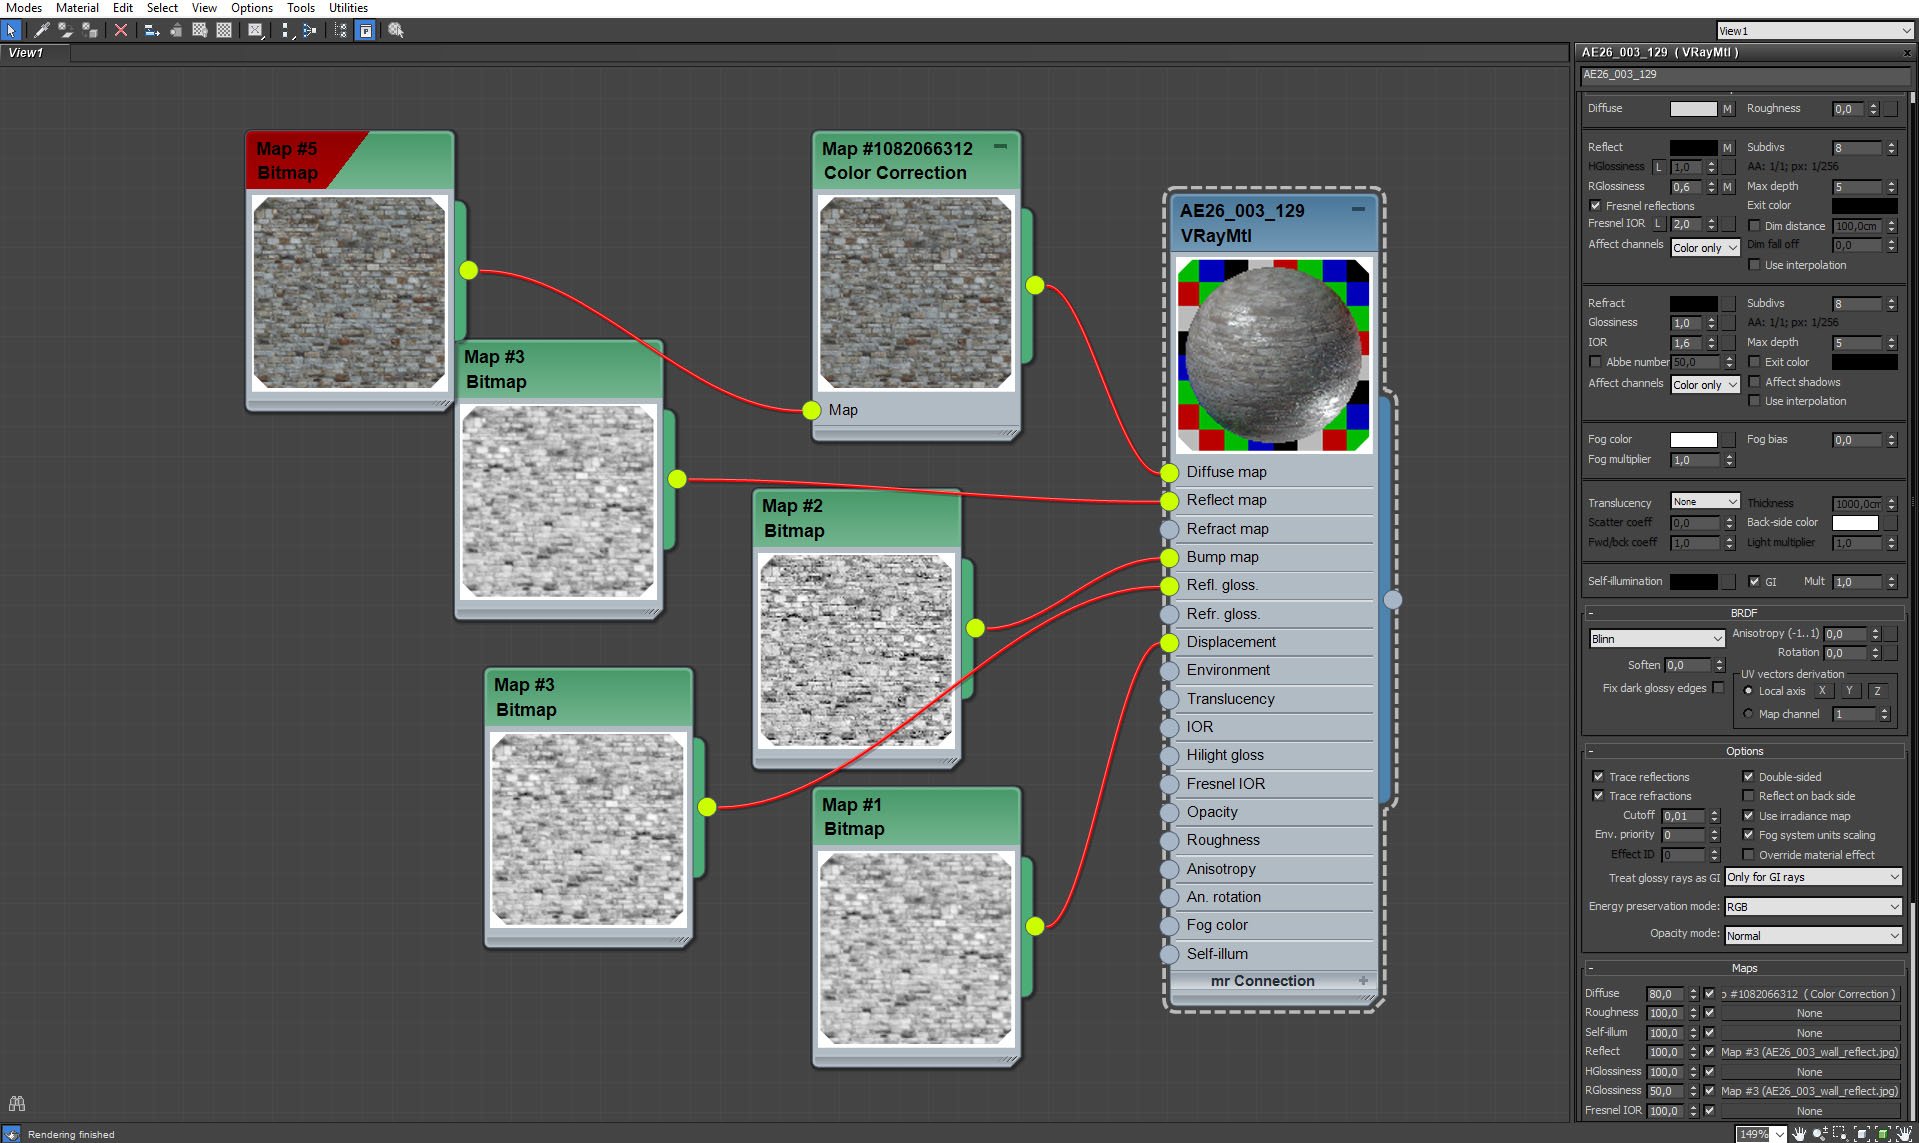
Fireplace material. Bump - 15, displace - 1,0.
Click on image to enlarge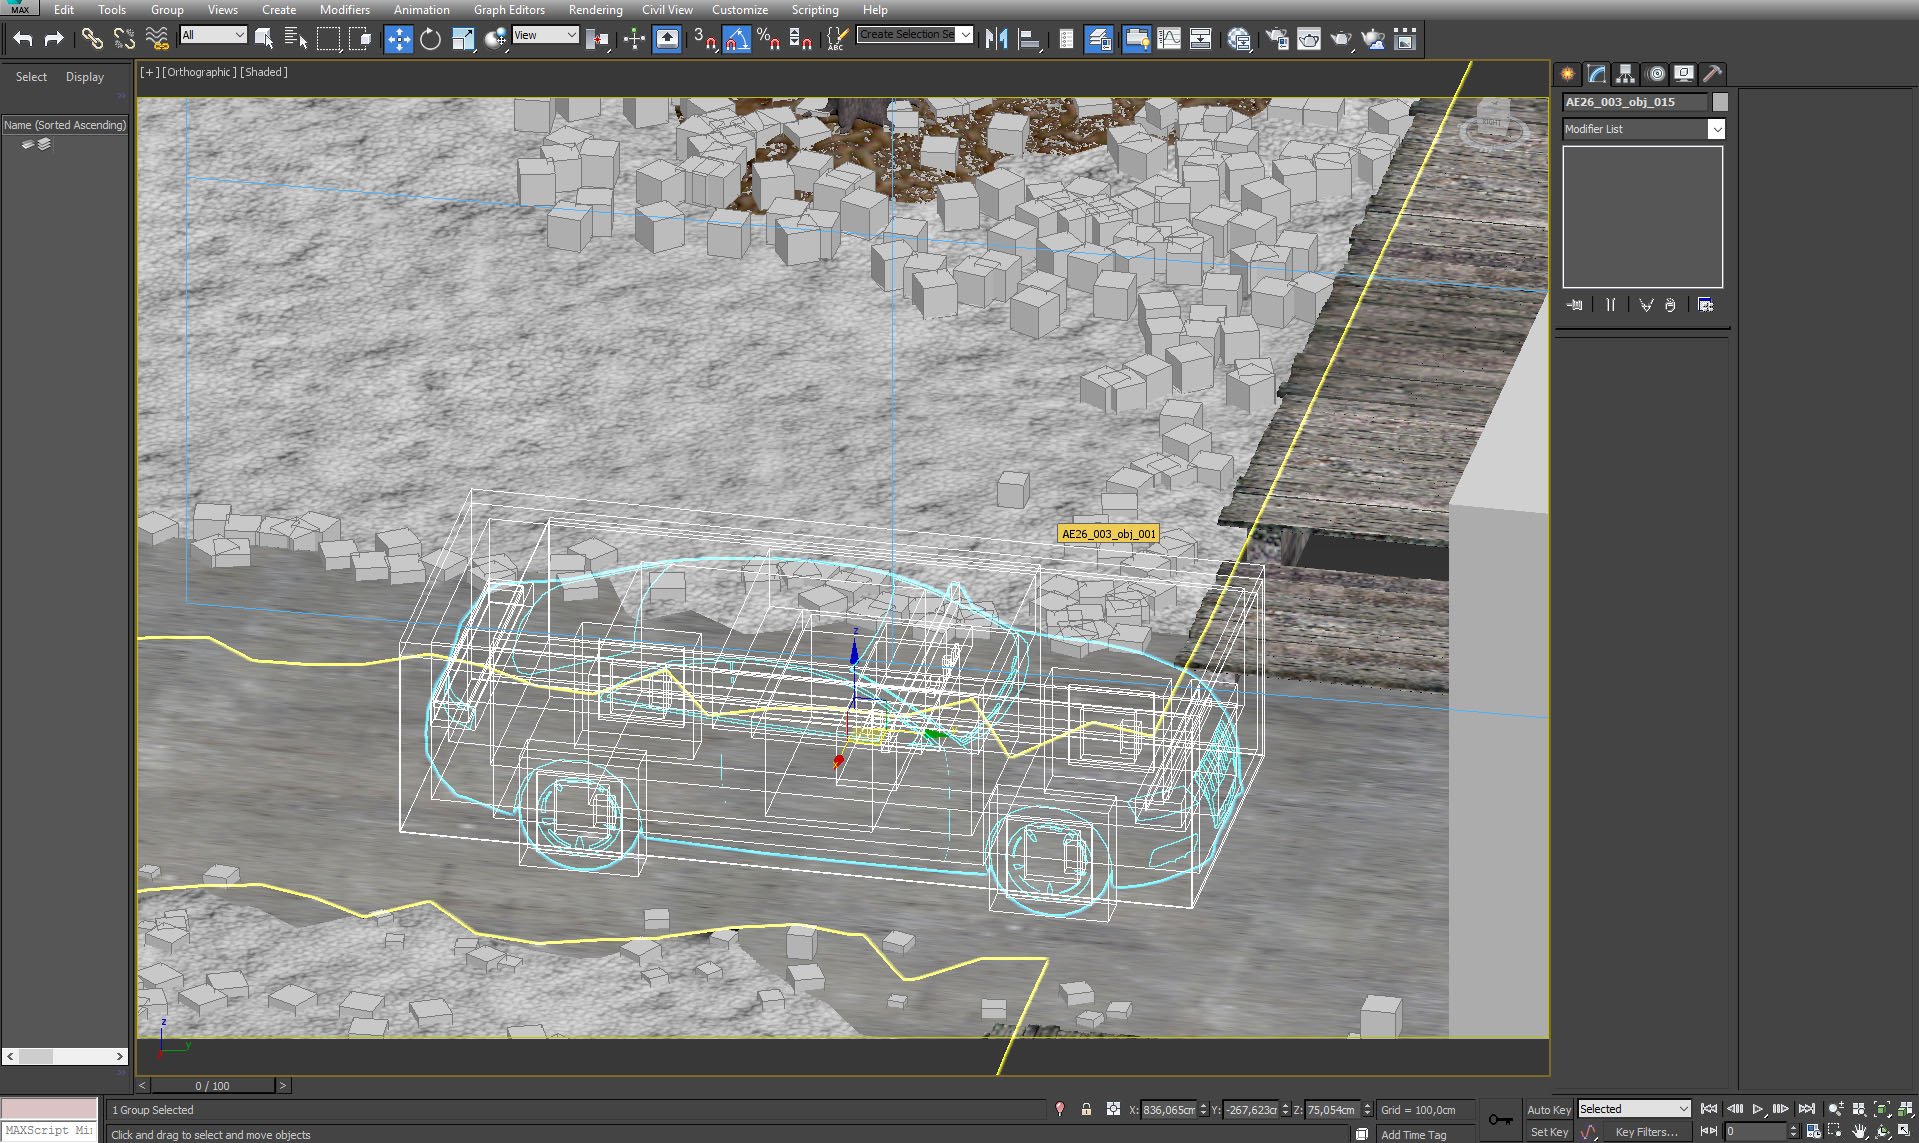
In front of the garage we put a car. Two more cars are waiting on the parking lot.
Click on image to enlarge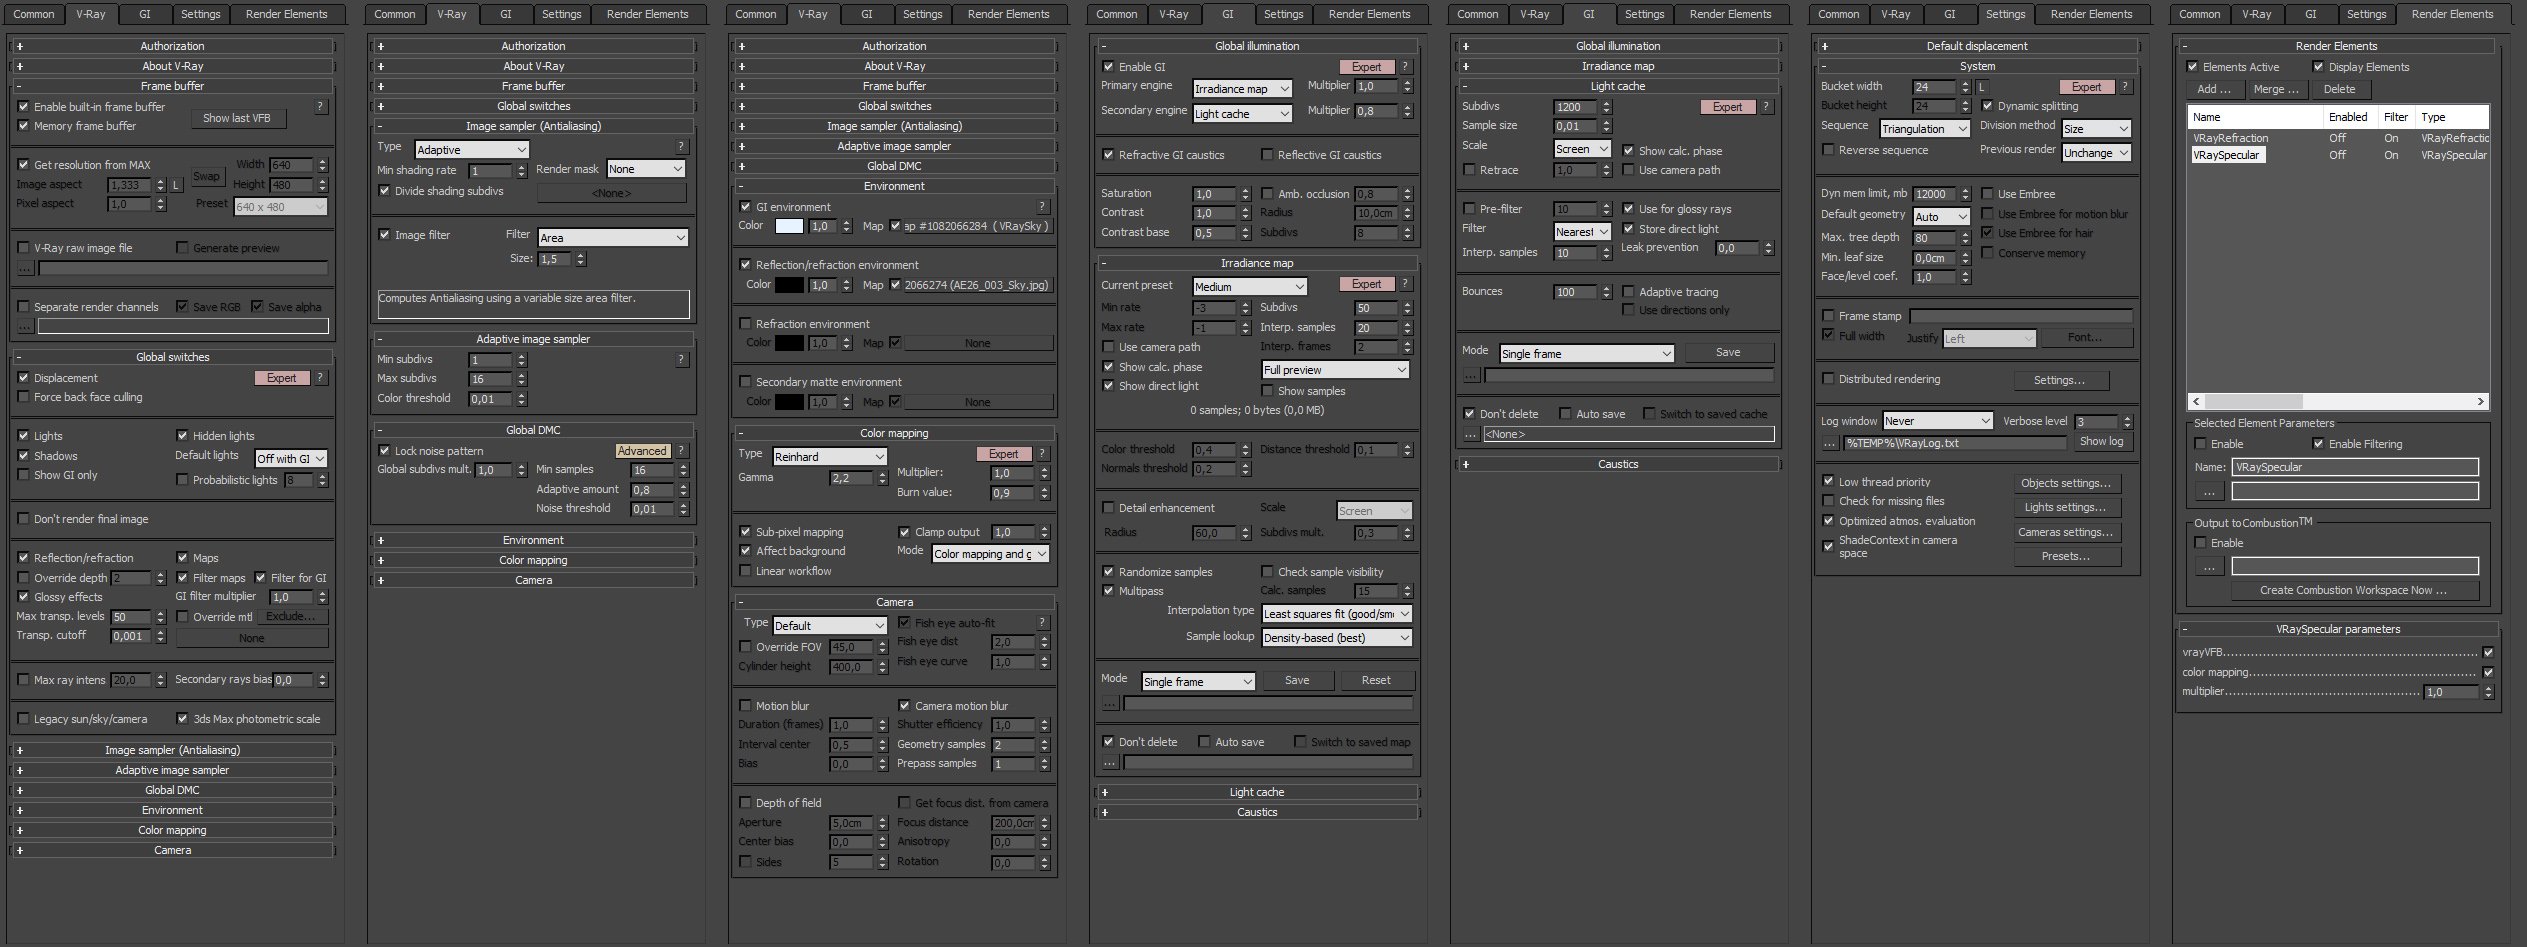
Render settings.
Click on image to enlarge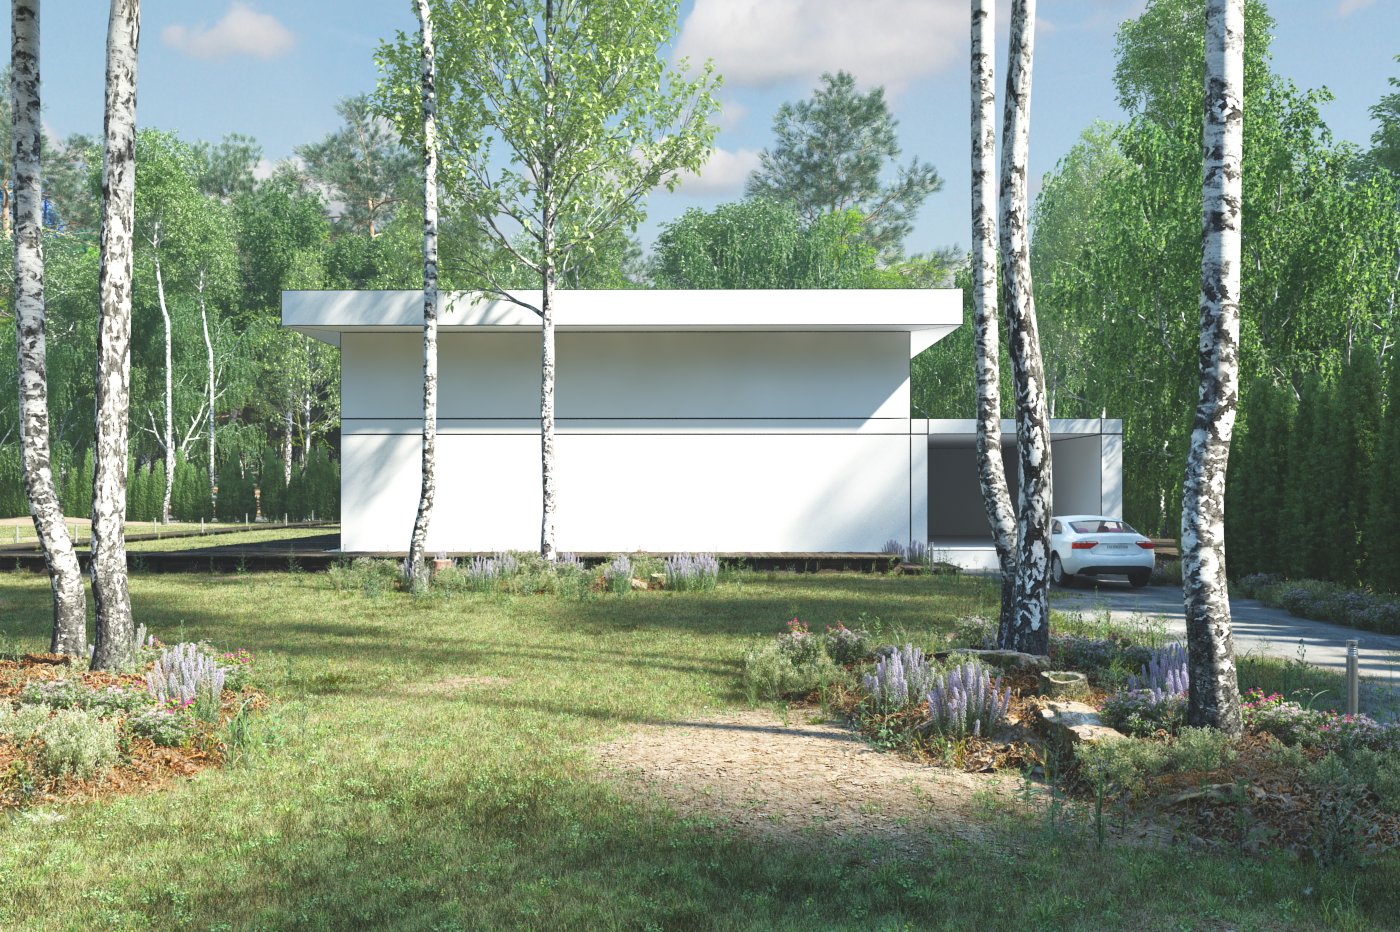
Camera 1 - raw render, before post-production.
Click on image to enlarge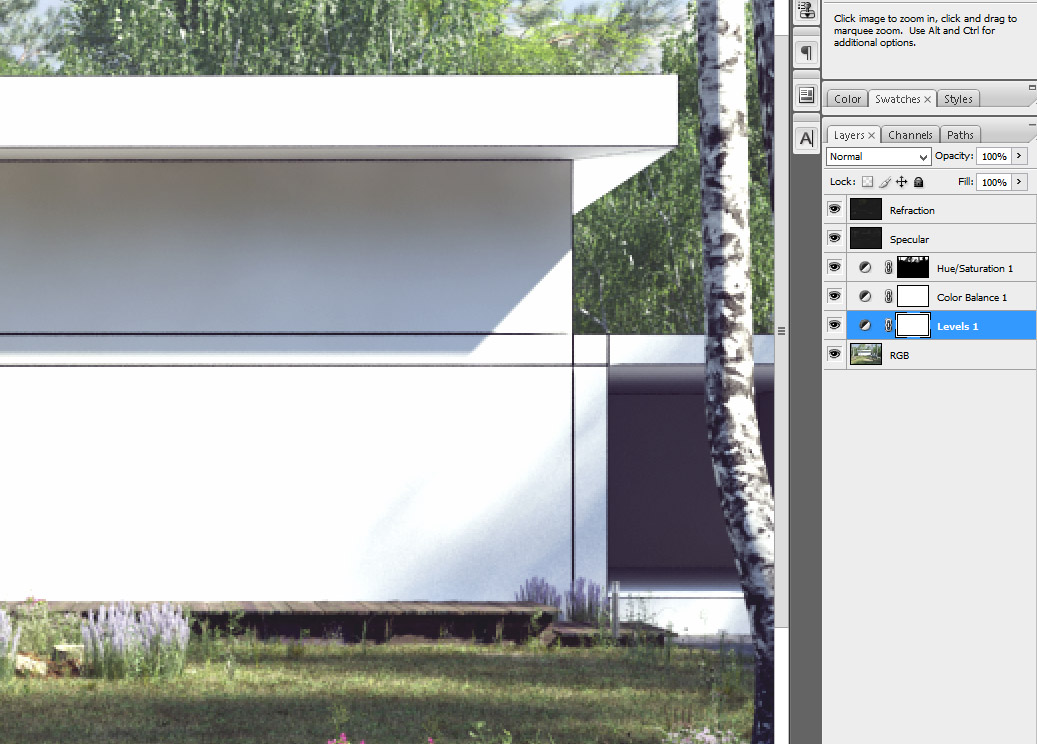
Camera 1 - Photoshop stack. First we enhanced the levels (moved up blacks' slider to 35, turned down whites' slider to 232). Then we used color balance layer to get rid of unwanted greens. The next layer increases saturation of the sky. The last two layers are render passes that smooth overall look.
Click on image to enlarge
The scene after post-production - camera 1.
Click on image to enlarge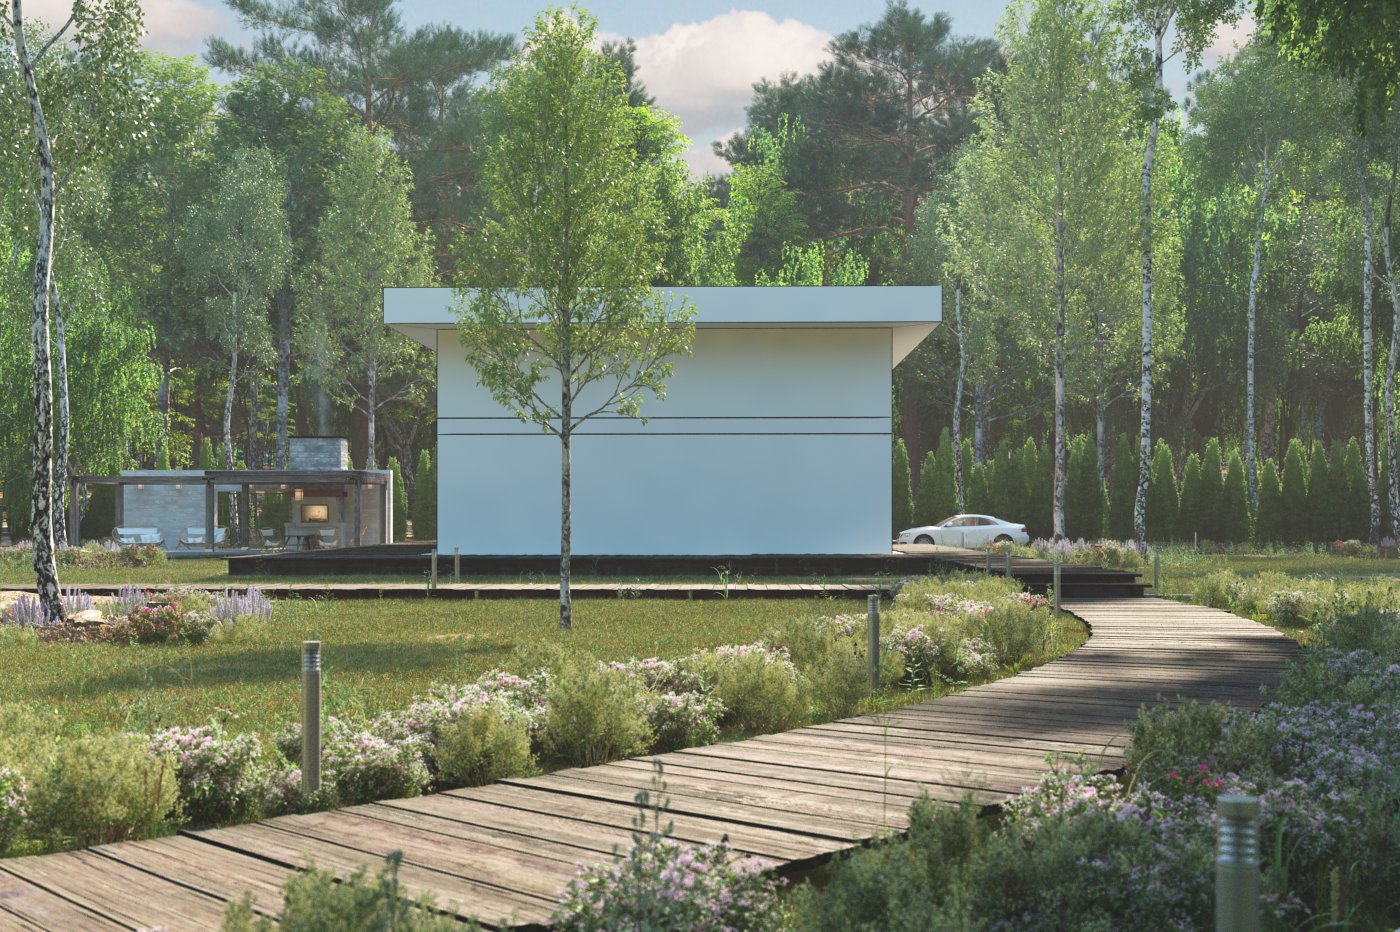
Camera 2 - raw render.
Click on image to enlarge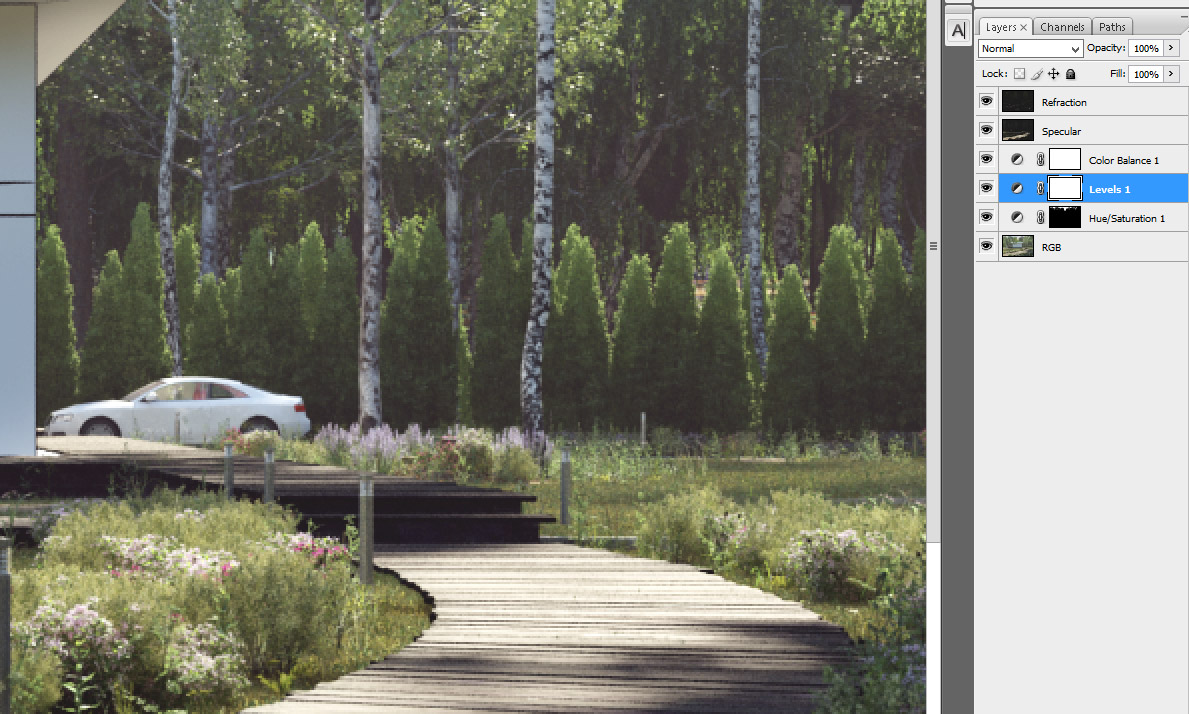
Camera 2 - Photoshop stack. Similar to the first one - more saturation of the sky, increased levels, color balance shifted away from green, specular and reflection layers on the top.
Click on image to enlarge

The scene after post-production - camera 2.
Click on image to enlarge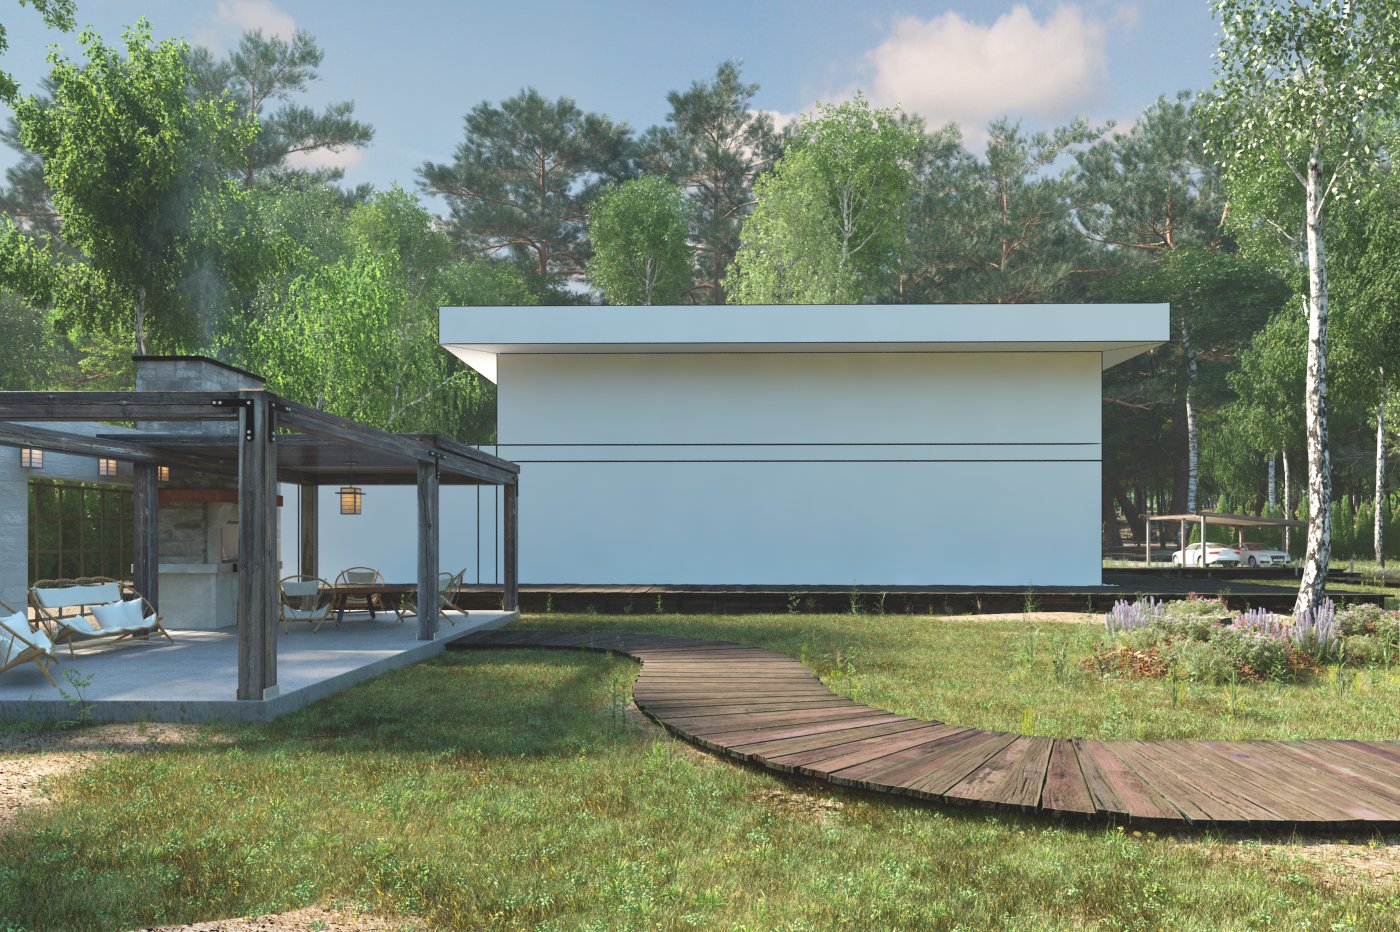
Camera 3 - raw render.
Click on image to enlarge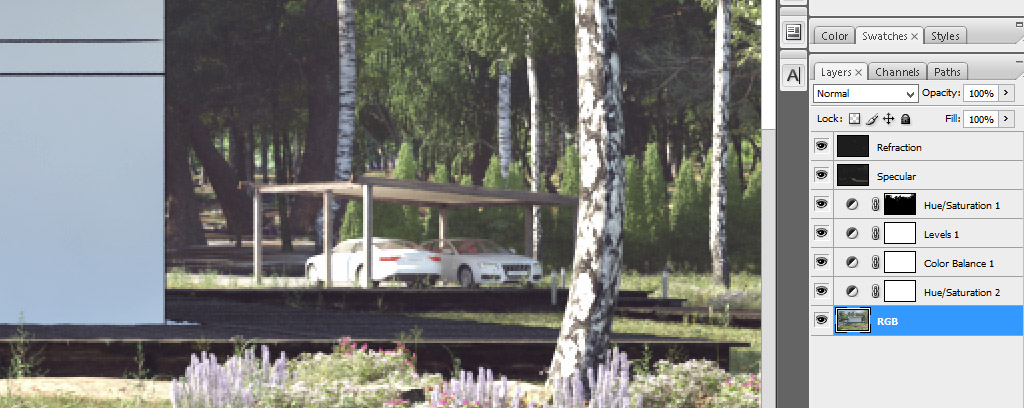
Camera 3 - post-production. Small desaturation (few percent), less green with Color Balance layer, more contrast with levels, lighter sky thanks to another hue / saturation layer, specular and reflection layers on the top that give smooth, atmospheric result.
Click on image to enlarge
Camera 3 - final image after post-production.
This exterior scene was made by Marcin Białecki from Evermotion in 3ds Max and V-Ray. It is a scene 3 from Archexteriors vol. 26.
You can:


COMMENTS