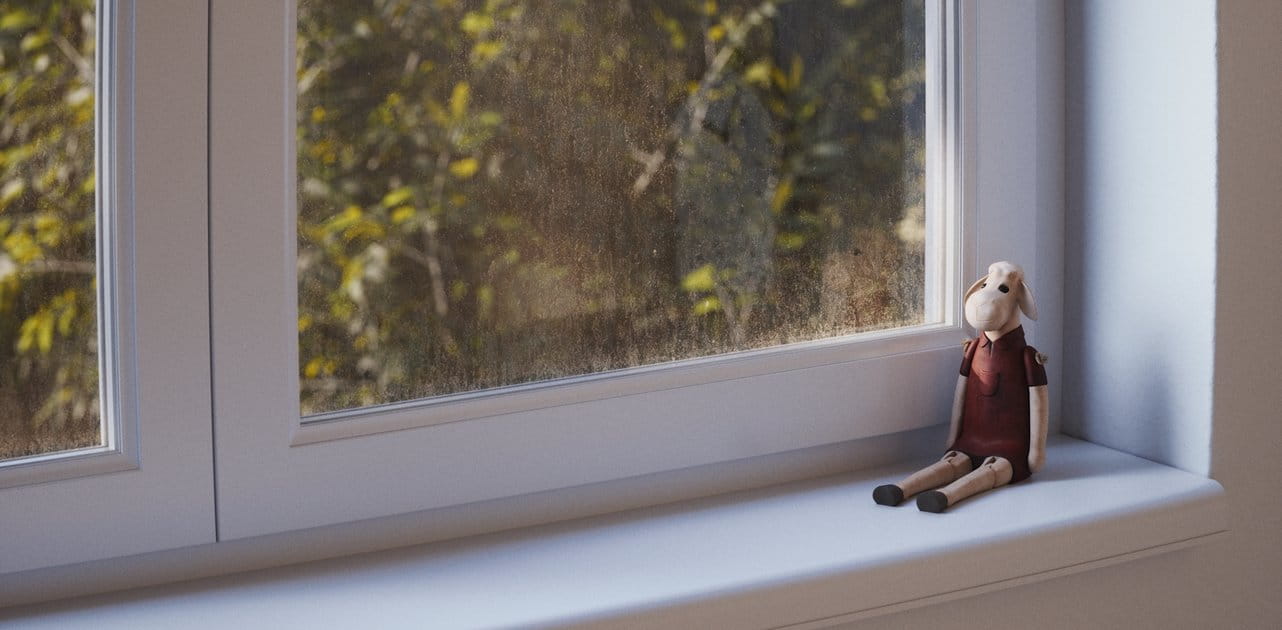
Create Dirty Windows - material tutorial
New tutorial by RenderRam.


In accordance with the art. 13 section 1 and 2 of the European Parliament and Council Regulation 2016/679 of the 27th April, 2016 on the protection of natural persons, with regard to the processing of personal data and on the free movement of such data, and repealing Directive 95/46/EC (General Data Protection Regulation), hereafter RODO, I hereby inform that:
1. EVERMOTION S.C., 8 Przędzalniana Str., 15-688 Białystok, Poland is the Administrator of your Personal Data (APD)
2. Data Protection Inspector can be reached through e-mail: iod@evermotion.org
3. Your personal data are to be processed on the basis of art. 6 section 1 letter a, b and f of RODO in order to:
a) prepare, conclude and execute the agreement and for other purposes approved by you,
b) to execute the legitimate interest like marketing of products and the agreement, claim assertion or defence against claims resulting from the law regulations.
4. Entities entitled to the reception of your personal data may be the authorised public bodies; mail providers; providers of the services covered by the agreement; responsible for debt recovery, keeping the archives, document utilization, legal consulting, technical services, IT services and accountancy.
5. Your personal data shall not be transferred to the third country, nor to the international bodies.
6. Your personal data shall be processed within the period of the agreement and upon your additional consent until you withdraw it. APD shall keep the data for the period of any civil law claim execution connected with the agreement.
7. You have the right to demand an access to your personal data, to correct or to delete the data if there is no other basis for the processing or any other purpose of such processing or to limit the processing of the data, to transfer the data to another administrator and to raise objections to the further data processing if there is no legal basis for further processing and to withdraw any previous consent.
8. You provide the personal data voluntarily, however they are necessary to conclude the agreement. The refusal of providing such data may result in the refusal of the agreement conclusion.
9. You have the right to lodge a complaint to the Personal Data Protection Office when in your opinion the data processing violates the regulations of General Data Protection Regulation of the 27 April, 2016 (RODO).
10. Your data will be automatically processed, including the form of profiling.
11. You are obligated to forward above mentioned information to your representative, especially if you appointed this person in the agreement as the contact person or as the representative for the agreement execution.
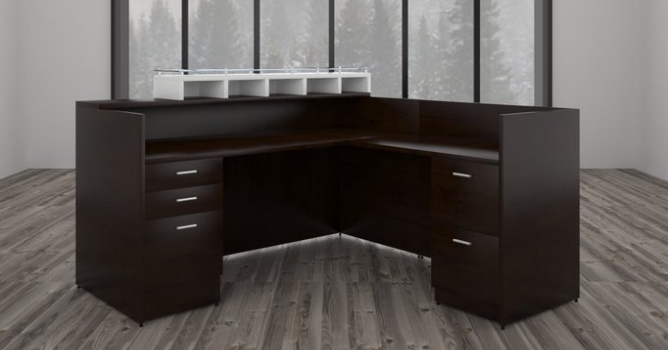

Hello Evermotion, my name is Nikola Gluvakov, I am 3D artist from Serbia, and I would like to share with you how I made my simple furniture studio setup. I will show you some techniques that I use when I am making my studios that I use for the renderings of furniture. You can download this scene from my website (link is below tutorial), so let me know what do you think about my scene, my tutorial and my work here as well on my website. If you like my tutorial, I will be making more in-depth tutorials about the materials, the camera and the renderer setup. I have done this studio in 3ds max, and rendered it with V-Ray.
MODELING
Plank modeling
Click on image to enlarge 
Click on image to enlarge 
MATERIALS
Click on image to enlarge 
Click on image to enlarge 
Now when material is done, I am going to make a Multi/Sub-Object material that is going to have same material in all of the slots, but with different maps, so that I have some diversity. In this example, I made 10 different maps.

Click on image to enlarge 

We can now just hit "Randomize UVW gizmo" button.
This came out perfect! Now I have wooden tiles that are not repeating themselves, but still only one material is being used, and only one pattern can be seen. Again, I have to call the scriptspot for help. This time I am going to use HoHa Material ID by superhoha - https://www.scriptspot.com/3ds-max/scripts/hoha-material-id . In this case, I put number of IDs to 10 and click “Set material ID by Random!” Now I have 10 different materials applied to planks, nothing is repeating, it looks much more realistic.

Click on image to enlarge 
Now it is time for room creation. It's very simple. It has one big window that is following the shape of the room and one that is smaller (to add another source of light, as well as some shape to reflections). Window has glass that reflects interior a little bit. Reflections on the window glass are not so prominent, but every small touch adds to that realism that you want to have at the end.
Click on image to enlarge 
Click on image to enlarge 
Click on image to enlarge 
CAMERA
Click on image to enlarge 
Click on image to enlarge 
Next thing is light balance setup. Here is the link to download my V-Ray light-balancing setup, but basically I use those settings:
Click on image to enlarge 
Click on image to enlarge 
Click on image to enlarge 
Click on image to enlarge 
Getting rid of unwanted reflections
Click on image to enlarge 
Click on image to enlarge 
Click on image to enlarge 
Backdrop
Click on image to enlarge 
Click on image to enlarge 
The optimization
Now comes the most important and the most interesting part. I want to optimize the scene so that it gives better and faster render. My materials are already close to what they should be, so I am going to change values of reflection subdivisions to 8. In render setup, go to render elements tab and select these render elements:
You can load my settings here.

Click on image to enlarge 
I am going to tweak some values to get smooth render in shorter time. Experiment with these.
Click on image to enlarge 

You can get rid of noise in the reflection pass by increasing reflection subdivisions in the material editor for each reflective material.

You can get less GI noise by increasing Light cache subdivs in render setup.
Click on image to enlarge 
Click on image to enlarge 
I hope you liked my tutorial :)
You can download my complete scene here: https://www.engineering-cad.com/creating-studio-for-furniture-renders/


LEAVE A COMMENT


|

|

|

|

|


COMMENTS