Topology Study : How To Model Ski Googles in Blender
Using Blender modeling tools for creating realistic ski googles.


In accordance with the art. 13 section 1 and 2 of the European Parliament and Council Regulation 2016/679 of the 27th April, 2016 on the protection of natural persons, with regard to the processing of personal data and on the free movement of such data, and repealing Directive 95/46/EC (General Data Protection Regulation), hereafter RODO, I hereby inform that:
1. EVERMOTION S.C., 8 Przędzalniana Str., 15-688 Białystok, Poland is the Administrator of your Personal Data (APD)
2. Data Protection Inspector can be reached through e-mail: iod@evermotion.org
3. Your personal data are to be processed on the basis of art. 6 section 1 letter a, b and f of RODO in order to:
a) prepare, conclude and execute the agreement and for other purposes approved by you,
b) to execute the legitimate interest like marketing of products and the agreement, claim assertion or defence against claims resulting from the law regulations.
4. Entities entitled to the reception of your personal data may be the authorised public bodies; mail providers; providers of the services covered by the agreement; responsible for debt recovery, keeping the archives, document utilization, legal consulting, technical services, IT services and accountancy.
5. Your personal data shall not be transferred to the third country, nor to the international bodies.
6. Your personal data shall be processed within the period of the agreement and upon your additional consent until you withdraw it. APD shall keep the data for the period of any civil law claim execution connected with the agreement.
7. You have the right to demand an access to your personal data, to correct or to delete the data if there is no other basis for the processing or any other purpose of such processing or to limit the processing of the data, to transfer the data to another administrator and to raise objections to the further data processing if there is no legal basis for further processing and to withdraw any previous consent.
8. You provide the personal data voluntarily, however they are necessary to conclude the agreement. The refusal of providing such data may result in the refusal of the agreement conclusion.
9. You have the right to lodge a complaint to the Personal Data Protection Office when in your opinion the data processing violates the regulations of General Data Protection Regulation of the 27 April, 2016 (RODO).
10. Your data will be automatically processed, including the form of profiling.
11. You are obligated to forward above mentioned information to your representative, especially if you appointed this person in the agreement as the contact person or as the representative for the agreement execution.

Check Evermotion Archinteriors for Unreal Engine.
This tutorial was brought to you by UE4Arch: https://ue4arch.com.
Introducing Unreal Engine 4 for Archviz
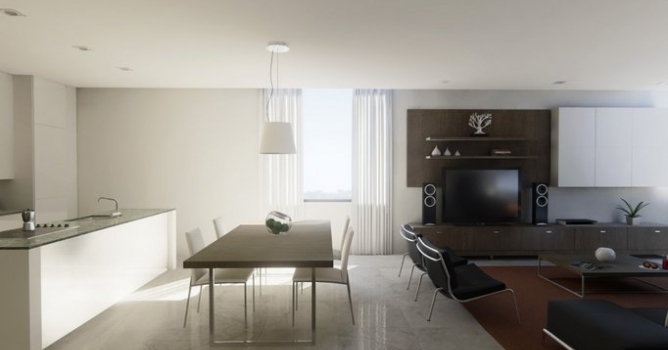
In the architecture visualization world we always seek to achieve a result close to reality to provide our customers the feeling of seeing the finished project. But generally we are limited to still images and videos of these environments. What if we could enter the rooms, open the doors, walk on it, turn on and off lights, change the decor and still maintain photorealism?
Example of a interior walkthrough:
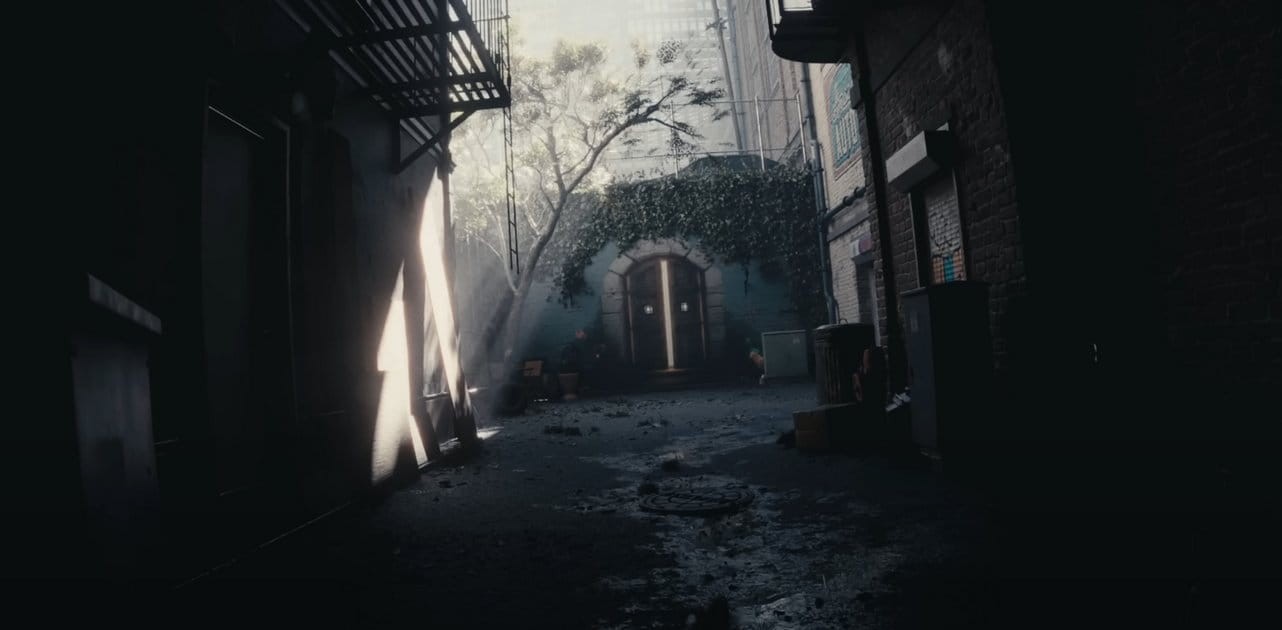
Example of exterior navigation:
That’s where Unreal Engine 4 enters. UE4 was recently launched in March 2014 by Epic Games as a powerful tool for creating games. However, it is an application that can be very effective for architectural visualization. It still has some graphic limitations compared to conventional renders as V-Ray and Corona, but that does not prevent you from getting incredibly realistic results in real time.
Click on image to enlarge 
The Blueprint system for interactive archviz
In addition to the powerful graphics render, UE4 has a visual scripting system (called Blueprints) where you can create multiple interactions without writing a line of code. With the Blueprints system, you can perform actions such as lighting on/off switch, open and close doors, change object’s color and material, replace models in real time, change the time of the day, create defined camera tours and much more: the limit is your imagination. It is also possible to work with particles to create extremely realistic effects like fire, smoke and water. Resuming: it’s a games creation software that can work perfectly for architecture and allows you to give life to your project with the possibility to navigate and interact with it in real time; and you can still do all this with a graphic quality comparabled with other 3D renders.
Indirect Lighting in UE4
Indirect lighting is another strong point of UE4. The engine has an improved lighting system where you can reach a similar workflow to V-Ray using a skylight to simulate the lighting coming from the sky and a directional light to simulate the sun. Sometimes it is also recommended to use spotlights (which work in a similar way of V-Ray light planes) at some points to get better lighting.
What do I need to start?
With this setup you are ready to start. Other applications may be needed for your project and i will talk about them later.
In this article I will explain the process to create a basic interior scene, but also i do recommend you to read the documentation on the official UE4 website. In this documentation you can learn basic stuff and get used to the software interface.
Preparing the assets in 3dsMax.
I will use 3dsMax to start my project, first modeling the static objects of architecture: floor, wal'ls, ceiling, etc. It is important to rename each object as they will be exported separately.
Texturing in 3ds Max
After modeling you should start the texturing process. All assets that will be prepared for UE4 should have open meshes and no overlapping faces. Then an extra UV channel should be created. The reason for this extra UV channel is because UE4 will use channel 1 as diffuse object texturing and channel 2 to bake the lightning map. If the faces are overlapping the lightmap will cause artifacts and will fail. In 3dsMax we can use the flatten-mapping method to open the mesh in primitive objects. This method works very well and is fast for this case. For more complex objects such as furniture, you should use other methods such as pelt mapping.
Exporting 3dsMax models to Unreal Engine 4
After you set the static objects, i recommend to export each object with their proper names. To export the models to Unreal Engine 4 you should use the FBX format.
Importing 3dsMax models to Unreal Engine 4
You can follow the tutorial from Epic official documentation below:
The import steps list is from the official Epic Unreal Engine documentation.
Click on image to enlarge 
Setting up materials in Unreal Engine 4
When the materials window is opened, you will use similar concepts to conventional renders to represent the desired materials. You should use the Nodes concept, which will link parameters as Textures, Texture coordinates, normal maps, etc.
Click on image to enlarge 
When importing a texture to UE4, we can drag it into the materials window and connect to the Diffuse parameter. We will do this for parameters such as specular, reflection and normal. I will not go further into the creation of realistic materials within UE4, but you can see good examples in our complete projects. Also there will be a video course about these in the near future.
To create normal maps into your textures I recommend using a Photoshop plugin from nVidia "NormalMapFilter".
Setting up the Lighting in Unreal Engine 4
Click on image to enlarge 
To begin this part, I recommend start testing the lighting only with part of the static architecture (walls, floor and ceiling): this way the lighting test time is reduced and when we insert the furniture, the lighting will be very polished.
Click on image to enlarge 
Click on image to enlarge 
Click on image to enlarge 
After many tests we came to these values to get free illumination spots (splotches or flickers). But remember that each scene should have a particularity.
Post-Process
Click on image to enlarge 
You can check everything in our complete projects and keep reading the Unreal documentation to experiment different settings. Thanks for reading! This tutorial was brought to you by UE4Arch: https://ue4arch.com.
Check Evermotion Archinteriors for Unreal Engine.


LEAVE A COMMENT


|

|

|

|

|


COMMENTS