Evermotion Pass 10% Off - Get Instant Access to Thousands of 3D Assets

Check Plans

Information Clause

In accordance with the art. 13 section 1 and 2 of the European Parliament and Council Regulation 2016/679 of the 27th April, 2016 on the protection of natural persons, with regard to the processing of personal data and on the free movement of such data, and repealing Directive 95/46/EC (General Data Protection Regulation), hereafter RODO, I hereby inform that:

1. EVERMOTION S.C., 8 Przędzalniana Str., 15-688 Białystok, Poland is the Administrator of your Personal Data (APD)

2. Data Protection Inspector can be reached through e-mail: iod@evermotion.org

3. Your personal data are to be processed on the basis of art. 6 section 1 letter a, b and f of RODO in order to:
a) prepare, conclude and execute the agreement and for other purposes approved by you,
b) to execute the legitimate interest like marketing of products and the agreement, claim assertion or defence against claims resulting from the law regulations.

4. Entities entitled to the reception of your personal data may be the authorised public bodies; mail providers; providers of the services covered by the agreement; responsible for debt recovery, keeping the archives, document utilization, legal consulting, technical services, IT services and accountancy.

5. Your personal data shall not be transferred to the third country, nor to the international bodies.

6. Your personal data shall be processed within the period of the agreement and upon your additional consent until you withdraw it. APD shall keep the data for the period of any civil law claim execution connected with the agreement.

7. You have the right to demand an access to your personal data, to correct or to delete the data if there is no other basis for the processing or any other purpose of such processing or to limit the processing of the data, to transfer the data to another administrator and to raise objections to the further data processing if there is no legal basis for further processing and to withdraw any previous consent.
8. You provide the personal data voluntarily, however they are necessary to conclude the agreement. The refusal of providing such data may result in the refusal of the agreement conclusion.

9. You have the right to lodge a complaint to the Personal Data Protection Office when in your opinion the data processing violates the regulations of General Data Protection Regulation of the 27 April, 2016 (RODO).

10. Your data will be automatically processed, including the form of profiling.
11. You are obligated to forward above mentioned information to your representative, especially if you appointed this person in the agreement as the contact person or as the representative for the agreement execution.

OK

Making of Modern Office Space

Michał Franczak 2014-07-18 14:27 tutorial  > 3ds MAX  > modeling

Breakdown of scene 5 from Archinteriors vol. 33 collection

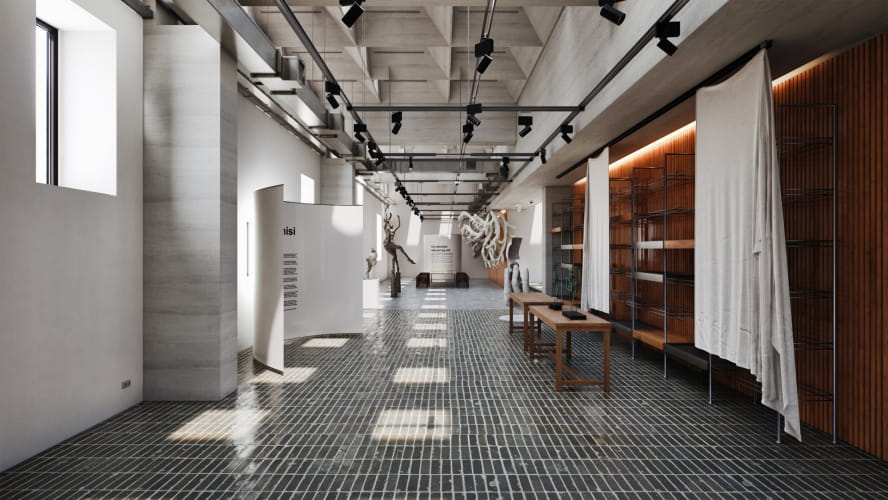
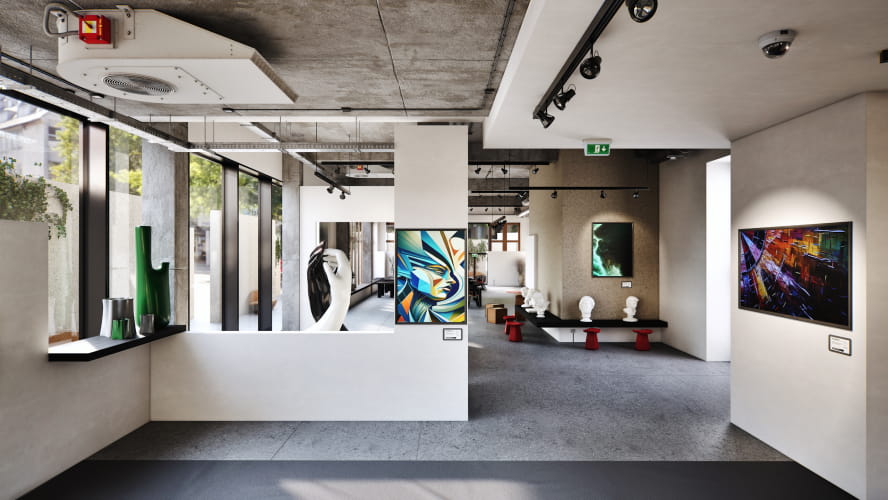
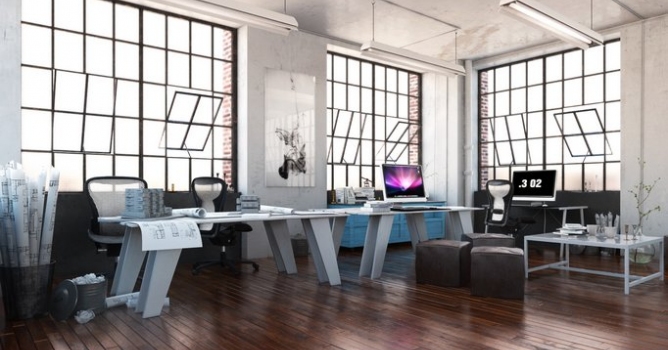
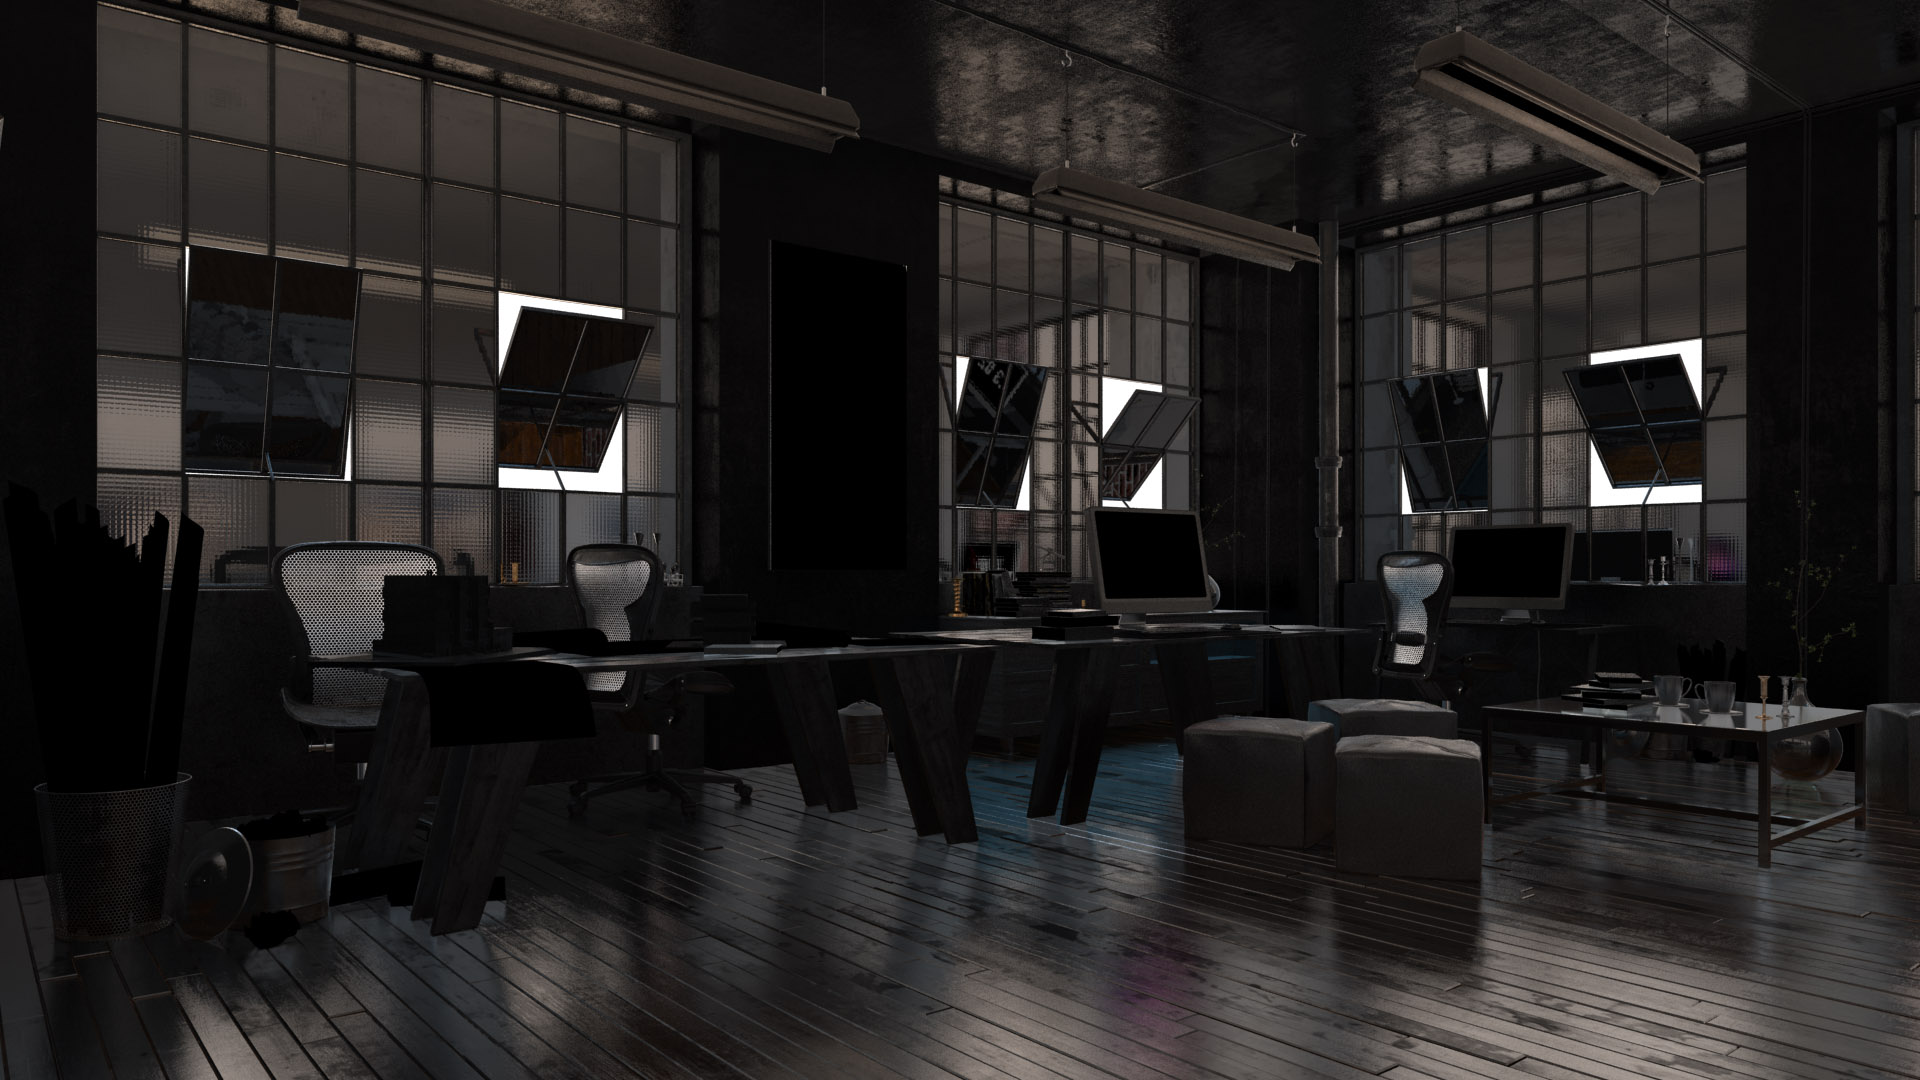
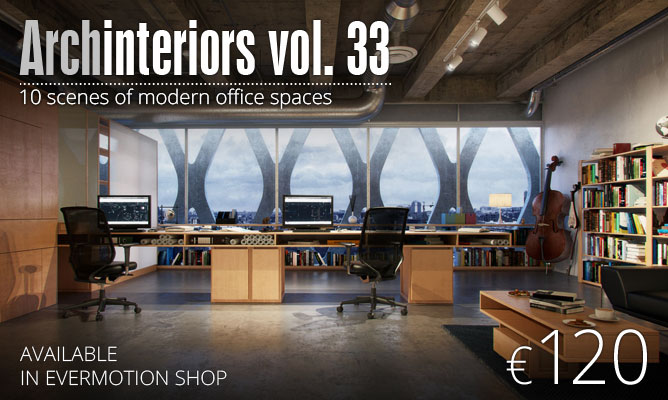
It is a breakdown of a scene that presents modern office space located in a loft. The scene was made by Michał Horba from Evermotion and it is a part of our newest Archinteriors vol. 33 collection available in Evermotion Shop. 

668_400_AI33.jpg

This scene was modeled and set with 3DS Max and rendered with V-Ray (check V-Ray price in our shop).

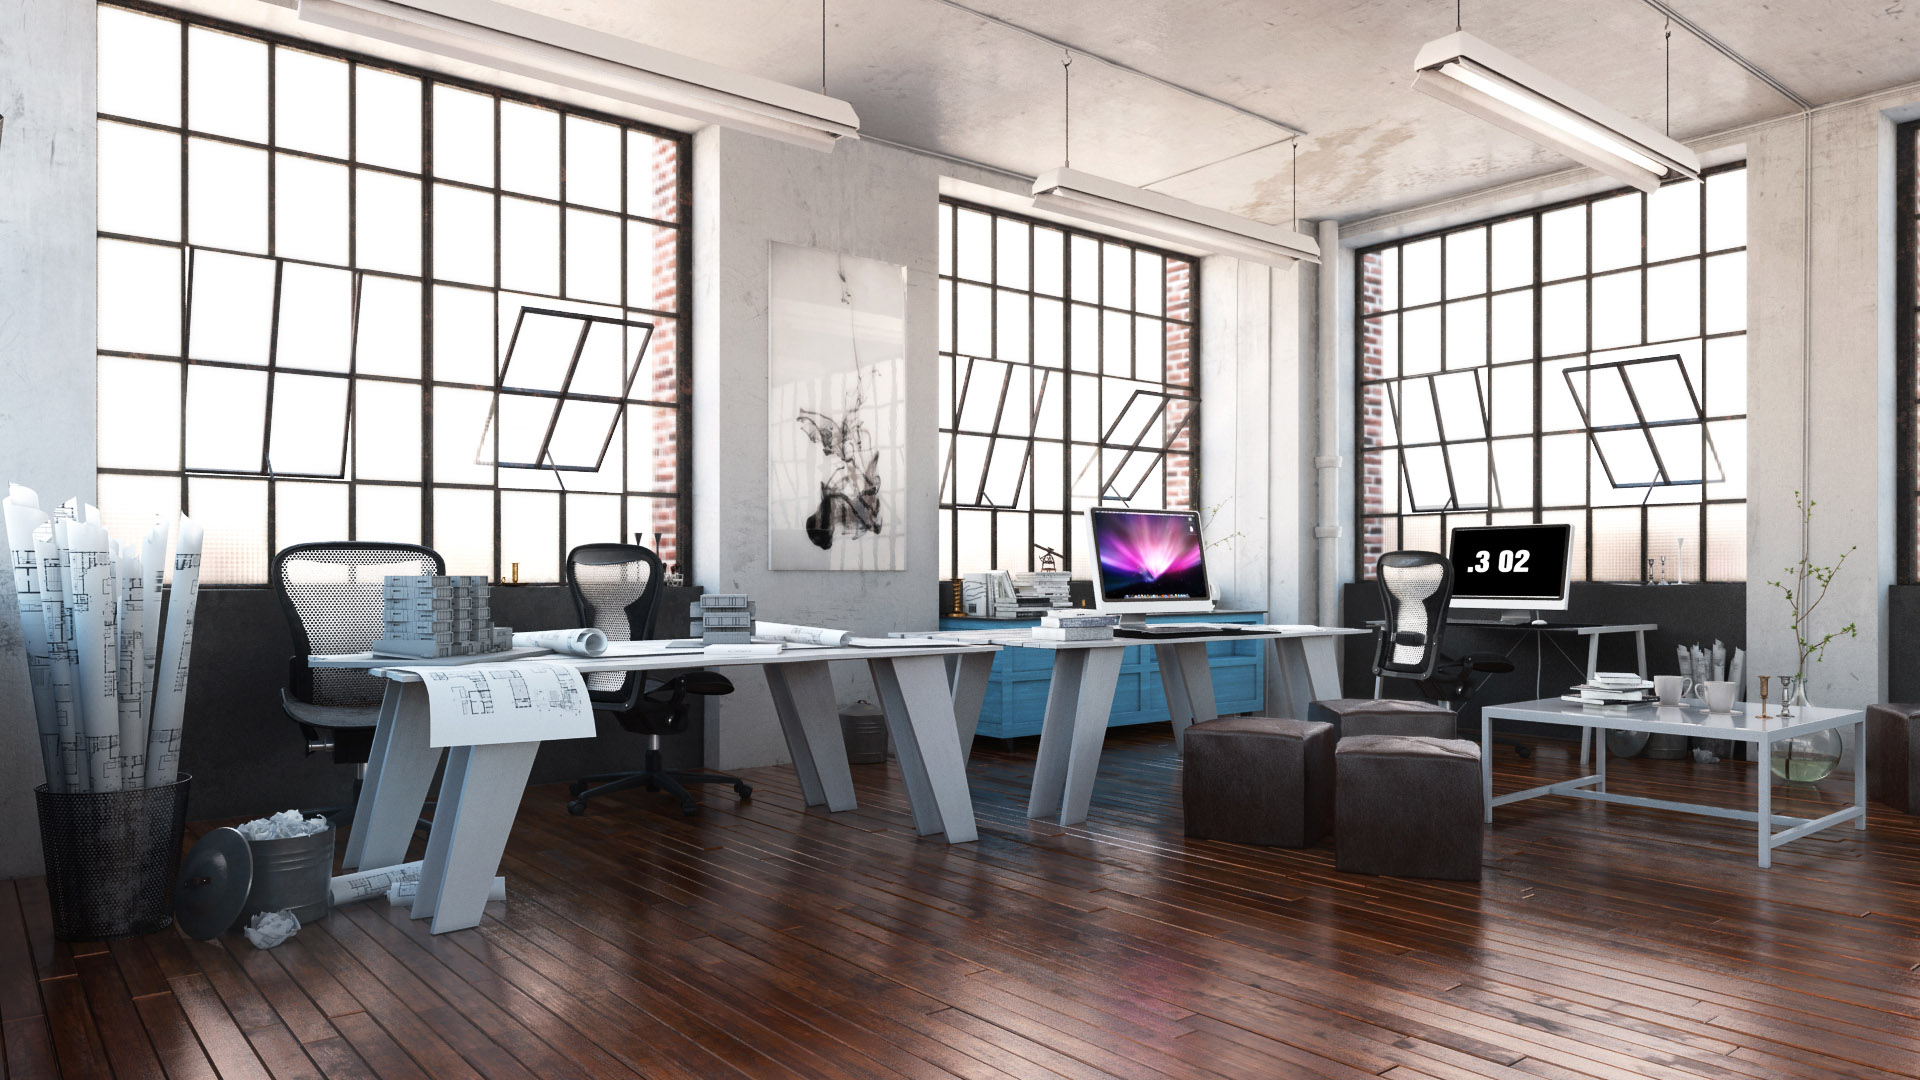
Click on image to enlarge 1_AI33_005_PP_copy.jpg

This is final image after post production


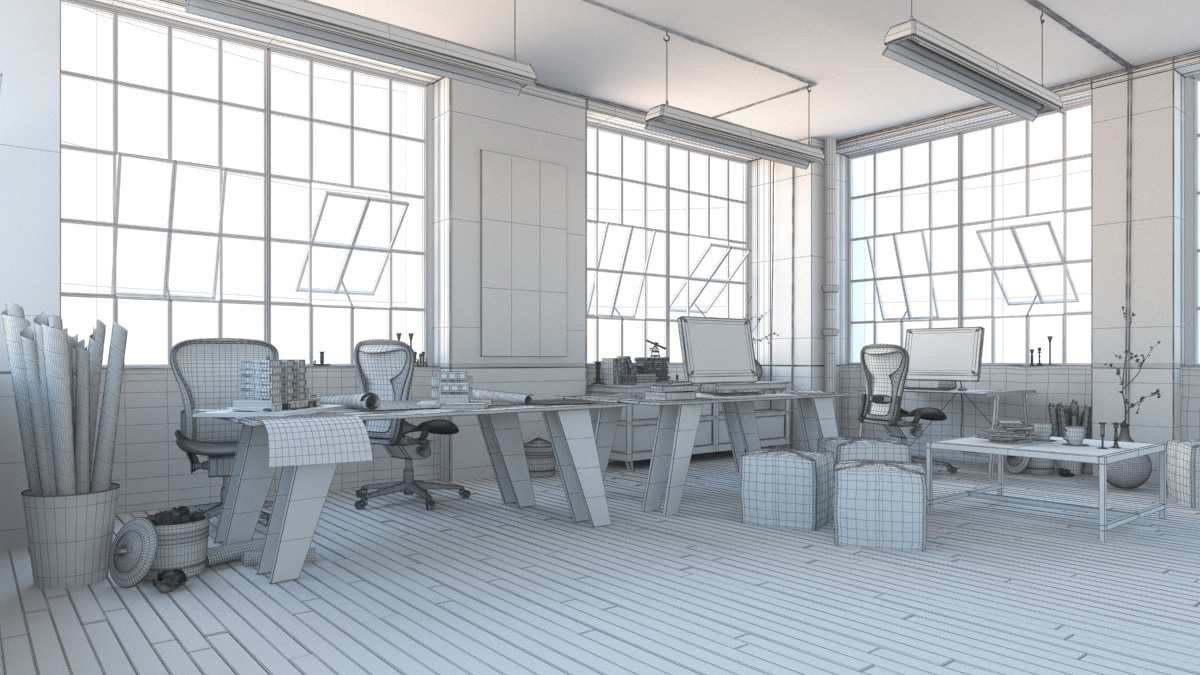
Click on image to enlarge 2_AI33_005_wire.jpg

Wireframe


Click on image to enlarge 3_CAMERA.jpg

View from camera


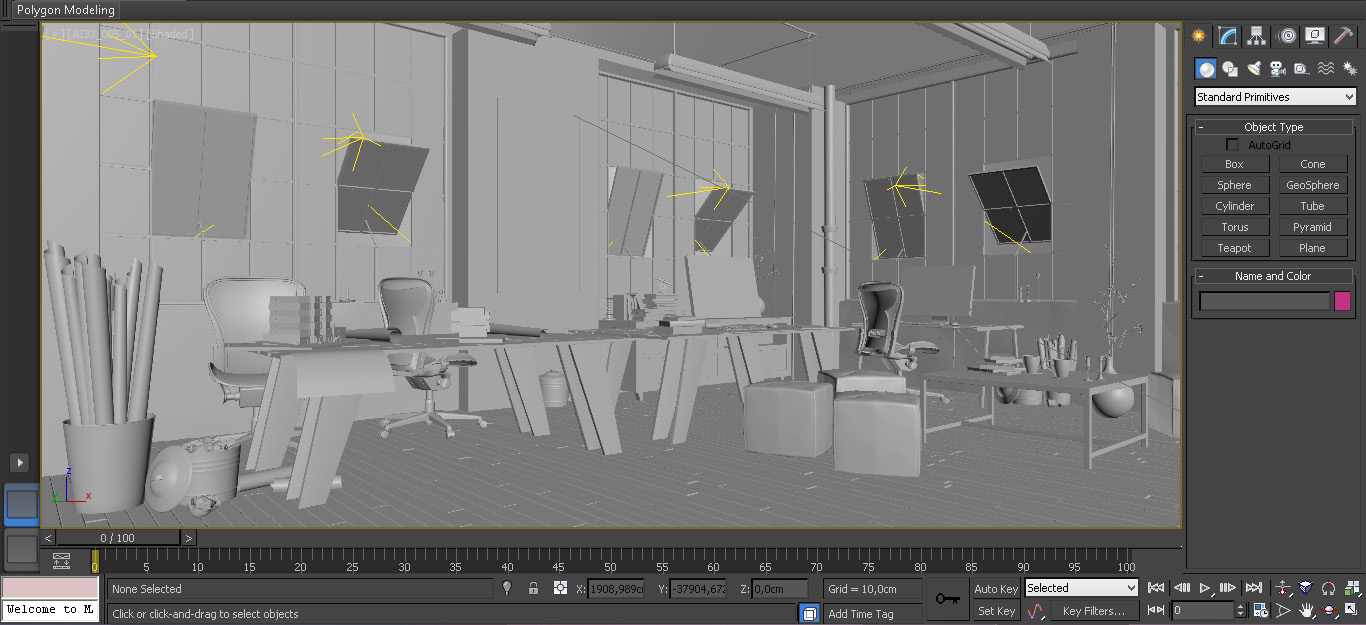
Click on image to enlarge 4_OVERVIEW.jpg

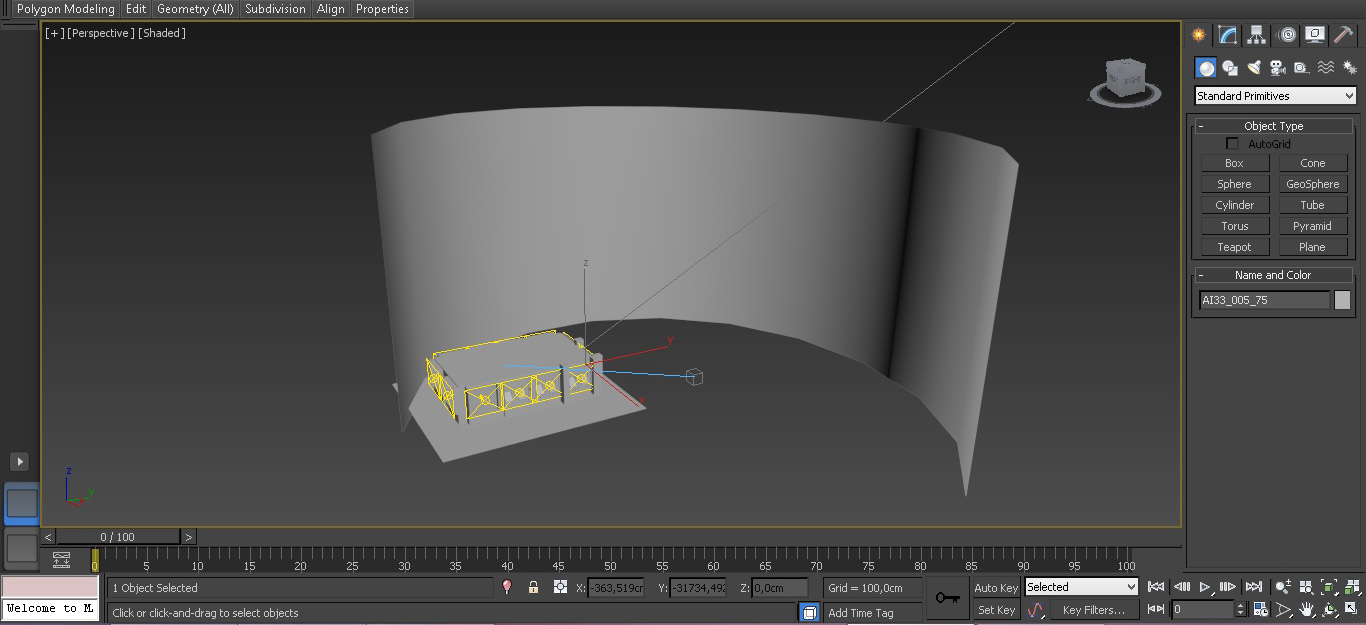
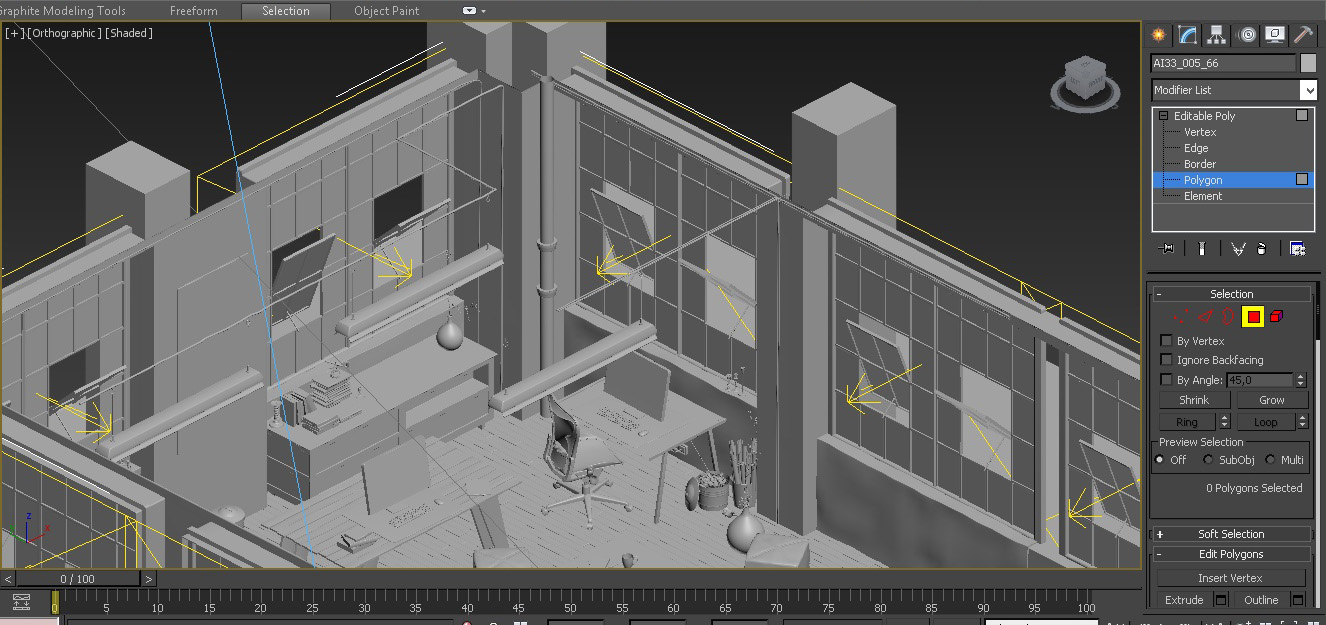
Overview of the scene. You can see background plane with Vray Light material with texture and 12 plane lights in a windows. for sunlight simulation we used Target Directional Light.


5_GAMMA.jpg

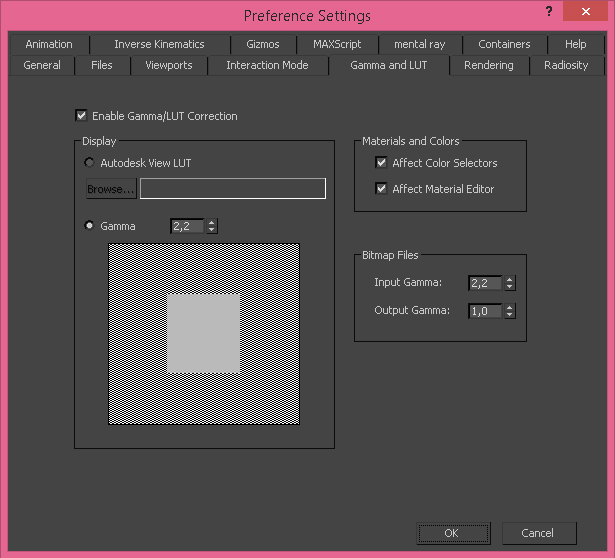
Gamma set to 2.2

 6_UNITS.jpg

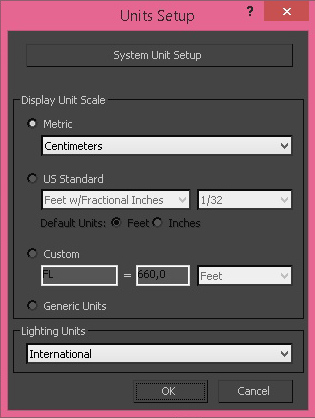
Units


7_SYSTEM_UNITS.jpg

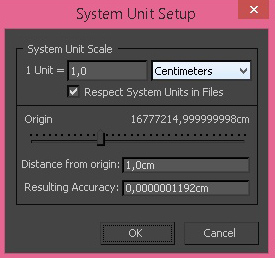
System units


Click on image to enlarge 8_MODULAR_1.jpg

Windows were made on modular basis.


Click on image to enlarge 8B_MODULAR.JPG

One window element that was cloned in the scene


Click on image to enlarge 9_CAMERA.jpg

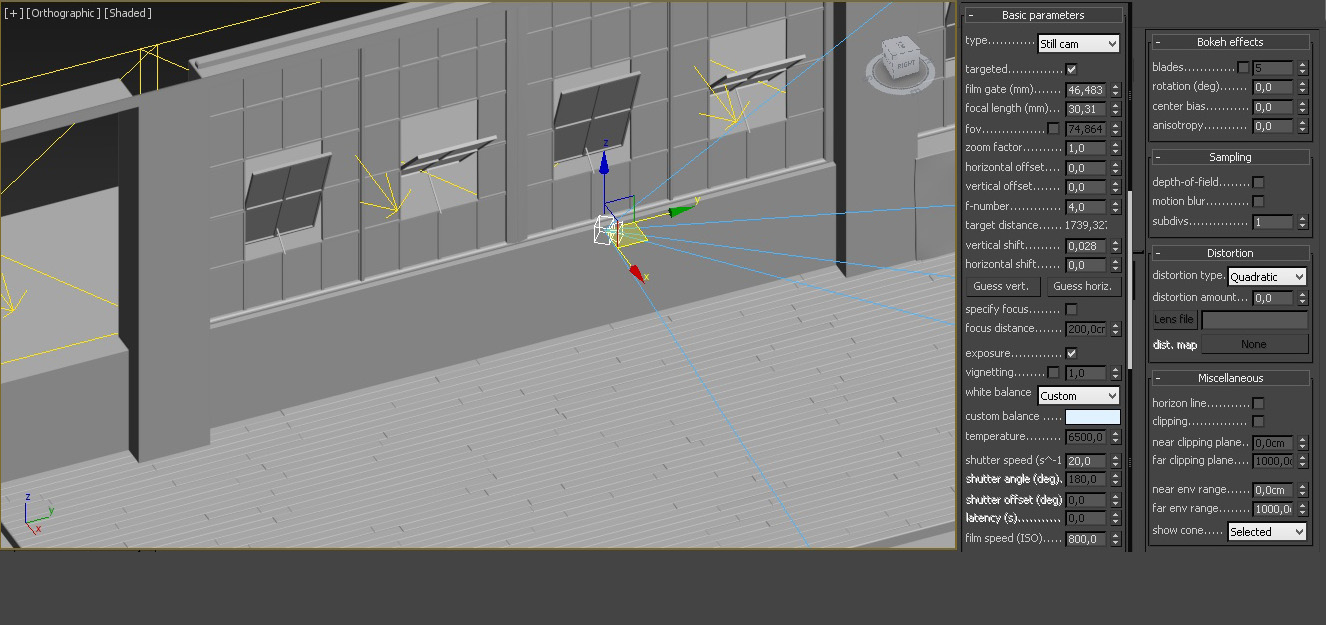
VrayPhysicalCamera with some standard settings


Click on image to enlarge 10_FLOOR_1.jpg

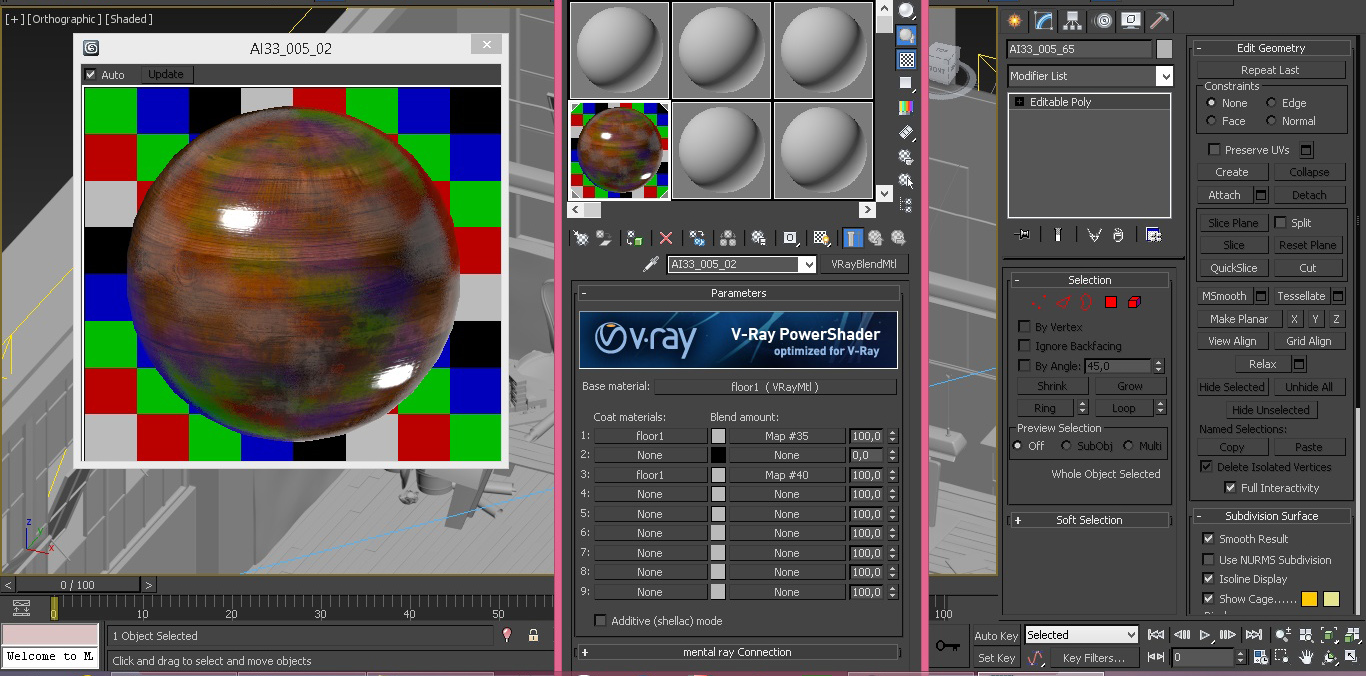
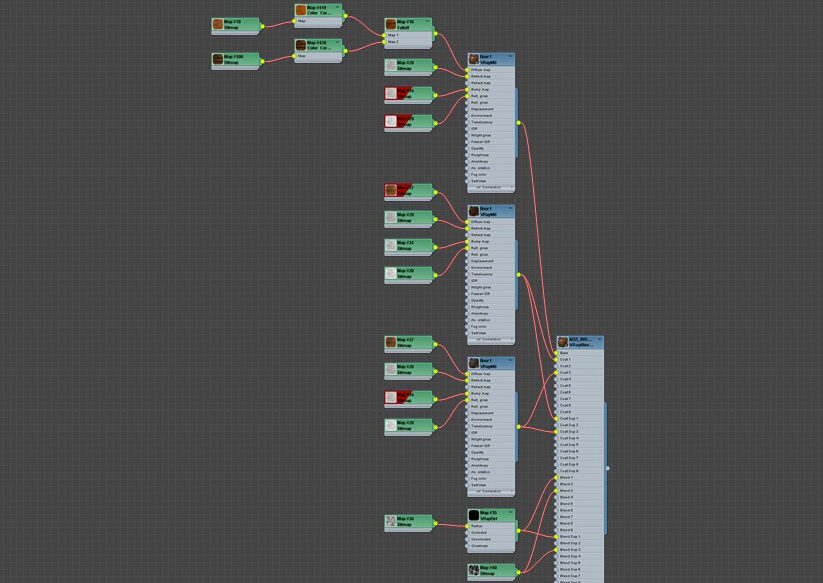
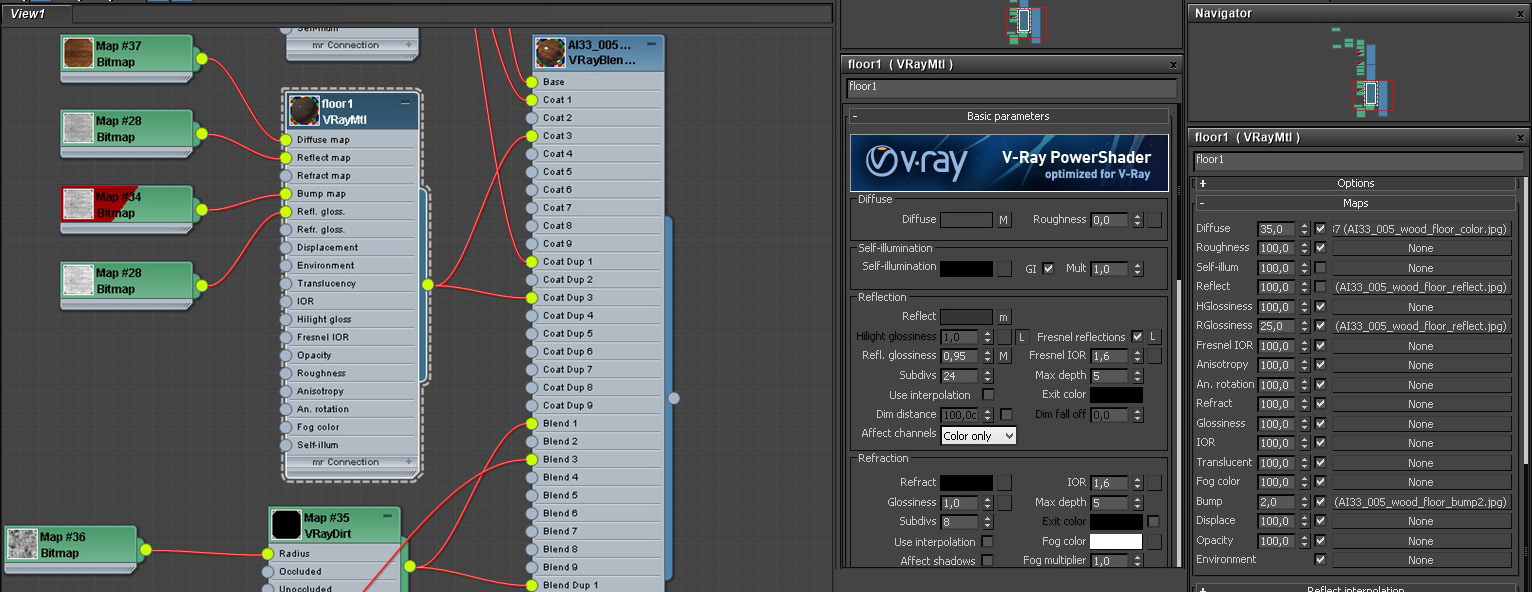
Floor material is quite sophisticated - it is a blend material with two coat materials, one blended with VrayDirt Map and the second blended with Bitmap


668_400_AI33_2.jpg


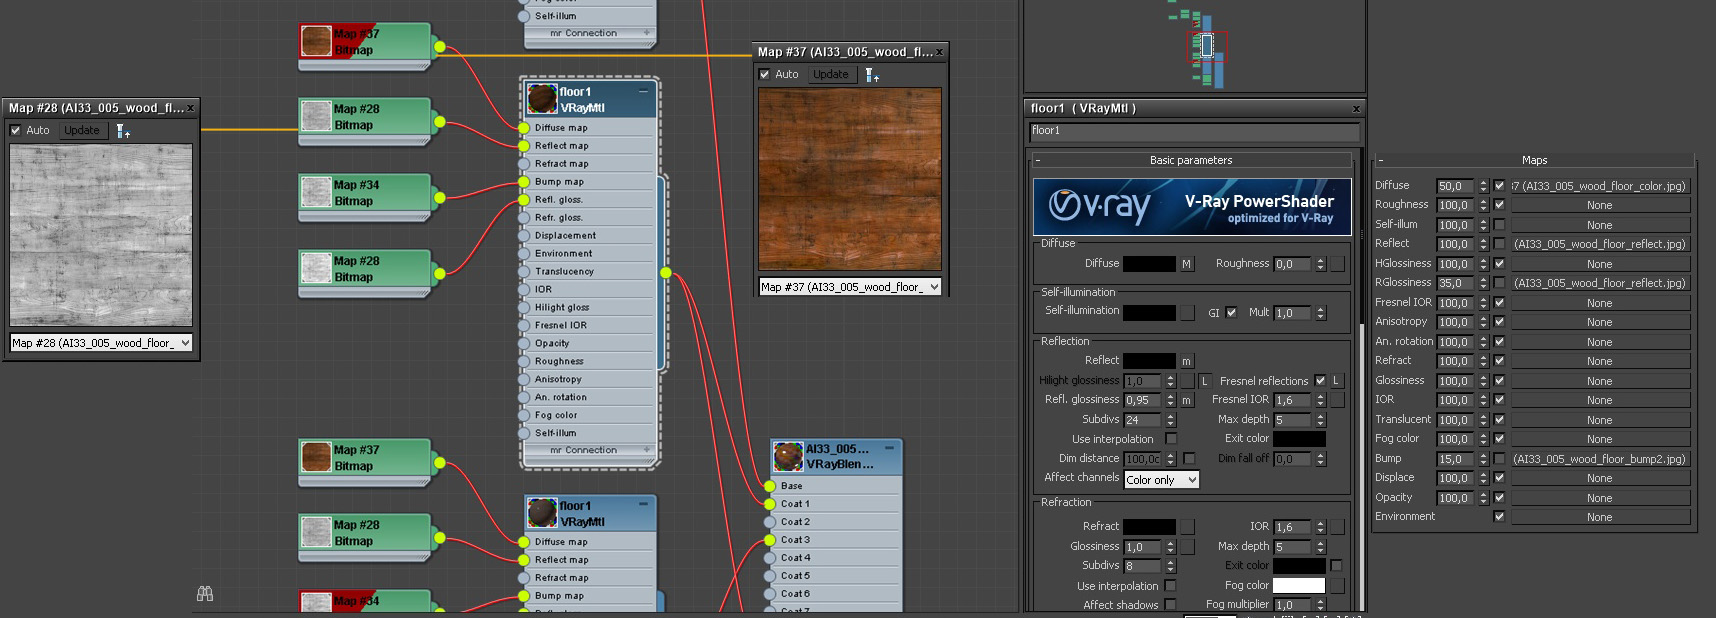
Click on image to enlarge 11_FLOOR_OVERVIEW.jpg

Overview of floor material


Click on image to enlarge 12_FLOOR_BASE_LAYER.jpg

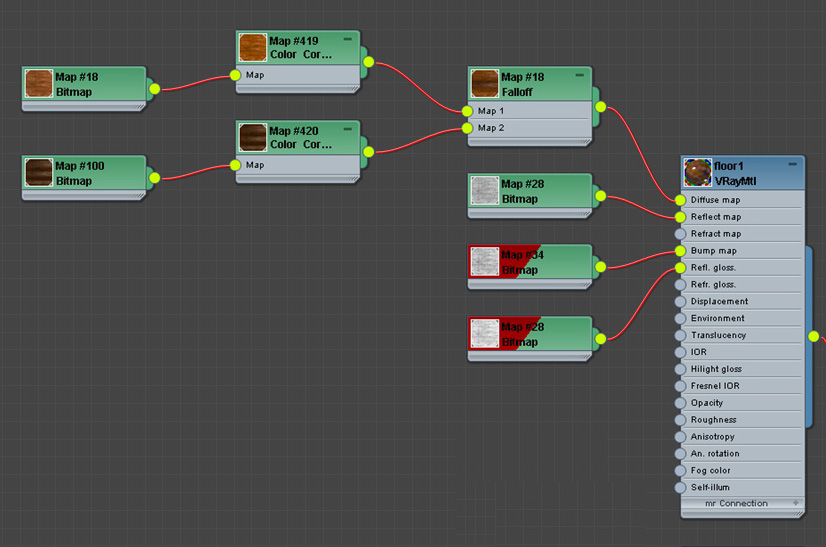
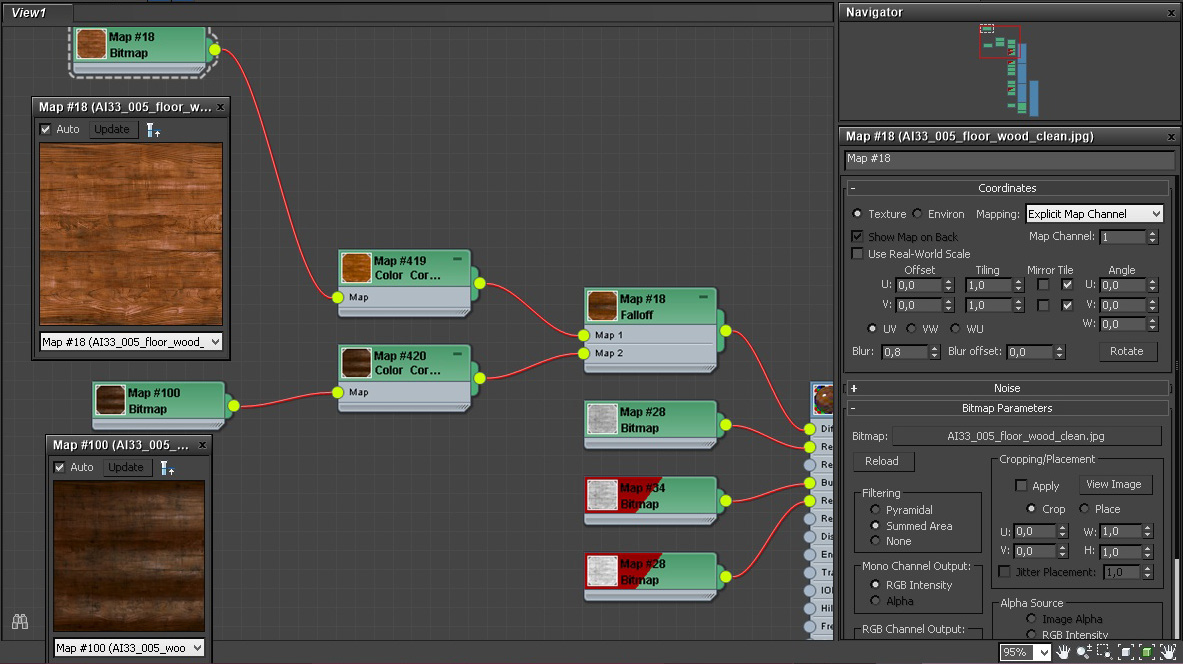
Floor base layer is rather standard - it uses two mixed maps for diffuse map and maps for controlling glossiness and bump


Click on image to enlarge 13_FLOOR_COAT1.jpg

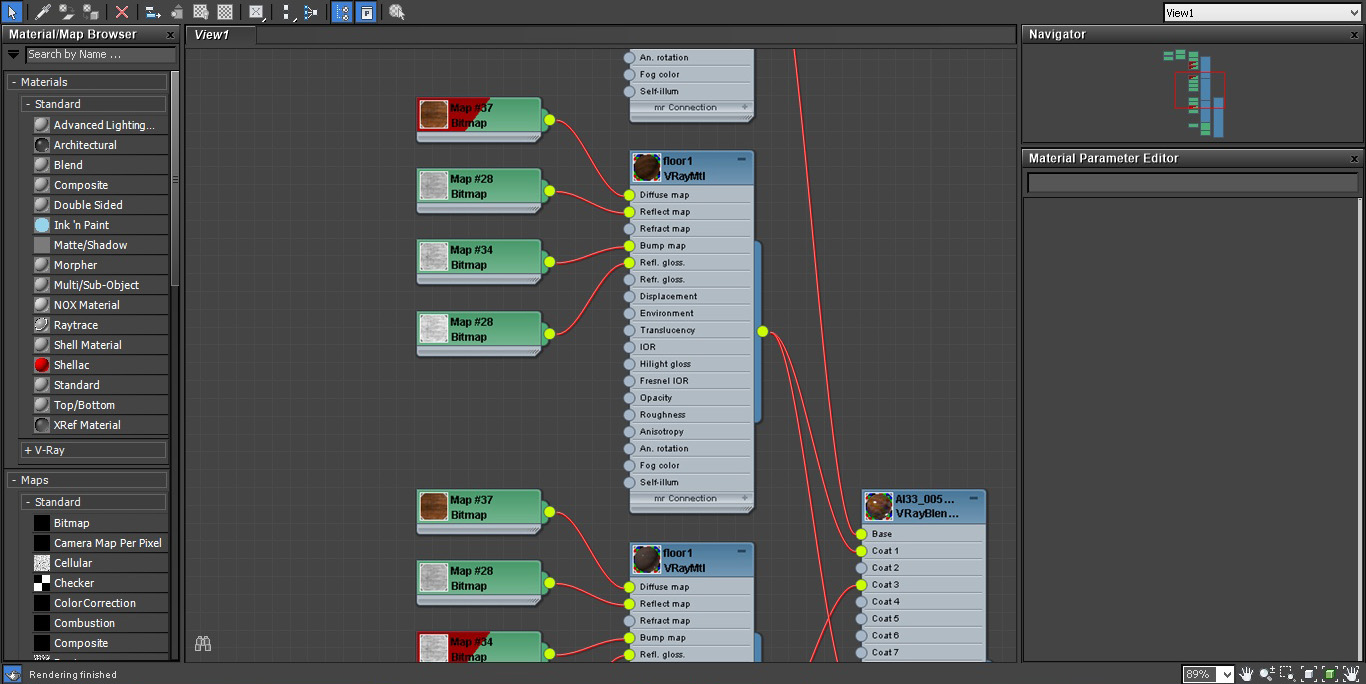
Floor coat layer


Click on image to enlarge 14_FLOOR_COAT2.jpg

Floor coat 2 layer


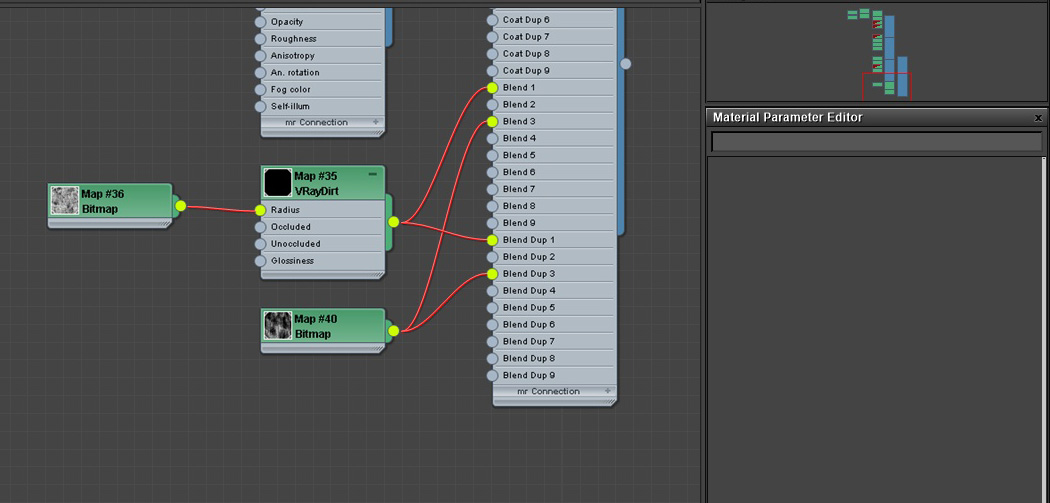
Click on image to enlarge 15_FLOOR_DIRTMAP.jpg

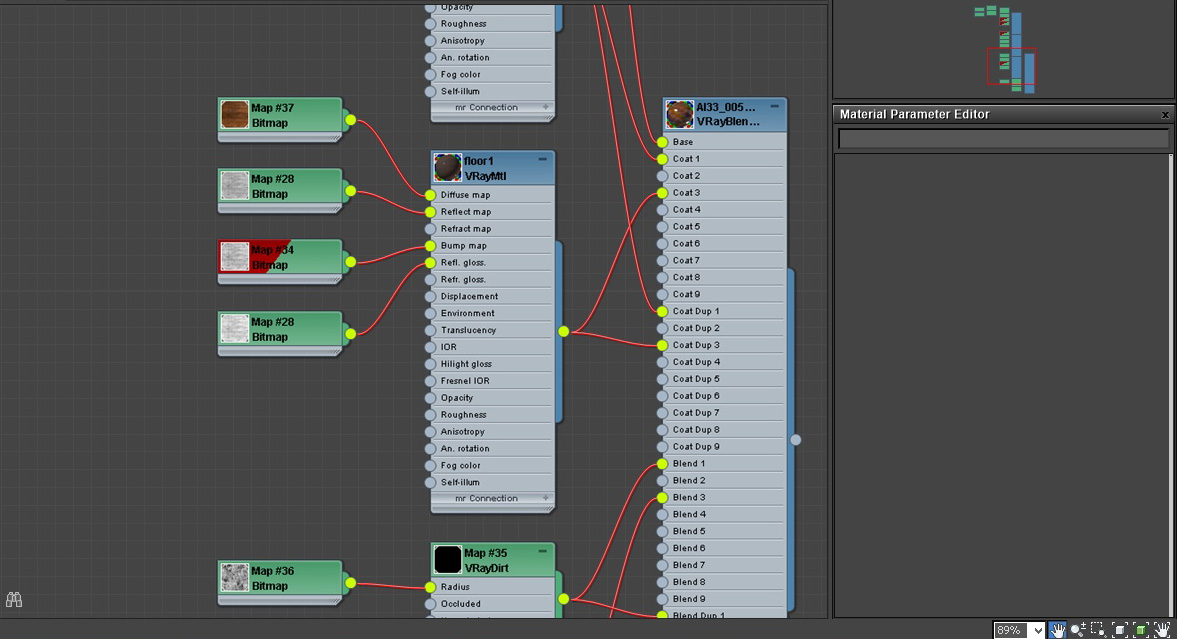
Blending maps - Vraydirt and bitmap


Click on image to enlarge 16_FLOOR_BASE_MAPS.jpg

Floor base layer maps


Click on image to enlarge 17_FLOOR_BASE_SETTINGS.JPG

Floor base layer settings


Click on image to enlarge 18_FLOOR_COAT_1.jpg

Floor coat 1 layer settings


Click on image to enlarge 19_FLOOR_COAT_2.jpg

Floor coat 2 layer settings


Click on image to enlarge 20_WALL_OVERVIEW.jpg

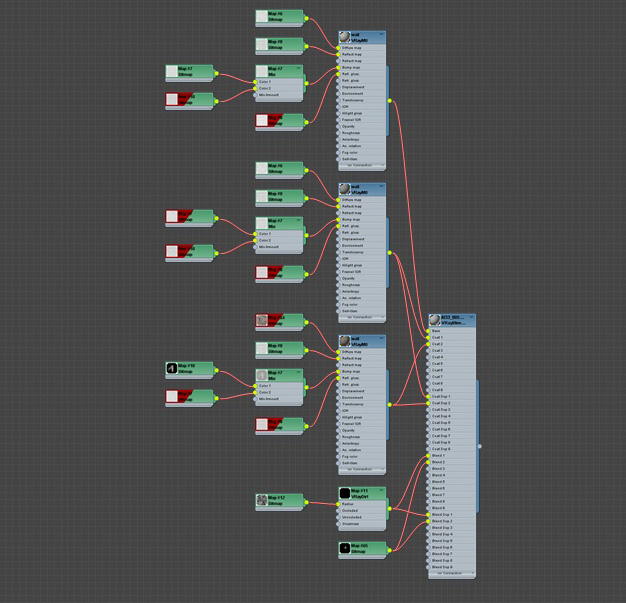
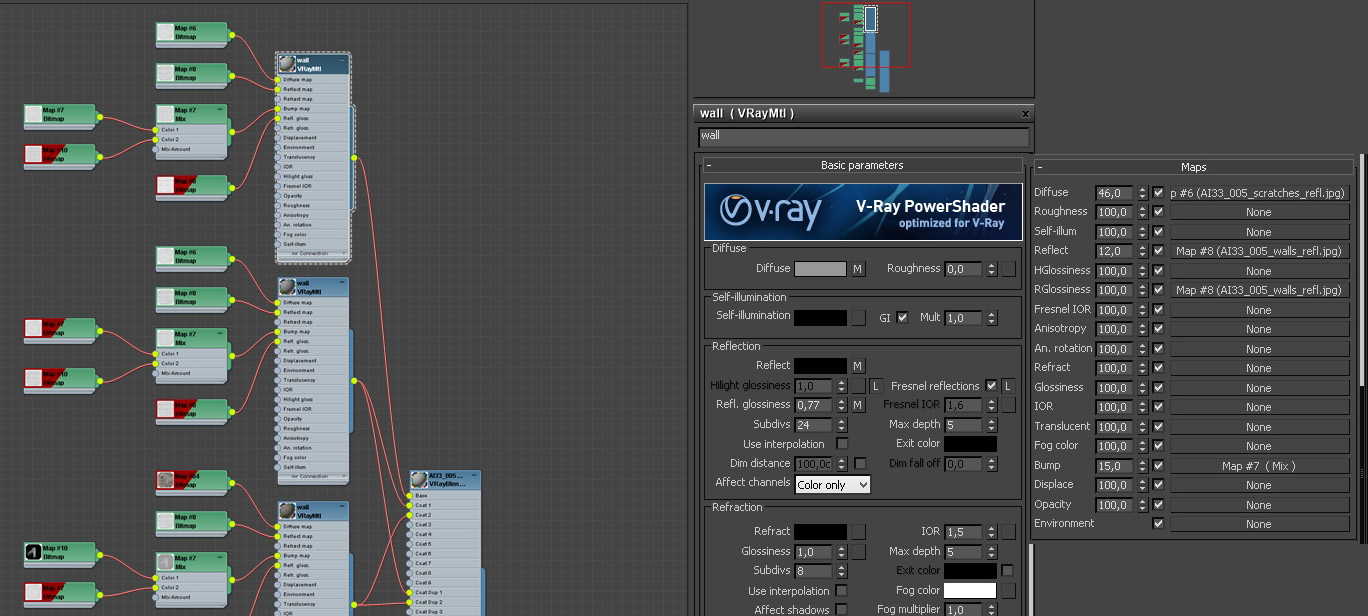
Wall material overview - it is also made from a base material and two coat materials


Click on image to enlarge 21_WALL_TOP.jpg

Wall base material settings


Click on image to enlarge 22_WALL_COAT_1.JPG

Wall coat material settings


Click on image to enlarge 23_WALL_COAT_2.JPG

Wall coat 2 material settings


Click on image to enlarge 24_WALL_VRAY_DIRT.JPG

VrayDirt parameters


Click on image to enlarge 25_VRAY_LIGHT.JPG

We used a VrayLight as a material of background plate


Click on image to enlarge 26_BACKGROUND.JPG

And here you can see the background object


Click on image to enlarge 27_WINDOW_LIGHT.JPG

We put 12 VrayLights in windows. settings are on the right


Click on image to enlarge 28_TARGET_LIGHT.JPG

Target Directional Light settings


Click on image to enlarge 29_RENDER_SETTINGS.jpg

Render settings


Click on image to enlarge ELEMENTS_VRAYREFLECTION.jpg

Render element: VrayReflection


Click on image to enlarge ELEMENTS_VRAYREFRACTION.JPG

VrayRefraction


Click on image to enlarge ELEMENTS_VRAYSPECULAR.JPG

VraySpecular


Click on image to enlarge ELEMENTS_VRAYZDEPTH.JPG

VrayZDepth


Post production in Photoshop

Click on image to enlarge PP_RAW.JPG

Raw render


Click on image to enlarge PP2_SHARPEN_AND_CURVES.JPG

Post production - sharpening and curves


Click on image to enlarge PP3_REFLECT.JPG

Added reflections layer


Click on image to enlarge PP4_SPECULAR_AND_BLOOM.JPG

Added specular and bloom layer

Click on image to enlarge PP5_EXTRA_DIRT_AND_WINDOW_BLOOM.JPG

Added extra dirt and some bloom in windows


Click on image to enlarge PP6_COLOR_CORECTION_AND_MASK.JPG

Color correction. We also added a few layers that make floor glossiness more interesting


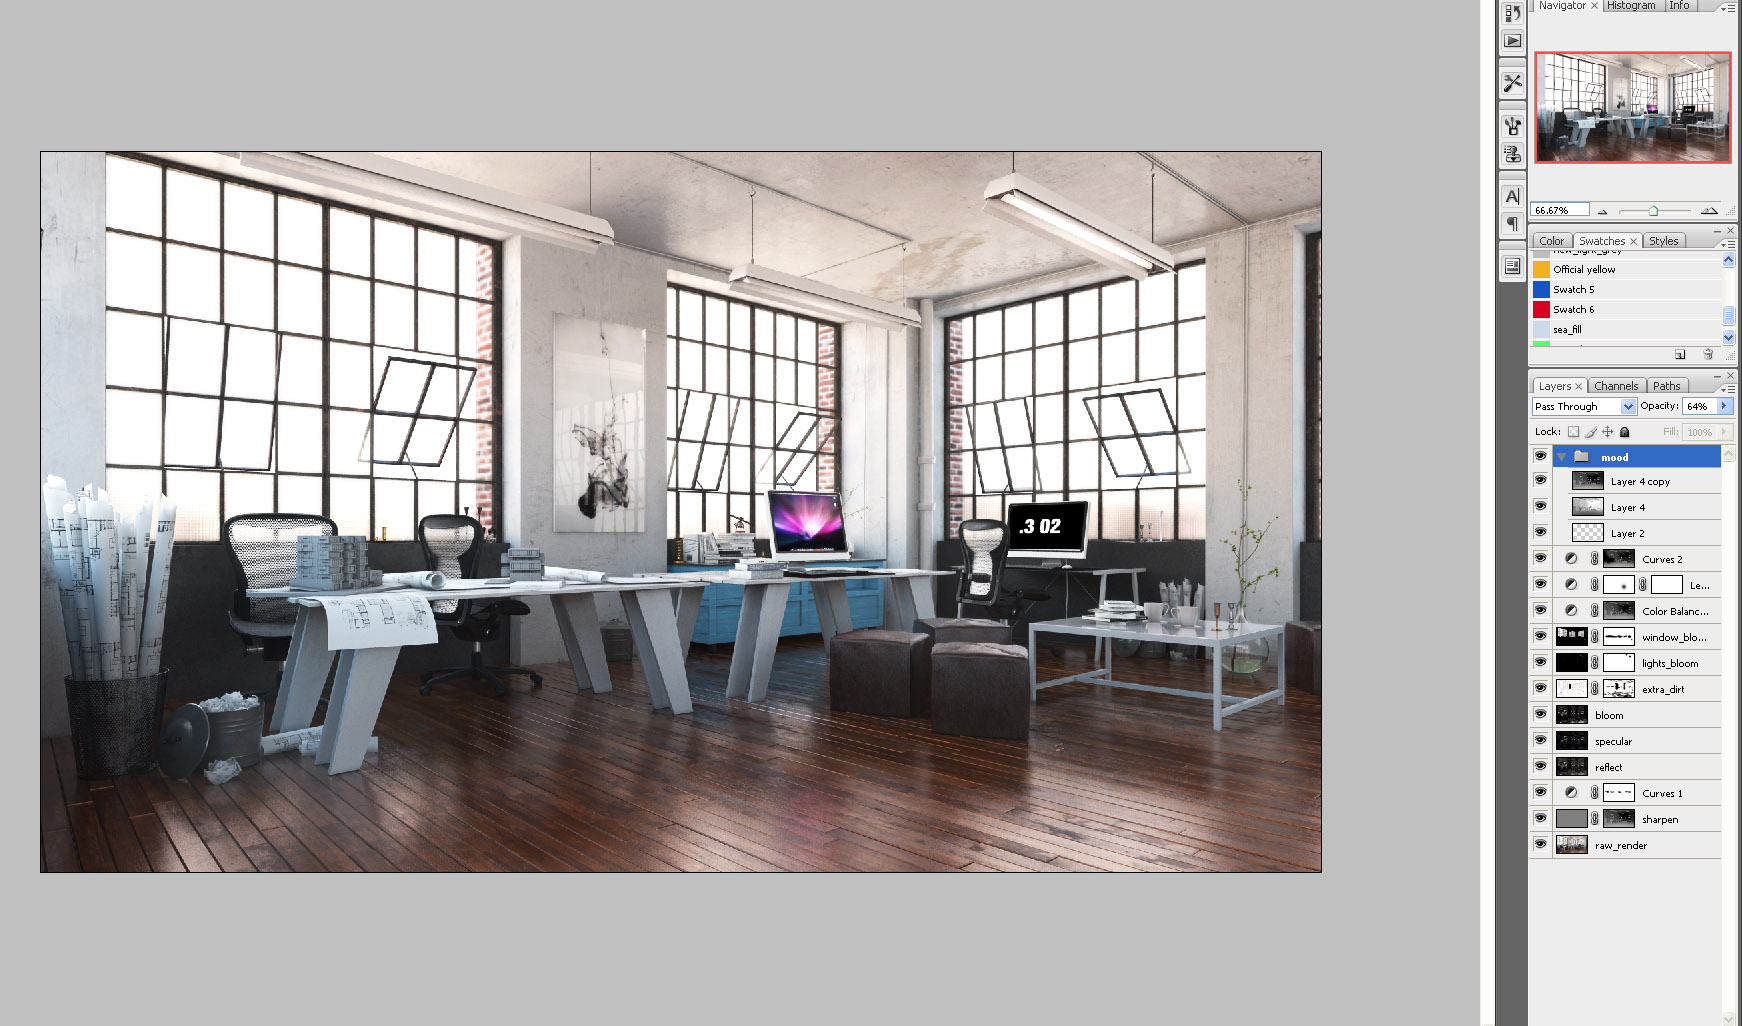
Click on image to enlarge PP7_PHOTOSHOP_STACK.jpg

Our final Photoshop layers stack. Photoshop file is included with the scene.


Click on image to enlarge 1_AI33_005_PP_copy.jpg

Final image. hope that you enjoyed this tutorial. If you have any questions, please, write them in comments.


 668_400_AI33_3.jpg


Author: Michał Franczak Editor: Michal Franczak
Tags:
You may also like...
3D Tribe - new CG event

3D Tribe - new CG event

Join creative meeting in Gdansk, Poland, on 22nd of September.
×

LEAVE A COMMENT

You need to be logged in to leave a comment. Don't have account? Register now.

3dfanatik 07:43:38  |  26-09-2014
Hello! In vray light stands skolight portal, from which it operates? you put hdri card in the environment?