Topology Study : How To Model Ski Googles in Blender
Using Blender modeling tools for creating realistic ski googles.


In accordance with the art. 13 section 1 and 2 of the European Parliament and Council Regulation 2016/679 of the 27th April, 2016 on the protection of natural persons, with regard to the processing of personal data and on the free movement of such data, and repealing Directive 95/46/EC (General Data Protection Regulation), hereafter RODO, I hereby inform that:
1. EVERMOTION S.C., 8 Przędzalniana Str., 15-688 Białystok, Poland is the Administrator of your Personal Data (APD)
2. Data Protection Inspector can be reached through e-mail: iod@evermotion.org
3. Your personal data are to be processed on the basis of art. 6 section 1 letter a, b and f of RODO in order to:
a) prepare, conclude and execute the agreement and for other purposes approved by you,
b) to execute the legitimate interest like marketing of products and the agreement, claim assertion or defence against claims resulting from the law regulations.
4. Entities entitled to the reception of your personal data may be the authorised public bodies; mail providers; providers of the services covered by the agreement; responsible for debt recovery, keeping the archives, document utilization, legal consulting, technical services, IT services and accountancy.
5. Your personal data shall not be transferred to the third country, nor to the international bodies.
6. Your personal data shall be processed within the period of the agreement and upon your additional consent until you withdraw it. APD shall keep the data for the period of any civil law claim execution connected with the agreement.
7. You have the right to demand an access to your personal data, to correct or to delete the data if there is no other basis for the processing or any other purpose of such processing or to limit the processing of the data, to transfer the data to another administrator and to raise objections to the further data processing if there is no legal basis for further processing and to withdraw any previous consent.
8. You provide the personal data voluntarily, however they are necessary to conclude the agreement. The refusal of providing such data may result in the refusal of the agreement conclusion.
9. You have the right to lodge a complaint to the Personal Data Protection Office when in your opinion the data processing violates the regulations of General Data Protection Regulation of the 27 April, 2016 (RODO).
10. Your data will be automatically processed, including the form of profiling.
11. You are obligated to forward above mentioned information to your representative, especially if you appointed this person in the agreement as the contact person or as the representative for the agreement execution.
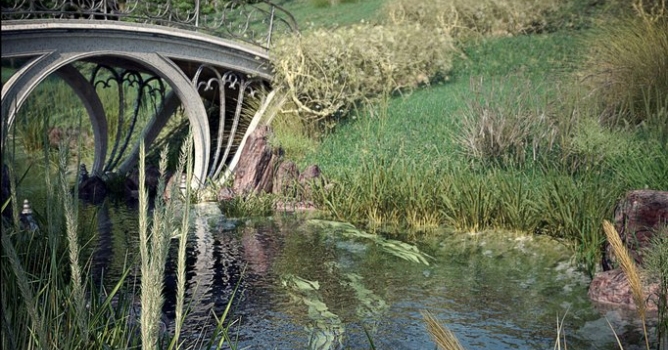

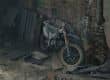
Color temperature is a characteristic of visible light that has important applications in lighting, photography, videography, publishing, manufacturing, astrophysics and other fields. Today I will explain setting color balance for V-Ray renders. My example is the scene with a small bridge over a river.
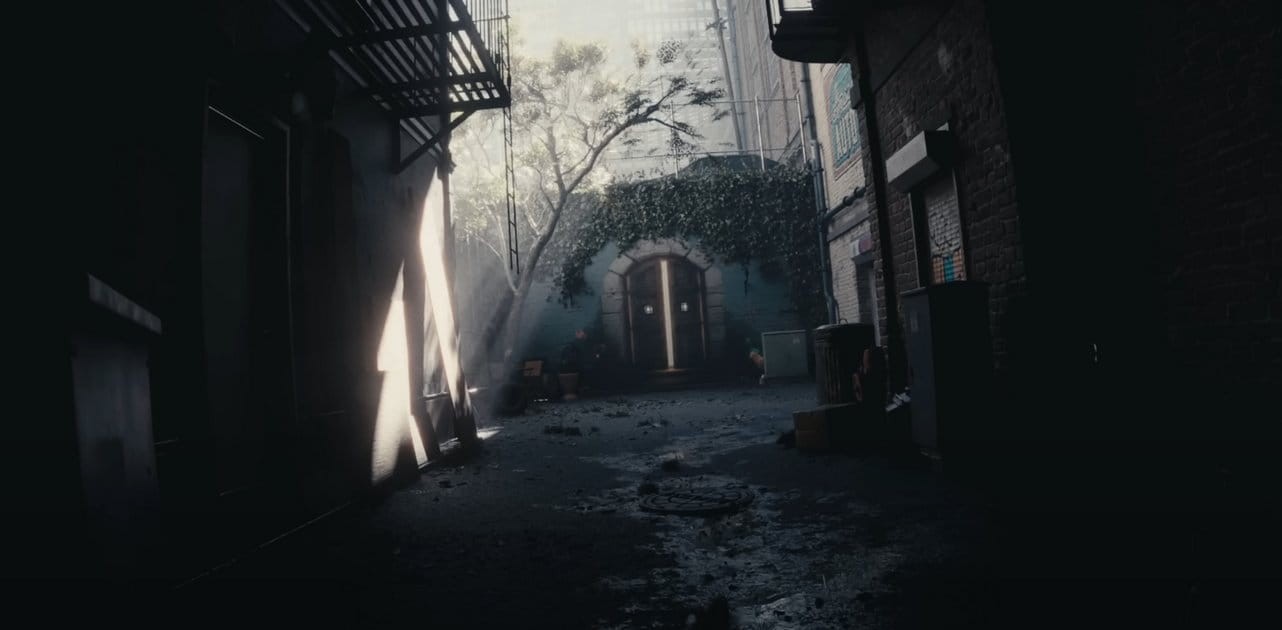
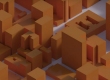
Before I opened 3ds max, I looked for some references. I usualy download quite a lot of them each time. It makes me more confident and it`s easier to find the right idea. To make this scene I found some nice views with small bridges. As you can see below, there can be many approaches to this kind of visualization.
Click on image to enlarge
Modeling
I like to model the environment first. I start with modeling the ground, bottom of the river etc. Next, I put main models in the scene like trees (not necessarily high poly - they can be just simple mesh) , bridge, surface of river etc. which are slowly making outline of final scene. Then I set the camera.
Camera
All camera settings in this scene are nearly deafult, except one important option.

I used custom balance which allowed me to make additional modifications of the image output. Then I set V-Ray:


Before rendering, remeber to check the option "Override material" and change it to 50% grey, which is listed as grey 128.
Click on image to enlarge
First render almost never looks good (as we all know). It`s often too dark or too bright. We need to combine good settings of our lights, camera and in some cases HDRi. We will use our override material and color balance so we can find the best temperature of our scene.

Mostly I use 3 options in camera to achive right lighting:
Of course, Vray-Sun has also few more options for adjusting brightness or color of scene:
When I am happy with brightness of the scene, I can start my rendering. I made my first render with pure white "custom balance" option. Then I looked for the area in my render which was not directly illuminated by the sun or shadowed. Then I picked a pixel with a middle tone value (not too bright and not too dark) and replaced white custom balance with blue / grey value that I just picked.
Click on image to enlarge
What it does?
Simply speaking, this whole operation will take our blue / gray color (sky influence) and exclude it from the scene, making the overall look more natural.
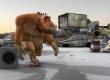
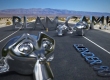
This method is also often used in the cinematic industry. Usually real gray sphere is used. It is put in the middle of the room and photographed. It can be used for setting up the 3D environment to match the cinematic footage or it can be used for making HDRI.


More about it you can watch in "Sur La Piste du Marsupilami - Visual Effects Making Of".
At the end I want to share with you my river shader settings. I made the river 300 cm deep (remember that results of fog color and fog multiplier depend of the depth of river).
Click on image to enlarge
Thank you!

LEAVE A COMMENT


|

|

|

|

|


COMMENTS