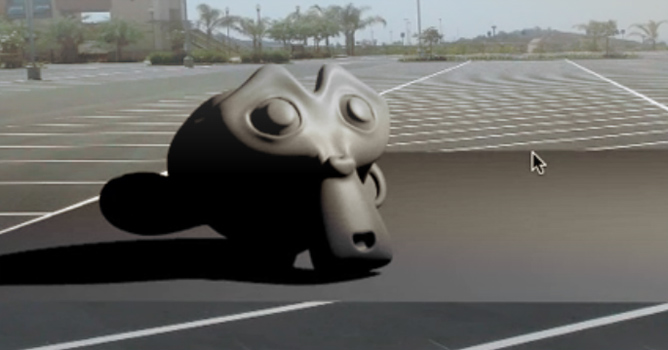
3D Cursor is by far one of my favourite tools in Blender. Therefore I was deeply surprised to read that some users suggested removing it from the program as an old fashioned, useless piece of code. I strongly disagree with such opinion. As the matter of fact, 3D Cursor lets us perform fast various tasks that are time-consuming without this tool. Placing objects in a scene, creating artificial pivot points, setting models origins in desired places. Finally it's a powerful addition to other modelling techniques. One of them involves proportional editing (O or Alt+O) as shown in the example below. With a help of snap menu (Shift+S) I was able to position my 3D Cursor at the exact parts of my model (Image 1). Rotating selected vertex around 3D Cursor that was set as a Pivot Point (.) helps to achieve nice, bent shapes without loosing volume of my mesh (Images 2/3). It's a great technique when we seek for simple deformations avoiding time consuming armatures or lattices.

Image 1 - Placing 3D Cursor at the exact spot with a Snap Menu
Image 2 - Bending plank with a help of 3D Cursor and Proporional Editing
Image 3 - Improving the shape of our model
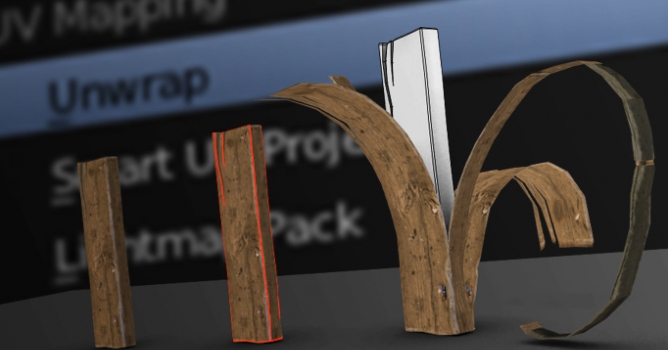
2 - UNWRAP TIPI always had problems with unwrapping cable-like models, such as long and twisted ribbons or tubes. Blender offers default texture coordinates for curves that work like a charm until user converts his model into a mesh. After that they are deleted and you have to solve that unwrapping problem manually. Follow Active Quad (FAQ) method ("U" shortcut) seems hard to control it, as it often leads to different results each time it is performed. In order to fix this behaviour, you have to reset unwrapping of your object (U->Reset) and try FAQ once again (Image 4). Now the effect should be the one you aimed for. Always remember that you can separate the endless line of faces in UV/Image Editor by keeping UV and edit mode mesh selection in sync (Image 5). This mode allows you to select chosen unwrapped faces and move them away from the whole island without unwanted stretching. If necessary always remember about snapping options (Shift+Tab) that may help you to put all created pieces of unwrapped mesh in one precise location.

Image 4 - Unwrapping phone cable with a Follow Active Quad algorithm

Image 5 - Keeping UV and edit mode mesh selection in sync icon
3 - DXF FILES TIPAlthough importing .dxf files in Blender is officialy available, it doesn't work with most of the files exported from CAD applications. Still it should not discourage all the architects and designers to bring Blender into their pipelines. Fortunatelly the script from the old version 2.49b still does his job properly (6). All you have to do is save loaded .dxf as a .blend project and open it in the new version of Blender. The next step requires joining all the curves and making them two-dimensional from the Curve panel in order to get rid of all the faces we don't need. Convert your model to a mesh (ALT+C) and check whether the length of chosen edges matches numbers from the CAD file (Image 7).
Now the problem that often occurs is the wrong scale of the object. The edge length is fine but all the metrics gets replaced by Blender units (Bu). In other words 30 centimeters take 30 Bu which means that our model may hardly fit the whole 3D Viewport. It leads to irritating clipping issue that can always be solved by simply increasing the far clipping distance from the N panel. Still changing the scale of our object is much more elegant as it frees us from uncomfortable, claustrophobic working space. Be aware that decreasing model by one hundred (S, tap 0.01) does not change the length of all the edges as it works only on object data. They will still be as long as before therefore you won't be able to edit them using values tapped manually (e.g. extruding walls by exact number of centimeters would be impossible). There's an easy solution for this little incovinience - apply scale of the object (Ctrl+A) and you'll recalculate size of mesh data according to your needs. Now 30 centimeters will become o.3 Bu, everything will fit the working space as it was supposed to and you'll be able to transform all the edges with a help of values entered from a keyboard.

Image 7 - DXF importer from Blender 2.49b

Enabling edge length display from the N panel
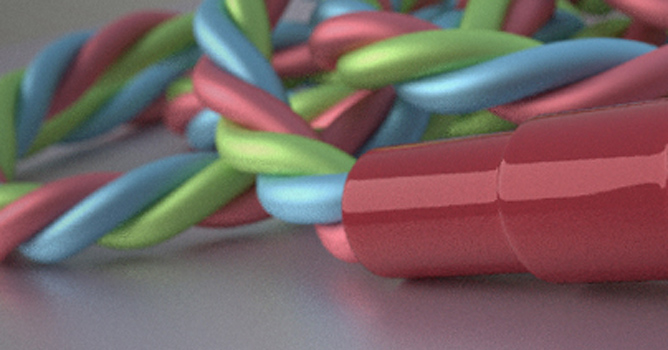
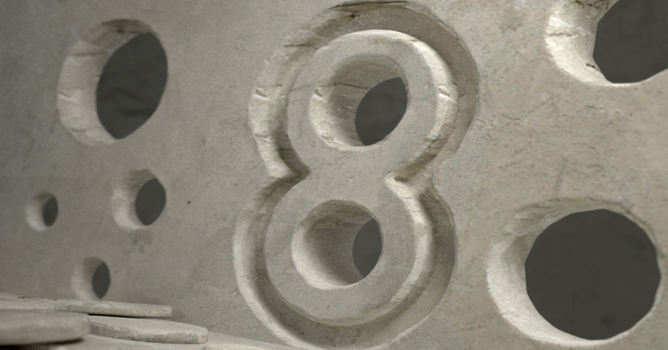
4 - MODELING TIPAnother tip I would like to share with you may seem odd, especially for non-experienced users. It's an idea of creating oval objects from cubes instead of sphere meshes (8). There are two main reasons why I decided to follow this approach. First of all it guarantees nice topology of the final model as it lets you work on a low number of quad polygons. Secondly it produces an object based on edge loops therefore fairly easy to unwrap. The whole workflow requires Subdivision Surface modifier (Ctrl+1). Before increasing the number of subdivisions, apply modifier. Subsurf modifier does not create perfectly round shapes so we need to slightly improve cube's geometry. Select all the vertex and use To Sphere (Alt+Shift+S) for the whole mesh. Now add Subdivision Surface modifier once again and start modeling by deleting and extruding chosen faces. You'll notice that your object is now exceptionally round even on higher subdivision levels (9). Remember that you can mark seams at any time of your work, however - try to complete this process before applying modifier. It always creates too many unnecessary edge loops that may be hard to work with. Besides, why bother to select, mark and delete parts of dense mesh, if you can perform the same operatrions with much simplier objects?

Examples of objects made from cubes instead of spheres

Smoothing all the edge loops with To Sphere option creates more round object
5 - EXPORTING TIPHave you ever had problems with normals in your model? If your pipeline requires switching files between different applications flipped normals may become a real issue. They can create artifacts while rendering or texturing (mostly when bump and normal maps are involved) especially if they share the same UV space with faces flipped in the opposite direction. In order to avoid this kind of troubles you may always use Blender's default normal display from the N panel (10). Still, if the object is more complex, this kind of help is too unreliable. In exchange I suggest baking AO map of the object we want to check. If it hasn't been uwrapped already, use Smart UV Project from the U menu. Don't worry about the quality of this method and leave default setting without any changes. Open UV/Image Editor and add a new image with a resolution 1024x1024 or lower. Go to Render panel in Properies Window and choose Ambient Occlusion from the Bake menu. Hit the Bake button and enable Texture Viewport Shading to analize the result. All flipped normals are now revealed as pitch black parts of the object or they may seem transparent (11). Tracking them down is much easier this way.

Blender's display normals direction icon
Parts of the object with flipped normals
Thank You and happy blending!


 Customer zone
 Your orders
 Edit account
 Add project
 Liked projects
 View your artist profile
COMMENTS