Evermotion Pass 10% Off - Get Instant Access to Thousands of 3D Assets

Check Plans

Information Clause

In accordance with the art. 13 section 1 and 2 of the European Parliament and Council Regulation 2016/679 of the 27th April, 2016 on the protection of natural persons, with regard to the processing of personal data and on the free movement of such data, and repealing Directive 95/46/EC (General Data Protection Regulation), hereafter RODO, I hereby inform that:

1. EVERMOTION S.C., 8 Przędzalniana Str., 15-688 Białystok, Poland is the Administrator of your Personal Data (APD)

2. Data Protection Inspector can be reached through e-mail: iod@evermotion.org

3. Your personal data are to be processed on the basis of art. 6 section 1 letter a, b and f of RODO in order to:
a) prepare, conclude and execute the agreement and for other purposes approved by you,
b) to execute the legitimate interest like marketing of products and the agreement, claim assertion or defence against claims resulting from the law regulations.

4. Entities entitled to the reception of your personal data may be the authorised public bodies; mail providers; providers of the services covered by the agreement; responsible for debt recovery, keeping the archives, document utilization, legal consulting, technical services, IT services and accountancy.

5. Your personal data shall not be transferred to the third country, nor to the international bodies.

6. Your personal data shall be processed within the period of the agreement and upon your additional consent until you withdraw it. APD shall keep the data for the period of any civil law claim execution connected with the agreement.

7. You have the right to demand an access to your personal data, to correct or to delete the data if there is no other basis for the processing or any other purpose of such processing or to limit the processing of the data, to transfer the data to another administrator and to raise objections to the further data processing if there is no legal basis for further processing and to withdraw any previous consent.

8. You provide the personal data voluntarily, however they are necessary to conclude the agreement. The refusal of providing such data may result in the refusal of the agreement conclusion.

9. You have the right to lodge a complaint to the Personal Data Protection Office when in your opinion the data processing violates the regulations of General Data Protection Regulation of the 27 April, 2016 (RODO).

10. Your data will be automatically processed, including the form of profiling.
11. You are obligated to forward above mentioned information to your representative, especially if you appointed this person in the agreement as the contact person or as the representative for the agreement execution.

OK

15 Minutes of Glory

Mookie 2009-03-20 00:00 tutorial  > Blender  > modeling

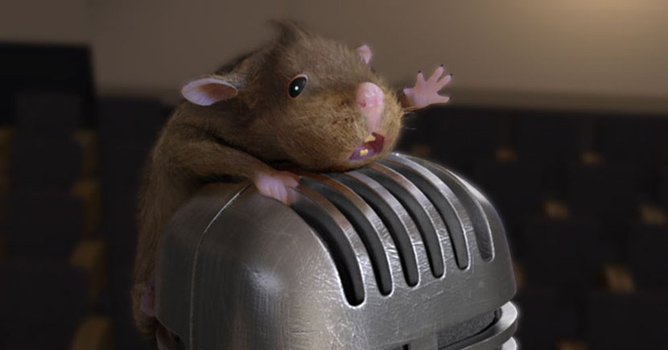
I did not expect that a little roddent climbing at the top of a microphone, hoping for his fifteen minutes of glory, would draw such an attention and receive so many comments.

As the matter in fact, I've been usually experimenting with black and white graphics mostly, finding their gloomy atmosphere much more interesting. That's why for almost two years I've been trying to create rather disturbing, nostalgic images that were supposed to stir up viewers emotions and imagination. In this particular case I've decided to change my style and prepare colourful, rather amusing scene. The way things gone proof that it was the best choice I could make.
 

MODELLING

I decided to work in my favourite programme Blender and use its Internal render engine. I started my work from modelling "a head" of the microphone out of a single Cube. First I added dozens of edge loops marking all the places that would be cut out in the near future.


After that I added a Smooth Modifier and increased its smoothing iterations (Repeat slider) until I got the shape more round.


When I made sure that my mesh was round enough I applied Smooth Modifier and deleted all the faces my microphone did not need. Since it did not have any thickness I used a Python script called Soldify Selection with its default settings that did the trick


After adding some details to my mesh I used Subsurf Modifier in order to make it more smooth. To fix problems with areas that became a bit too round I created extra edge loops around every hole.


The remaining parts of my microphone were easier to model. I made them using such Blender tools as Proportional Edit, Spin and beveled Curves (for cables) mostly. I grouped all the objects together (using Ctrl+G), named them "microhone" and then added them twice to my scene. It helped me to keep my scene clean and if it would only be necessary let me change the shapes of my microphones all at the same time.

When I decided that there was nothing more to improve I started modelling my roddent. Since I could not figure out how it should look like without its fur I found some pictures of wet rats on the web. Having some clues I prepared a simple mesh using box modelling technique. I did not keep too much attention to details except for its face and paws as I realized that the rest of its body would be covered with fur.


The next thing I made was an armature for my roddent. I consider all the rats and lemmings as quite agile creatures so I did not spare some extra bones for my roddent's fingers, ears and spine.


When I parented them all together I selected the mesh, then the armature, hit Ctrl+P, chose Armature and finally Create From Bone Heat option. This way Blender automatically creates vertex groups parenting them to the nearest bones.

After switching to Pose Mode I started working on my roddent's position. I kept an extra care to his fingers though they were supposed to hold the micropone, trying to raise the body at the top of it.


Afterwards I covered my creature with three layers of hair using Blender's Particle System. To make sure that they would not grow on such areas as mouth or eyes I made vertex groups selecting all the faces that should not remain bald. I put the name of those groups in every fur layer's Extras panel.


The first hair layer was responsible for a short fur and covered the whole roddent's body. The second one added a bit longer but straggly fur, while the third gave my roddent a moustache. I combed them all a bit, messing up with roddent's hairdo in Blenders Particle Mode. This way I gained even greater control over roddent's hairstyle, changing the shape, length and density of chosen fur areas.


I made the background of the scene by modelling one chair and then multiplying it with an Array Modifier.
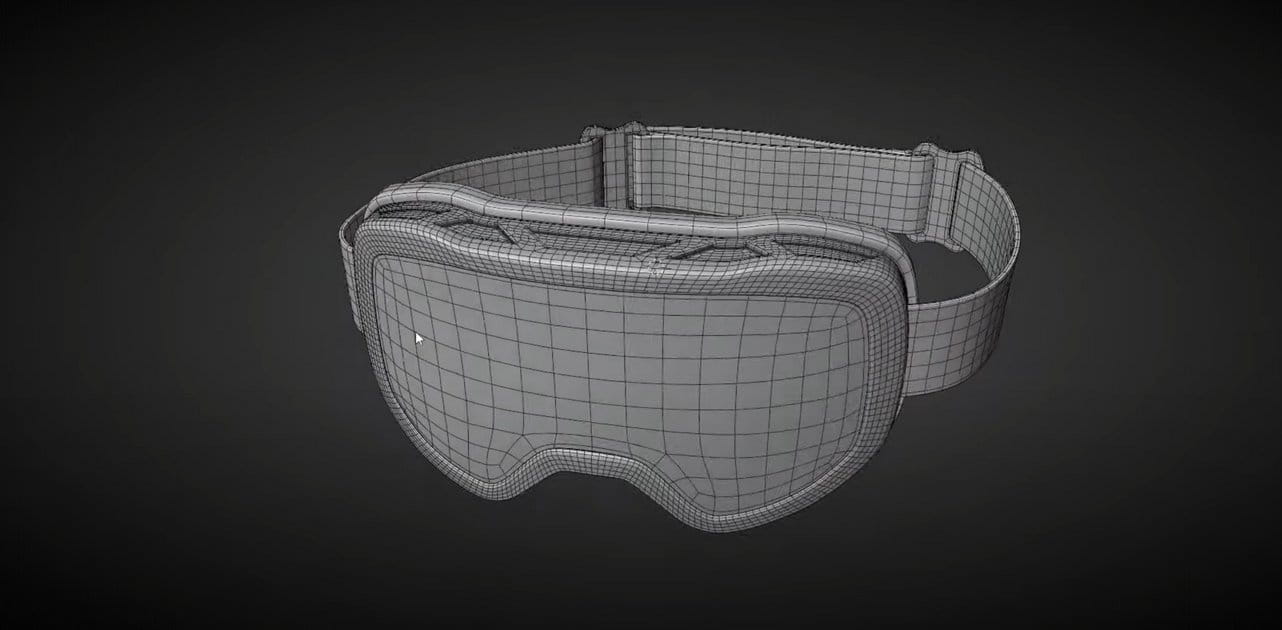
 
MATERIALS
 
The most important materials in this scene are metal parts of the microphone and roddent's fur and skin. The first one was quite easy to made I used an image of scratched metal for diffuse, reflection and bump map.


To obtain realistic mirror reflections at its surface I added HDRI map to the scene with an AO set to Add only.

The material set up for my roddent's skin required SSS effect.


As for the fur it was a bit more complicated. I gave it two textures – the first one was a diffuse texture with a set up as shown below.


The second one was a Blend type of texture responsible for hair's Alpha value.


Without it roddent's hair would remain sharp on its whole length that would loose the impression of its softness and fluffyness.

 
LIGHTNING
 
I always try to keep all the elements of my scene in separate layers in order to create lightning sources just for desired objects (the "layer" option in Lamp window). Here I lightened my microphones and roddent with two Spot Lights (and one more just for the cable in front of the camera), while for the rest of the scene I chose only one hemi lamp. I also put two additional Lamps nerby the wall just to create a nice reflections in the background.


SYSTEM NODES
 
I do not consider myself as an expert in Blender's Nodes System so you may find my settings a bit weird. Nevertheless they did the trick and brought the results I expected to see.

The simpliest way to create a nice depth of field in Blender is to use its System Nodes. In this particular case I also used it to darken the background of the scene and sharpen the contour of my roddent.


I marked all the three stages mentioned above in three different colours. In the part marked as red I divided my scene in two parts using its Z value pass. The easiest way to do it is to use Color Ramp Node along with Map Value Node. By adding and changing the values of Color Postions at the Colorband I marked as wite (visible) only the background of the image which I wanted to make darker.
In the part marked as blue I added DOF to the scene; ufortunately it resulted in blurring roddent's contour. To fix it I divided the image using its Z value pass once again, combining two images the one with blurred background and another with sharp microphone and roddent (yellowish area).
In case you would like to make your image brighter I suggest adding RGB Curves Node which is much more convenient than adjusting the same things in other programme.

 
FINAL WORD
 
I hope you'll find my tutorial interesting and helpful. Once again, thank you for all the comments about my work! In case you have any problems or questions, feel free to contact me.

Take care!

mookie

Final work:


Author: Mookie
Tags:
You may also like...
Outdoor Lighting in 3D. Is there a magic formula?

Outdoor Lighting in 3D. Is there a magic formula?

Ever struggle to light exterior scenes in 3D? In this video, we'll have a look at a cinematic lighting framework, inspired by filmmaking techniques, to elevate your 3D art.
×

LEAVE A COMMENT

You need to be logged in to leave a comment. Don't have account? Register now.