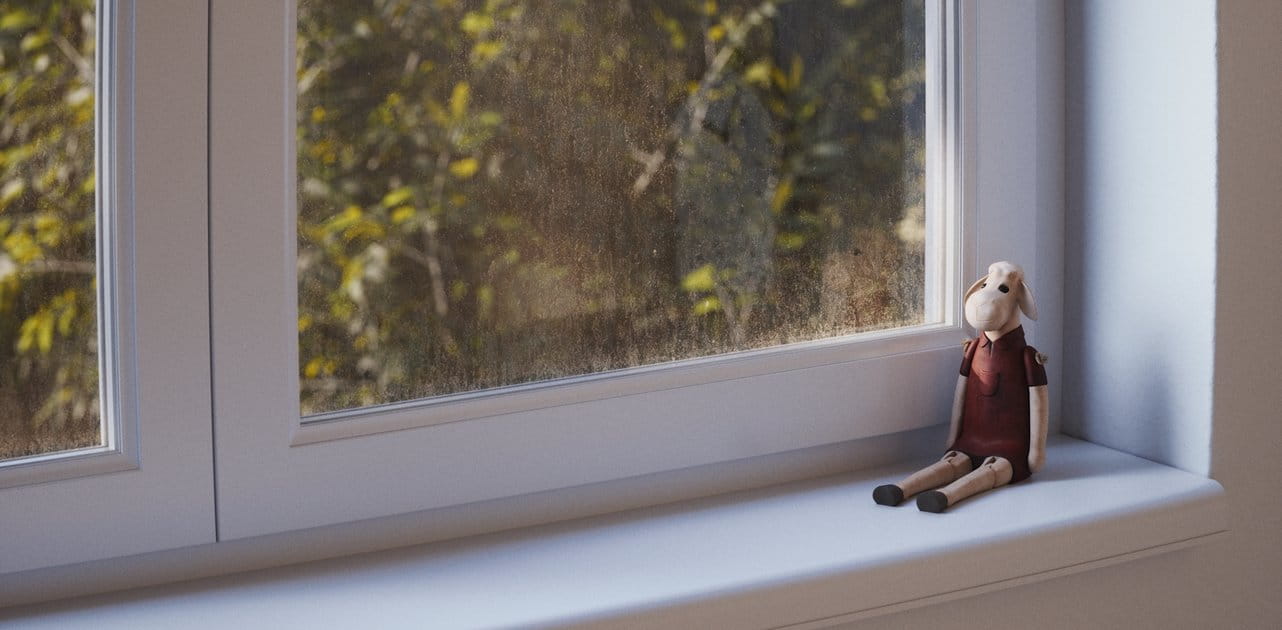
Create Dirty Windows - material tutorial
New tutorial by RenderRam.


In accordance with the art. 13 section 1 and 2 of the European Parliament and Council Regulation 2016/679 of the 27th April, 2016 on the protection of natural persons, with regard to the processing of personal data and on the free movement of such data, and repealing Directive 95/46/EC (General Data Protection Regulation), hereafter RODO, I hereby inform that:
1. EVERMOTION S.C., 8 Przędzalniana Str., 15-688 Białystok, Poland is the Administrator of your Personal Data (APD)
2. Data Protection Inspector can be reached through e-mail: iod@evermotion.org
3. Your personal data are to be processed on the basis of art. 6 section 1 letter a, b and f of RODO in order to:
a) prepare, conclude and execute the agreement and for other purposes approved by you,
b) to execute the legitimate interest like marketing of products and the agreement, claim assertion or defence against claims resulting from the law regulations.
4. Entities entitled to the reception of your personal data may be the authorised public bodies; mail providers; providers of the services covered by the agreement; responsible for debt recovery, keeping the archives, document utilization, legal consulting, technical services, IT services and accountancy.
5. Your personal data shall not be transferred to the third country, nor to the international bodies.
6. Your personal data shall be processed within the period of the agreement and upon your additional consent until you withdraw it. APD shall keep the data for the period of any civil law claim execution connected with the agreement.
7. You have the right to demand an access to your personal data, to correct or to delete the data if there is no other basis for the processing or any other purpose of such processing or to limit the processing of the data, to transfer the data to another administrator and to raise objections to the further data processing if there is no legal basis for further processing and to withdraw any previous consent.
8. You provide the personal data voluntarily, however they are necessary to conclude the agreement. The refusal of providing such data may result in the refusal of the agreement conclusion.
9. You have the right to lodge a complaint to the Personal Data Protection Office when in your opinion the data processing violates the regulations of General Data Protection Regulation of the 27 April, 2016 (RODO).
10. Your data will be automatically processed, including the form of profiling.
11. You are obligated to forward above mentioned information to your representative, especially if you appointed this person in the agreement as the contact person or as the representative for the agreement execution.


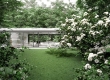
Apoco77 House by Jesus Selvera "Zuliban" gained "The Best of Evermotion" award in 2016. You can see all images in this Evermotion Forum thread.
Click on image to enlarge
Click on image to enlarge
Click on image to enlarge
Click on image to enlarge
I want to say that this making of is mostly based on what people asked me on forums and over Facebook.
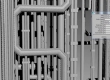
EARLY STAGE
When I start any scene I first start with a general idea. In this scene I wanted an exterior with a pool, I wanted the lighting to be a bit warm with a touch of blue tone to look more fresh. I wanted also pure blacks and vivid colors. I never pay attention to realism. I put the highest priority on the idea, the overall mood and colors, etc. Realism is something extra that comes by itself. Sometimes I seek for more stylized render than realistic one.
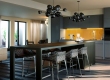
I started this scene by making the kitchen area. On the beginning I create only basic models, sometimes I use just placeholders. At this stage for the most of the time I don't put too much attention to textures. I focus mainly on the shapes of the objects and overall lighting, but I don't spend too much time on it. I just make one or 2 quick renders. If something does not look right, I discard the model and create something else until I'm happy.
Then I move to another area and repeat this process. For me this is like sketching and this gives me a general idea of what the scene will look like.
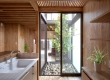
I never do any serious modeling or texturing until I know for sure that the object will suit the scene. Staying too much in the same area will slow you down. This is the most important part for me. Here are some images of the early stages of the scene:


When i feel i have this early stage finished, I can finally focus on modeling, unwrapping and texturing. I don't touch rendering again until the end, I just make quick renders of each model to see if they look good in the scene.
Now i will show the key stages of making this scene that people asked for.
Click on image to enlarge
Click on image to enlarge
Click on image to enlarge
Click on image to enlarge
Click on image to enlarge
Click on image to enlarge
Click on image to enlarge
Click on image to enlarge
Click on image to enlarge
Click on image to enlarge
Click on image to enlarge
Click on image to enlarge
Click on image to enlarge
Click on image to enlarge
Click on image to enlarge
Click on image to enlarge
Click on image to enlarge
Click on image to enlarge
Here are another two examples of using this same workflow.
Click on image to enlarge
Click on image to enlarge
Click on image to enlarge
Click on image to enlarge
Click on image to enlarge
Here is another one.
Click on image to enlarge
Click on image to enlarge
Click on image to enlarge
Click on image to enlarge
Click on image to enlarge
Click on image to enlarge
Click on image to enlarge
Click on image to enlarge
Click on image to enlarge
Click on image to enlarge
Click on image to enlarge
Click on image to enlarge
Click on image to enlarge
Click on image to enlarge
Click on image to enlarge
Click on image to enlarge
Click on image to enlarge
Click on image to enlarge
Click on image to enlarge
Click on image to enlarge
Click on image to enlarge
Click on image to enlarge
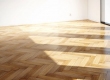
Rendering in Corona is simple - I didn't move any slider or changed default settings. I used mostly bucket rendering for previews. All my renders were rendered and saved as EXRs for postwork. I didn't add any kind of lighting mood in this stage - I am working in 32 bits and it is better to have neutral image colors.
Right now Corona 1.5 is out and you have LUTs, glares and flares and many post-production features - you don't even need an external post-production software.
In my case I used Nuke instead of Photoshop, because Photoshop is still not fully 32 bit ready.
Heres one example of raw image and its evolution to final post-produced image.
Click on image to enlarge

Click on image to enlarge
Click on image to enlarge
Click on image to enlarge
Click on image to enlarge
Click on image to enlarge
Click on image to enlarge
Click on image to enlarge
Click on image to enlarge

LEAVE A COMMENT


|

|

|

|

|


COMMENTS