Good vizualisations need good environment. Even the greatest architectural visions may be spoiled by a low quality surroundings. Artificial-looking trees, weird bushes that seem to be made out of a sponge, low poly branches and plants, these are the flaws that will always be cought by both professional and unexperienced viewers. So far Blender users were limited to all kind of addons and assets shared by its amazing community. But with the upcoming archmodels collection designed for Cycles rendering engine things will get even better. From now on you'll grab the opportunity to use scanned trees in your scenes, textured and so full of details it will make your head spin! Now, for a proper invitation to use them, let me show you how I planted CG forest in these 9 simple steps.
Click on image to enlarge
Step 1: Let's start from adding a Plane that will become ground for all the trees. Subdivide it a few times manually or by using Subdivision Surface modifier. In order to achieve random deformations go for variety number of Displace modifiers with any procedural textures you like, Clouds, Stucci or any other. You may additionaly control the strength of the effect by Color Ramps or vertex Groups.
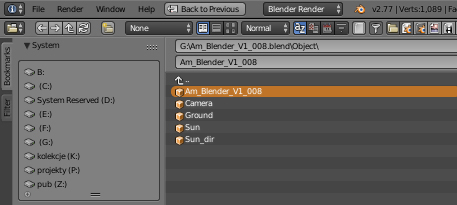
Step 2: Append tree to your scene by hitting Shift+F1. Browse to chosen .blend file from the collection, go to its Object folder and click on the name with AM prefix. Tree should immidately appear in your scene. Pick as many models as you need and place them somewhere on the side.
Click on image to enlarge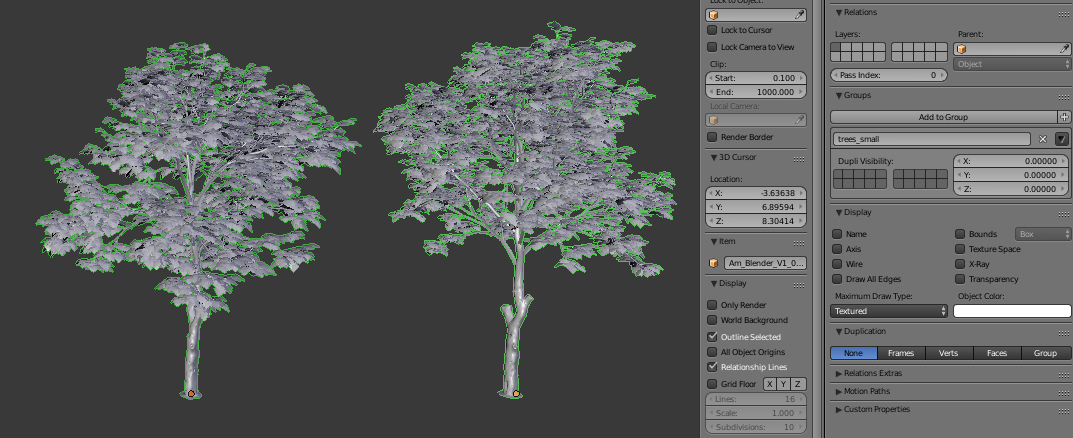
Step 3: Collect your trees into groups (Ctlr+G) with self explanatory names. While preparing covers to archmodels collection I used such phrases as "small trees", "pines", "big trees" etc. Remember that every model can be shared by different groups all at once.
Click on image to enlarge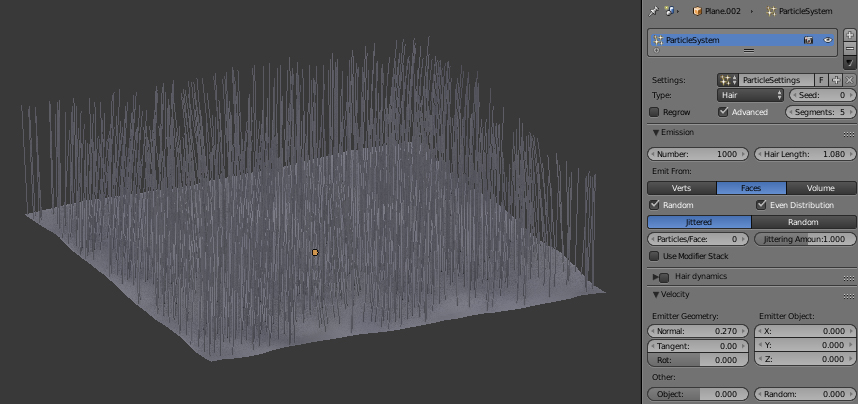
Step 4: Add Particle System to the Plane and change it to Hair instead of Emitter. Enable Advance settings now as we will need them in a moment. Decrease the number of strands and limit their length with Velocity sliders.
Click on image to enlarge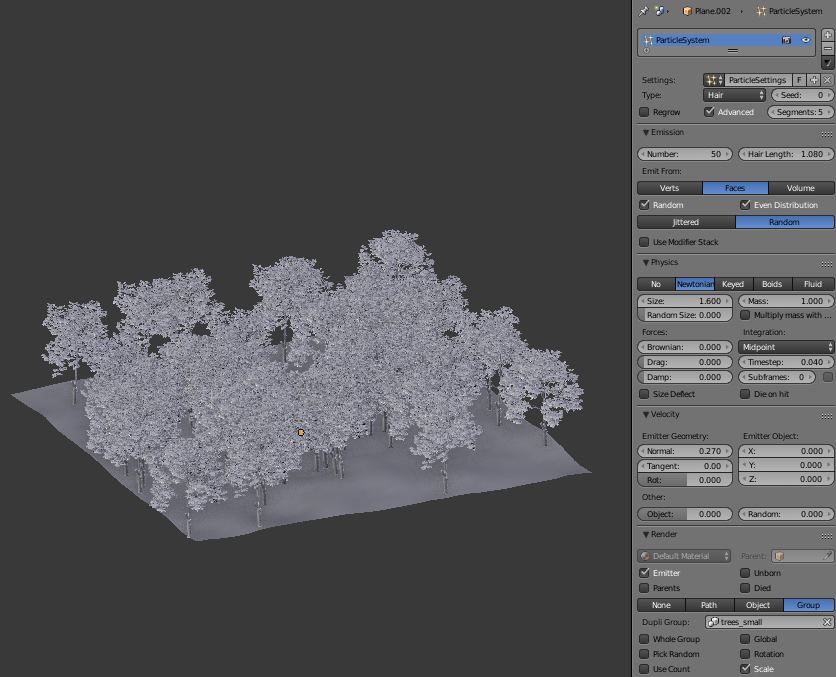
Step 5: Time to replace single hairs with trees. From Render options pick Group and choose the one you'd like to start with (in my case it's "trees_small"). I strongly suggest to tick Pick Random option as it will make our forest more unique and real. Tweak the size of objects by changing Size value from Physics panel.
Click on image to enlarge
Step 6: The more random variatons in your forest, the better. First let's vary the size of each tree. There are two main ways to achieve that. You may change Random Size parameter from Physics panel or Brownian value that's right below.
Click on image to enlarge
Step 7: So far all the trees shoot straight up which looks far from natural. Fortunatelly their pivots are always placed right in the middle of each trunk. Let's take advantege of it and swith Rotation panels on. Set Normal-Tangent from Initial Orientation menu and choose its strenght with Random value (remember too keep it low or else trees will grow almost horizontally). Add additional random rotation along their centres by raising second Random parameter up to its maximum level.
Click on image to enlarge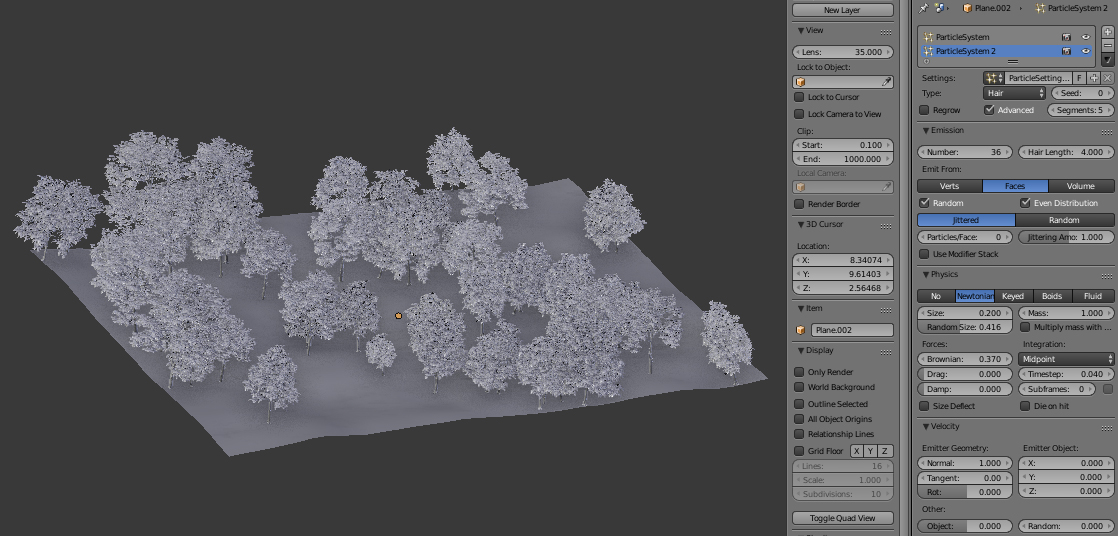
Step 8: Try to add as many Particle Systems as you can using different groups and trees. If navigating in your scene becomes difficult, always remember to change display of your AM models to Bounds. You may also hide duplicated groups in your viewport and keep them visible for rendering uisng two small icons next to Particle modifiers.
Click on image to enlarge
If you need to add a path, a lake or any other area where forest should not grow, use Vertex Groups and Paint Weight Mode. With just a few easy brush strokes you may paint lines or spots that Particle System won't affect (red color) or affect them slightly (green color). Mind out that you can use the same or another Vertex Group for controlling the size of AM models. Once you finish painting assign created Vertex Groups in Vertex Group panel from Particle System options.
Click on image to enlarge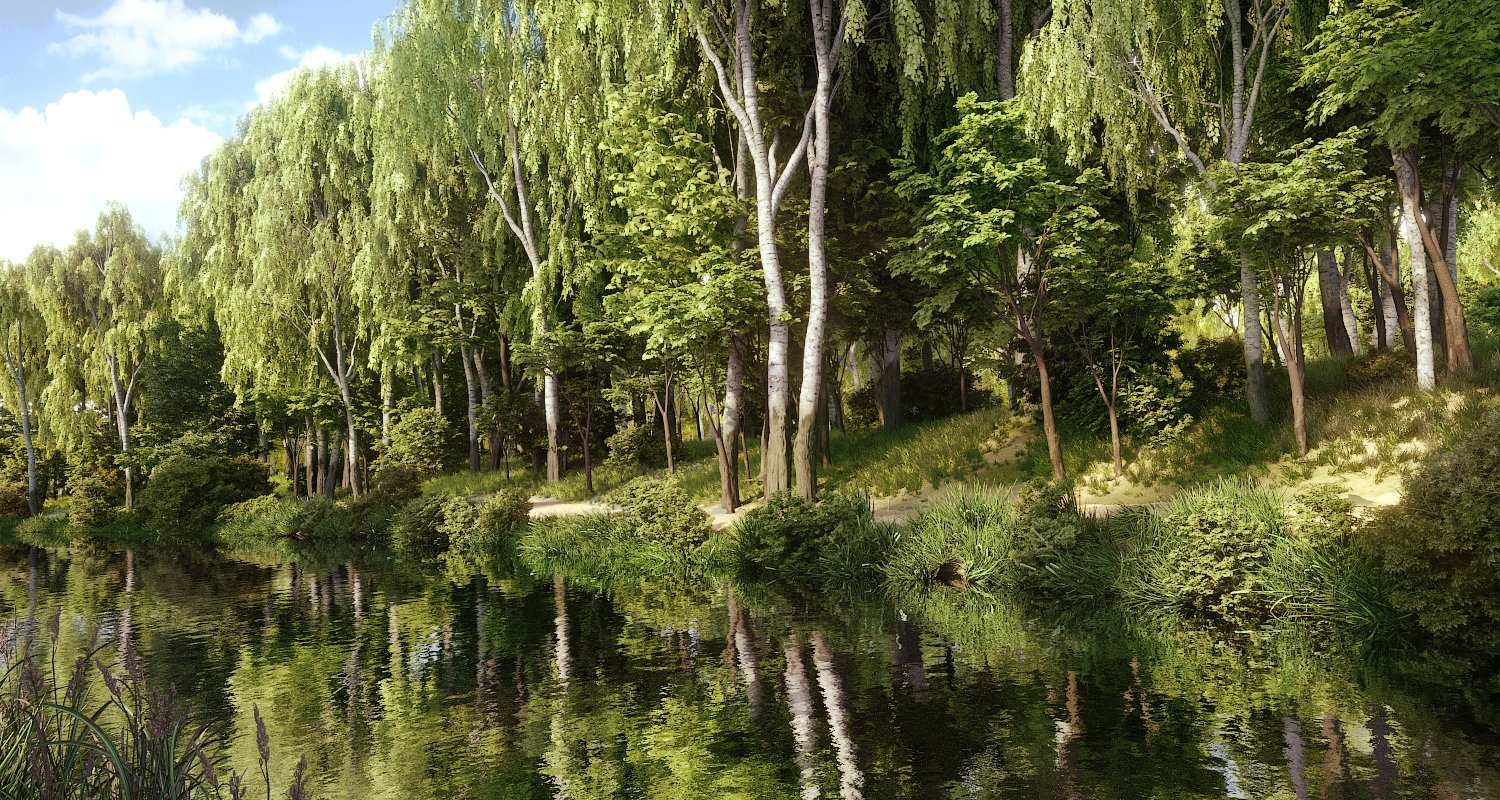
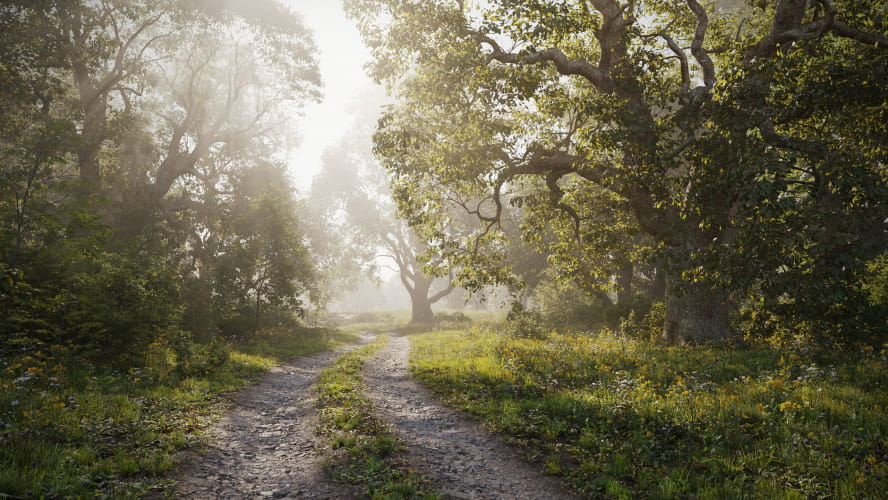
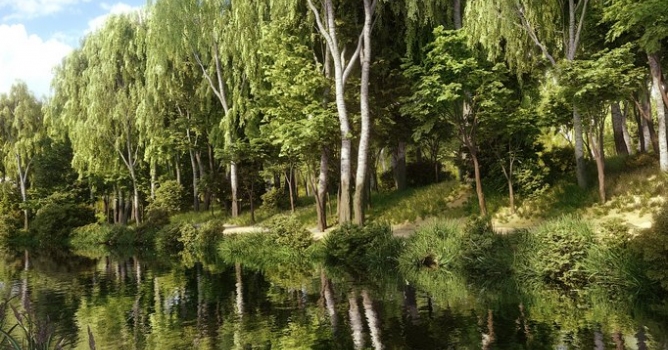
That's how the final image looks like. Evermotion will release trees collection in .blend format soon, stay tuned!









COMMENTS