Topology Study : How To Model Ski Googles in Blender
Using Blender modeling tools for creating realistic ski googles.


In accordance with the art. 13 section 1 and 2 of the European Parliament and Council Regulation 2016/679 of the 27th April, 2016 on the protection of natural persons, with regard to the processing of personal data and on the free movement of such data, and repealing Directive 95/46/EC (General Data Protection Regulation), hereafter RODO, I hereby inform that:
1. EVERMOTION S.C., 8 Przędzalniana Str., 15-688 Białystok, Poland is the Administrator of your Personal Data (APD)
2. Data Protection Inspector can be reached through e-mail: iod@evermotion.org
3. Your personal data are to be processed on the basis of art. 6 section 1 letter a, b and f of RODO in order to:
a) prepare, conclude and execute the agreement and for other purposes approved by you,
b) to execute the legitimate interest like marketing of products and the agreement, claim assertion or defence against claims resulting from the law regulations.
4. Entities entitled to the reception of your personal data may be the authorised public bodies; mail providers; providers of the services covered by the agreement; responsible for debt recovery, keeping the archives, document utilization, legal consulting, technical services, IT services and accountancy.
5. Your personal data shall not be transferred to the third country, nor to the international bodies.
6. Your personal data shall be processed within the period of the agreement and upon your additional consent until you withdraw it. APD shall keep the data for the period of any civil law claim execution connected with the agreement.
7. You have the right to demand an access to your personal data, to correct or to delete the data if there is no other basis for the processing or any other purpose of such processing or to limit the processing of the data, to transfer the data to another administrator and to raise objections to the further data processing if there is no legal basis for further processing and to withdraw any previous consent.
8. You provide the personal data voluntarily, however they are necessary to conclude the agreement. The refusal of providing such data may result in the refusal of the agreement conclusion.
9. You have the right to lodge a complaint to the Personal Data Protection Office when in your opinion the data processing violates the regulations of General Data Protection Regulation of the 27 April, 2016 (RODO).
10. Your data will be automatically processed, including the form of profiling.
11. You are obligated to forward above mentioned information to your representative, especially if you appointed this person in the agreement as the contact person or as the representative for the agreement execution.
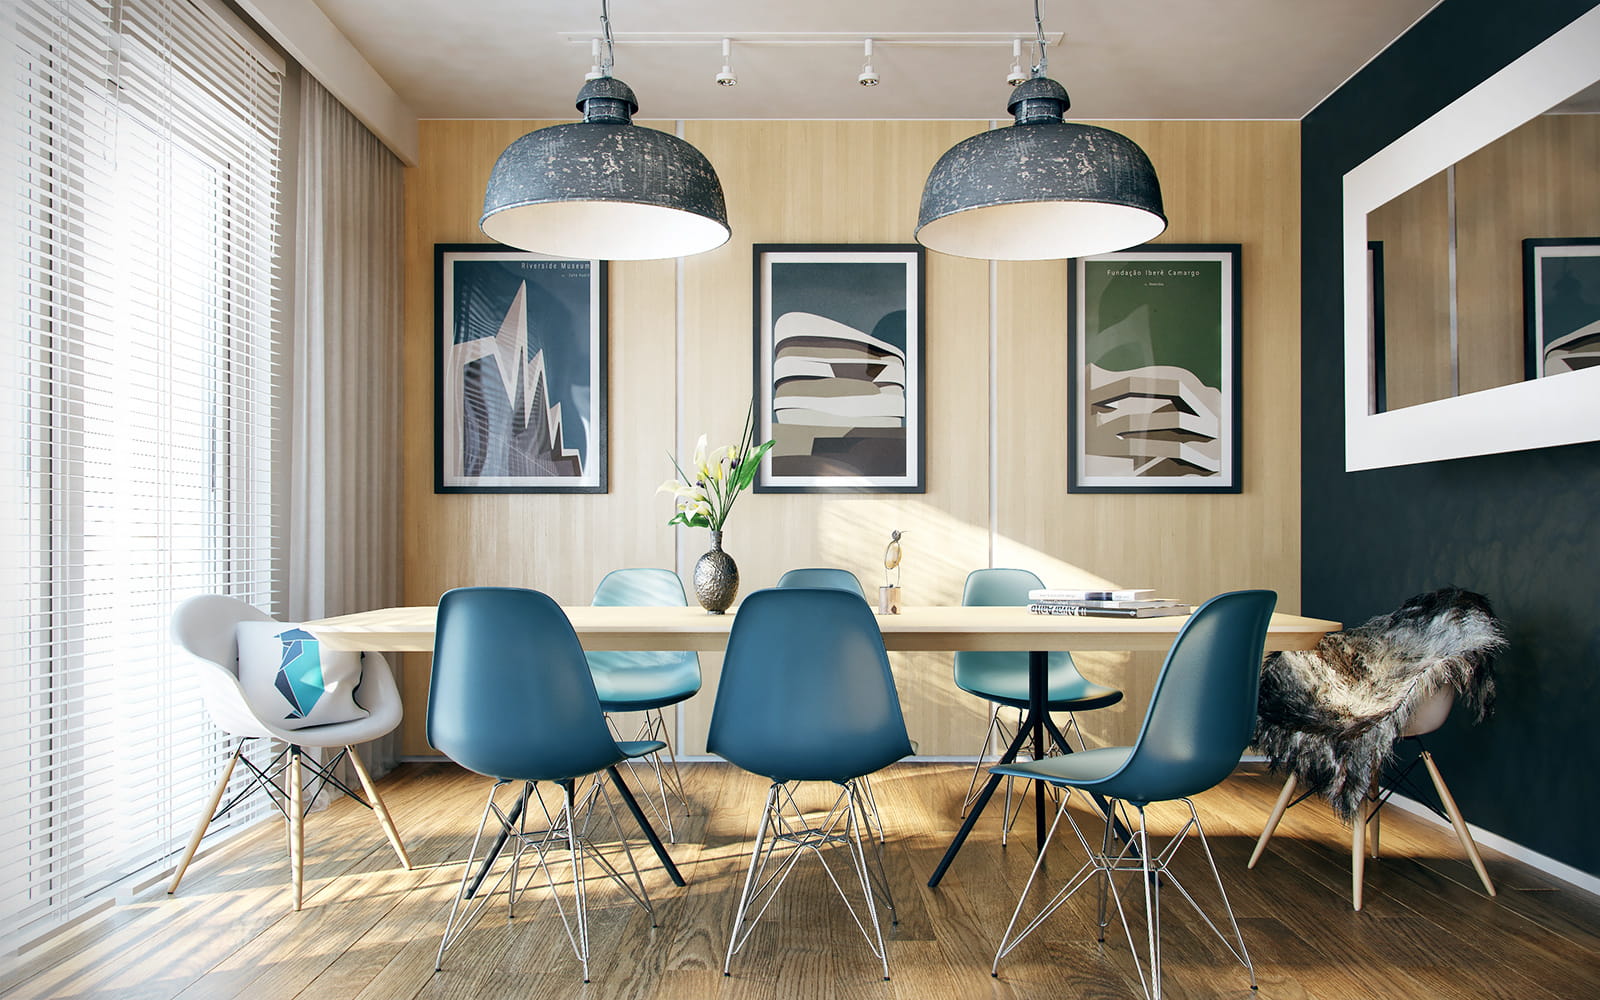

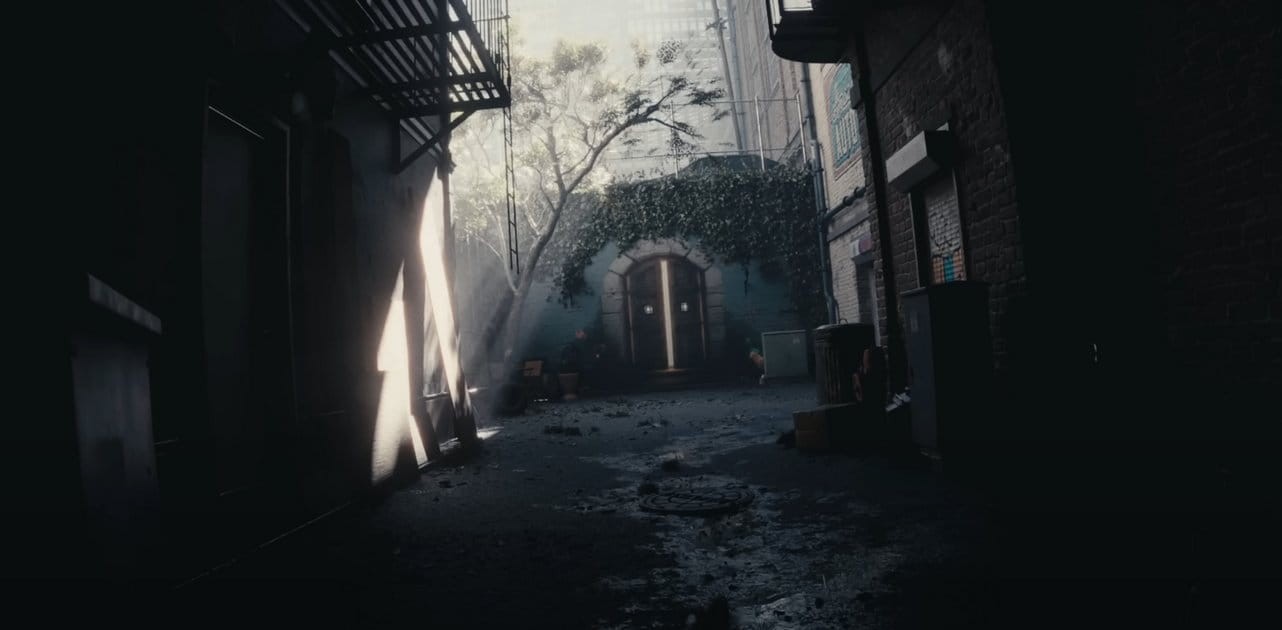
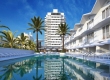
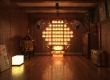
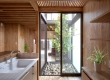
The main idea was to focus on photorealism , trying to simulate as well as possible the behavior of materials and natural light mixed with the artificial one.Starting from this concept, I wanted to work on a photographic reference, a case study to be recreated in the details.
I chosed the project “House in Tczew” because of the feeling that this environment gives to me. A fairly small space, calm with light filtering from the outside that generates many smaller contrasts in various parts of reference photographs.
I also wanted to improve my representation of the wood material, so this project was very closer to what I was looking for. The photos that I was able to get from the various websites were big enough to have a good starting point.
References
Click on image to enlarge
Click on image to enlarge
Click on image to enlarge
Click on image to enlarge
Click on image to enlarge
MODELING:
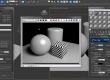
Nothing special in modeling. I used some free 3d models, I added the needed details to achieve the better results as possible and in some cases I had to reduce the excessive number of polygons to have cleaner meshes. First of all I've set the proper dimension units for the entire scene. I usually work in centimeters when it is an architectural project. I think it is very important to keep all the elements scaled and proportional to each other, expecially to achieve a photorealistic look.
Click on image to enlarge
Then I started to import my ready-to-use assets, working on each one, adjusting position and composing the scene. In this process I usually apply a 50% grey material to the meshes, so I can have a more clean view of the entire scene.
Click on image to enlarge
Click on image to enlarge
Click on image to enlarge
Click on image to enlarge
When the simulation satisfied me, I've converted the model into editable mesh and applied the furmodifier. Next step was playing between stylish tools and phisical parameters in order to find the right lenght and position of the fur.
In order to create the wooden floor I used Floor Generator, the famous tool from CG-Source. Nothing special with the settings, I choosed a running bond preset with the plank dimensions of 12 cm x 180 cm. To achieve more realism I used a little bit of bevels on the edges and randomized a vertical tilt for the entire mesh, so that the planks appear more irregular. Obviously the level of detail of the meshes influences the final result, but I am convinced that this works according to the scene lighting quality. Models in the scene needs proper light that enhances the surfaces details. For me, find the better solutions is trying to optimize the meshes, using only the needed number of polygons, evaluating the result moving from modeling, to lighting, to shading, then, if needed adjusting again every step.
This brings to the next chapter.
LIGHTING
I would like to reproduce the lighting of the reference photos, that seems to be abright daylight from the outside. Looking to the photos we can't see anydirect light, but I intended to enhance contrasts adding direct sunlight. This give as bit of dramaticity to the scene.
Click on image to enlarge
Click on image to enlarge
Click on image to enlarge
TEXTURING / SHADING
I love to work with textures. I usually download some free images and then I combine them adding some dirt or scratch layer, always comparing with real references. Normally on the web I can find every texture I need, but sometimes I like to customize the scene taking some photographic shot, which is also a good trainig to achieve the right light balance and create seamless textures. For this scene all materials are quite basic. Once I had the diffuse map I desaturated it and applied the result into the reflection and bump/displacement material slot. After applying the correct falloff and IOR , the next step is to play with contrasts on these textures to reach the better result as possible.
Here are some examples:
Click on image to enlarge
Click on image to enlarge
RENDERING
I use a classic Irradiance Map + Light cache combination for my render setup. I usually start testing how the only lightcache method works in the scene, then I add the Irradiance map for the primary bounces.
Usually these settings work fine for me.
Click on image to enlarge
POST PRODUCTION
This is my favourite step. In my opinion you cannot achieve good results without having technical skills; the result must be physically correct and well composed, but in the final image what suggest to you the sense of time, the feeling of weather, what makes you dream is boosted by postproduction.
I always have in my mind how the final images have to look like, so I stop playing with textures, lighting and rendering setup once I feel the test renders are good enough to give the right result once elaborated in post-production. This speeds up the entire workflow.
I don't know if this is really the right path, this is mine path. Many artists are more in depth with settings and want to achieve the better result as possible without post production. I think this is correct until it becomes obsession. I mean, we can reach extreme realism adjusting settings, of course, but deadline is always the goal and the avaiability of time determines where and how to put resources. In my experience to have good postproduction knowledge can save your time :)
Generally I work adding ambient occlusion, adding contrasts using levels and curves, finally balancing with RawLighting/reflections layers.
Here is a comparsion between no postproducion and photoshop processed images:
Click on image to enlarge
Click on image to enlarge
Click on image to enlarge
Click on image to enlarge

LEAVE A COMMENT


|

|

|

|

|


COMMENTS